
GitHub Copilot CLI Tutorial: from npm install to custom agents
GitHub Copilot CLI puts an agent in any terminal: it reads your repo, proposes diffs, runs tests and talks to GitHub through a built-in MCP server. This 15-step walkthrough — annotated stills from GitHub's official demo videos — covers install, login, folder trust, your first prompts, instructions files, skills and custom agents.
TL;DR — GitHub Copilot CLI in four lines
- One install: npm install -g @github/copilot on Node 22+ with an active Copilot subscription, then type copilot in any repo. Login also connects the GitHub MCP server, so repos, issues and pull requests are reachable from the first prompt.
- Copilot asks before it acts: folder trust on launch, allow once or allow always per shell command, and a diff review with three options before every file edit. Shift+Tab toggles plan mode; Ctrl+T reveals the model's reasoning.
- Teach it your standards in markdown: /init writes copilot-instructions.md (always in context), .instructions.md files scope rules to file globs via applyTo, and gh.io/awesome-copilot ships ready-made sets for React, Playwright and more.
- Then scale up: .github/skills add reusable tasks that trigger as slash commands or plain requests, .github/agents add specialists such as accessibility or SEO reviewers, and /delegate hands the whole session to the cloud coding agent.
The ultimate guide to the GitHub Copilot CLI - Full demo
Video walkthrough:GitHub Checkout · GitHub6:18
Using GitHub Copilot CLI — commands, shortcuts, permissions
Product facts:docs.github.comDocs
Every screenshot is a still from GitHub's official channel: steps 1-8 from "Getting started with GitHub Copilot CLI" and the instructions, skills and agents frames from "How to use agents, skills, and instructions in Copilot CLI", both clean screen recordings. Facts about /mcp, the preinstalled GitHub MCP server, the issue implementation and port debugging come from "The ultimate guide to the GitHub Copilot CLI" above; command names, approval labels and shortcuts are cross-checked against docs.github.com.
Frames are credited screenshots from GitHub's official videos, each deep-linked to its timestamp. This guide's text is original — not a transcript.
GitHub Copilot CLI, step by step
1 · Install and sign in
- 1
Install Copilot CLI with npm
You need Node.js 22 or later, npm, and an active GitHub Copilot subscription. From any terminal run npm install -g @github/copilot — the cross-platform install GitHub documents as the core method. Homebrew (brew install --cask copilot-cli) and Windows winget work too if you prefer a package manager.
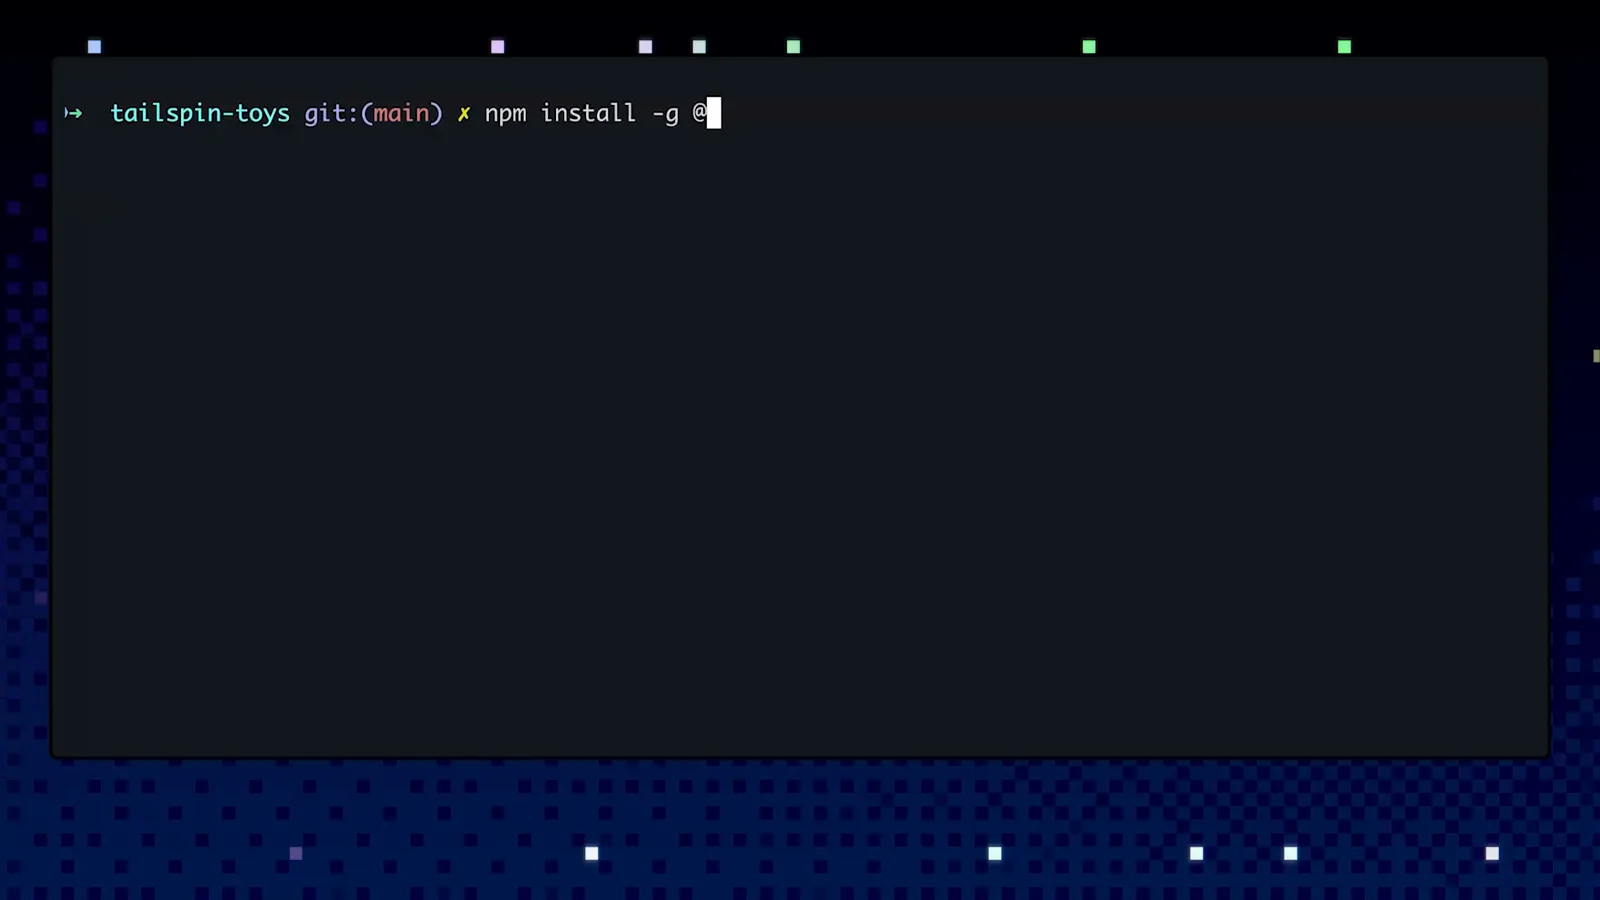
npm install -g @github/copilot typed at a terminal prompt in the demo repo.Watch at 1:24 - 2
Launch it and pick your account
Start the agent by typing copilot in a project folder. On first launch it asks which account to log into: GitHub.com, or GitHub Enterprise Cloud with data residency on a *.ghe.com domain. Pick the one your Copilot subscription lives on.
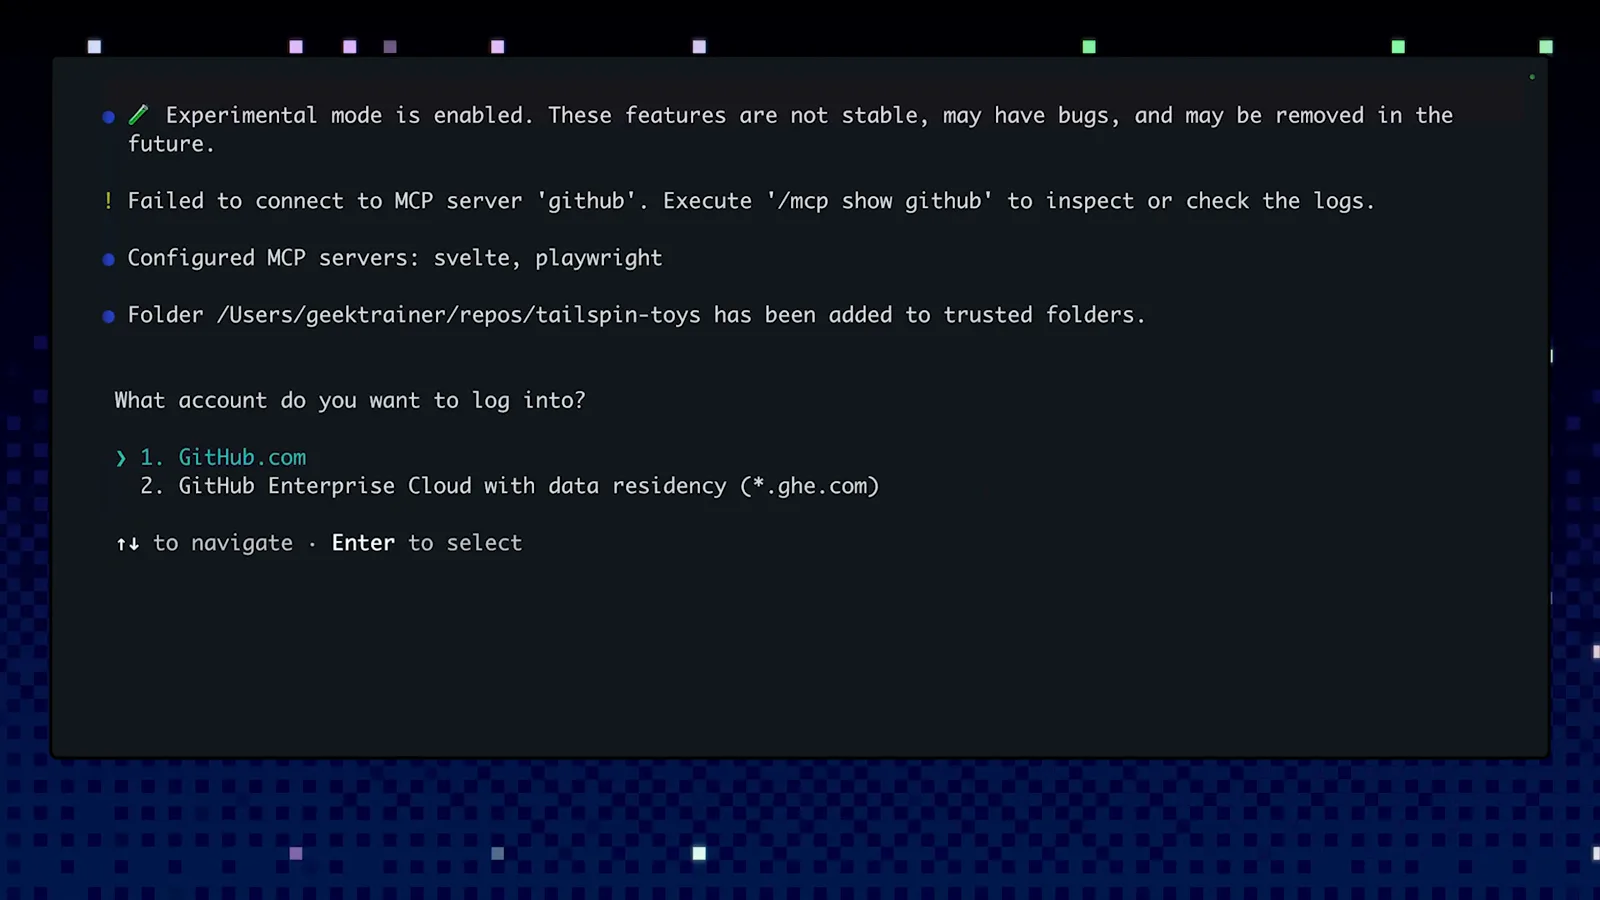
The first-run account picker with GitHub.com selected.Watch at 2:00 - 3
Approve the device in your browser
Copilot CLI completes login through the GitHub device flow: your browser opens, you authorize the CLI, and GitHub confirms with "Congratulations, you're all set! Your device is now connected." Login does two things — it ties the client to your Copilot account and connects the GitHub MCP server, which is what lets the agent read issues and pull requests later.
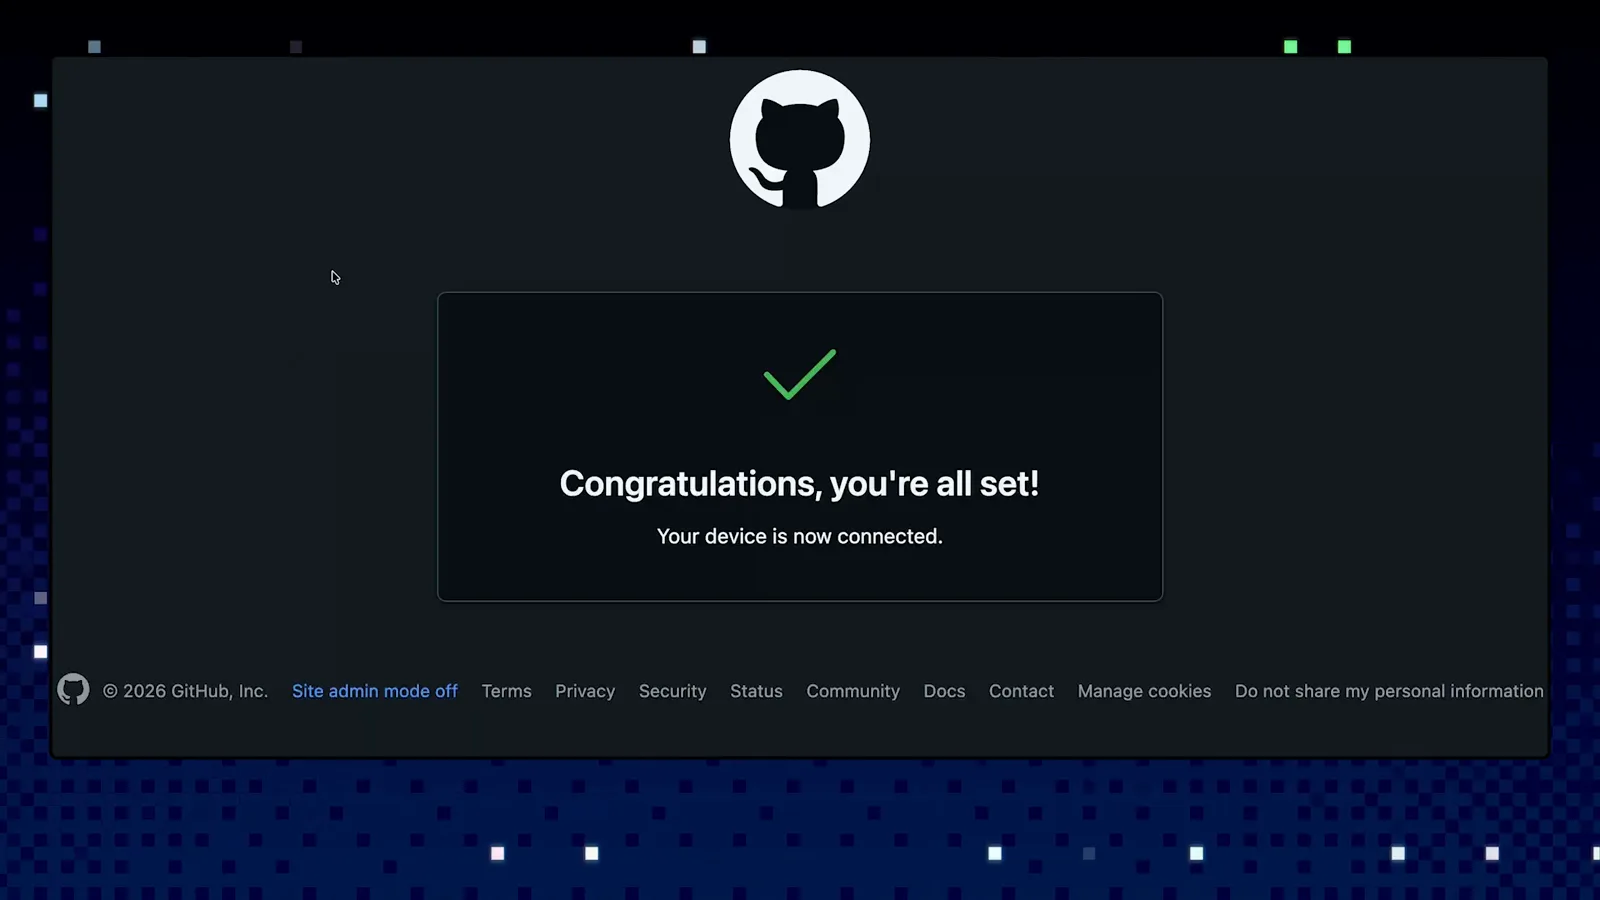
GitHub's device-flow confirmation after authorizing Copilot CLI.Watch at 2:06 - 4
Trust the project folder
Before reading or editing anything, Copilot asks "Do you trust the files in this folder?" — because untrusted files can steer an agent into running unsafe commands. Choose Yes for just this session, or "Yes, and remember this folder for future sessions" so you never re-approve a repo you live in. /add-dir adds more folders later.
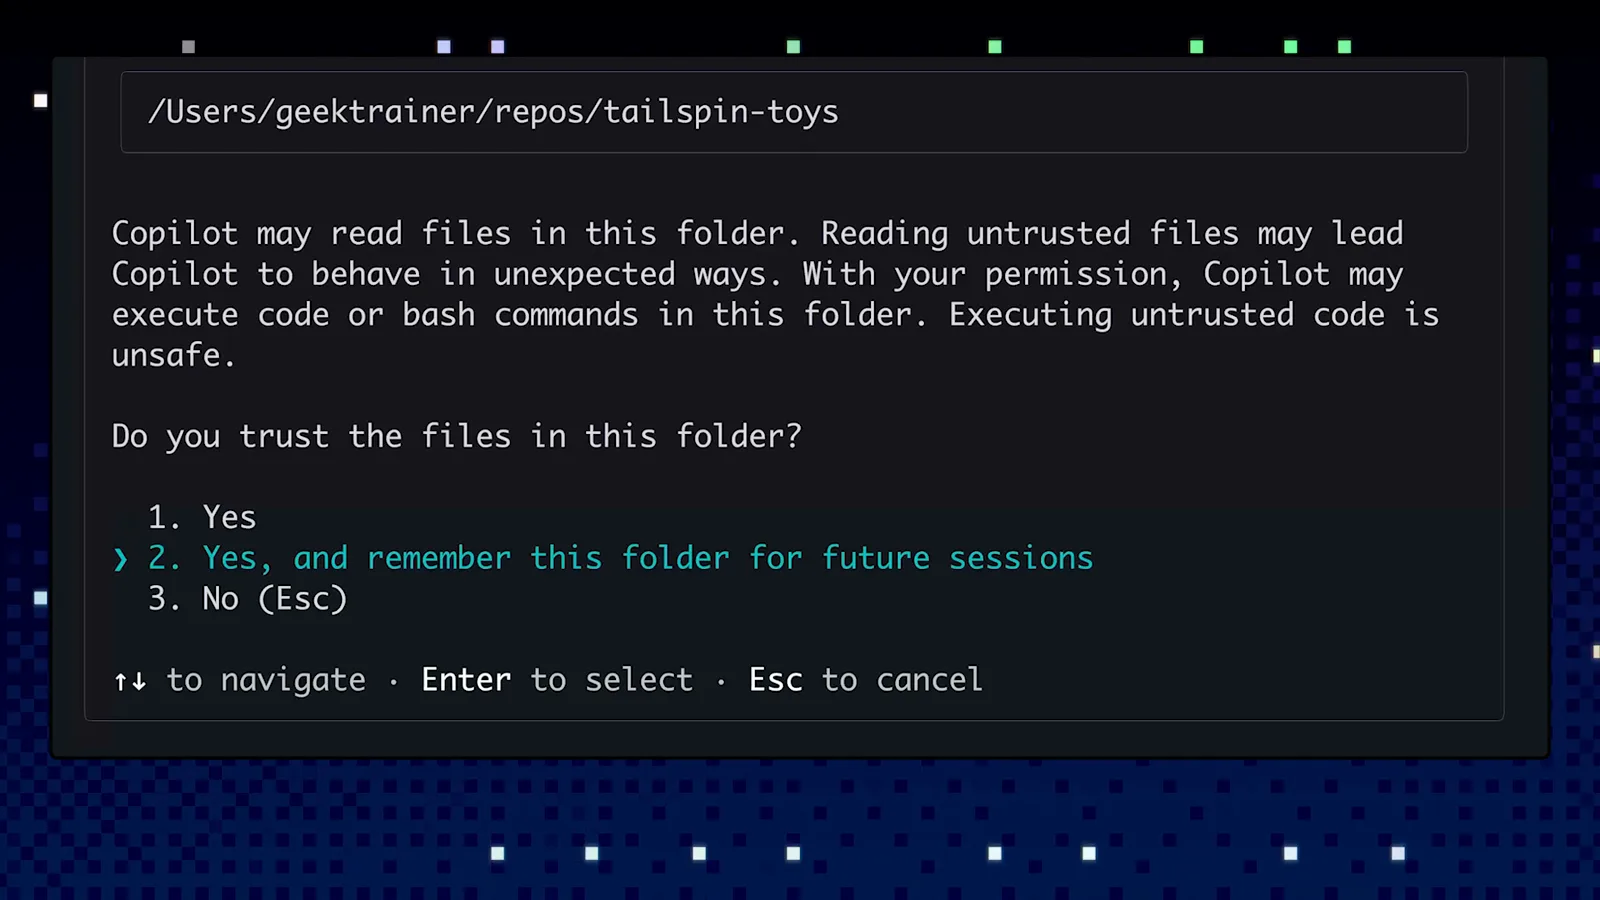
Folder trust prompt with the remember-for-future-sessions option highlighted.Watch at 2:23
2 · First prompts that prove the agent
- 5
Sign in completes — ask for an overview
Once "Signed in successfully" appears and the GitHub MCP Server shows Connected, give it the classic first prompt: "Give me an overview of this project." Copilot explores the directory, opens the files that matter and reports back — in the demo it maps the src tree and lists the Quick Start commands. The prompt line shows the active model (claude-sonnet-4.5 here); /model switches it.
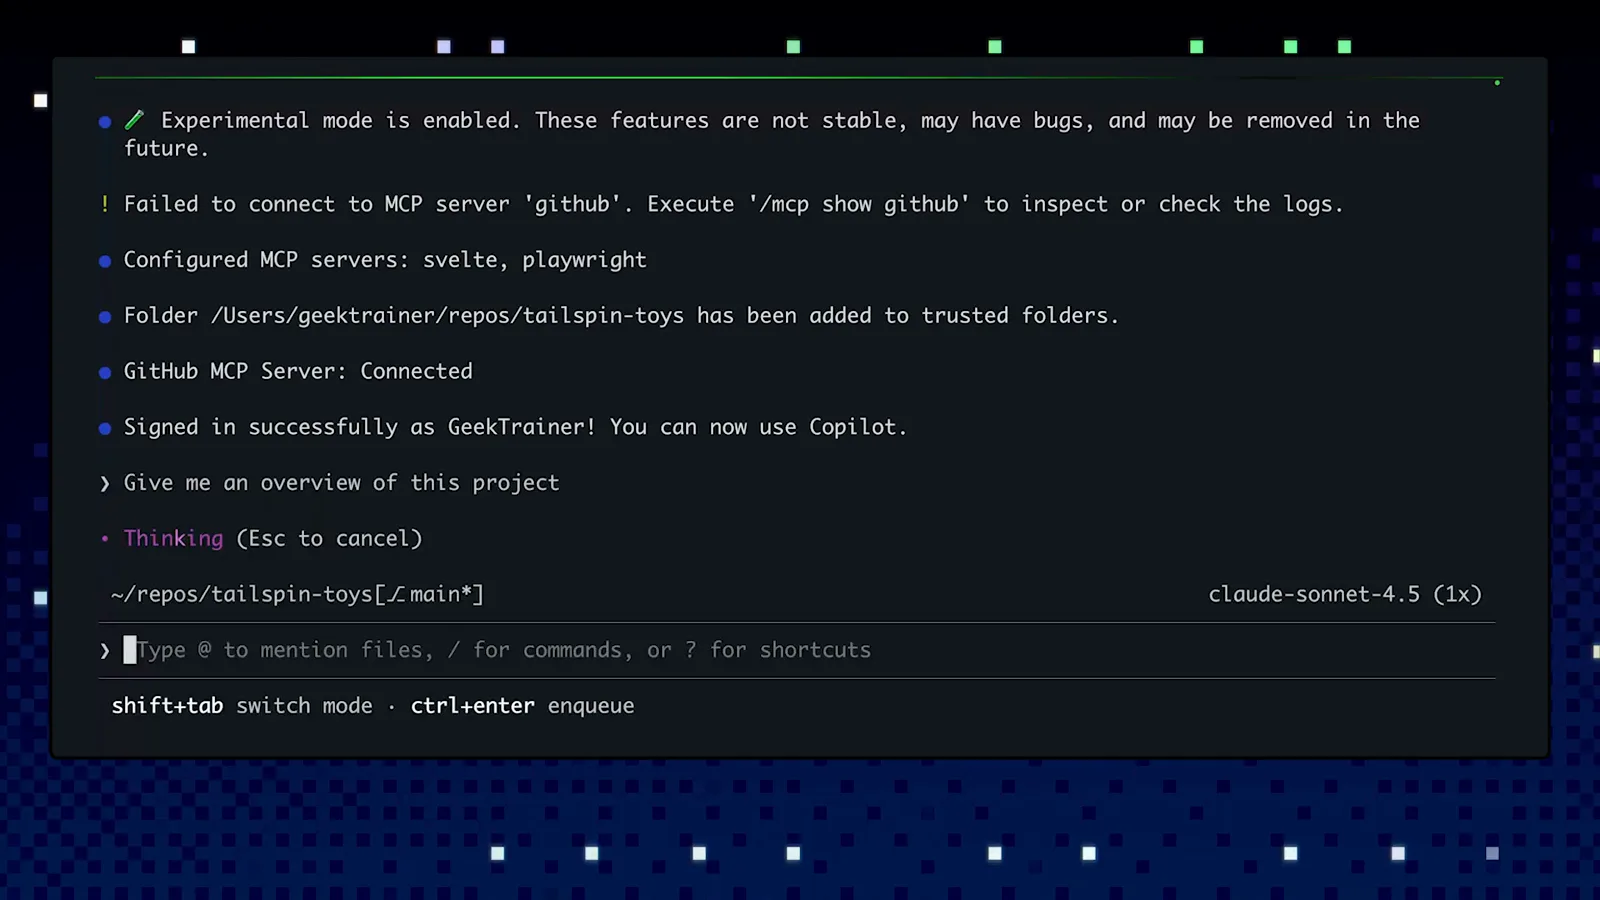
Signed-in session with the GitHub MCP server connected and the first prompt sent.Watch at 2:50 - 6
Request a real feature
Agents earn their keep on tasks, not trivia. The demo follows its overview with "Let's add a new endpoint to return all categories" — Copilot re-reads the project, finds existing documentation and examples, and plans the change against the patterns it found. Shift+Tab cycles between plan and edit modes while you steer.
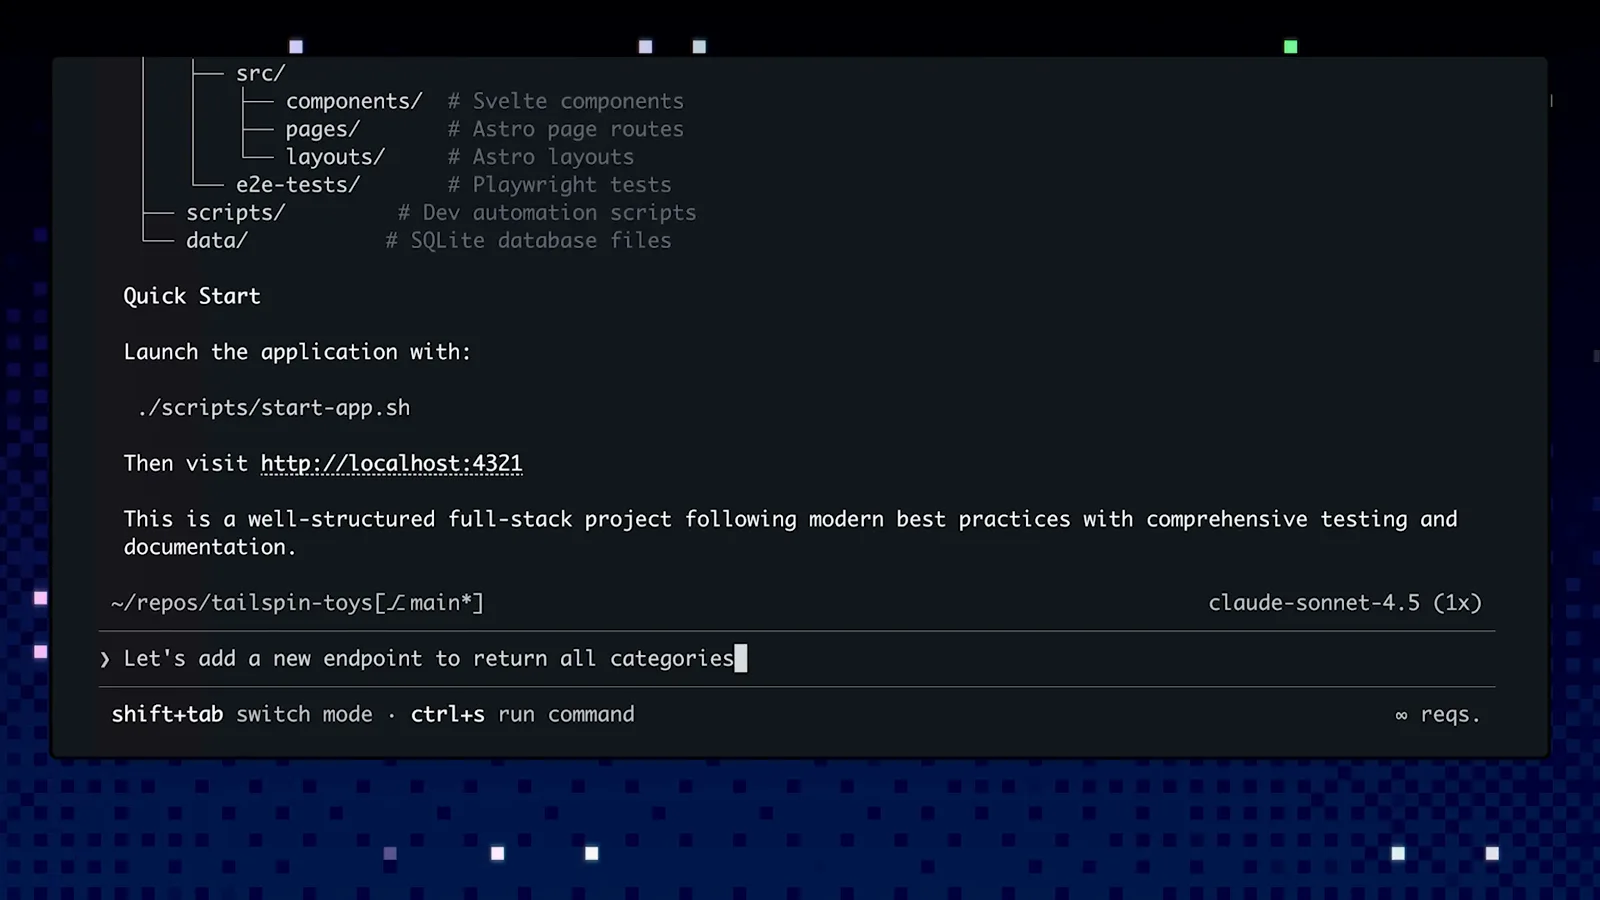
The overview answer with the endpoint request typed as the follow-up.Watch at 3:02 - 7
Review the diff before every edit
Copilot explores first — you'll see "List directory" and "Exploring API structure" as it works — then proposes the change. Every file edit stops for approval: Yes, "Yes, and approve all file operations for the rest of the running session", or "No, and tell Copilot what to do differently (Esc)". In the demo the diff adds a docstring to get_publishers_list, exactly what the project's instructions demand.
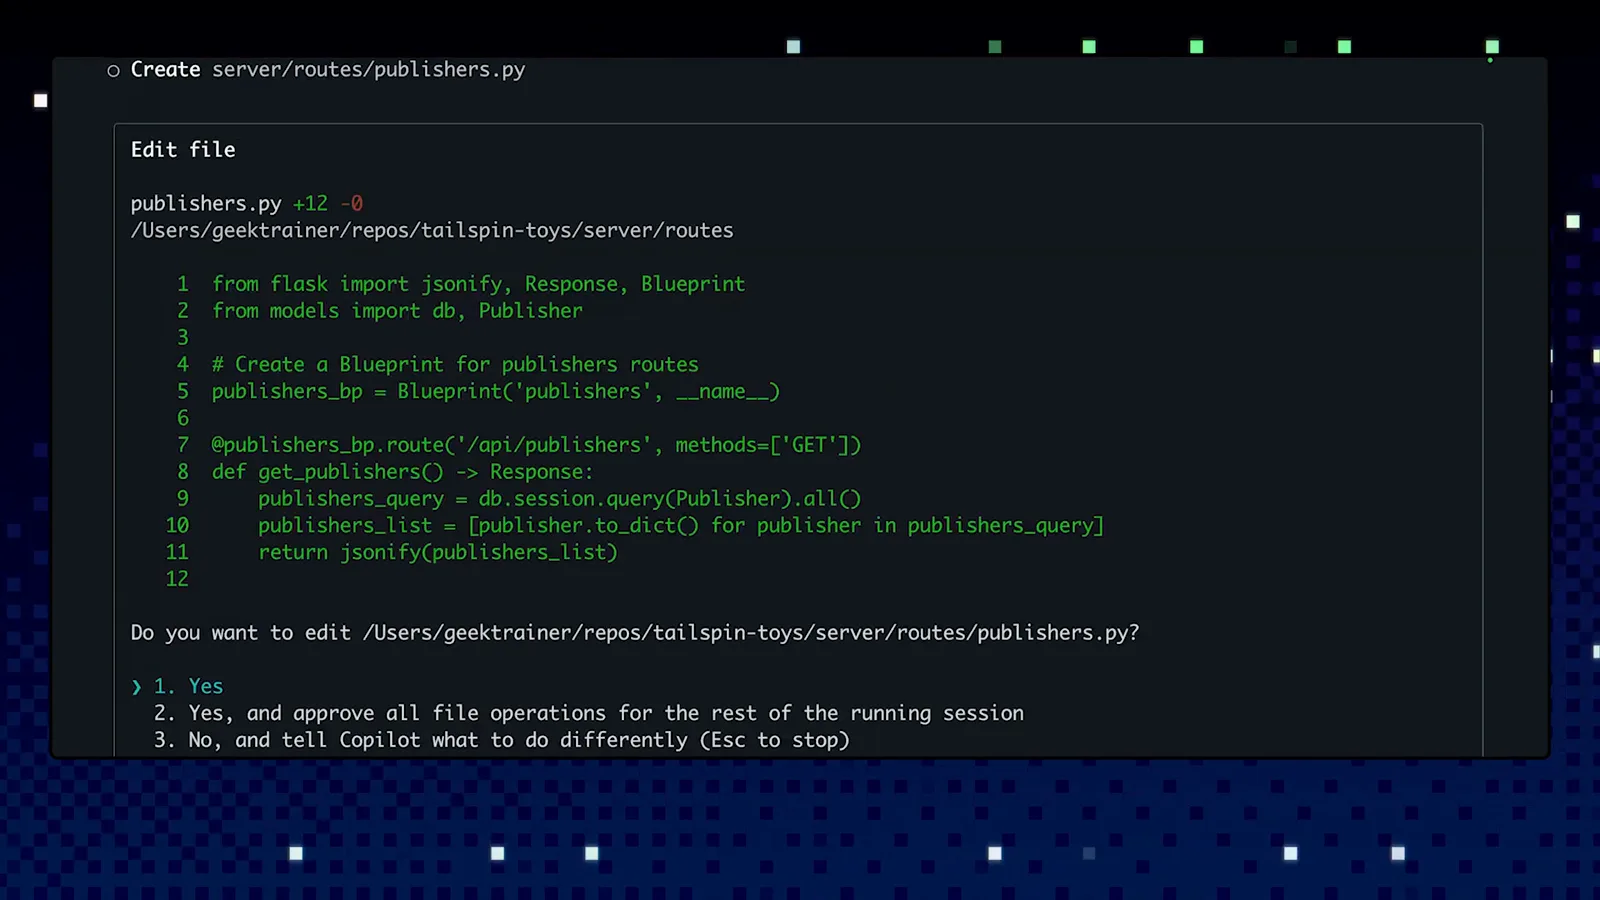
The publishers.py diff with the three-way edit approval underneath.Watch at 1:38 - 8
Let it test and self-heal
Approve and Copilot writes the endpoint, then verifies itself: the demo reports all 59 tests passing, live endpoint checks against both routes, and an API response example — noting the implementation follows the repo's Flask endpoint guidelines. That is the loop agents are good at: build, run tests, fix what breaks without being asked twice.
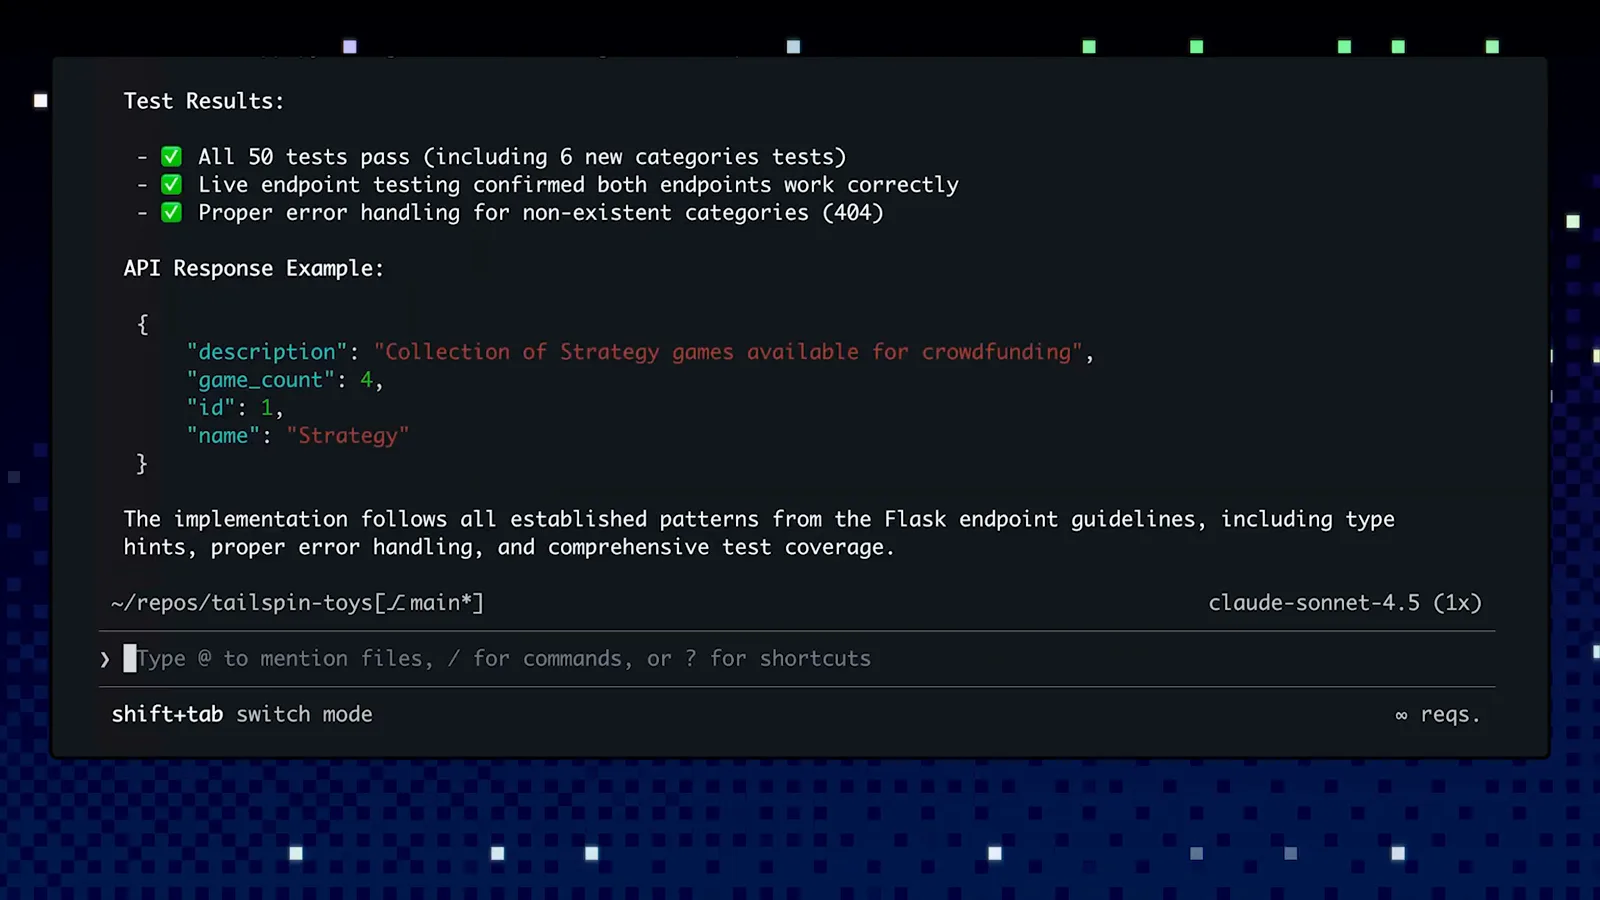
Test summary with the API response example and guidelines note.Watch at 3:16
3 · Teach it your standards with instructions files
- 9
Run /init before anything else
The welcome banner tells you itself: "No copilot instructions found. Run /init to generate a copilot-instructions.md file for this project." That file is project-level and always in context — the GitHub team calls it table stakes for every repo. /init writes a starter you refine rather than a blank page. The same banner points at /model for switching models and /delegate for handing the session to the cloud coding agent.
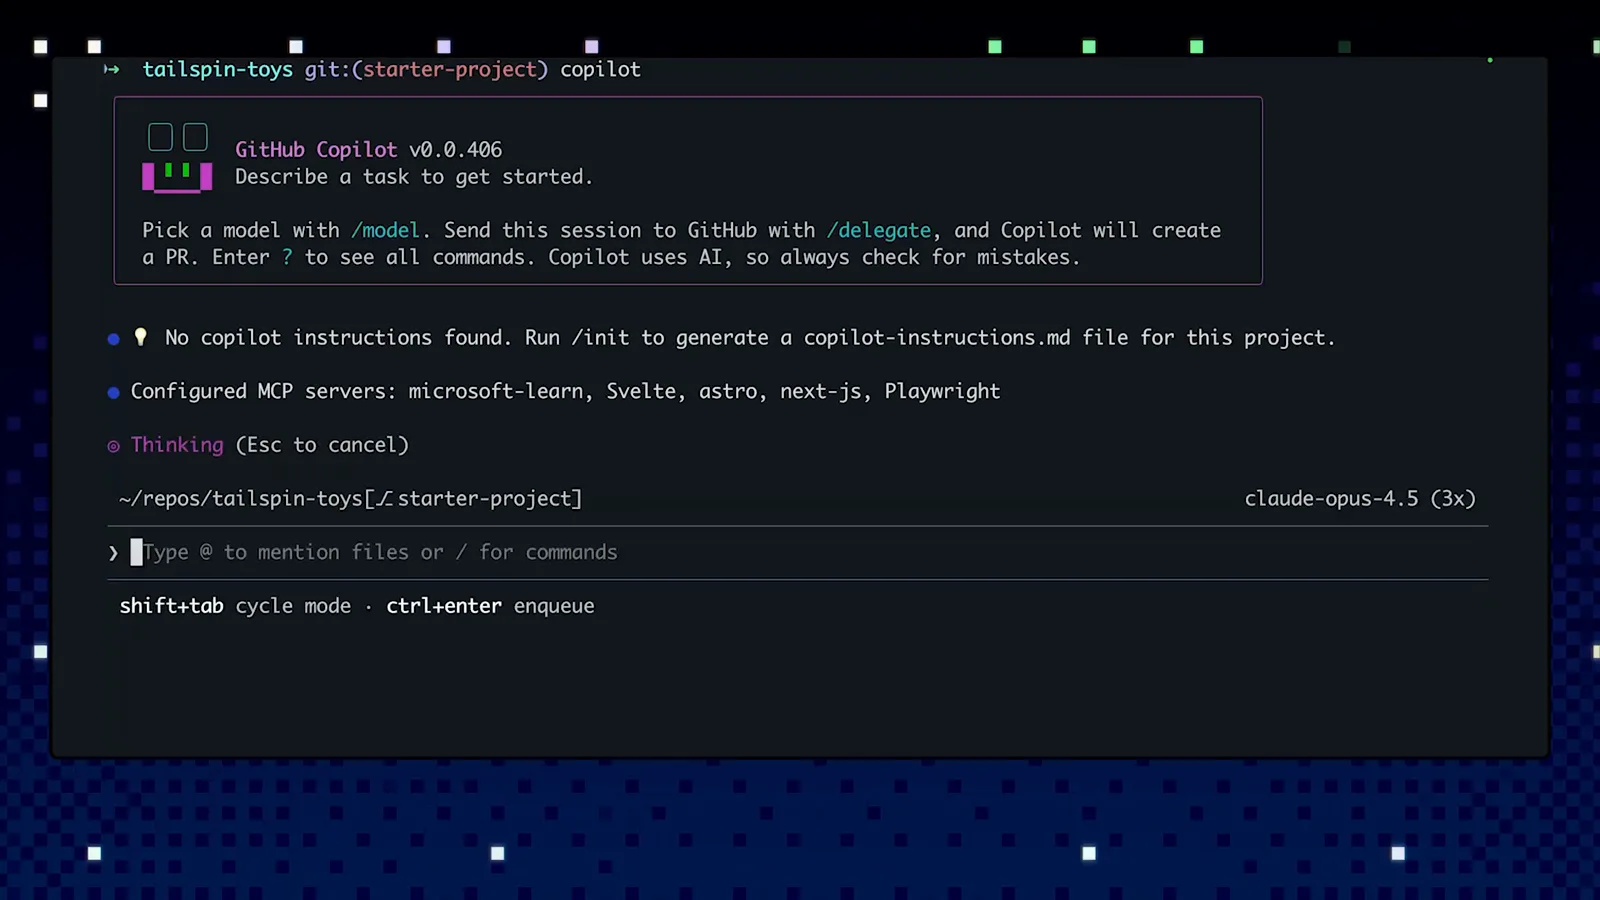
Welcome banner with the /model and /delegate hints and the /init recommendation.Watch at 1:30 - 10
Fill copilot-instructions.md with what matters
The generated file already sketches the project — in the demo it captures "Tailspin Toys is a game crowdfunding platform with a Flask/SQLAlchemy backend and Astro/Svelte frontend" plus Build, Test, and Run Commands. Keep it to durable facts: what you are building, the stack, the commands. Same request, better code: after the demo added a docstrings rule, the regenerated function included one.
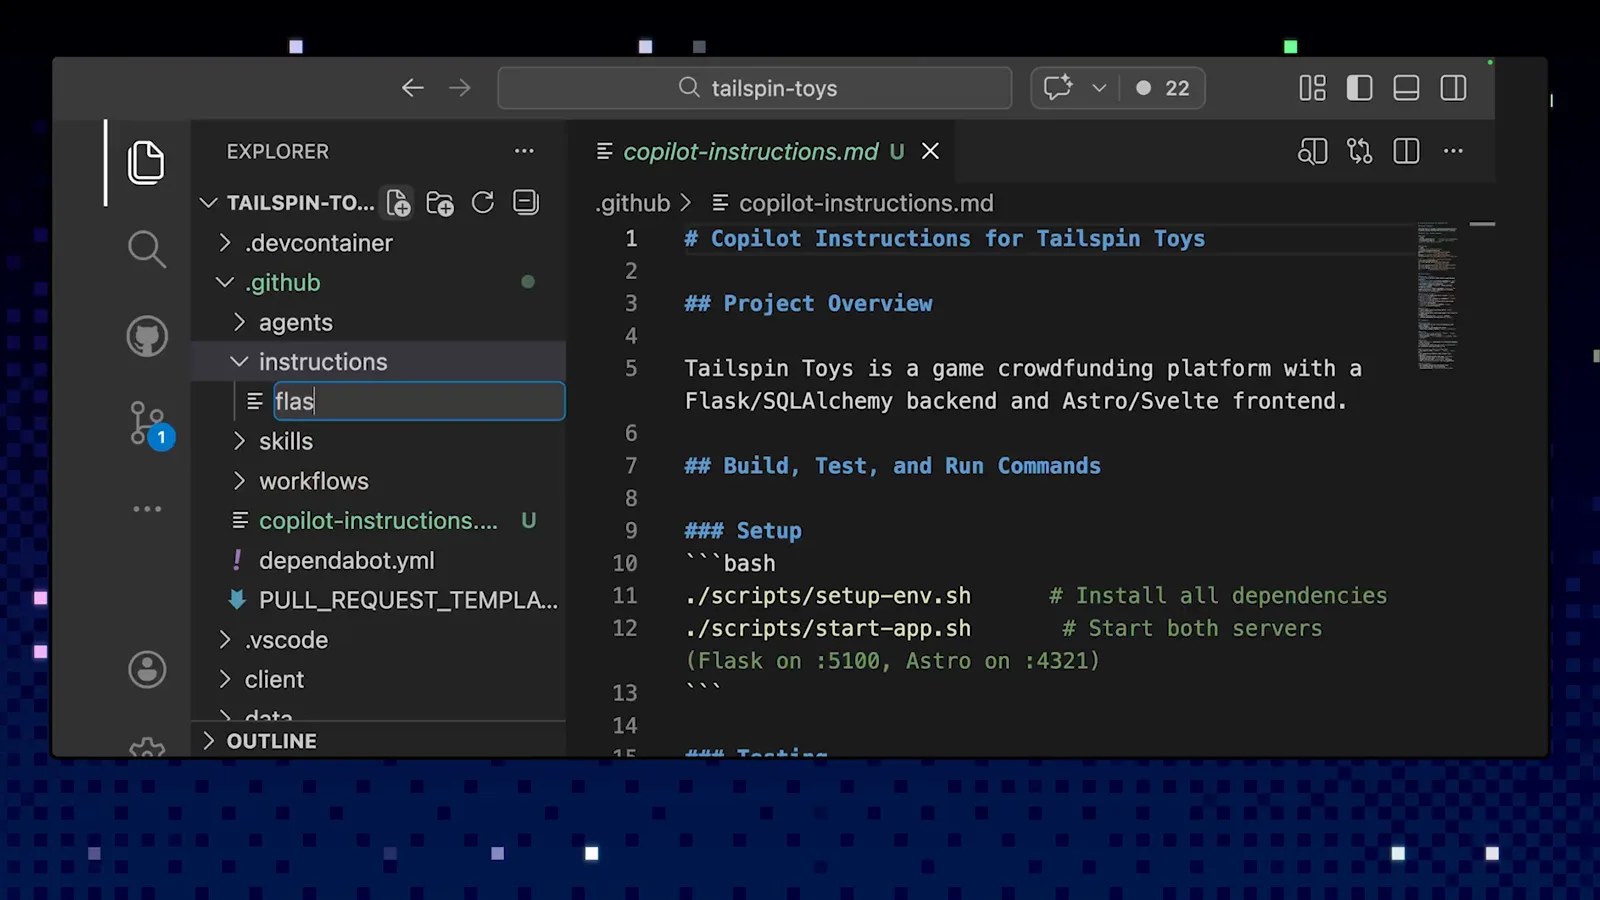
Generated copilot-instructions.md with project overview and run commands.Watch at 2:30 - 11
Scope rules with .instructions.md files
When guidance only applies to some files, split it out: .instructions.md files in .github/instructions carry an applyTo glob in their front matter — the demo's astro.instructions.md uses '**/*.astro' so Astro rules load only for Astro files. gh.io/awesome-copilot collects ready-made sets covering React components, Playwright tests and more.
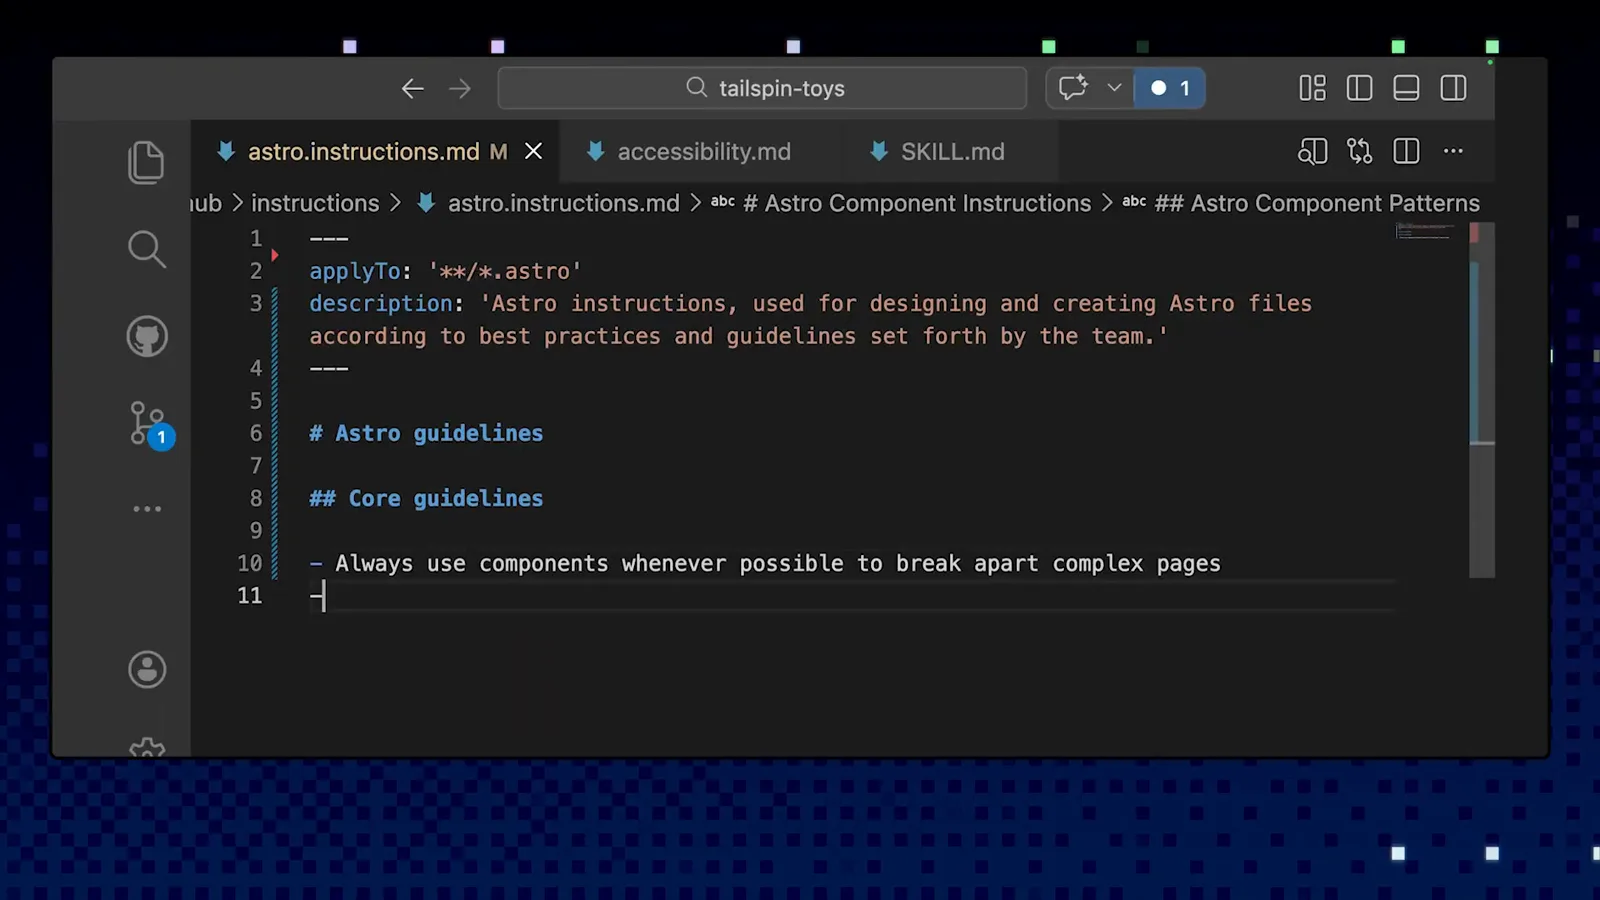
astro.instructions.md with applyTo targeting **/*.astro.Watch at 0:36 - 12
Know the markdown trio
Everything scales through markdown in .github: copilot-instructions.md for always-on context, skills for task playbooks, custom agents for specialist workers. The demo repo has all of them open at once — two instructions files, an accessibility agent and a SKILL.md. Use them in harmony: instructions say how code should be written, skills how tasks run, agents take whole jobs.
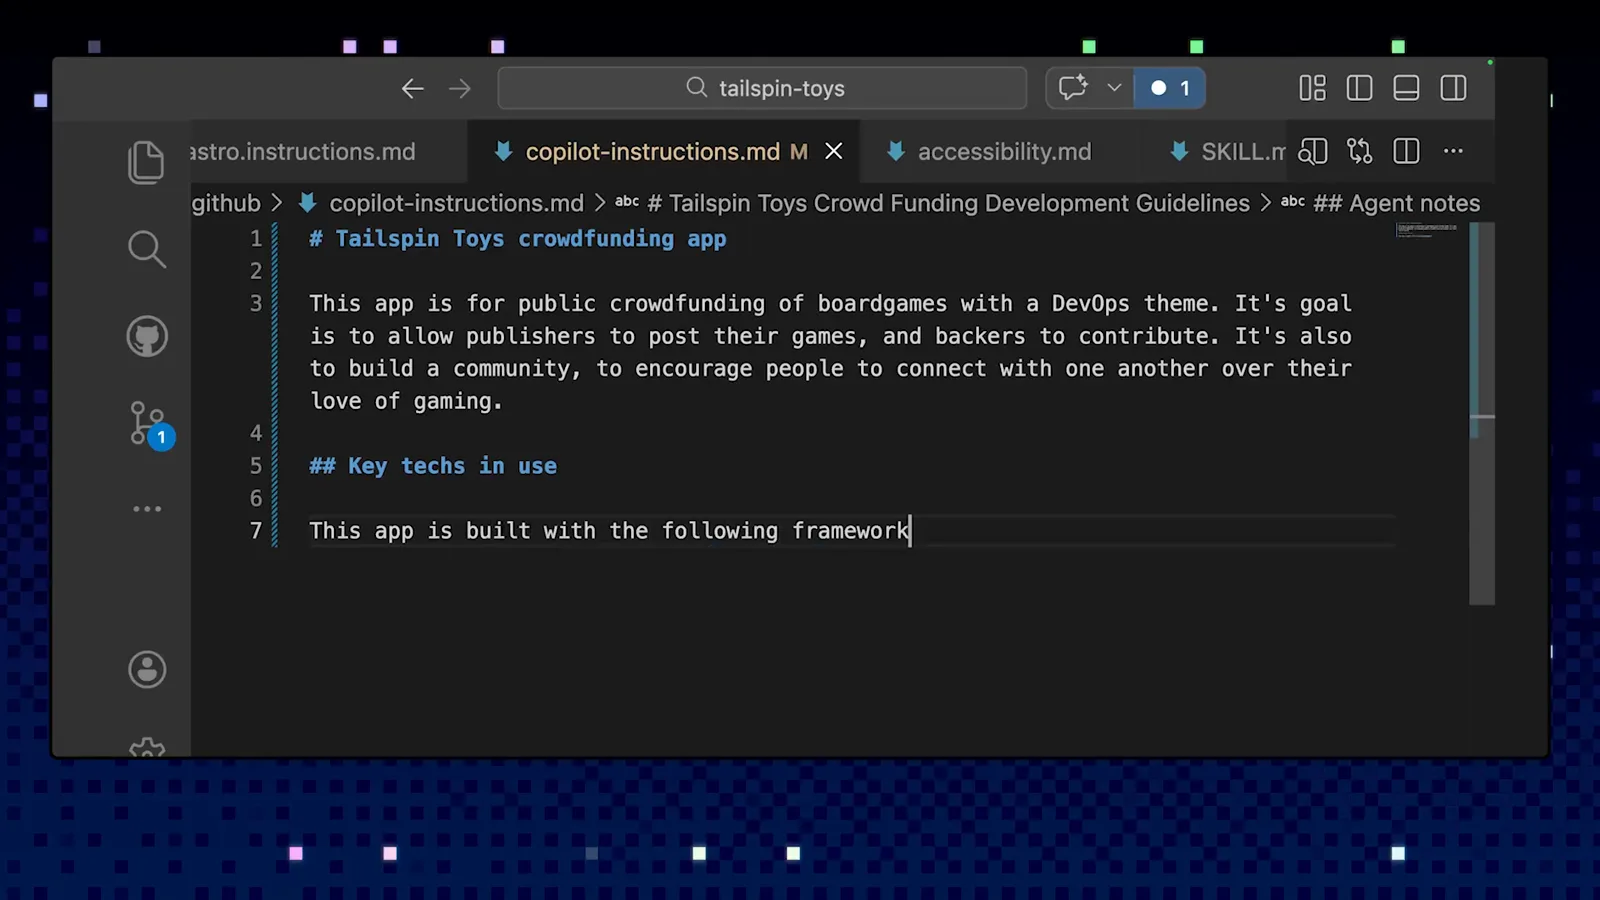
Instructions, agent and skill files open side by side in VS Code.Watch at 1:15
4 · Skills and custom agents
- 13
Invoke a skill like a command
Skills live in .github/skills as markdown plus optional scripts, and they surface in the slash-command menu like built-ins — typing / lists /make-contribution with its description. The demo's contribution skill tells Copilot to find the repository's contribution guidelines and issue and pull request templates, and to follow them.
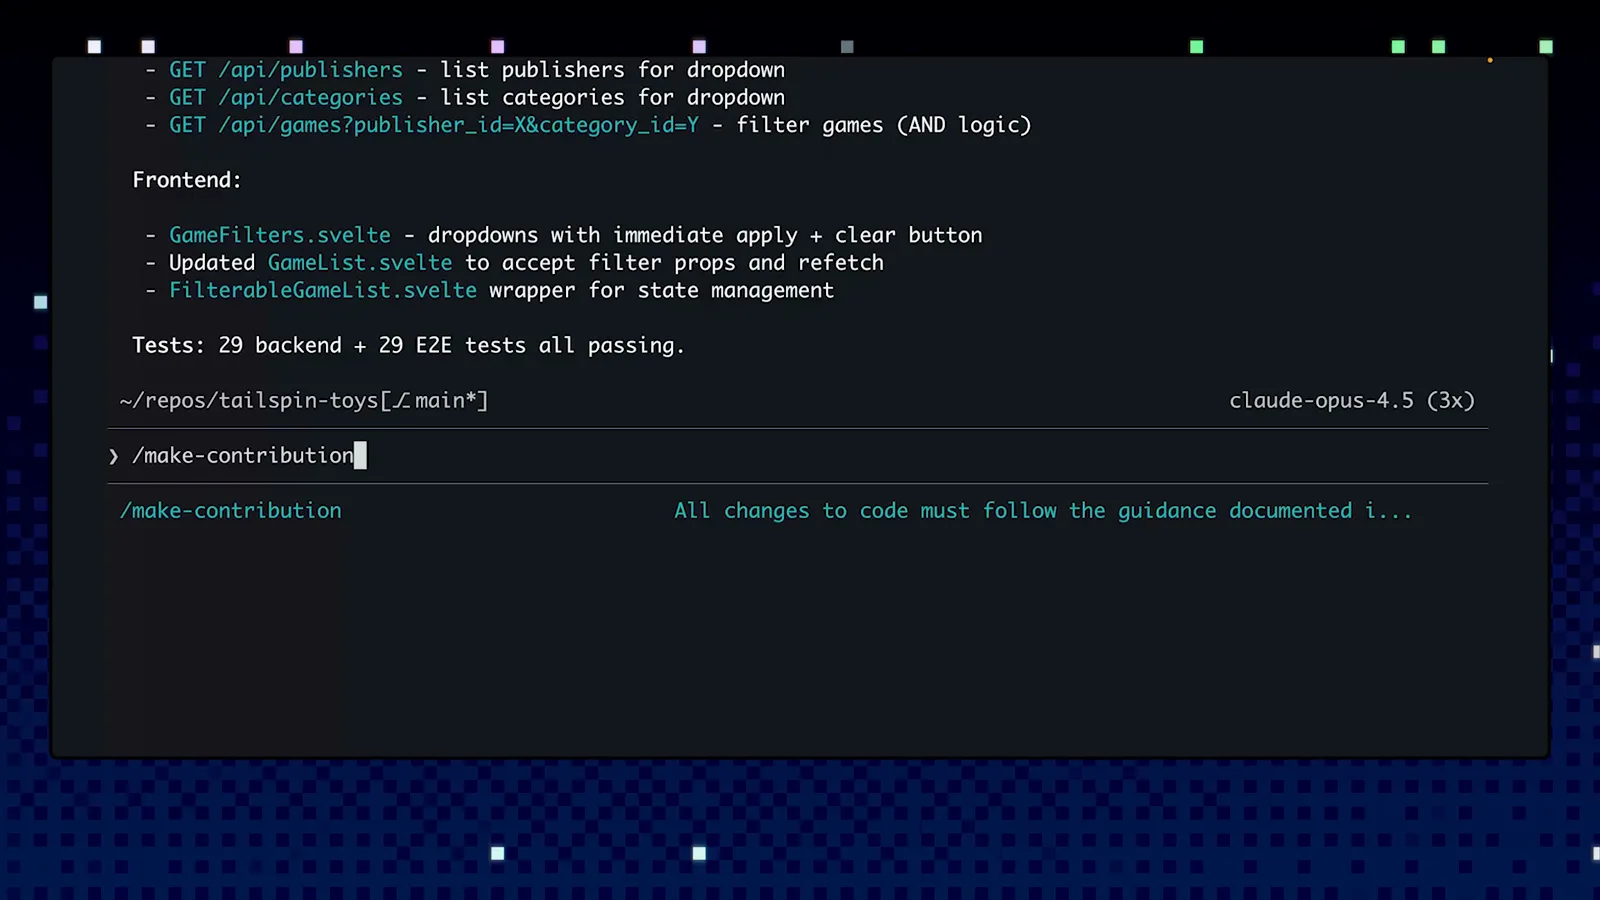
Slash menu listing /make-contribution with its guidance summary.Watch at 3:50 - 14
Or let natural language trigger it
You don't have to remember the command. Ask "let's create a pull request" and the CLI shows skill(make-contribution) activating on its own — the skill generates a branch, groups commits logically, and opens a PR using the repository's own template. That dual trigger, slash command or plain request, is what makes skills stick.
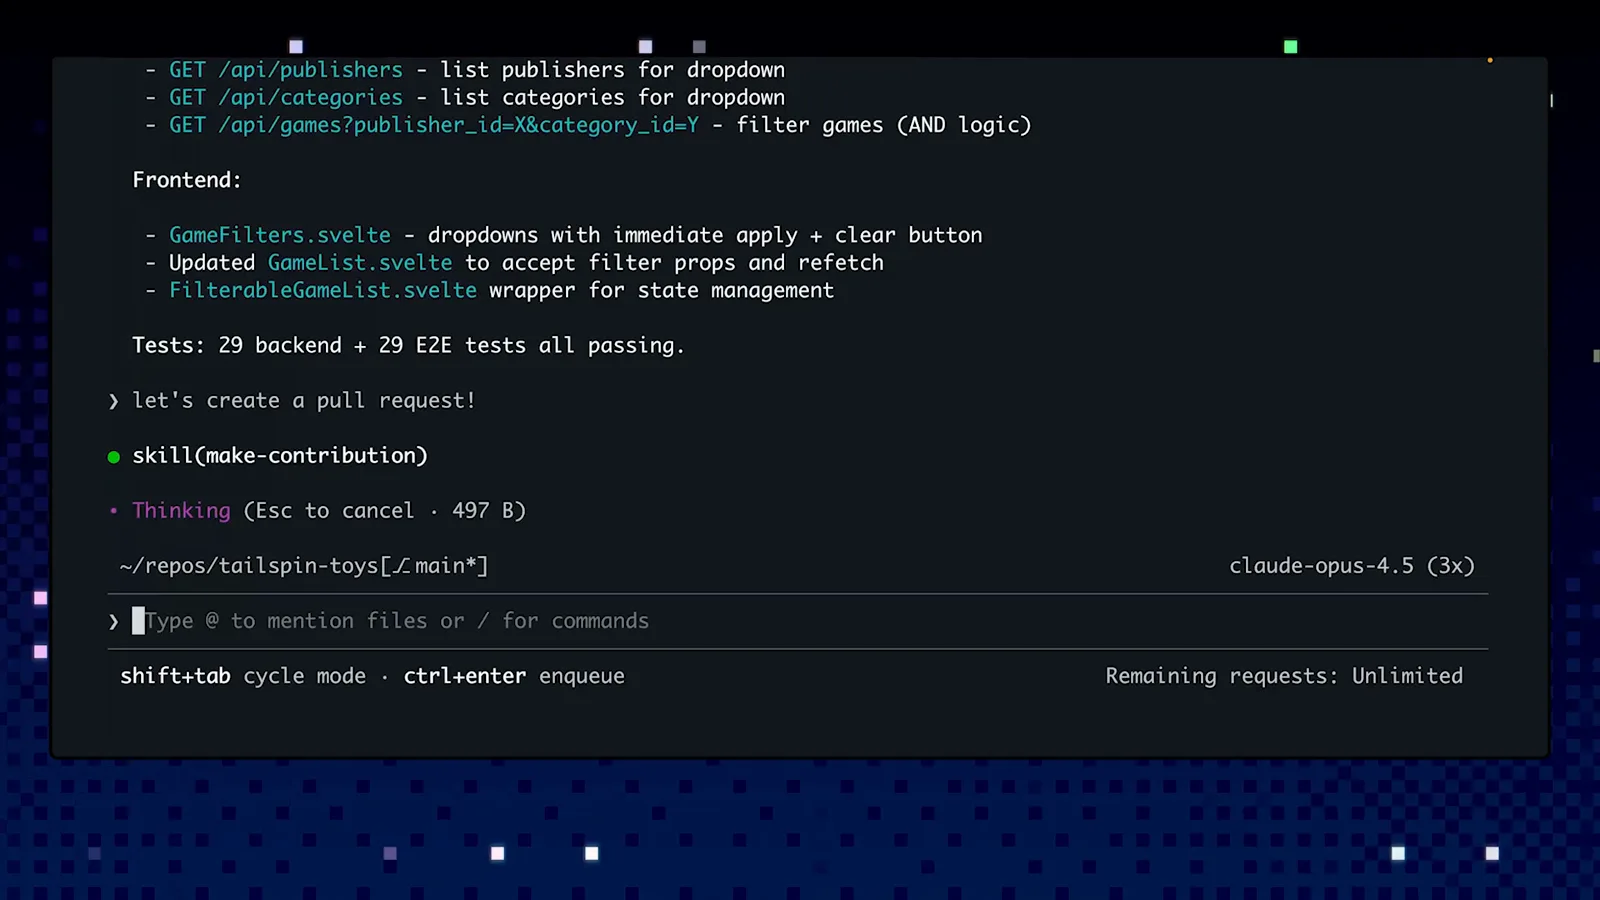
skill(make-contribution) auto-activating after a pull request request.Watch at 4:06 - 15
Switch to a custom agent for big jobs
For work that spans a project, /agent opens the Select Agent list: Default, Accessibility agent, Code review, Compliance, Documentation Specialist, a react 19 upgrade agent, Search engine optimisation (SEO) — plus Create new agent. Agents are markdown files in .github/agents with their own context. The demo picks the accessibility agent, asks for the most impactful review, then has it apply the fixes.
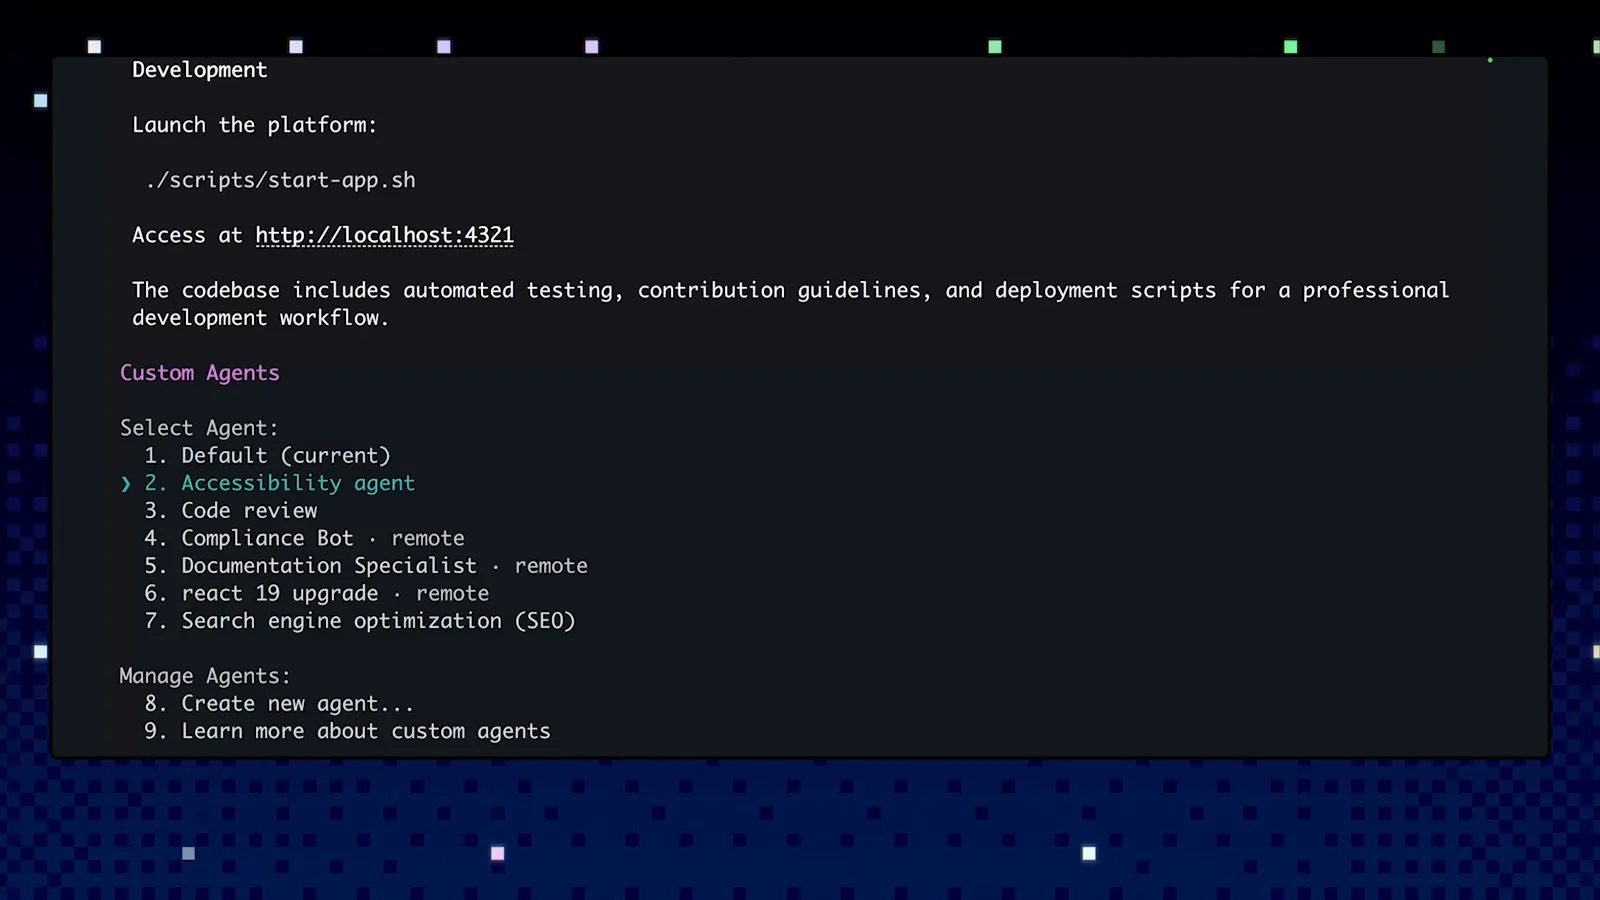
Select Agent menu with the accessibility agent highlighted.Watch at 5:00