
Claude Code MCP Tutorial: Add Servers the Right Way
Connect Context7, Playwright or any MCP server to Claude Code — transports, scopes, the .mcp.json file, API keys and the /mcp panel, in one illustrated pass.
The short version
- One command installs any server: claude mcp add name -- npx -y @scope/package for local servers, or claude mcp add --transport http name url for remote ones.
- Three transports exist: stdio runs a command on your machine, SSE is the legacy remote form, and streamable HTTP is the modern remote option.
- Three scopes decide who gets the server: local (just you), project (shared through .mcp.json) and user (all your projects).
- Run /mcp inside a session to see status and tools; the first tool call asks for permission, and you can allow it once or always.
Claude Code Tutorial #7 - MCP Servers
Channel: The Net Ninja14:16
Claude Code MCP: How to Add MCP Servers (Complete Guide)
Channel: Leon van Zyl17:58
Model Context Protocol (MCP) — official Claude Code docs
Docs: code.claude.com/docs
Screenshots come from The Net Ninja's chapter — a clean full-screen recording. The command breakdowns, scopes and Windows fixes follow Leon van Zyl's fuller walkthrough plus the official docs.
Frames belong to the respective creators and are credited here with deep links to the exact moments; the write-up is ours.
From zero to two working MCP servers
Part 1 · What MCP servers unlock
- 1
See what MCP gives Claude Code
Claude Code ships with built-in tools for files and shell, but everything outside your codebase is out of reach. MCP — the Model Context Protocol — is the Anthropic-standard way to plug in extra tools: a server exposes capabilities, and Claude Code calls them like any built-in tool.
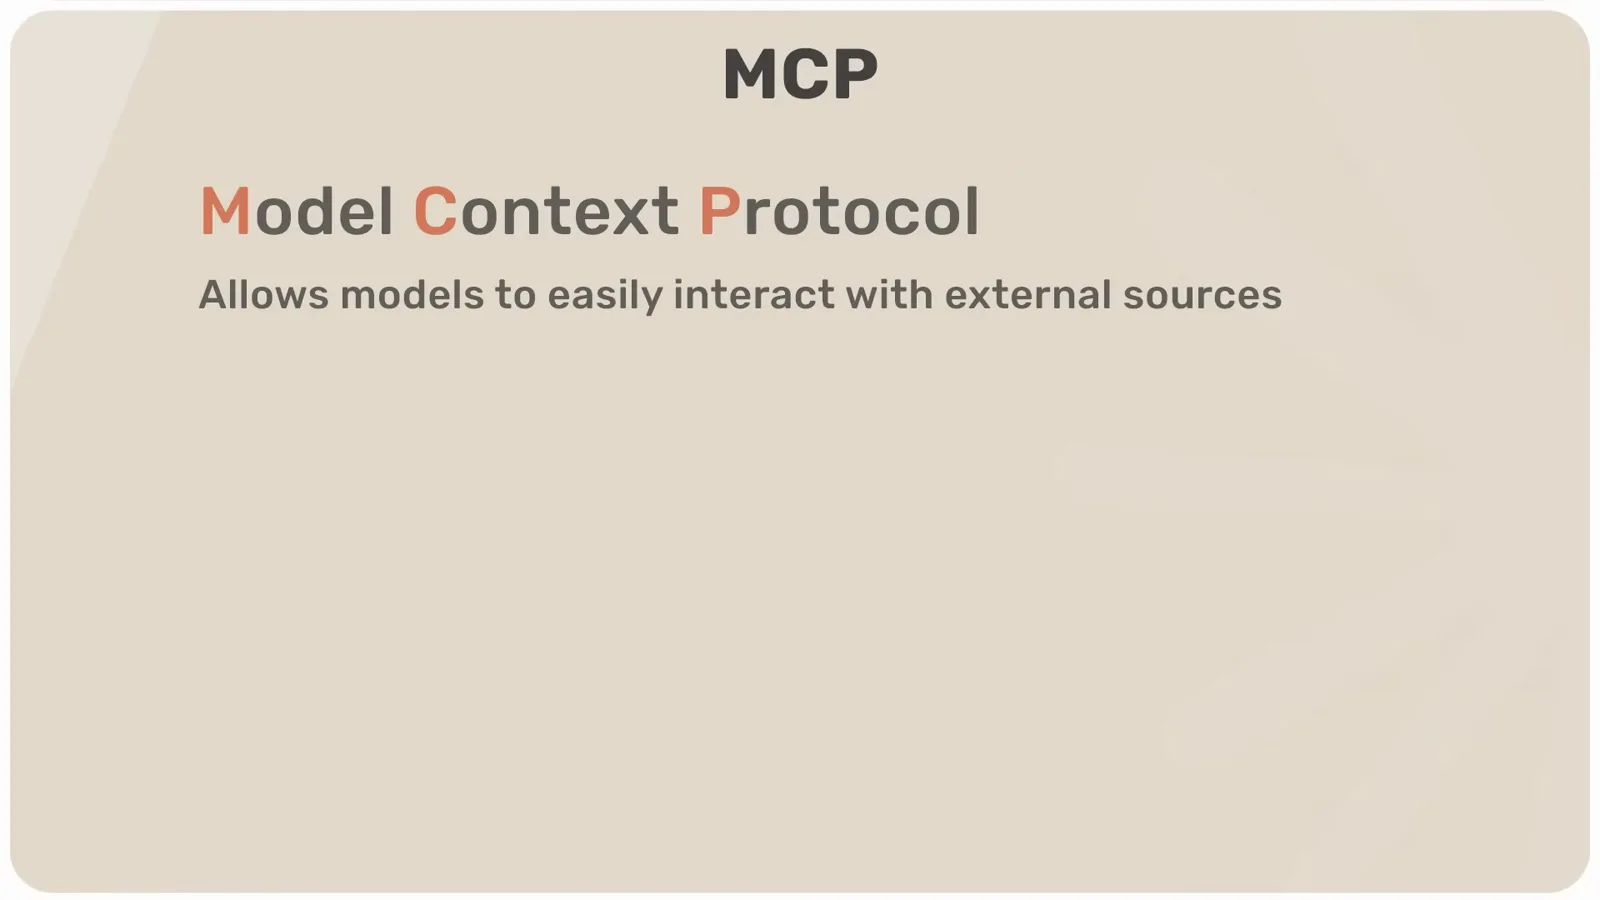
The course slide that defines MCP in one line.Watch at 0:52 - 2
Pick servers that match the work
Each server carries its own tools. The Supabase server can list tables, deploy edge functions and run SQL; Playwright drives a real browser; Context7 serves up-to-date framework docs. Start with the one that removes your most repeated chore.
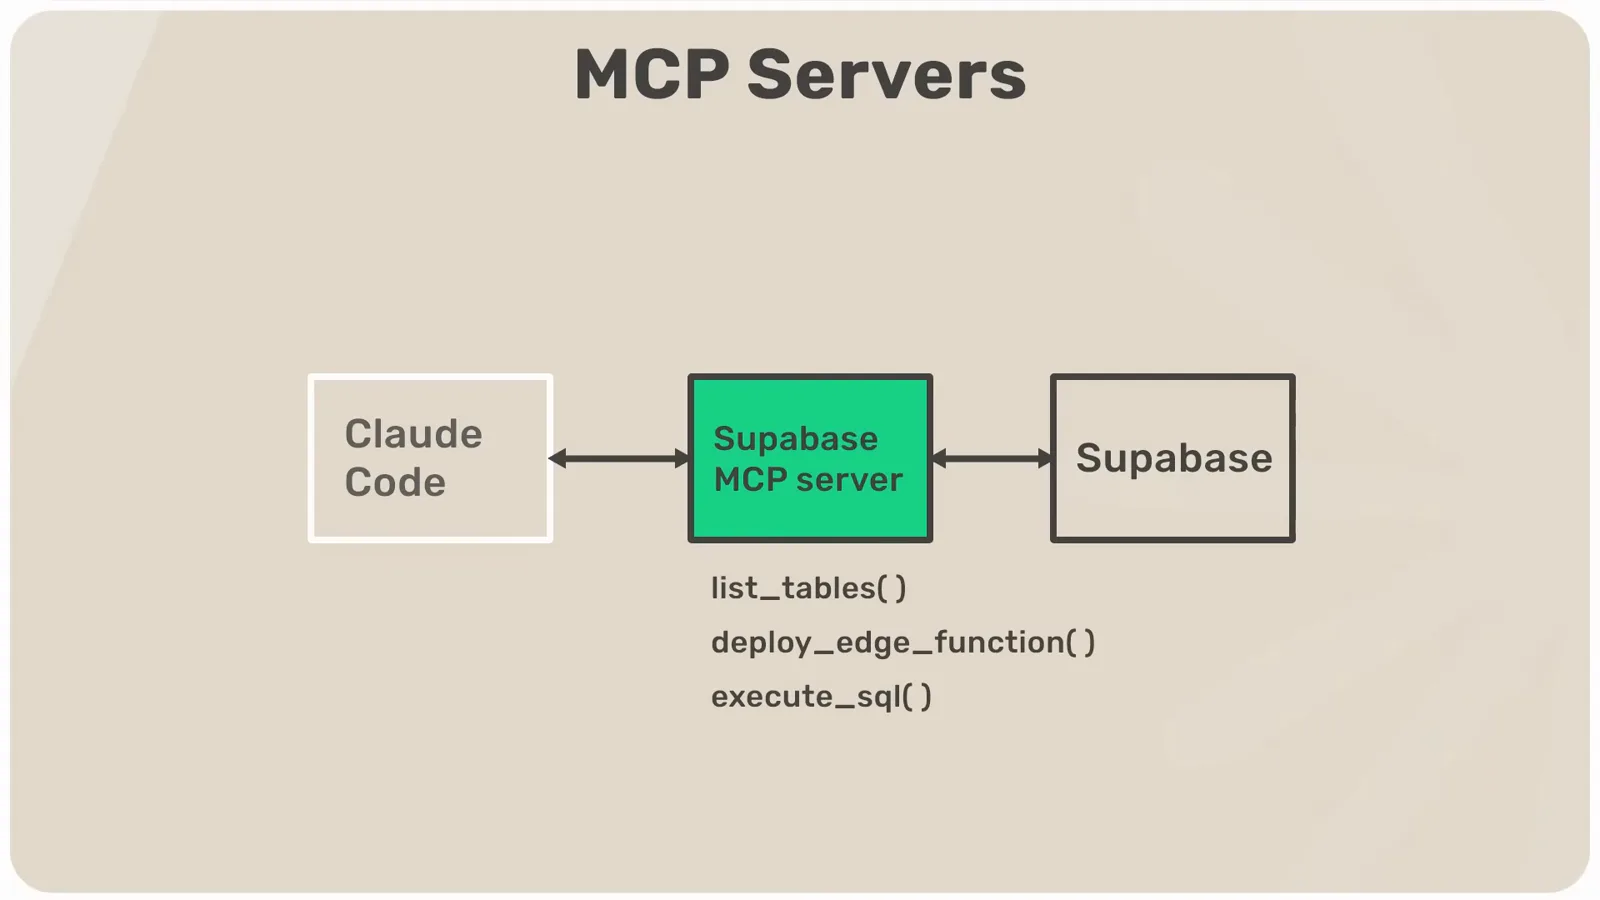
The Supabase example: three tools, one external service.Watch at 1:24 - 3
Find the install command in the server README
Server authors publish a ready-made Claude Code command in their README — Context7 and Playwright both do. Directories like PulseMCP make it easy to browse what exists before you commit to anything.
The Playwright MCP README documents features and requirements.Watch at 2:02 - 4
Know the three transport types
The official docs split installs into local and remote. A stdio server runs a command on your machine — that is the default. SSE and HTTP servers are remote endpoints you connect to; SSE is legacy and streamable HTTP is its replacement. The claude mcp add syntax differs slightly for each.
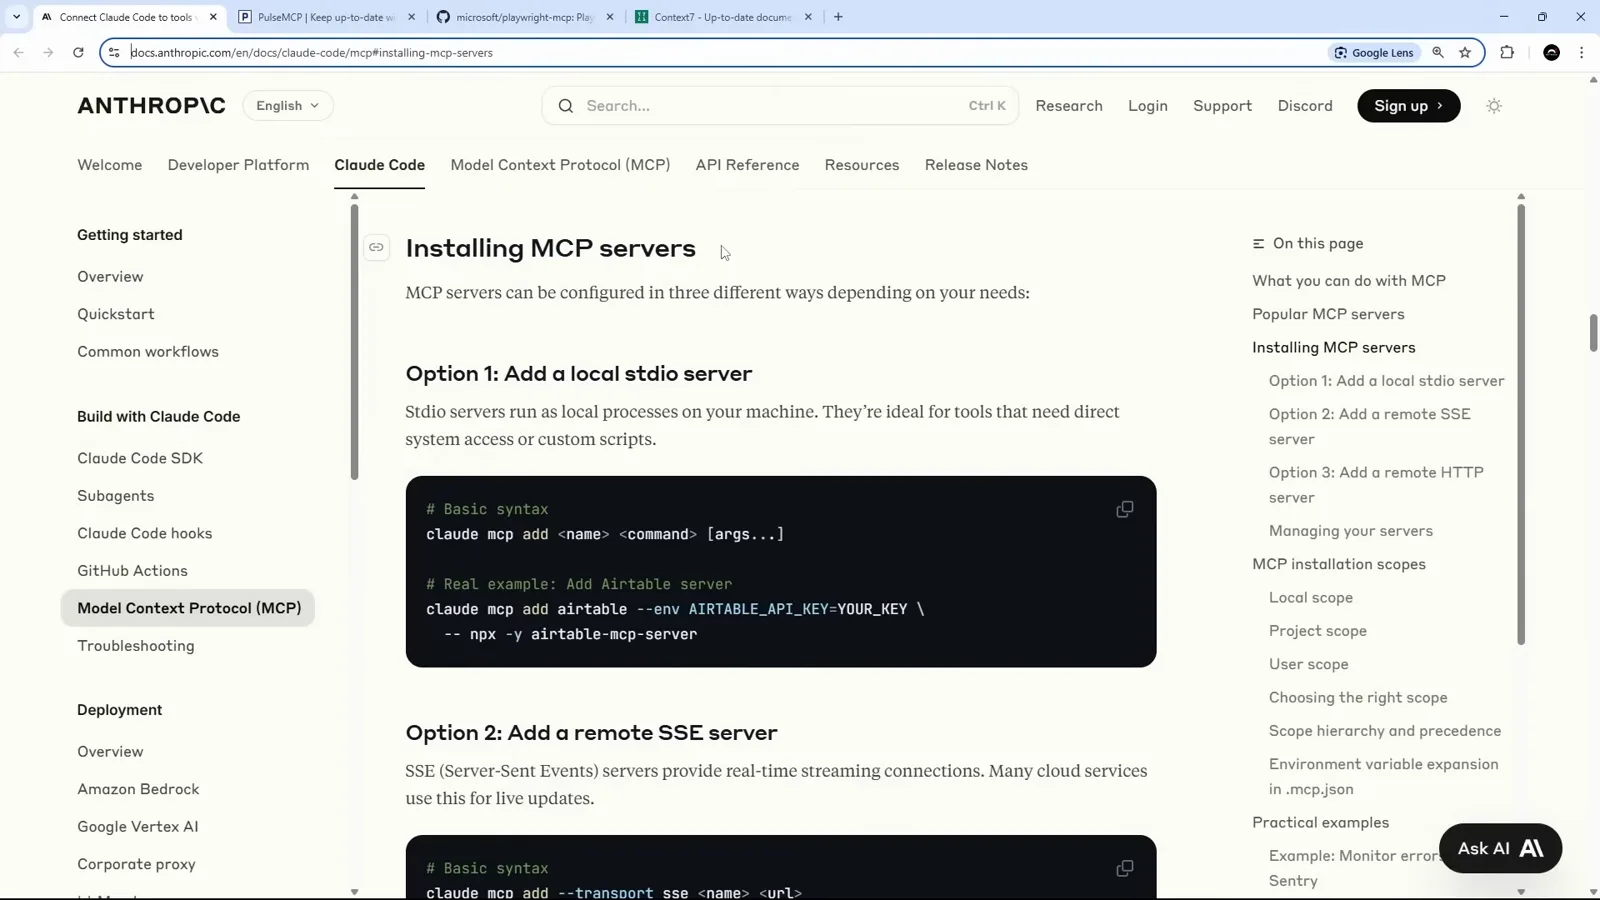
The docs page comparing local stdio with remote SSE and HTTP.Watch at 3:02
Part 2 · Add your first server
- 5
Add Context7 with project scope
From the terminal: claude mcp add context7 --scope project -- npx -y @upstash/context7-mcp. The name is yours to choose, everything after the double dash is the command to run, and --scope project writes the server into the shared project config instead of your personal one.
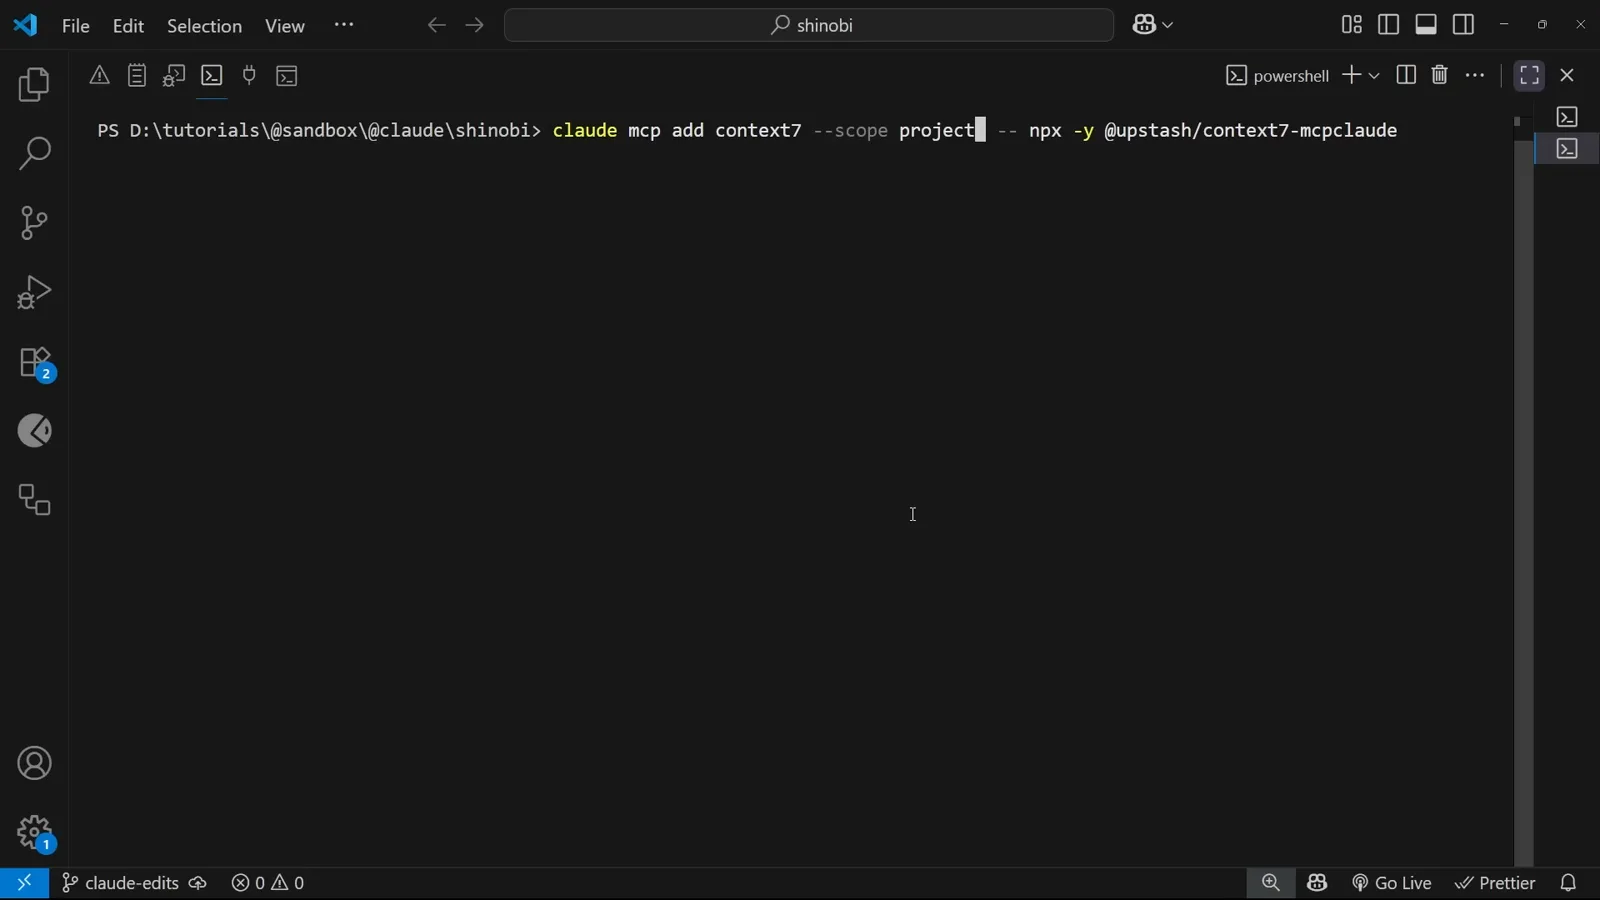
The exact add command for the Context7 docs server.Watch at 5:22 - 6
Read the .mcp.json it created
Project-scope servers land in a .mcp.json file at the repo root under the mcpServers key. Each entry records the type — stdio here — plus the command and its arguments: the same shape Cursor or Claude Desktop use.
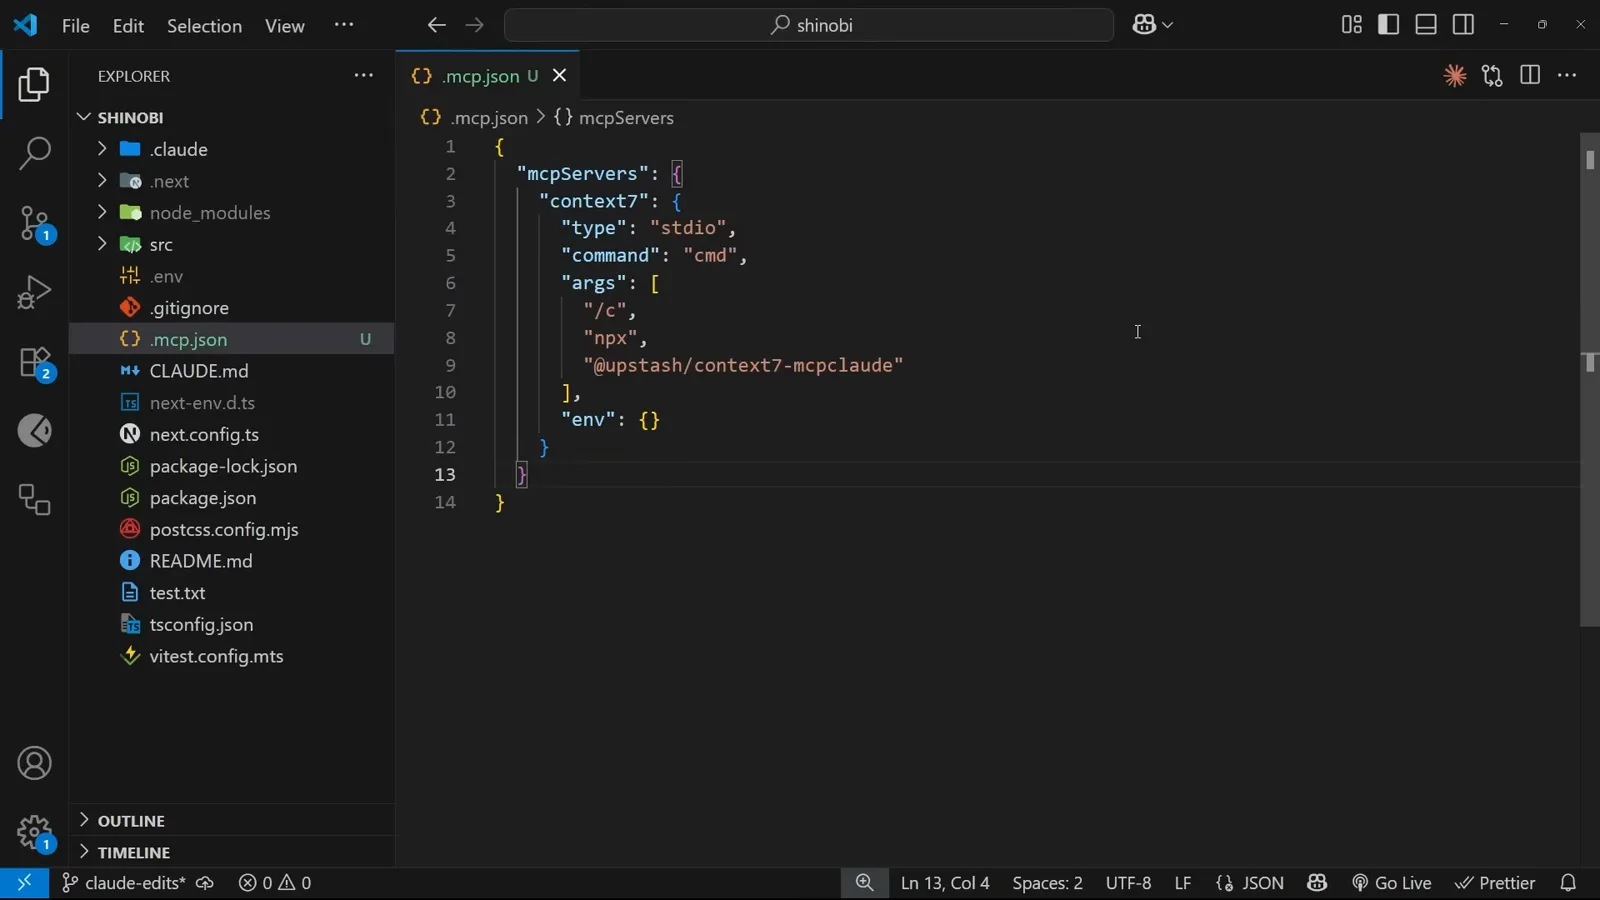
Inside .mcp.json: type, command and args for the stdio server.Watch at 6:42 - 7
Windows users: mind the cmd /c prefix
On native Windows without WSL, stdio commands need cmd /c before npx so the shell closes cleanly after the server runs. The docs call this out in a warning box, and the walkthrough shows the exact edit.
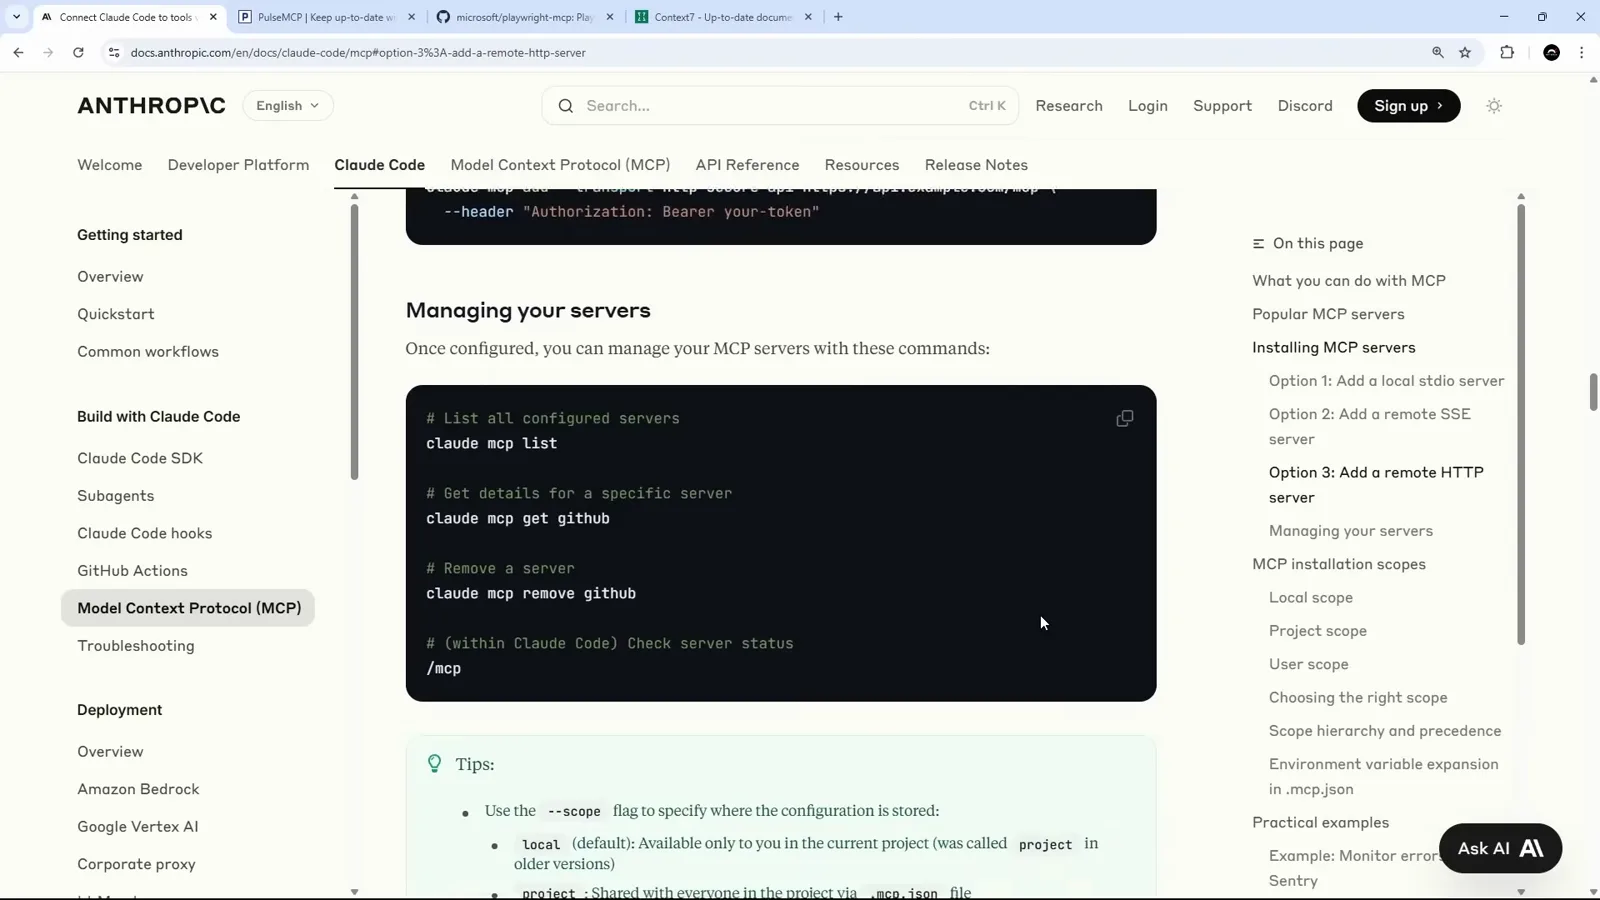
The official warning box for Windows stdio servers.Watch at 3:24 - 8
Confirm the file landed in your repo
After a project-scope add, .mcp.json shows up in the explorer as a new untracked file, ready to commit so teammates get the same servers. Local-scope servers never touch this file.
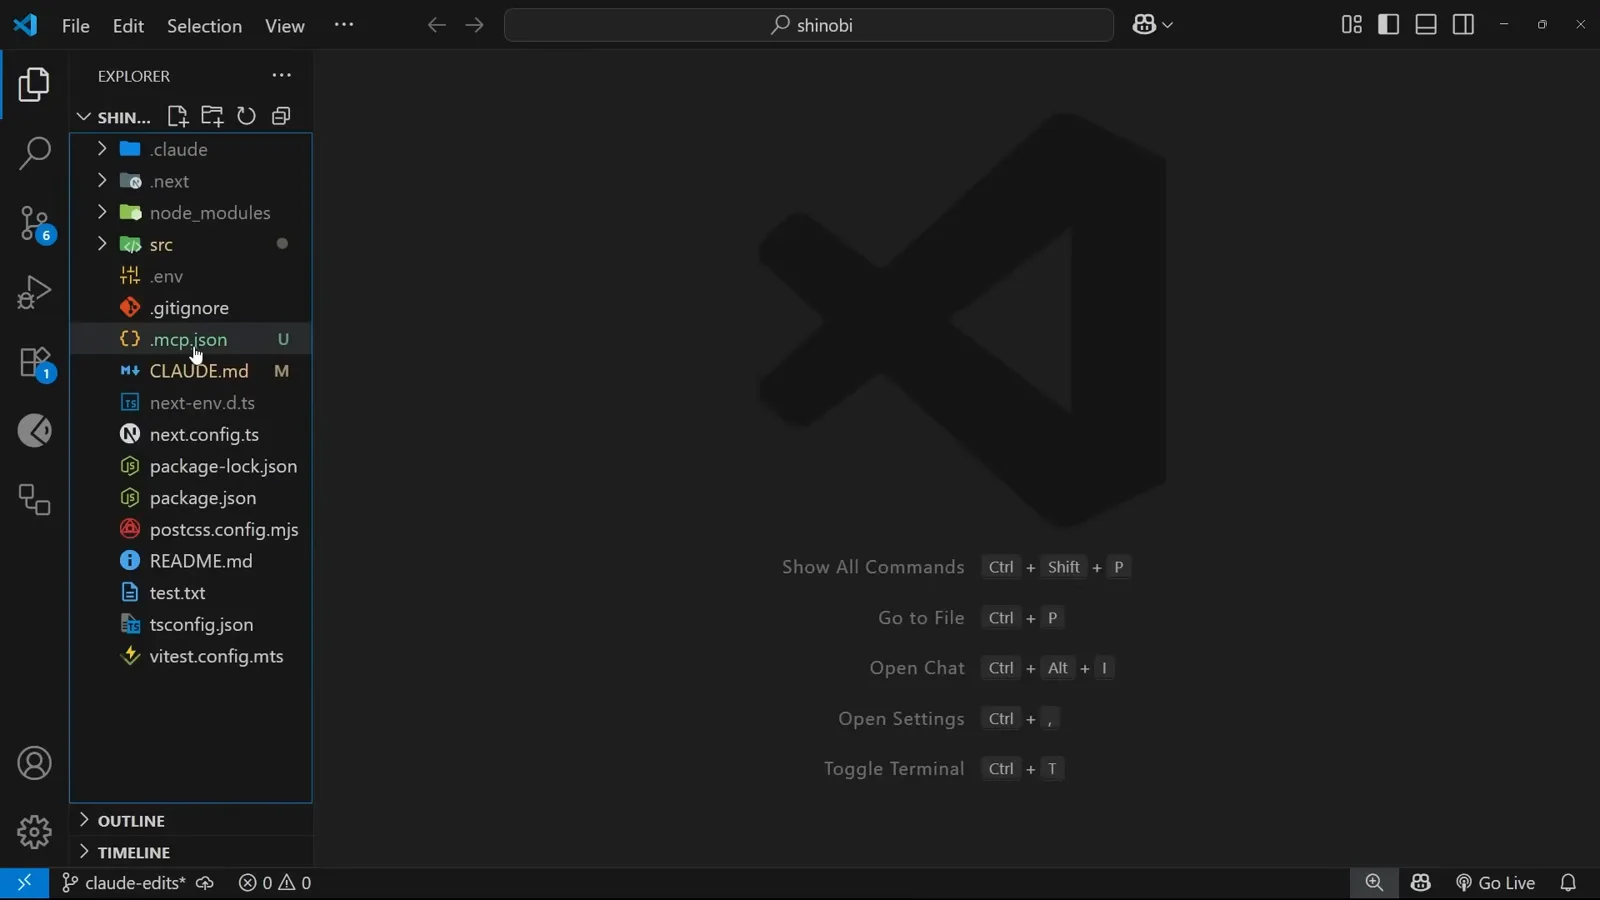
A new .mcp.json at the project root, untracked and ready to commit.Watch at 8:32 - 9
Prefer remote? Use the HTTP transport
When a stdio build misbehaves, the remote endpoint is the quick escape hatch: claude mcp add --transport http context7 --scope project https://mcp.context7.com/mcp. No local process and no npm — Claude Code talks to the URL directly.
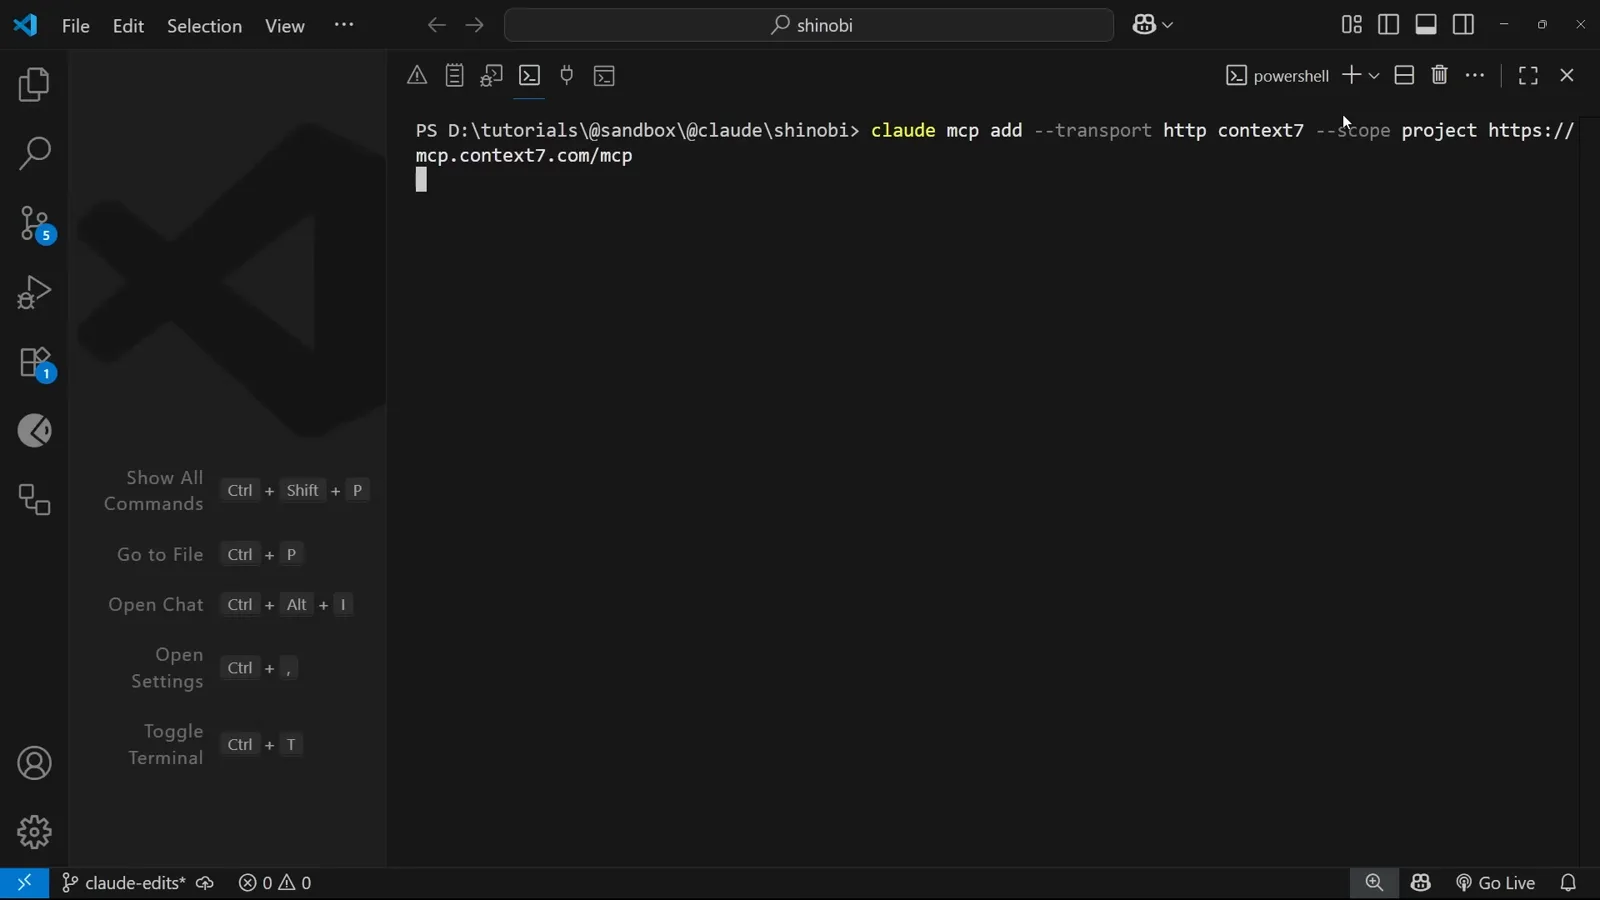
The HTTP variant of the add command against the Context7 endpoint.Watch at 8:36 - 10
Check the connection in /mcp
Start Claude Code and run /mcp. Each server shows its status and tool list. A failed entry is usually fixed by the built-in reconnect; when it is not, the troubleshooting section below covers the common causes.
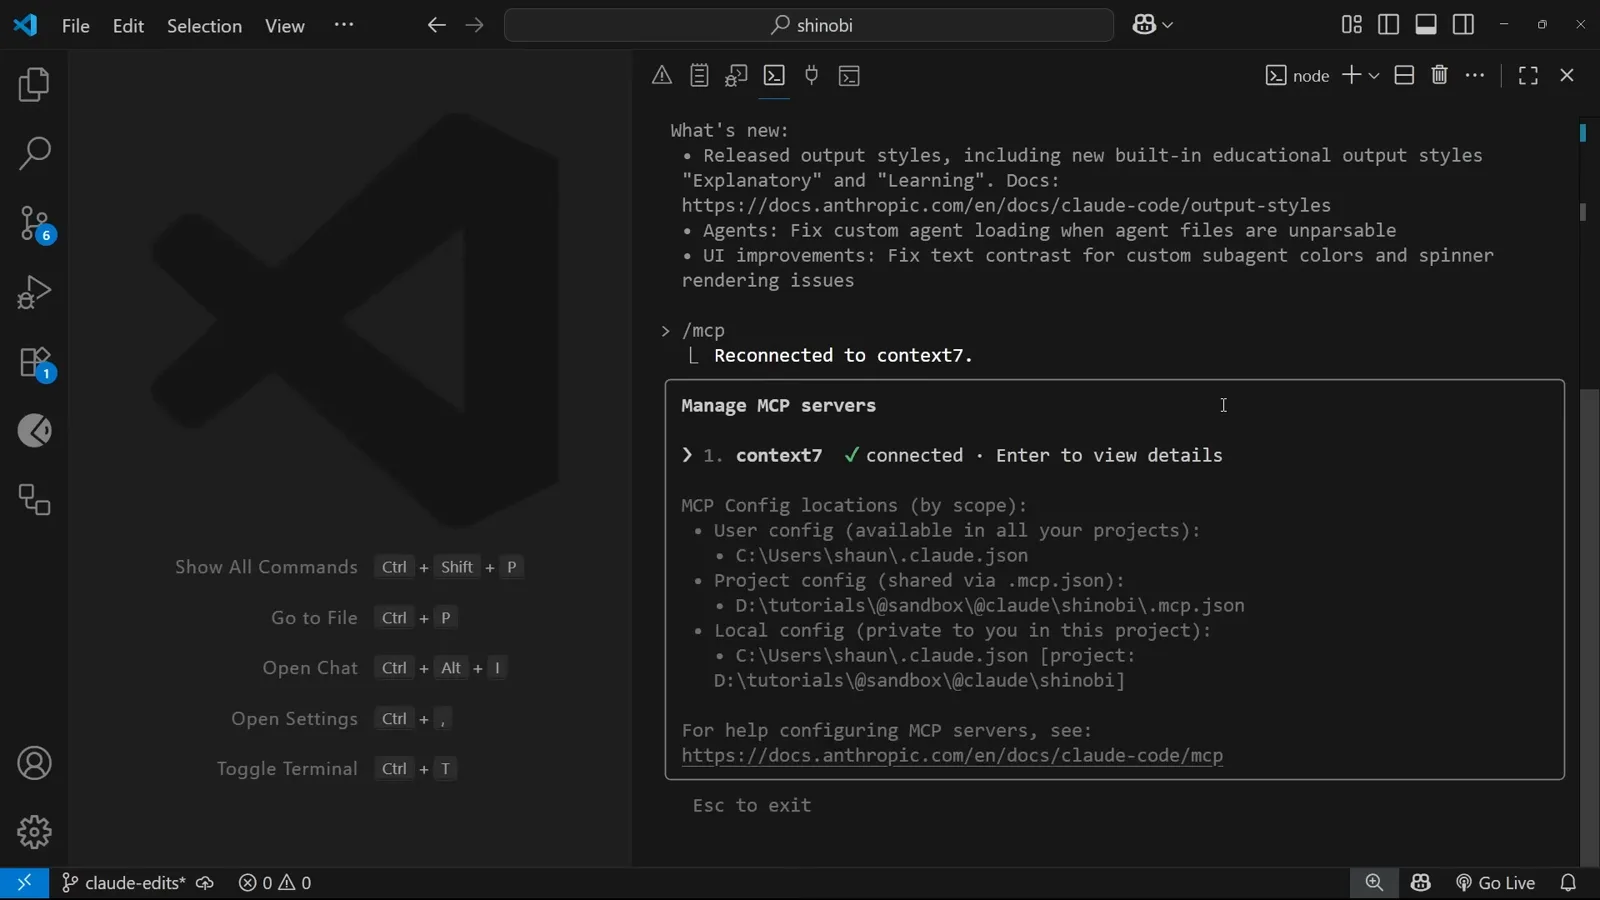
The /mcp panel showing context7 connected with its two tools.Watch at 9:22
Part 3 · Use servers in real work
- 11
Call the server from a real prompt
Ask for something the built-in tools cannot do and name the server: check the latest Tailwind docs against my global CSS file — use context7. Attaching the file with an @ mention keeps the answer grounded in your code.
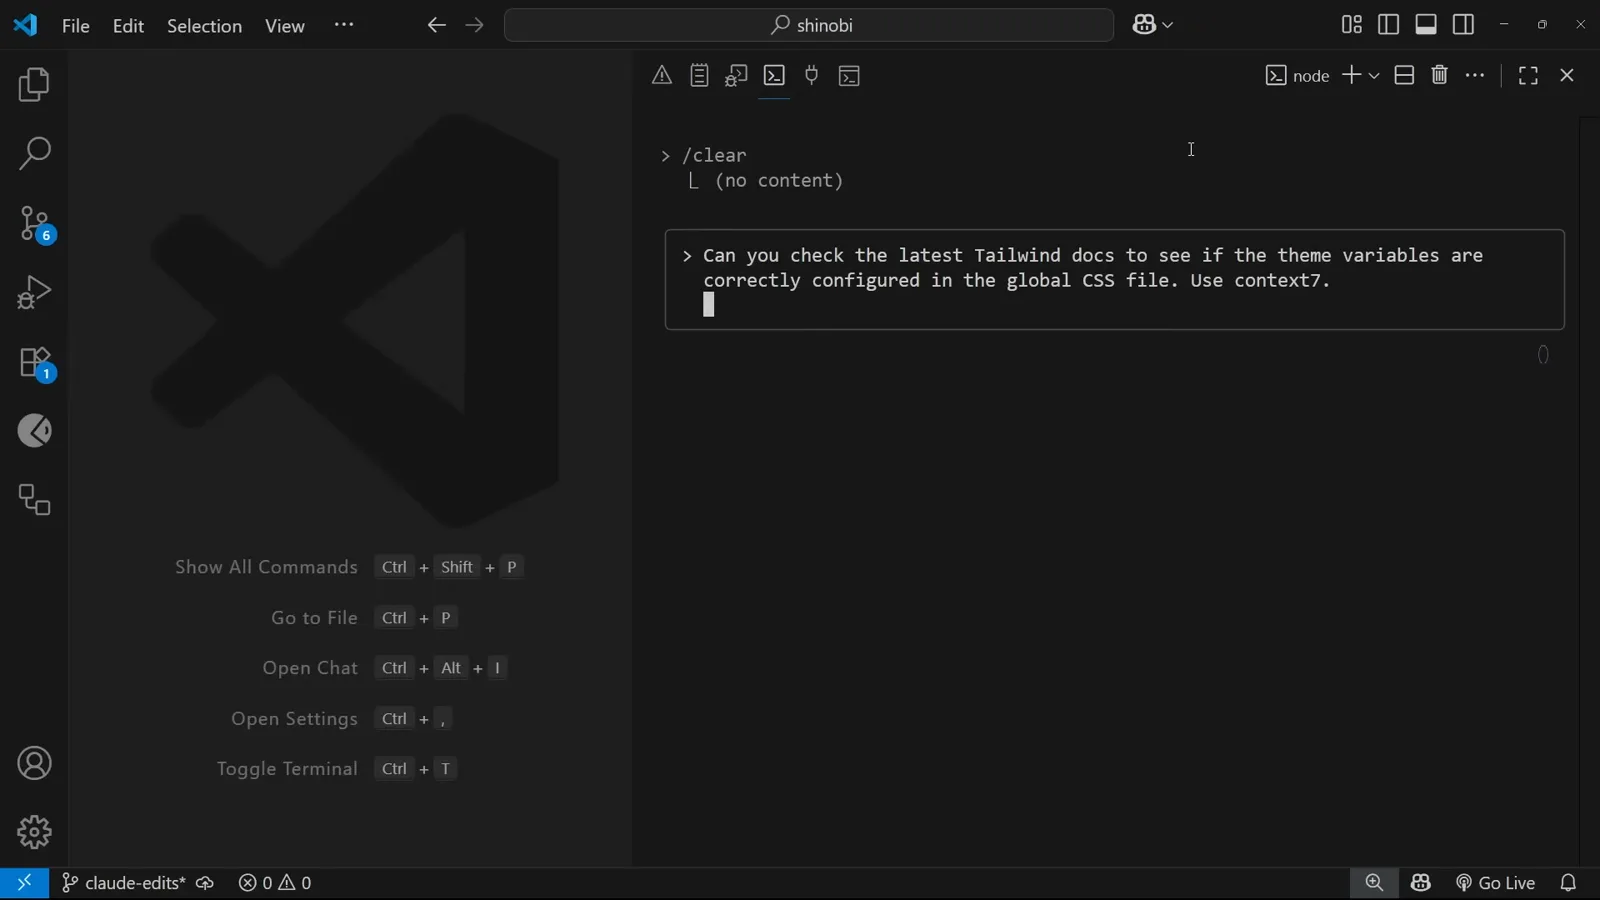
The prompt that requests current Tailwind docs via context7.Watch at 9:38 - 12
Approve the tool call
The first time a server tool runs, Claude Code asks permission. Approve once, or pick the always-allow option for servers you trust so later calls skip the prompt.
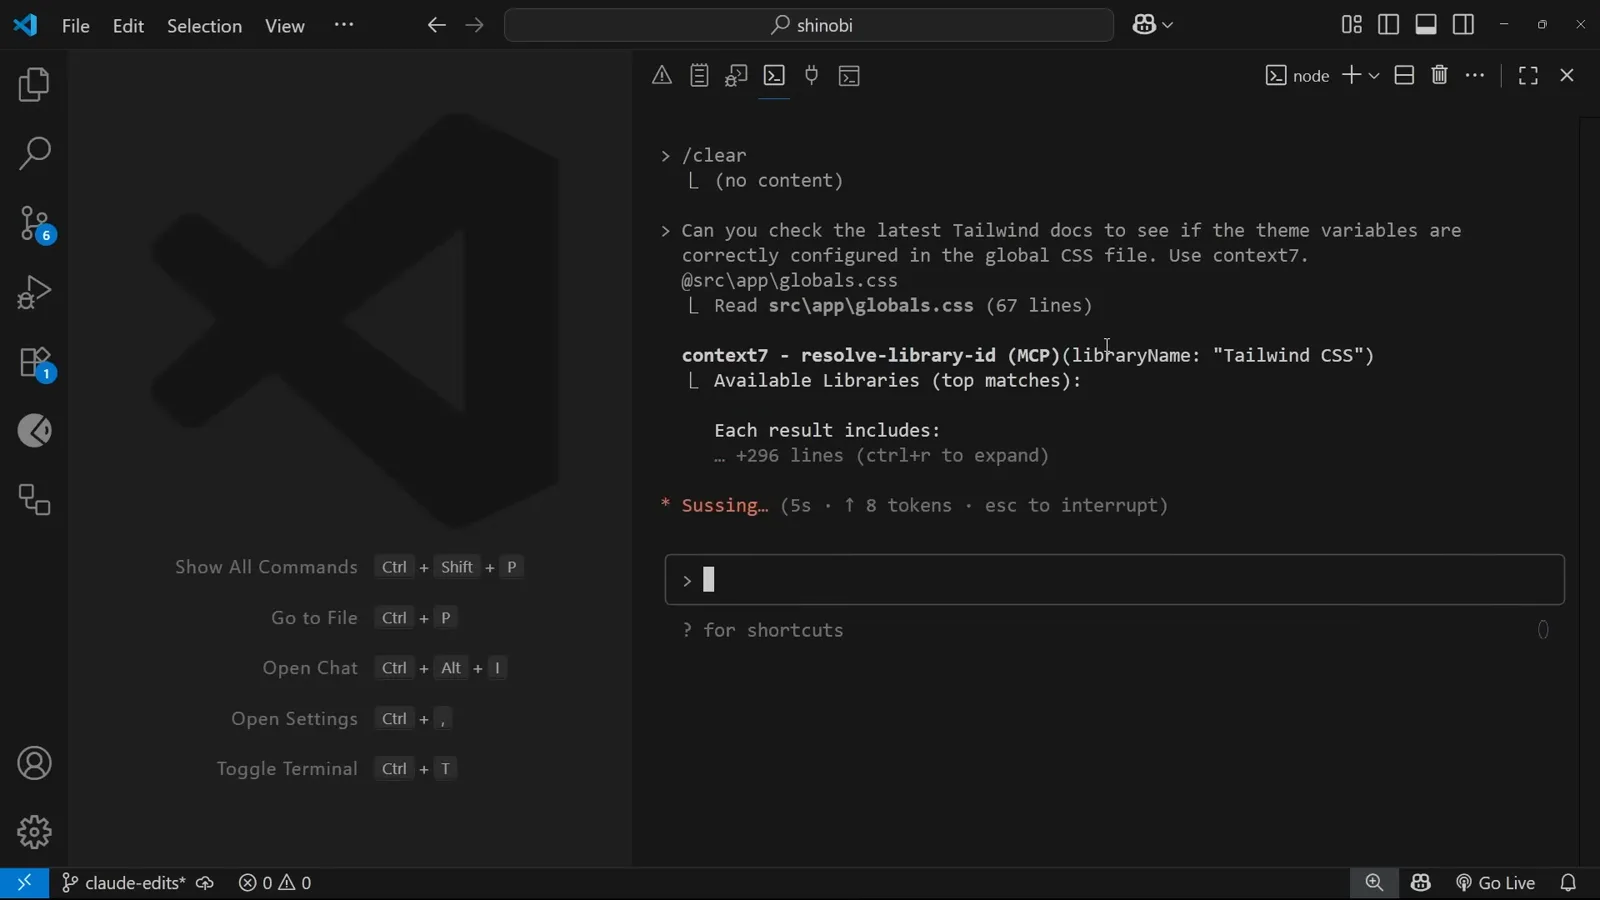
The permission card for Context7's resolve-library-id tool.Watch at 10:00 - 13
Read the grounded answer
The tool returns the relevant docs — the Tailwind v4 theme-variable guidance here — with the token cost shown, and Claude Code applies it to your file. That is the whole point: answers from current documentation instead of training-data guesses.
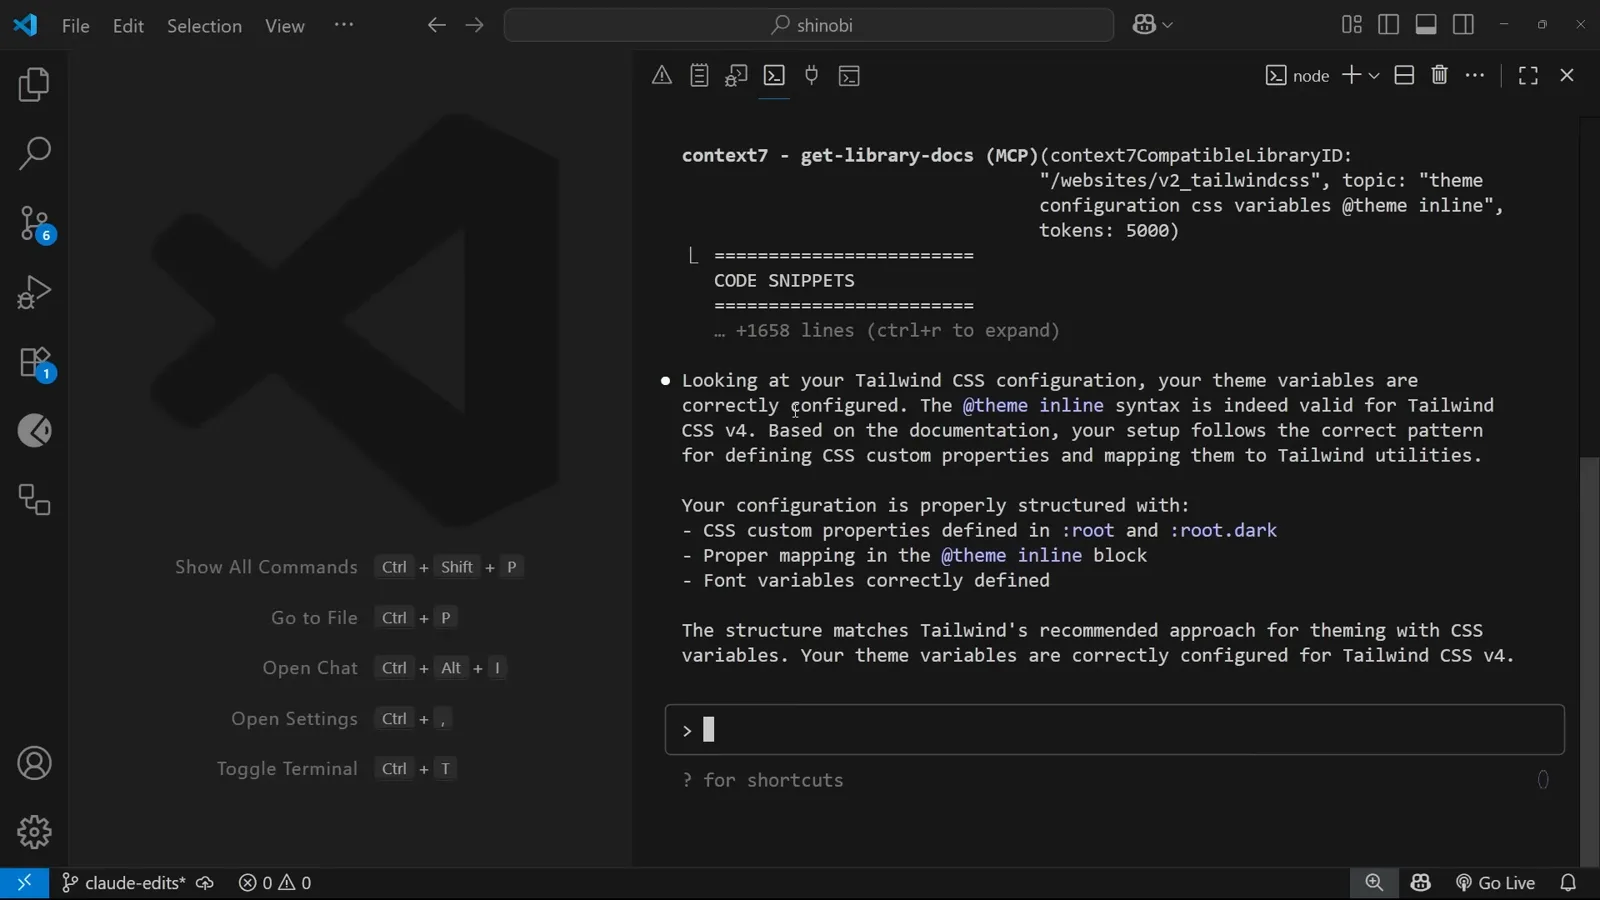
The get-library-docs response confirming the theme setup.Watch at 10:15 - 14
Pin the habit in CLAUDE.md
Type the hash symbol to add a project memory such as: use Context7 for up-to-date docs when implementing new libraries or frameworks. The line lands in CLAUDE.md and every later session inherits it.
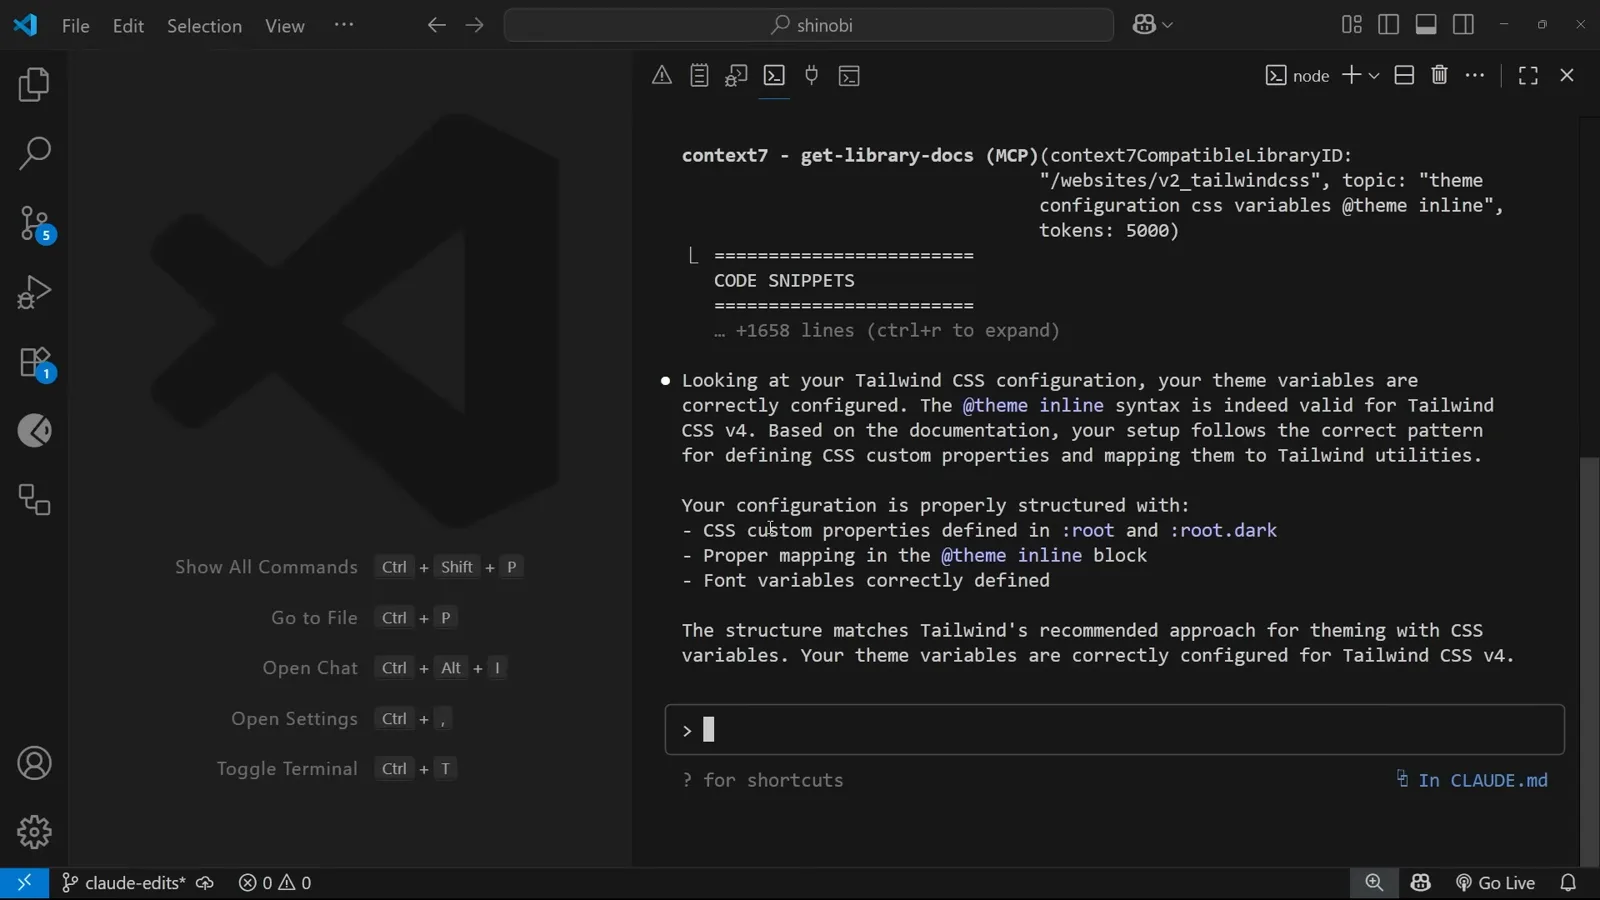
A one-line CLAUDE.md memory that makes Context7 the default.Watch at 10:42 - 15
Add a second server: Playwright
Repeat the pattern for browser automation: claude mcp add playwright --scope project -- cmd /c npx @playwright/mcp@latest — and drop the cmd /c part on macOS or Linux. One repo, several servers, one config file.
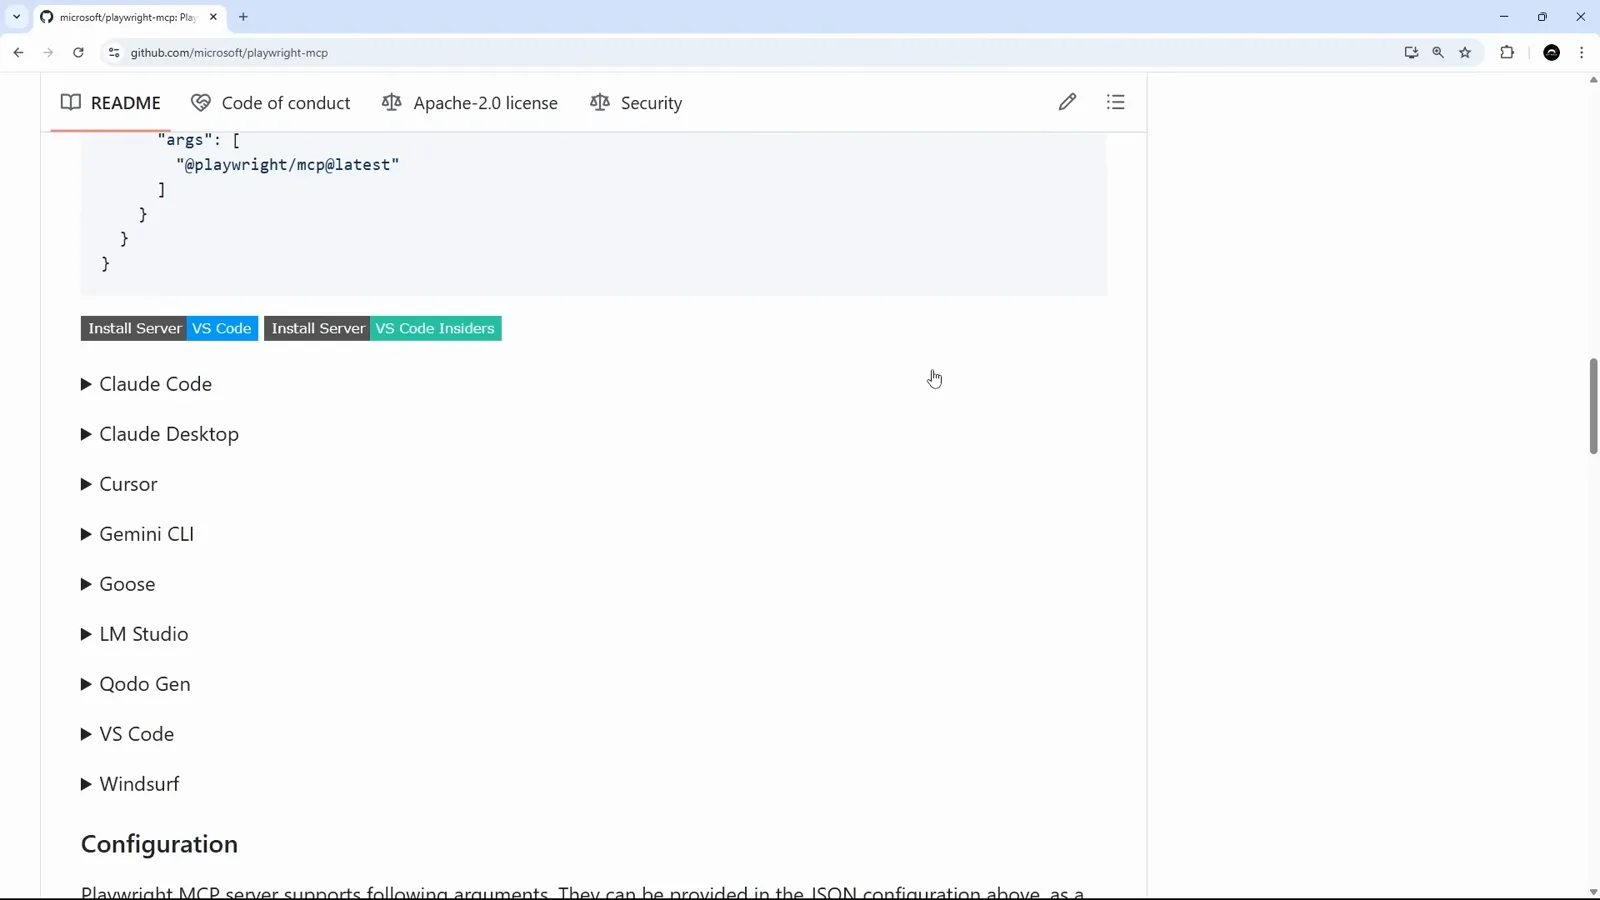
Adding the Playwright MCP server with project scope.Watch at 11:22 - 16
Watch it drive the browser
Ask Claude Code to open a page and summarize it — Playwright navigates, clicks and reads, then reports back. Between Context7's docs and Playwright's browser, most external chores are now one prompt away.
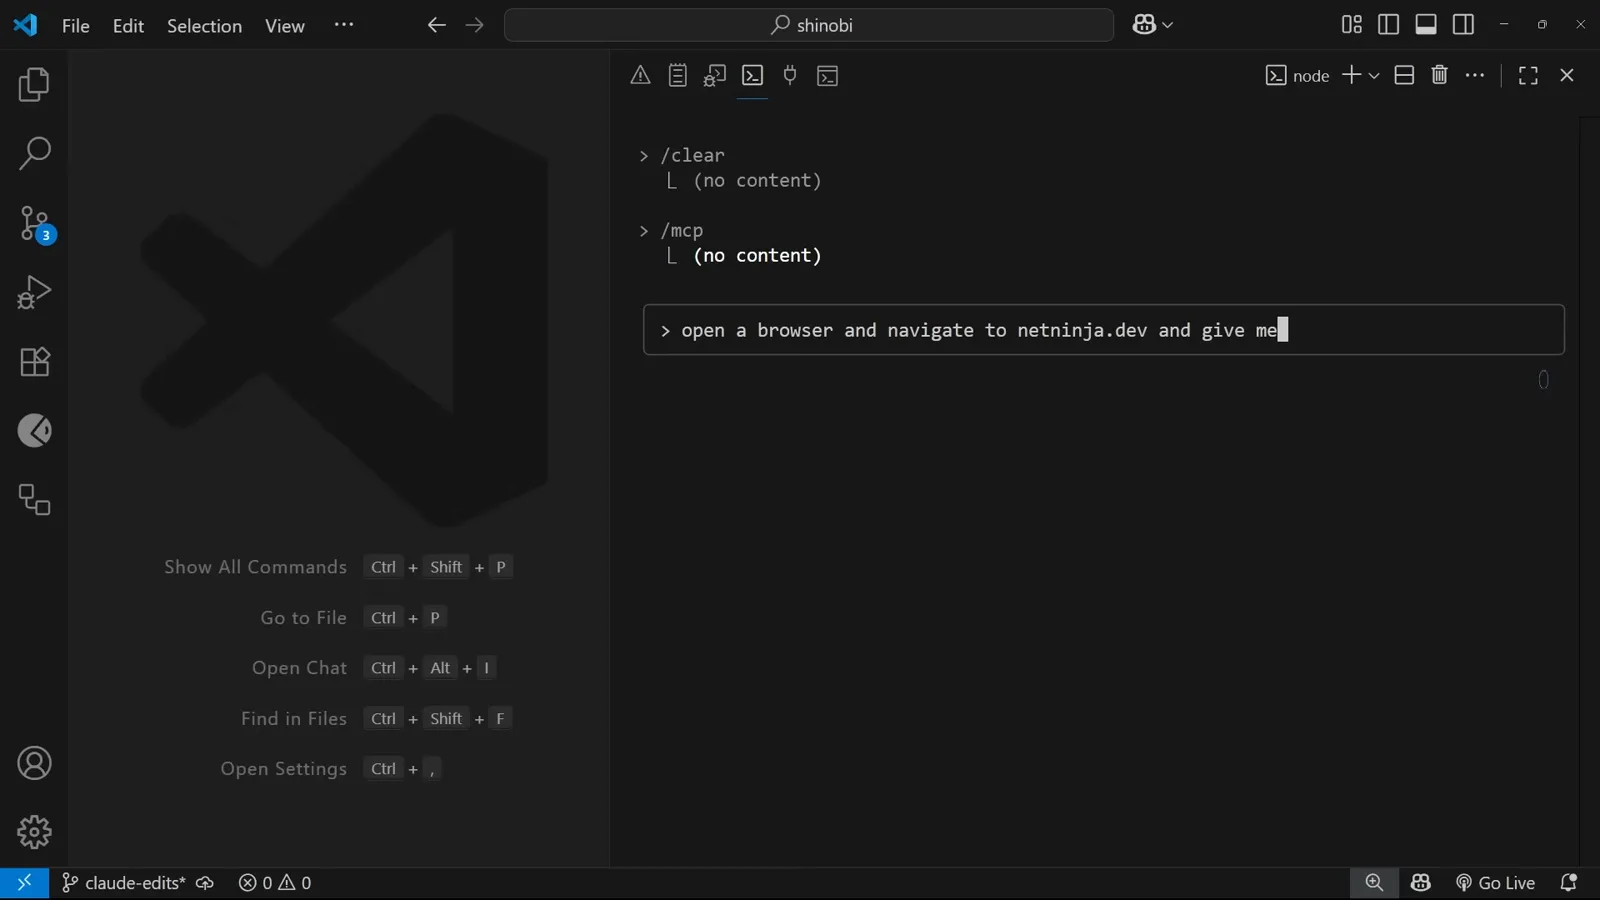
The Playwright MCP navigating to a site for a summary.Watch at 12:42
Env vars, headers and API keys
Remote servers and authenticated APIs need credentials. Claude Code takes them as environment variables on stdio servers and headers on remote ones — no config file editing required.
- 1Stdio servers: claude mcp add myserver -e API_KEY=your-key -e ZONE=your-zone -- npx -y @some/mcp-server — repeat the -e flag for each variable, placing the flags right after the server name.
- 2Remote HTTP servers: claude mcp add --transport http myserver https://example.com/mcp --header "Authorization: Bearer your-key" — the header is sent with every tool call.
- 3Scope refresher: local keeps the server for you in this project, project shares it through .mcp.json, and user installs it across all your projects. Set it with -s or --scope when adding.
- 4Removing a server: claude mcp remove name — for project scope, commit the .mcp.json change so teammates stop receiving the server too.
Values passed with -e are stored in plain text inside the config file. Prefer narrowly-scoped keys where the API allows it, and never commit real credentials in a project-scope .mcp.json.
When /mcp shows failed
Most MCP failures on Claude Code trace back to a handful of roots. Work down this list before you delete and re-add anything.
- 1Unknown option -y on Windows: some terminals choke on the npm flag. Run the add command from PowerShell or Command Prompt, or drop -y, add the server, then put -y back into the args array in .mcp.json by hand.
- 2Native Windows stdio fails: prefix the command with cmd /c — for example cmd /c npx -y @some/package@latest. Without WSL this is required, and the @latest tag avoids stale cached builds.
- 3Status shows failed: open /mcp and reconnect — transient failures usually clear on the second attempt. If not, the panel shows the server's log location for the real error.
- 4Server missing in another project: that is scoping working as designed. Project-scope servers live in that repository's .mcp.json; switch to user scope for a machine-wide install.
- 5Server connects but is never used: name it in the prompt — use context7 to check the docs — or add a CLAUDE.md memory, because models reach for familiar built-in tools unless told otherwise.
When everything else fails: claude mcp remove name, restart the terminal, and add the server again with the transport you know works — the remote HTTP variant is the most predictable.