
Claude Code Desktop App: Build Without a Terminal
The redesigned Claude Code desktop app gives you sessions, a live preview and agent runs in a regular window — pick a folder, choose a model, and build from one prompt.
The short version
- Claude Code is not a separate download — it lives behind the Code tab of the main Claude desktop app, next to Chat and Cowork.
- You need a paid Claude plan on macOS or Windows; no Node, no Git and no coding background required.
- Pick the folder, model and permission mode first: Ask permissions is the safe default, Accept edits auto-applies changes, Plan mode drafts before touching anything.
- The app has a built-in terminal, a Ctrl+semicolon side chat, and a select-element tool that points Claude at the exact UI element you mean.
Claude Code Desktop App: Beginner's Guide (No Terminal Needed)
Channel: Teacher's Tech10:41
Key features of the NEW Claude Code desktop app
Channel: Academind7:17
Claude Code on desktop — official documentation
Docs: code.claude.com/docs
Screenshots come from the clean demo section of Teacher's Tech's walkthrough — its intro and outro carry a face cam and were skipped. Feature context cross-checked against Academind's tour of the same release.
Frames belong to the respective creators and are credited here with deep links to the exact moments; the write-up is ours.
From install to a working app, no terminal
Part 1 · Set up your workspace
- 1
Find Claude Code inside the Claude app
Download the Claude desktop app for Mac or Windows and sign in. The sidebar shows three tabs: Chat is regular Claude, Cowork runs tasks in the cloud, and the code-brackets tab is Claude Code — that is the one you want.
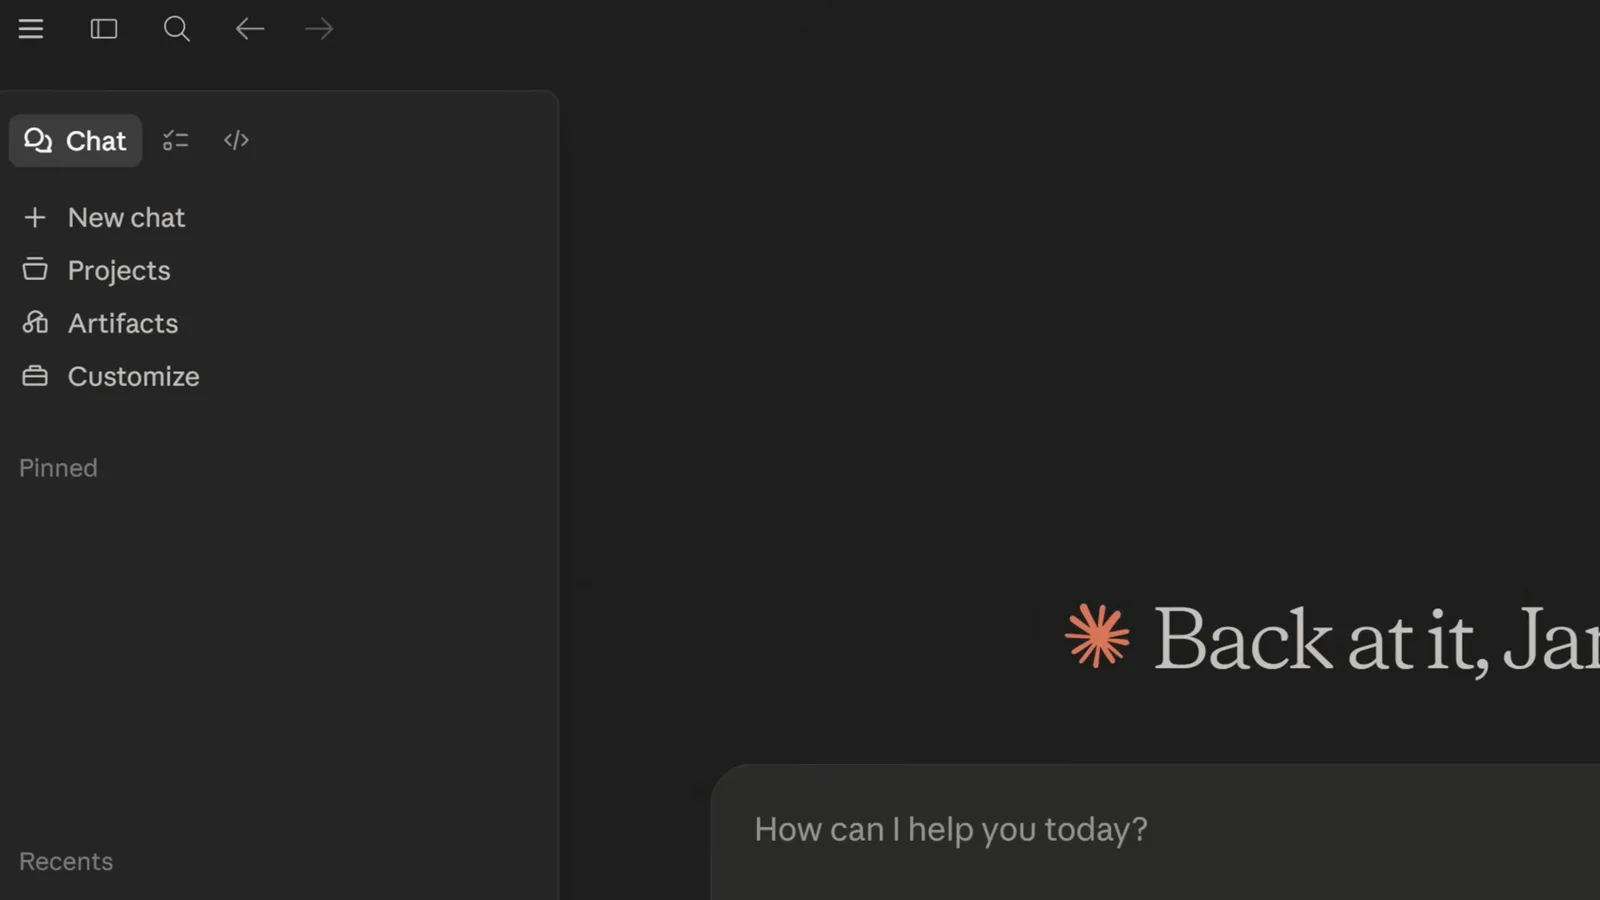
The three-tab switcher at the top of the app sidebar.Watch at 2:06 - 2
Read the dashboard while it is still empty
The home screen tracks sessions, messages, tokens, streaks and your favorite model. It fills in as you work, and it doubles as the launchpad: this is where every session starts.
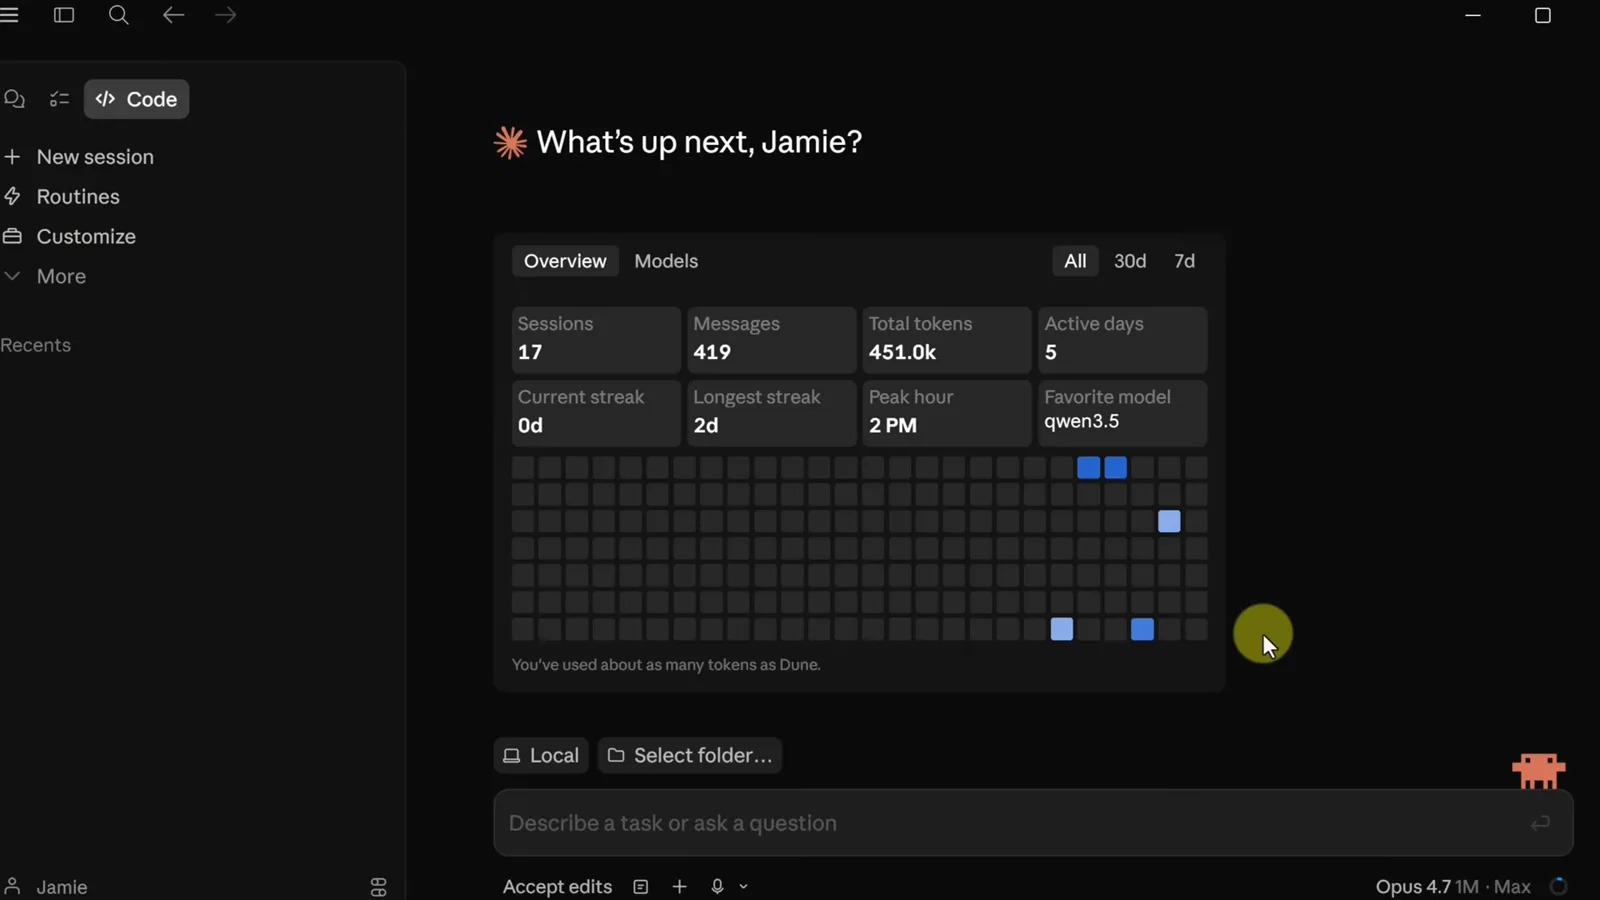
The usage dashboard with sessions, messages and token totals.Watch at 2:42 - 3
Pick a model and an effort level
Opus handles the hardest work, Sonnet and Haiku are lighter and cheaper on your plan allowance, and the 1M-context Opus suits huge codebases. Effort controls how long the model thinks — Medium is plenty for everyday tasks.
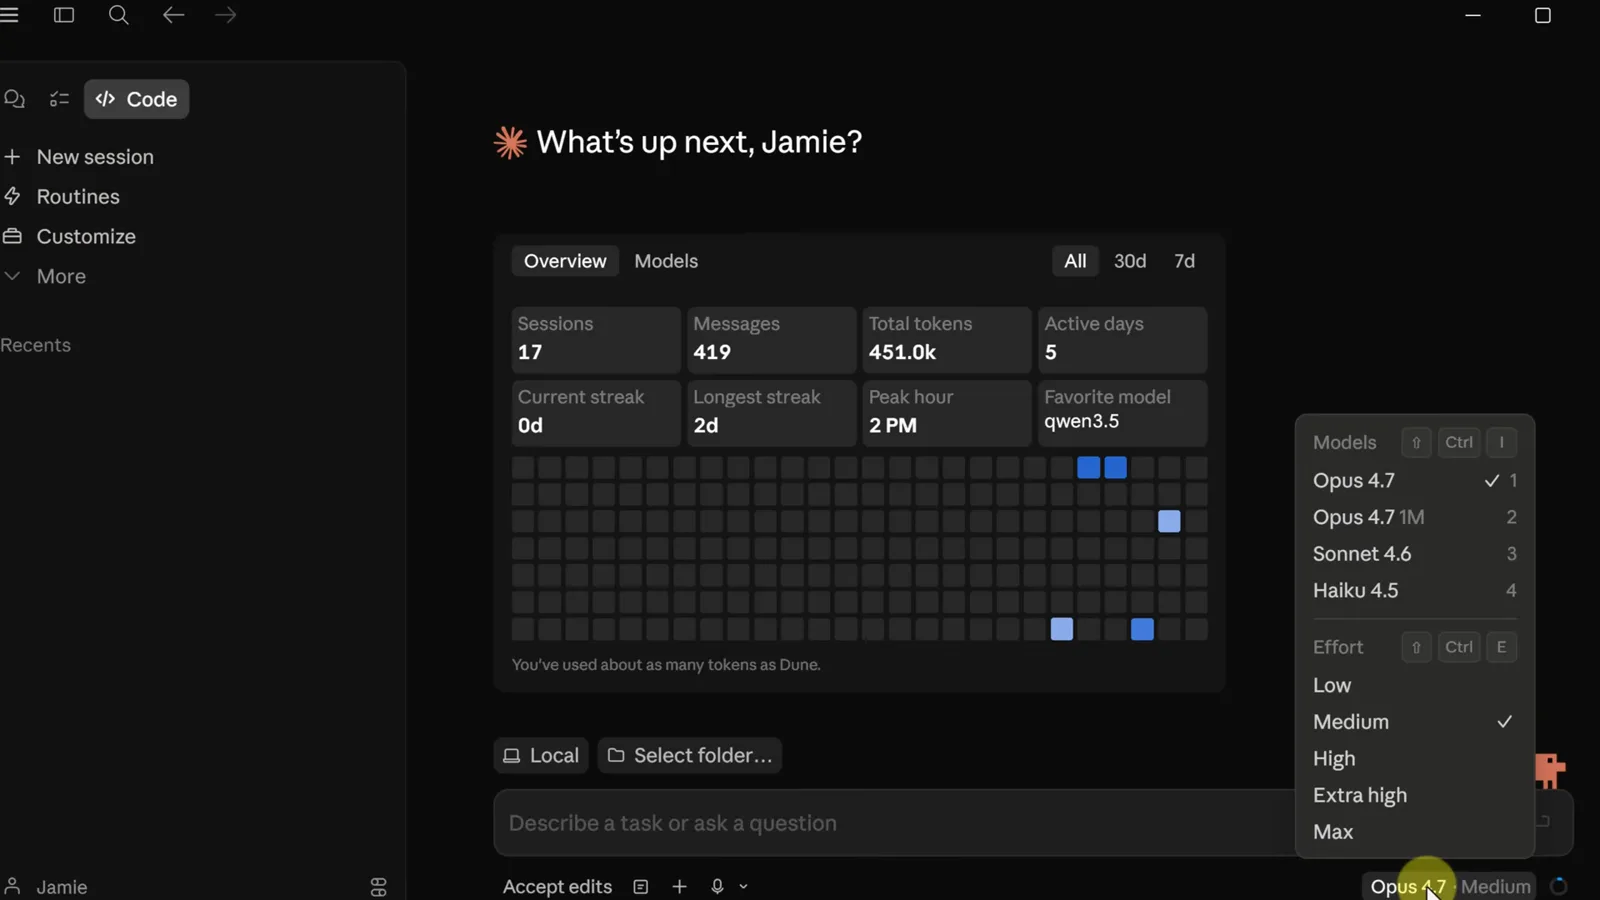
The model menu with the effort selector below it.Watch at 3:22 - 4
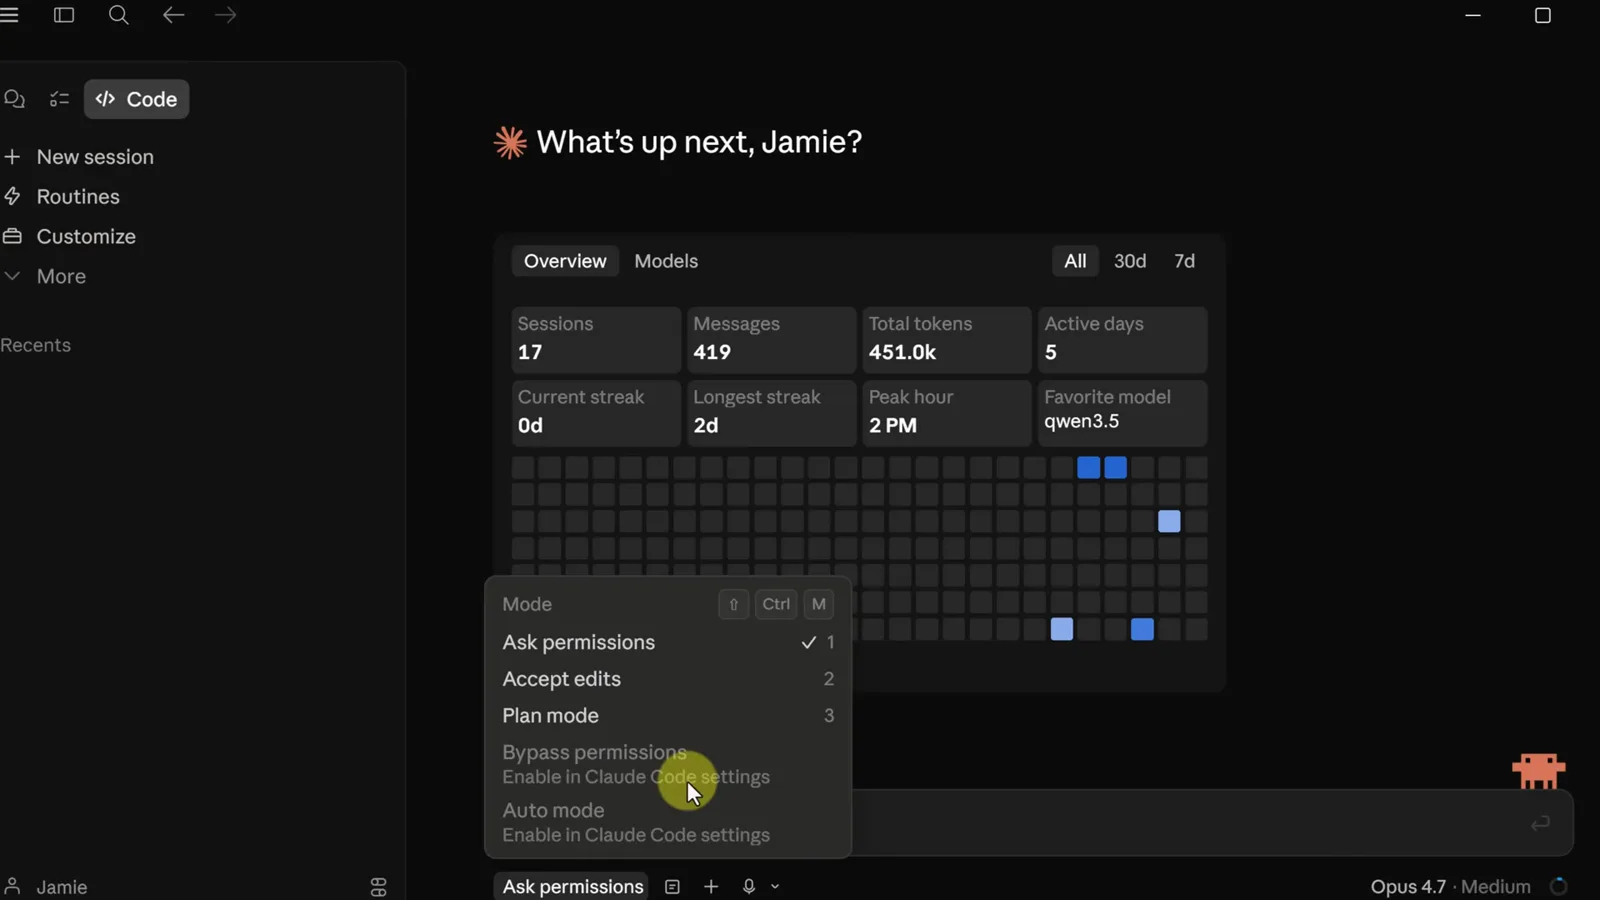
Choose your permission mode
Ask permissions pauses before every change — the safe choice for a first run. Accept edits applies edits automatically, and Plan mode makes Claude lay out a plan before touching files. Bypass and Auto stay greyed out until you enable them in settings.
The mode menu: Ask permissions, Accept edits, Plan mode.Watch at 4:45
Part 2 · Build from one prompt
- 5
Create an empty project folder
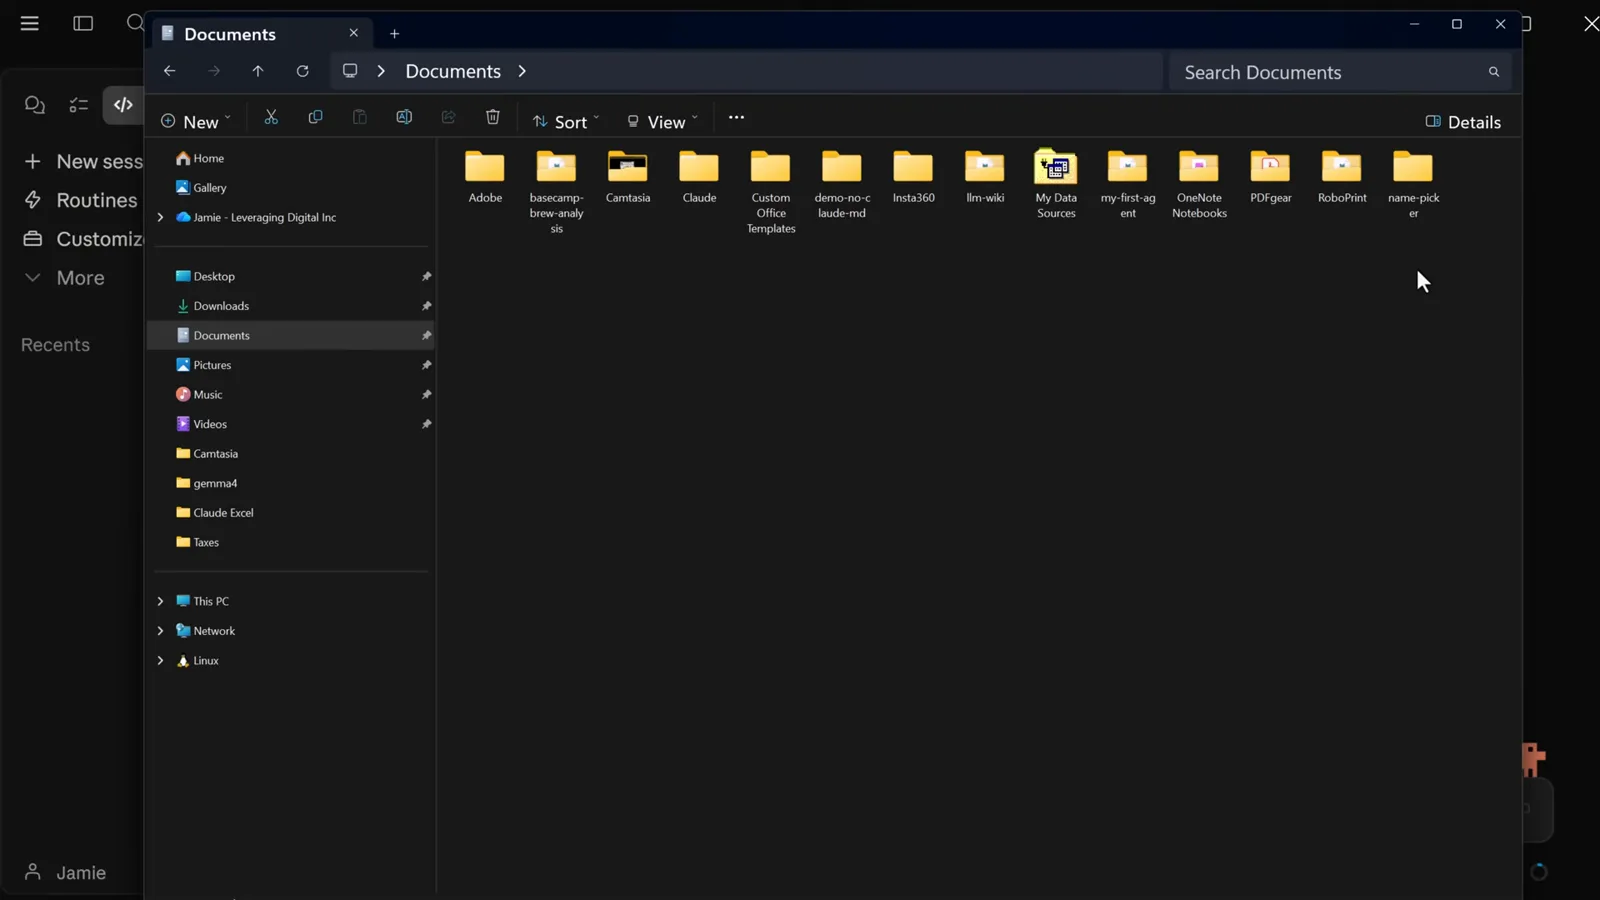
Make a normal folder anywhere — Documents is fine. The folder is the boundary of the session: everything Claude creates stays inside it, which is a nice safety rail while you are learning.
A fresh name-picker folder in Documents, ready to select.Watch at 4:05 - 6
Point the session at the folder and prompt
Select the folder, type one concrete prompt describing the tool you want — a single HTML file, a textarea for names, a big button — and send. The session shows its starting point before the first edit lands.
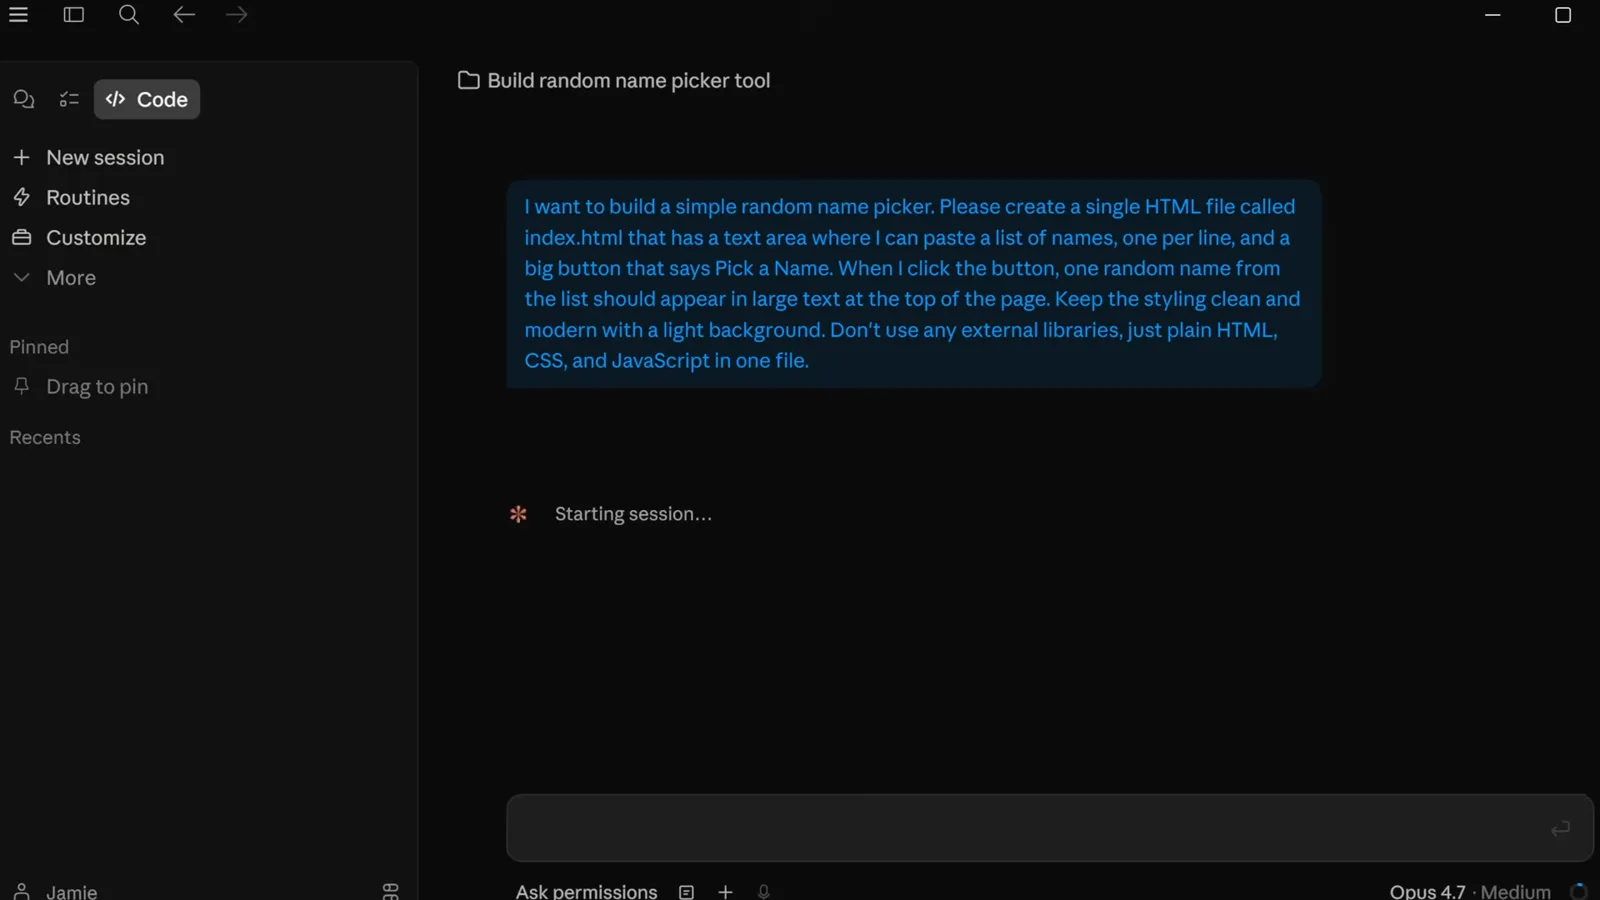
The first prompt in a fresh session, starting up.Watch at 5:40 - 7
Iterate on the live preview
The preview panel renders the file as it changes. Test it like the walkthrough does: paste names, click the button, then describe the next improvement — a roulette-style spin, friendlier colors — in plain language.
The first working version rendering in the preview panel.Watch at 7:25 - 8
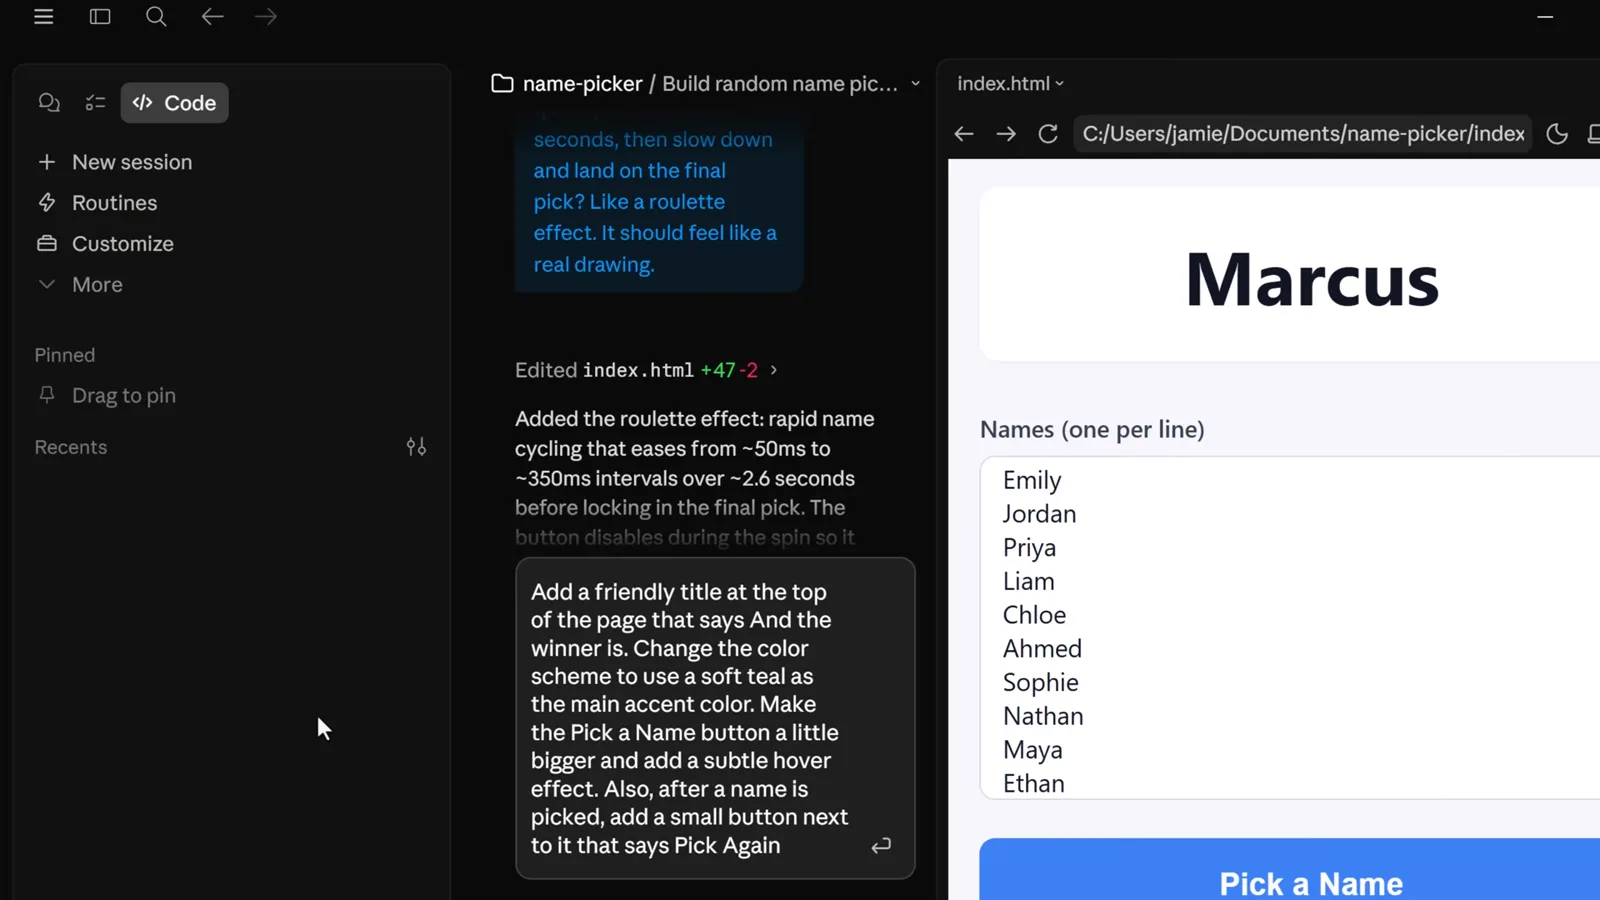
Let it polish: animation pass
Small prompts produce big jumps: make the picker cycle names quickly for two seconds, then slow down and land on the winner. The preview updates the moment the edit is applied.
The picker mid-animation, cycling through candidates.Watch at 7:54 - 9
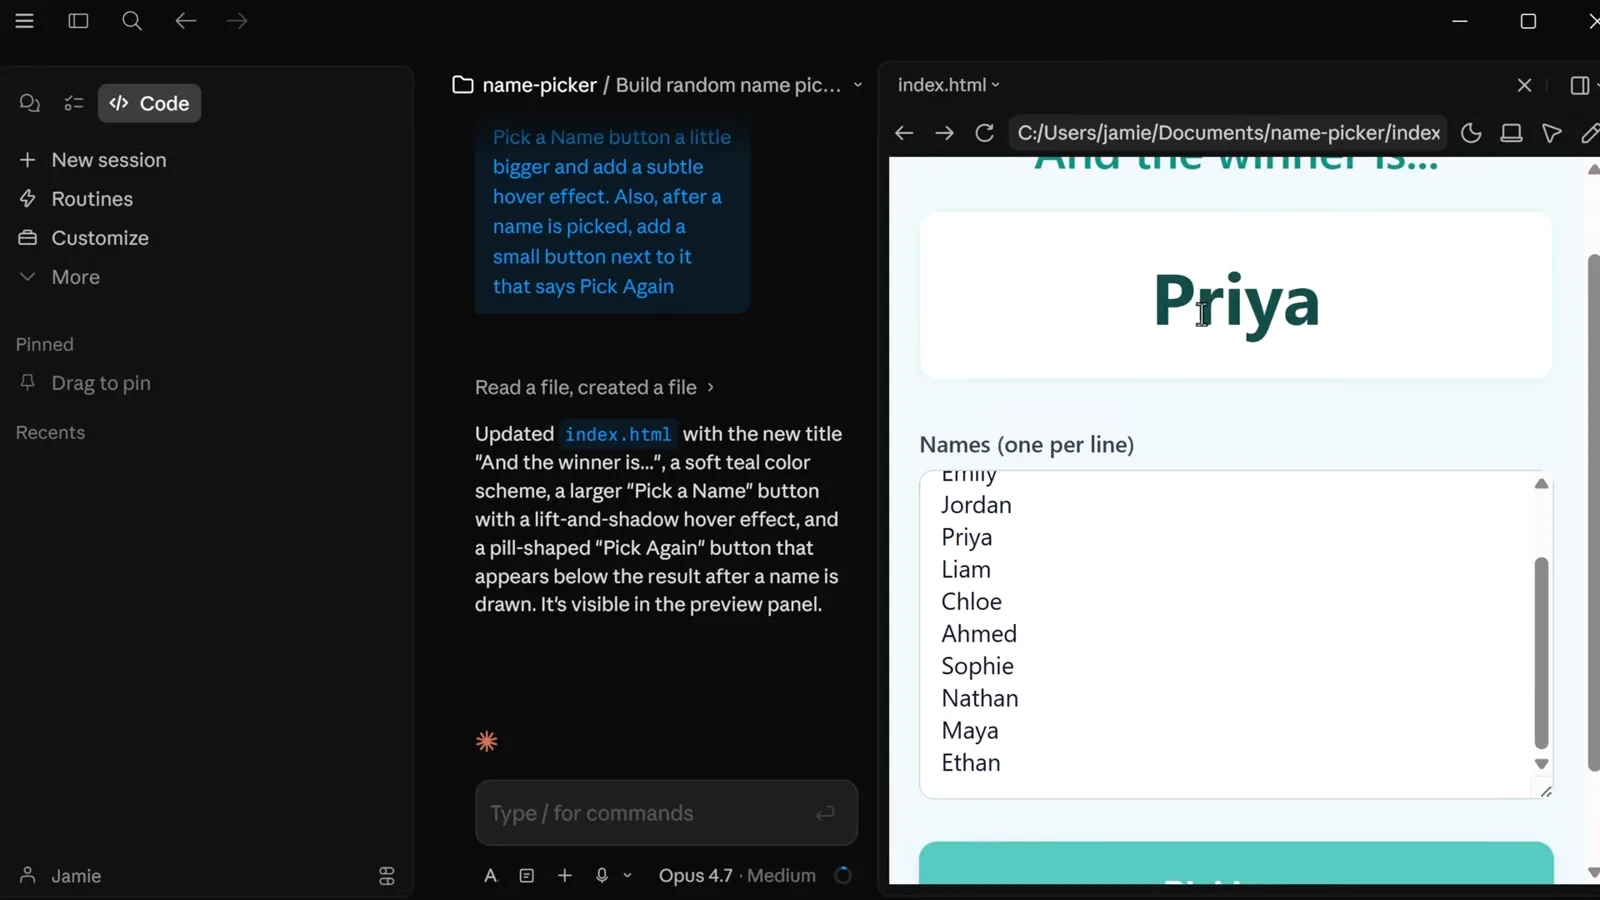
Ship the final look
One more prompt adds the title, a teal color scheme, a bigger button with a hover effect and a Pick Again button. The files live in your folder — open them in a browser or send them to a friend.
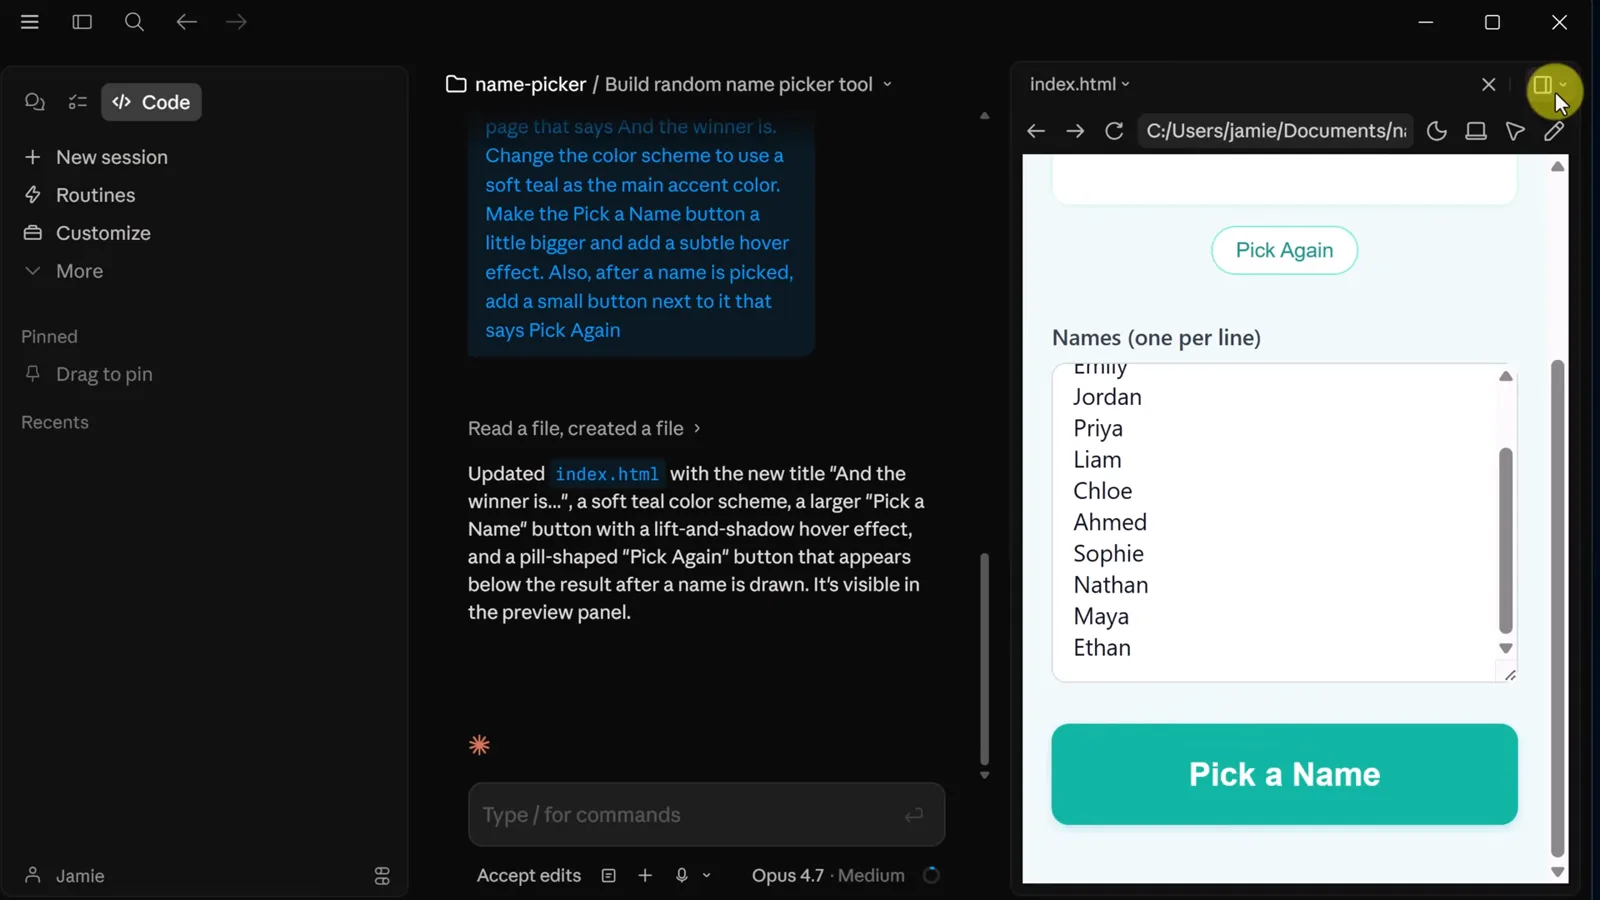
The finished app with teal accents and a Pick Again button.Watch at 8:30
Part 3 · The shortcuts worth knowing
- 10
Know the terminal is there
The toolbar opens an integrated terminal inside the project folder. You never need it for the flow above, but the day you want Git or a package manager, it is one click away.
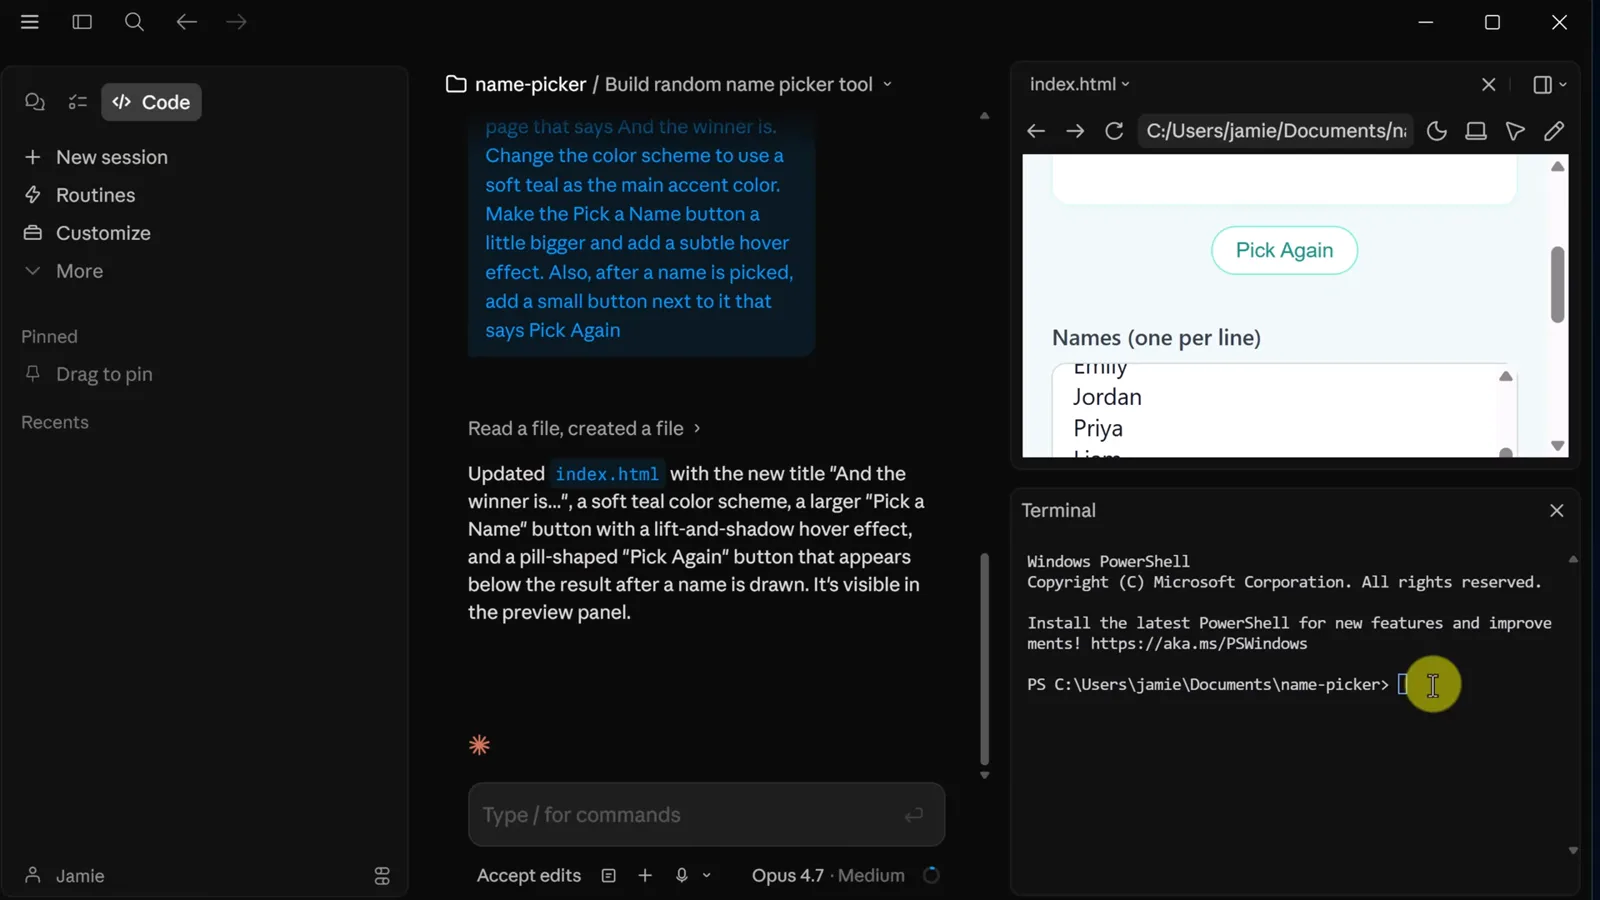
The integrated Terminal panel with a PowerShell prompt.Watch at 8:34 - 11
Open the side chat with Ctrl and semicolon
The keyboard shortcut opens a small side chat for quick questions without disturbing the main session — handy once you are juggling bigger projects.
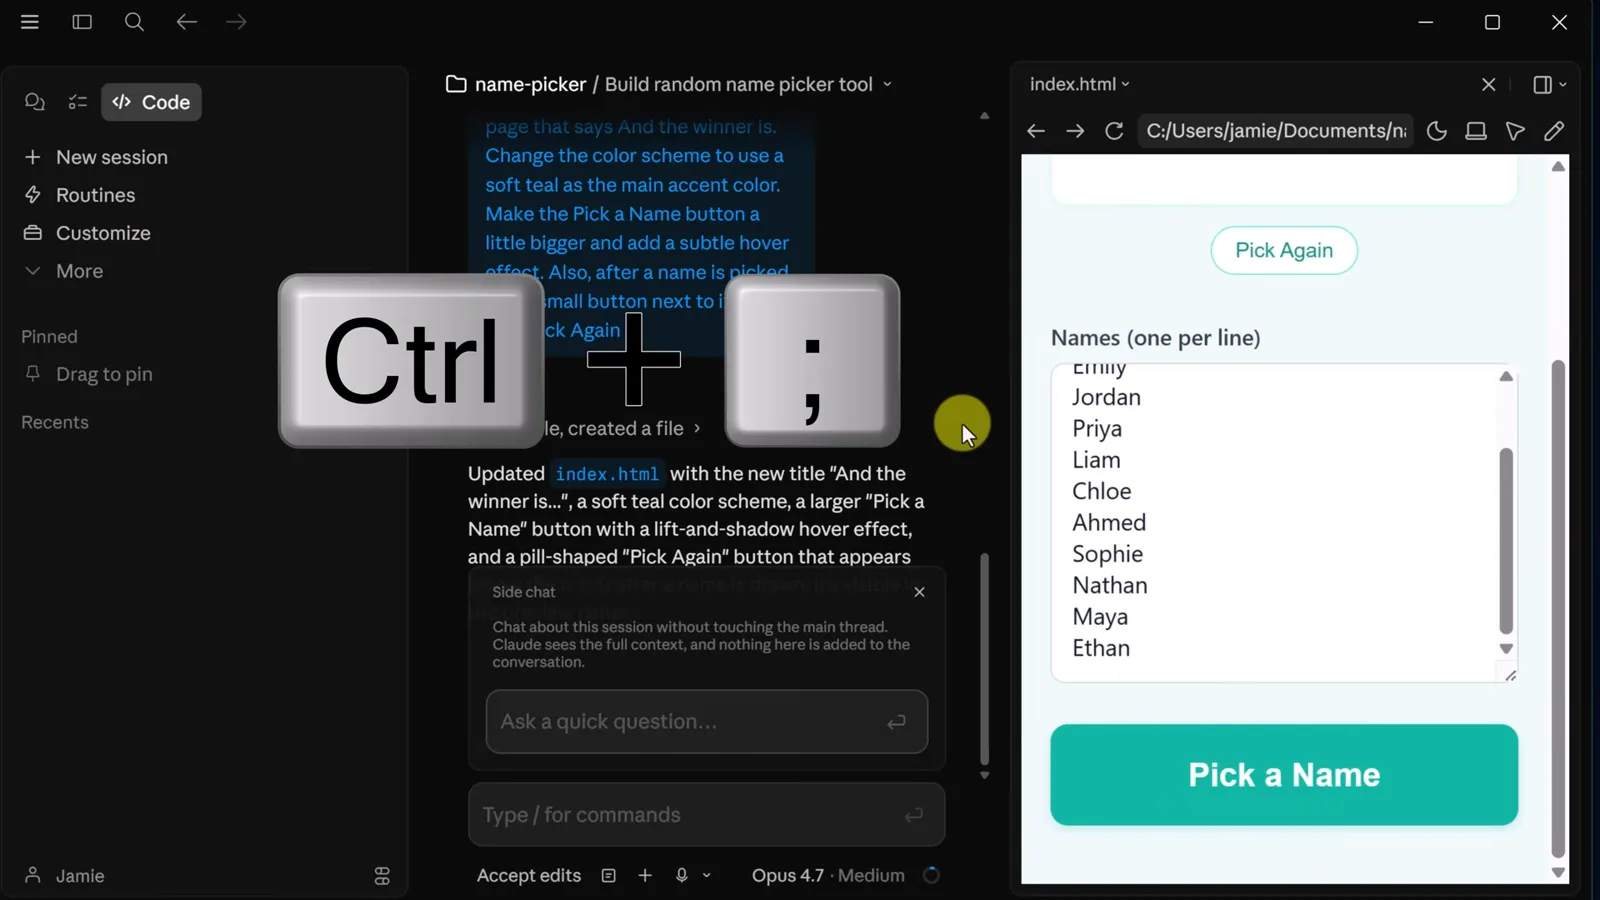
The Ctrl and semicolon keys that summon the side chat.Watch at 8:45 - 12
Point at elements with the select tool
The select-element icon in the preview toolbar lets you click the exact button or panel you want changed, so Claude edits the thing you meant instead of a lookalike.
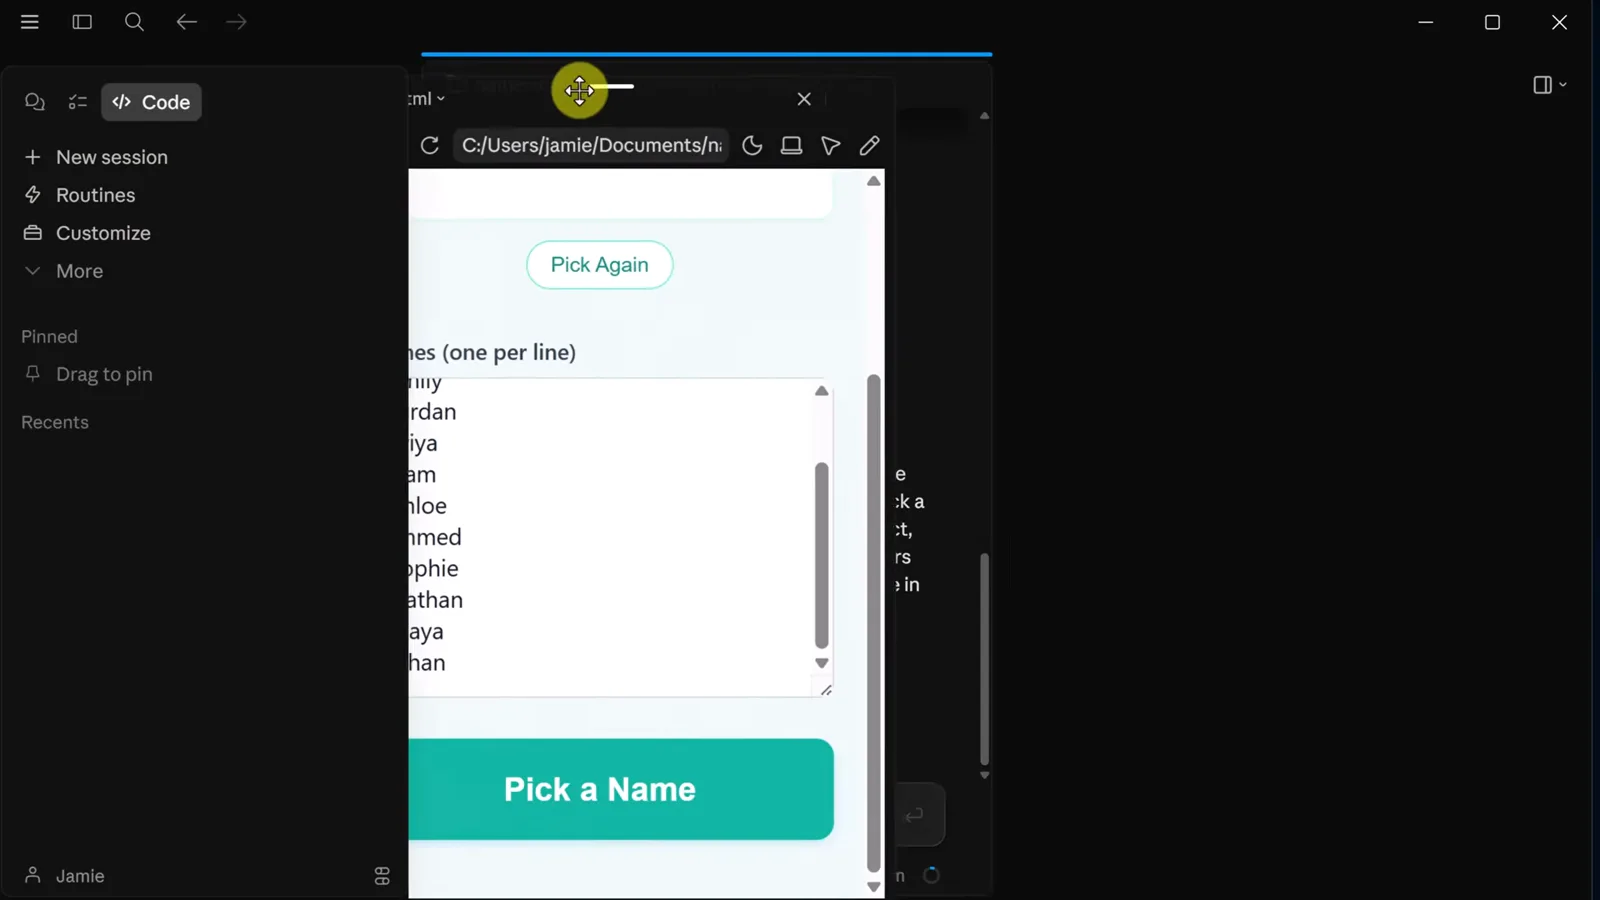
The select-element tool in the preview toolbar.Watch at 9:27 - 13
Your files stay on your machine
The preview address bar shows the real path — index.html inside your Documents folder. Sessions are listed under Recents, so you can leave and pick up exactly where you left off.
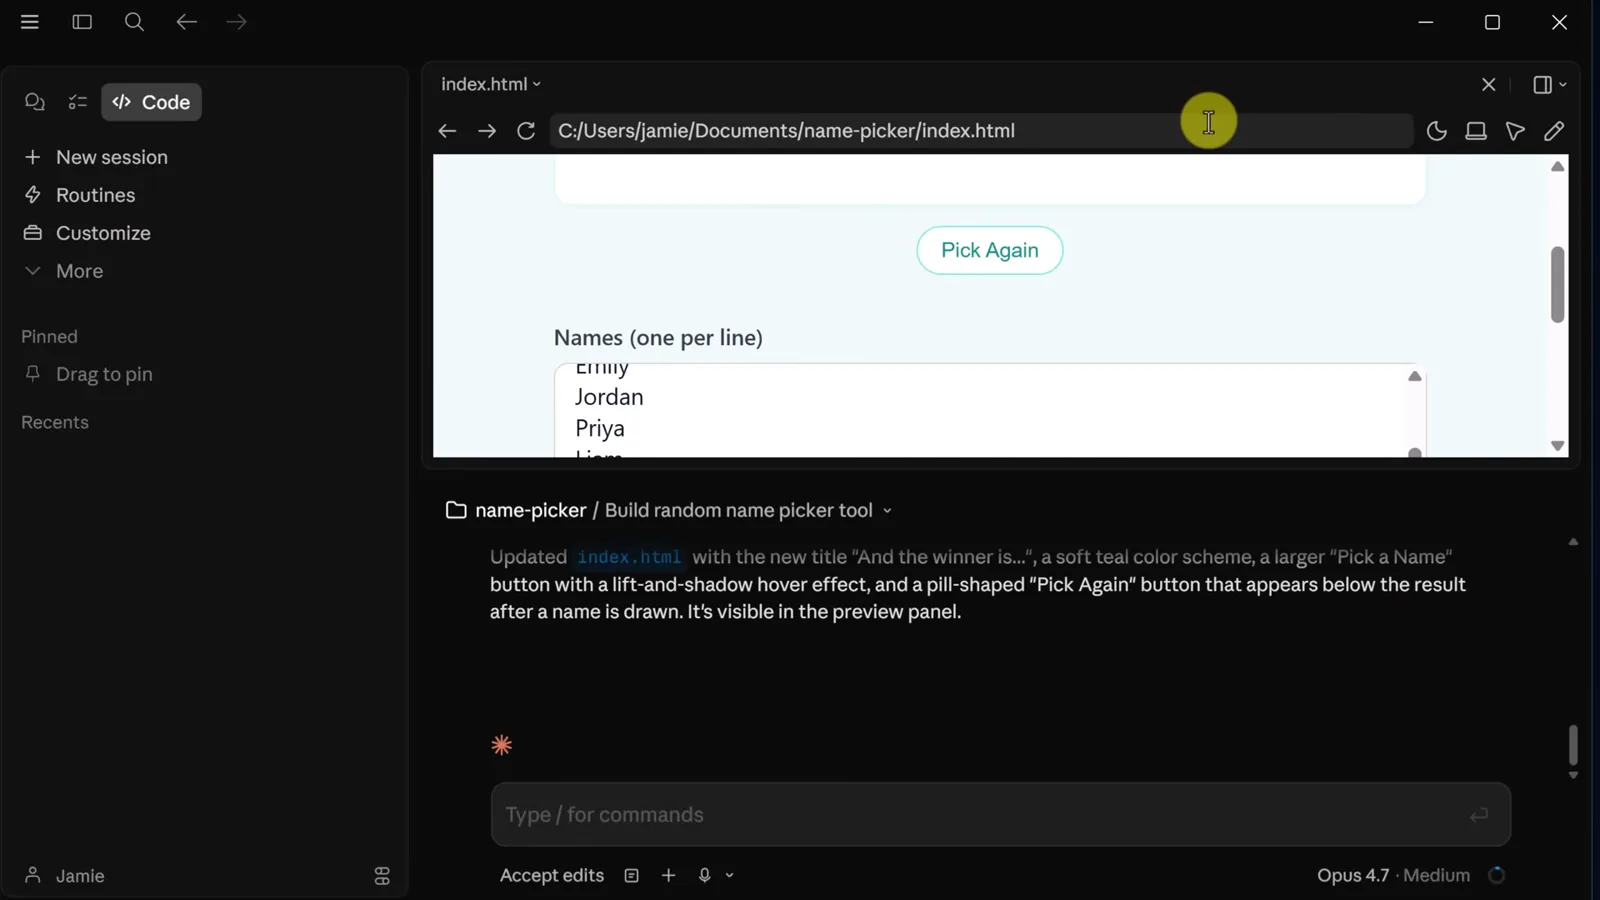
The generated file at its real path inside your Documents.Watch at 9:34
Desktop app or terminal CLI?
Both surfaces drive the same Claude Code engine. The right choice depends on what you are doing that day.
- 1Beginners and small tools: the desktop app wins — visual prompts, a live preview, and no shell required.
- 2Existing repos and CI work: the terminal CLI stays king for scripted runs, Git hooks and headless automation.
- 3Custom models: the desktop app manages plans and allowances for you, while the CLI takes environment variables — our DeepSeek-in-Claude-Code guide covers that path.
- 4Either way the session is the same: Recents shows desktop sessions in the app, and claude --resume continues terminal sessions.
A practical split: prototype in the desktop app, promote the folder to a terminal session when the project grows teeth.
Desktop app gotchas
Most first-day friction in the desktop app comes from plan coverage and permissions, not bugs.
- 1No Code tab or a usage wall: confirm your plan includes Claude Code — plan inclusions change, so check the Claude pricing page rather than guessing.
- 2Hitting limits mid-task: the app pauses rather than charging you. Wait for the reset or switch to a lighter model such as Sonnet or Haiku and keep going.
- 3Claude edits more than you wanted: switch the mode to Ask permissions before the session, and approve each change until you trust the workflow.
- 4Preview feels stale after an edit: use the reload control in the preview toolbar — the walkthrough leans on it between iterations.
- 5Wrong element changed: redo the edit with the select-element tool so the request names the exact component instead of a description.
When the app itself misbehaves, the classic terminal repair kit still applies — our Claude Code stuck troubleshooting guide walks through freezes and hangs step by step.