
Claude Code for VS Code: Extension Setup & Panel Guide
Install the official Claude Code extension in Visual Studio Code, sign in, choose permission modes, plan and review diffs in the panel, and run the same CLI in the integrated terminal — every step verified against the official docs.
TL;DR
- Install "Claude Code" by Anthropic from the Extensions view (Cmd+Shift+X) — the extension id is anthropic.claude-code. VS Code 1.94.0+ is required, and the extension is also published on Cursor and Open VSX.
- The panel bundles its own CLI copy: it does not add claude to your PATH. To use the real CLI in VS Code's integrated terminal, do the standalone install too — the two share conversation history.
- Permission modes live at the bottom of the prompt box: Plan for read-only planning, Manual for per-edit approval, Auto for classifier-reviewed autonomy. Cycle them with Shift+Tab.
- @-mentions pull files into context (Option+K inserts a line-range ref), diffs show side-by-side with per-change Accept/Reject buttons, and /usage, /model, /mcp all work right in the panel.
Claude Code Full Course — Autonomous Goals, MCP, and VS Code Setup
Channel: freeCodeCamp.org1:21:37
VS Code — official documentation
Official source: code.claude.com/docs
Claude Code for VS Code — marketplace listing
Official source: marketplace.visualstudio.com
Steps are verified against the official VS Code documentation; the freeCodeCamp full course above is the visual source for the screenshots.
Screenshots are attributed to their creators with deep links to the exact timestamps. No face-cam frames are used.
Set up Claude Code in VS Code, step by step
Part 1 — Install and connect
- 1
Install the extension from the marketplace
Open the Extensions view (Cmd+Shift+X on Mac, Ctrl+Shift+X on Windows/Linux), search for "Claude Code", and install the one published by Anthropic (id: anthropic.claude-code). You need VS Code 1.94.0 or later and a paid Claude plan or a Console account. If it does not appear, run "Developer: Reload Window".
- 2
Find the spark icon
After installing, a Claude Code spark icon appears in the editor tab toolbar (with a file open) and in the Activity Bar. Click it to open the panel — or open the Command Palette (Cmd+Shift+P), type "Claude Code", and pick "Open in New Tab". The status bar "✻ Claude Code" entry works even with no file open.
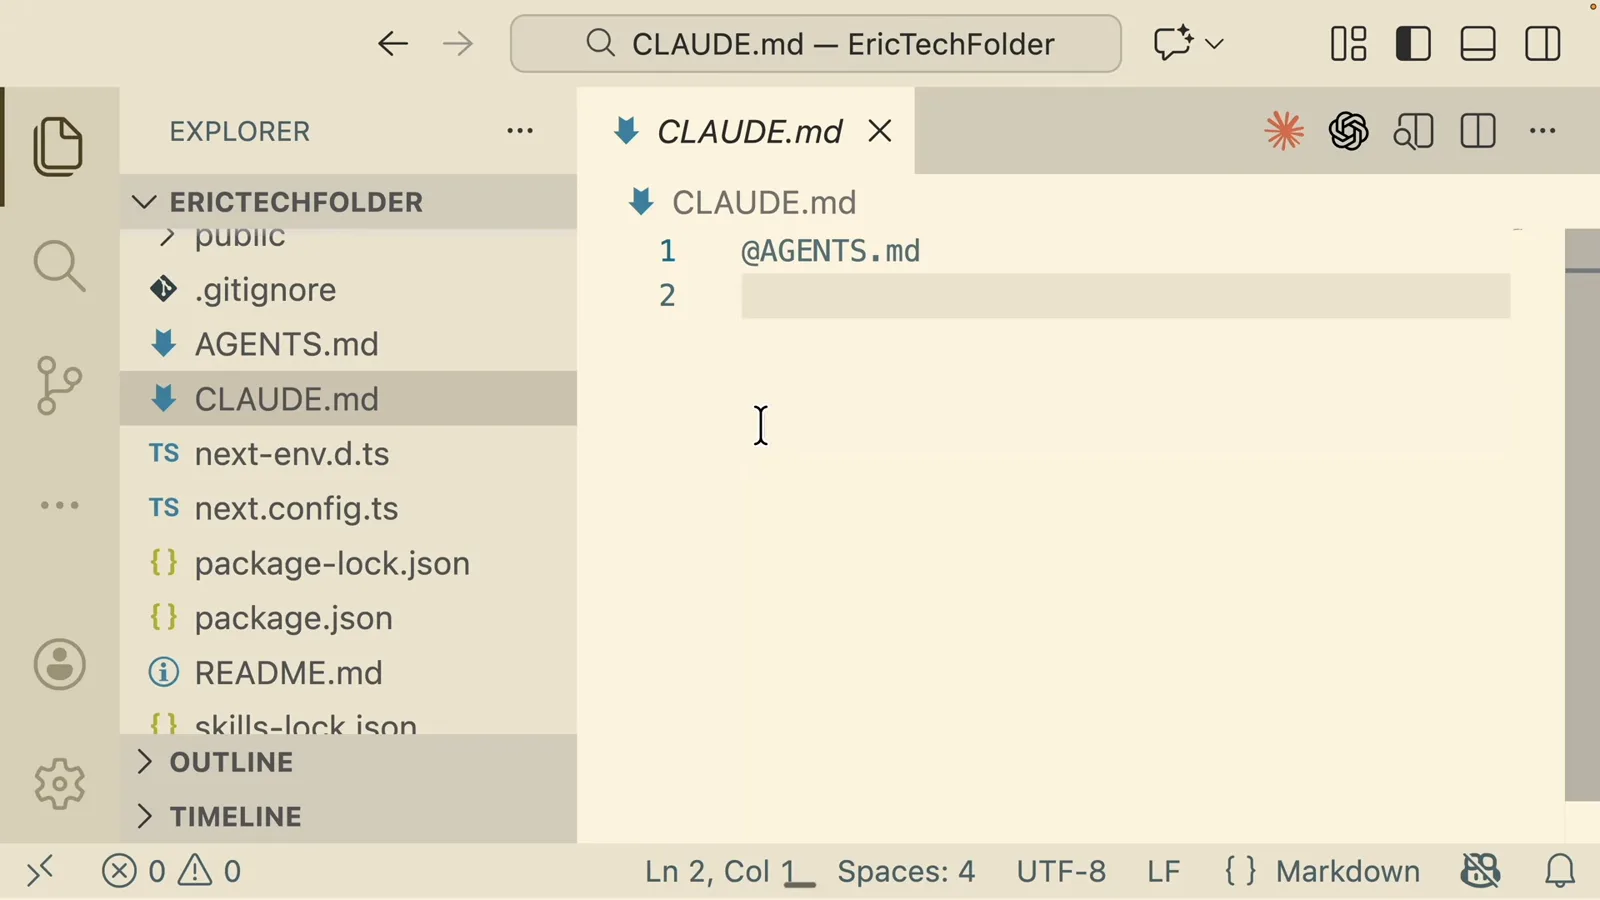
The Claude Code spark icon lives in the editor tab toolbar — one click opens the panel beside your file.Watch at 43:00 - 3
Sign in: plan, Console, or API key
Run /login inside the panel and choose your route: a Claude subscription (Pro, Max, Team, Enterprise), a Console account, or an API key. The browser opens once for authorization, then the panel greets you with your model and plan — no separate account for the extension.
- 4
Meet the panel
The Claude Code session renders right inside VS Code — as a panel, in the sidebar, or in the integrated terminal, your call (preferredLocation setting). The welcome banner shows the active model, your plan, and anything needing attention, like MCP servers waiting on authentication.
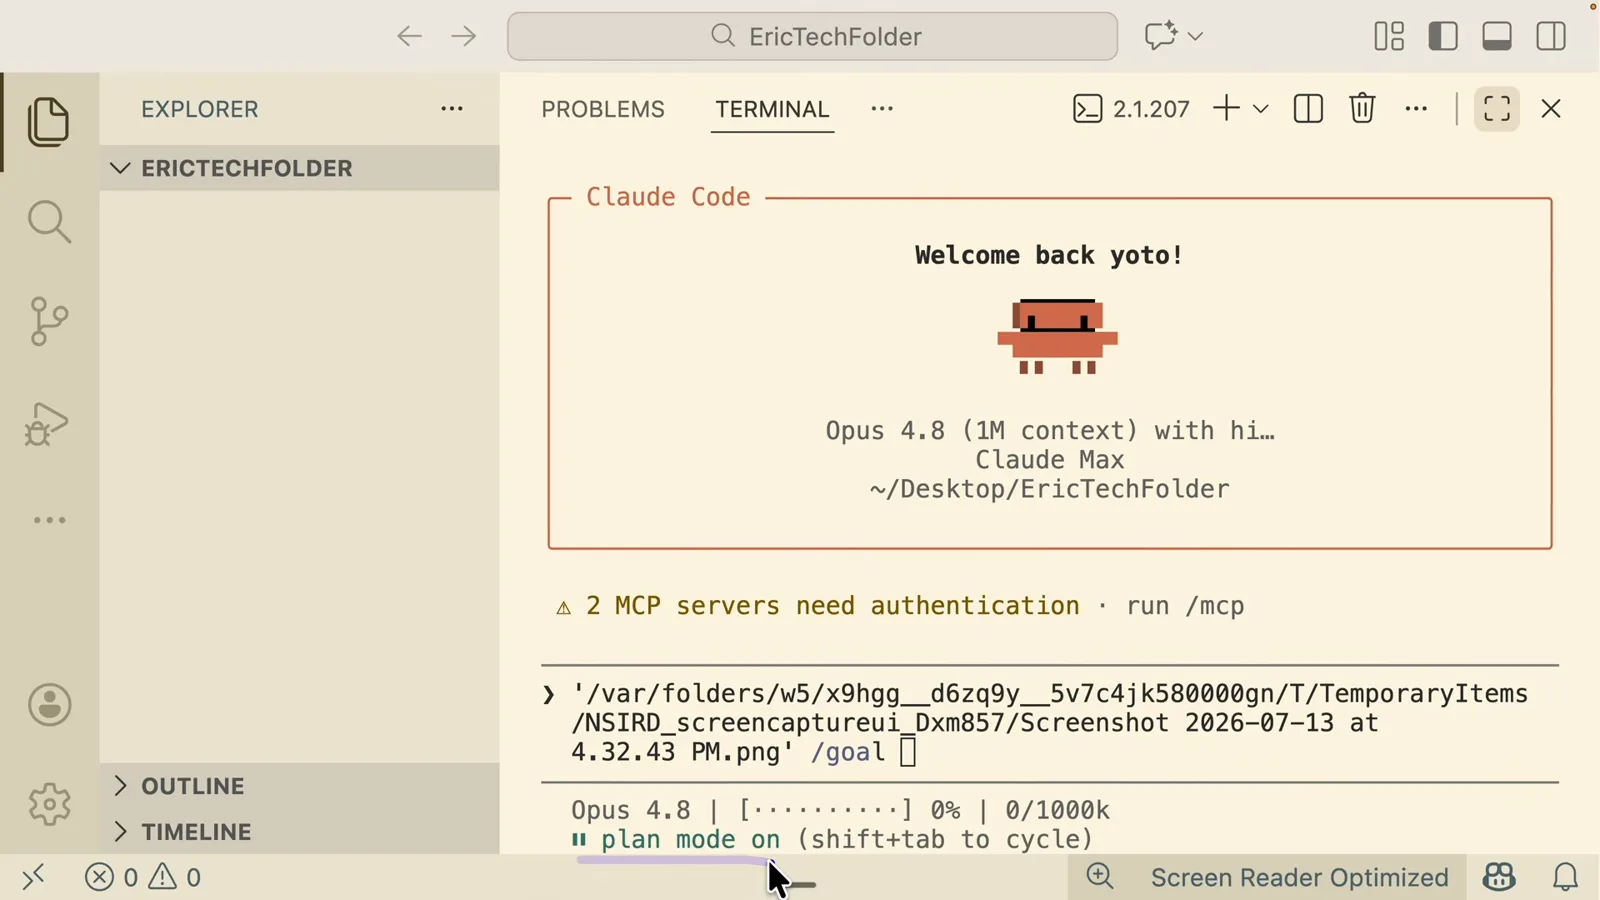
First contact: the Claude Code welcome banner in the terminal panel, with plan mode cycling on Shift+Tab and a /mcp auth reminder.Watch at 17:00
Part 2 — Work in the panel
- 5
Choose your permission mode
The mode indicator sits at the bottom of the prompt box. Plan keeps Claude read-only until you approve a plan; Manual asks before file edits and most shell commands; Auto lets a safety classifier review actions in the background. Cycle with Shift+Tab, and set a default with the initialPermissionMode setting.
- 6
Plan first, answer questions inline
For bigger changes, start in Plan mode: Claude researches, then presents a plan you can comment on like a markdown doc. In this recording it goes further — it asks a multiple-choice question about the tech stack and previews the file tree it intends to create before writing a line.
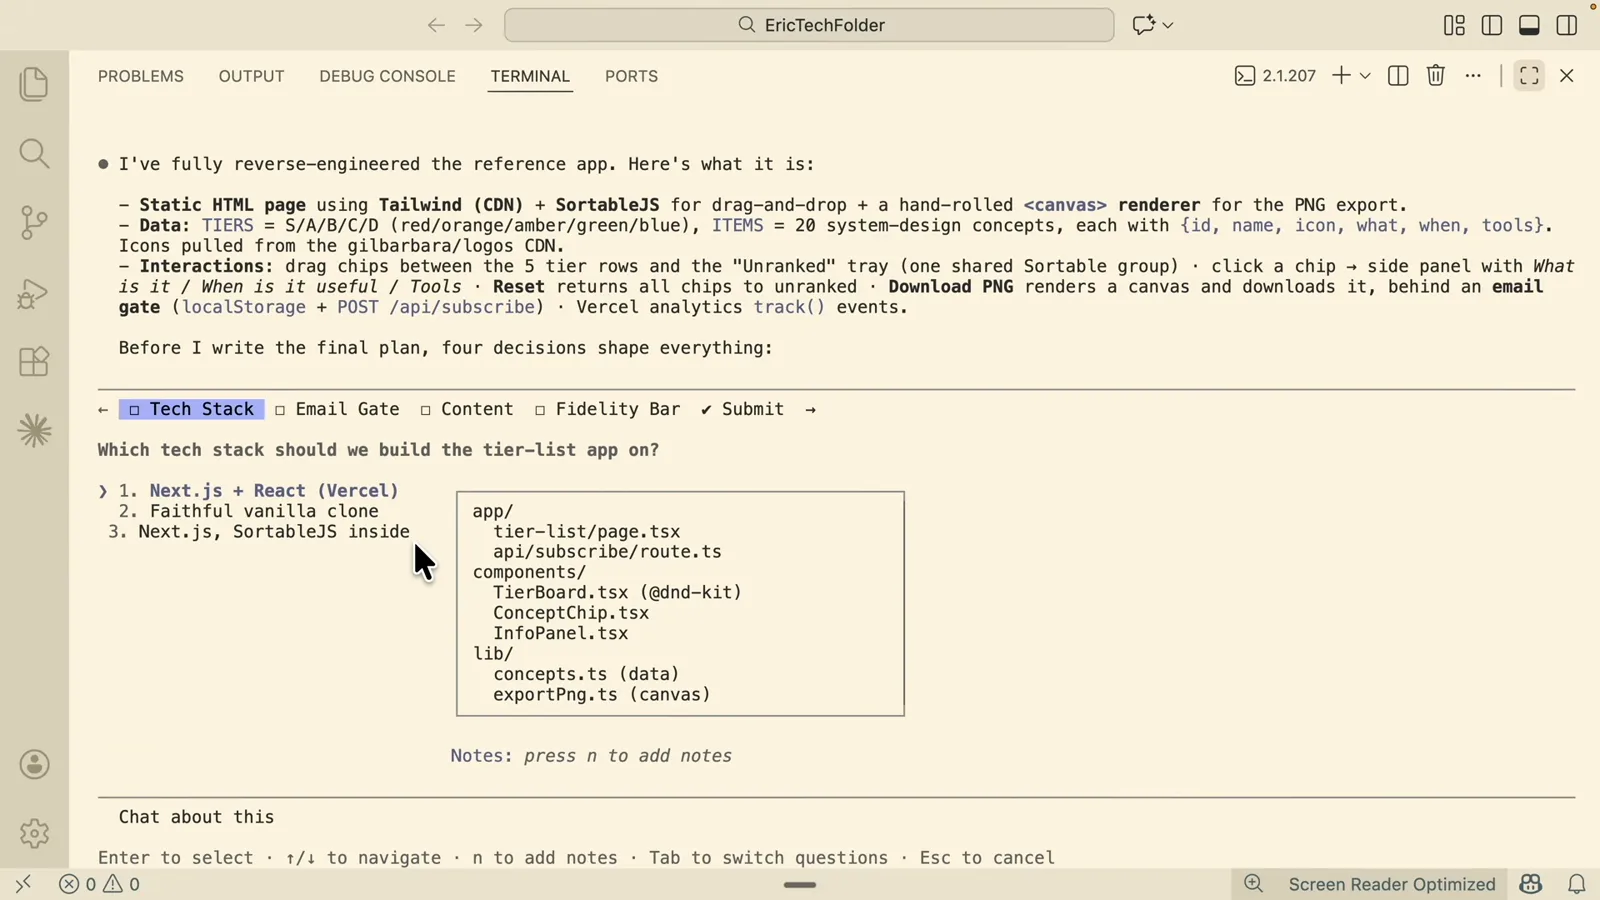
Plan mode in action: an interactive question with selectable options and a preview of the files Claude wants to create.Watch at 19:00 - 7
Point Claude at the right files
Type @ for fuzzy file mentions, or press Option+K (Alt+K) to insert a reference like @app.ts#5-10 for specific lines. Whatever you select in the editor is automatically visible to Claude, and attachOpenFile attaches your open file to prompts by default.
- 8
Review diffs, accept per change
In Manual mode every edit opens a side-by-side diff with "Accept this change" and "Reject this change" buttons on each block — you can keep one hunk and reject its neighbor. "Claude Code: Accept Change at Cursor" and its Reject sibling are in the Command Palette.
- 9
Watch the thinking
Toggle extended thinking from the / command menu and Claude's reasoning appears as collapsed blocks above the answer. Press Ctrl+O to expand them all when you want to audit how a decision was made — handy during code review sessions.
Part 3 — Tune it
- 10
Switch models mid-session
Click the model name in the panel or run /model to switch — Opus Plan for architecture, Sonnet for everyday speed, Haiku for quick edits. The Effort level and the Ultracode toggle sit in the same picker, matching the terminal's behavior.
- 11
Keep project settings in .claude/settings.json
Everything from the settings guide applies here: the panel reads ~/.claude/settings.json plus the project's .claude/settings.json, where team-wide keys like enabledPlugins live. VS Code-specific extras (initialPermissionMode, preferredLocation, autosave) ride along in the same schema.
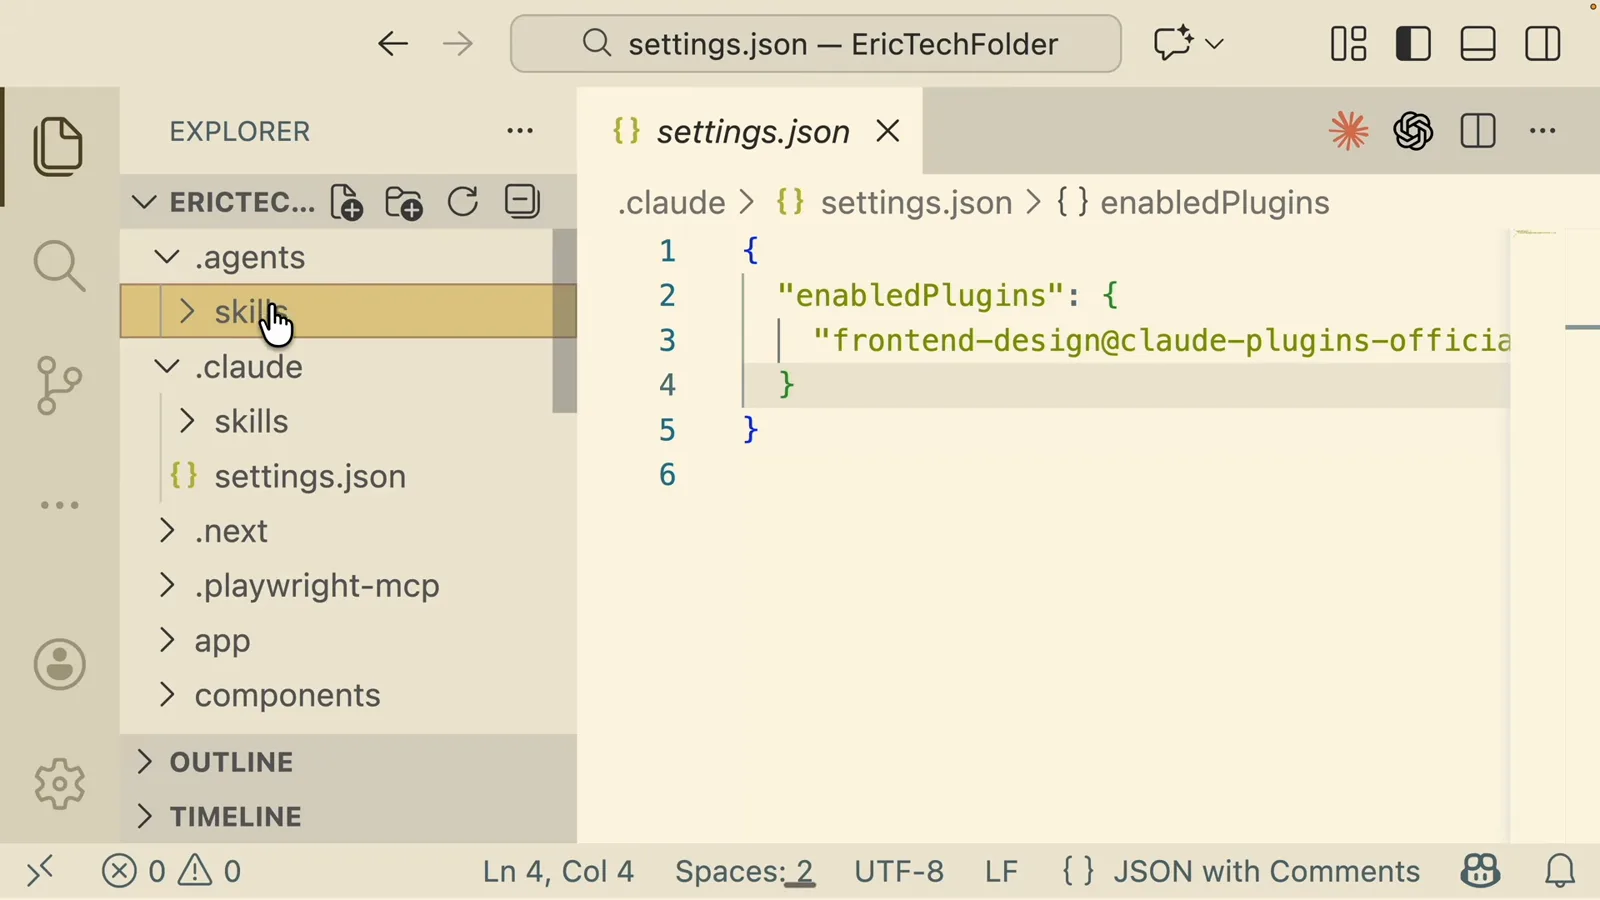
Project settings in VS Code: .claude/settings.json with the enabledPlugins key enabling an official plugin for the whole team.Watch at 42:25
Extension panel vs integrated terminal vs external terminal
Claude Code reaches you through three VS Code surfaces. They share history and login — but they are not the same tool:
- 1The graphical panel — clickable diffs, per-change accept/reject, dropdowns for model and mode. Best for reviewing edits and staying in pointing-device flow.
- 2The integrated terminal CLI — the full command set: ! bash shortcut, Tab completion, every slash command and skill. Best for power users who type faster than they click.
- 3An external terminal plus /ide — run claude outside VS Code and it auto-connects to the editor for diffs and diagnostics; from a terminal that doesn't, type /ide inside Claude Code to attach.
- 4The extension bundles its own CLI, so installing it does NOT put claude on your PATH — do the standalone install if you want the terminal experience too.
- 5Conversation history is shared across all of them: claude --resume from any surface continues a panel conversation, and /ide connects the sessions' context.
Rule of thumb: review in the panel, drive from the terminal. Most people end up using both in the same session — that's what they're designed for.
Extension not working? First aid
Five fixes cover most Claude Code extension problems in VS Code:
- 1Extension missing from search results. Check VS Code version (1.94.0+), then run "Developer: Reload Window". The extension is also on Open VSX and Cursor's registry if the Microsoft marketplace is unavailable to your build.
- 2claude not found in the integrated terminal. The extension bundles its own CLI without touching PATH — run the standalone install script, or keep using the panel.
- 3"2 MCP servers need authentication" banner. Run /mcp in the panel and approve each pending server — project .mcp.json servers require explicit OAuth per account.
- 4Diffs not showing. That's mode-dependent: Plan mode produces no edits to diff, and bypass-style modes may skip the prompt. Switch to Manual (Shift+Tab) for per-change review.
- 5Extension reinstalls itself after uninstall. The CLI auto-installs the IDE extension on startup — disable "Auto-install IDE extension" in /config or set the CLAUDE_CODE_IDE_SKIP_AUTO_INSTALL environment variable.
Still stuck? Run claude doctor in a terminal and /status in the panel — between them they name the broken piece in one screen.