
Cline CLI Tutorial: Install, Auth, Plan/Act & Subagents
Cline's new standalone CLI puts the same plan/act agent in your terminal. This walkthrough covers installing it, wiring up a provider with cline auth, driving the task flags, and turning on VS Code subagents — with a frame from the video for every step.
TL;DR
- Install once with npm install -g cline, then type cline in any project folder to start an interactive session.
- Interactive sessions open in plan mode; type /act when you're ready for edits, /plan to go back, or pass --mode for one-off runs.
- cline auth is the control panel for accounts and models: Cline account, Cline, or bring-your-own providers like OpenRouter — rerun it any time.
- Subagents live in the VS Code extension: install the CLI, hit Enable Subagents in the Cline panel, and Cline spawns headless terminal instances for parallel research.
Cline CLI & Sub Agents: Cline is back with a new CLI Agent, but is it good?
Channel: AICodeKing8:03
Introducing Cline CLI 2.0
Channel: Cline1:42
Cline CLI — official documentation
Docs: docs.cline.bot
Screenshots come from the clean terminal and VS Code demo in AICodeKing's review — the video has no face cam; only the closing end screen was skipped. Commands and flags were cross-checked against Cline's official docs and launch post.
Frames belong to the respective creators and are credited here with deep links to the exact moments; the write-up is ours.
Set up the Cline CLI, step by step
Meet the CLI, install it, connect a provider
- 1
Know what the CLI is (and isn't)
Cline's docs position the CLI as a companion to the IDE, not a replacement: the same agent core, designed to manage many agents running in parallel, with full scriptability and a convenient chat interface. Plan & act modes, checkpoints, terminal execution and headless use are all on board — so everything you know from the VS Code extension carries over.
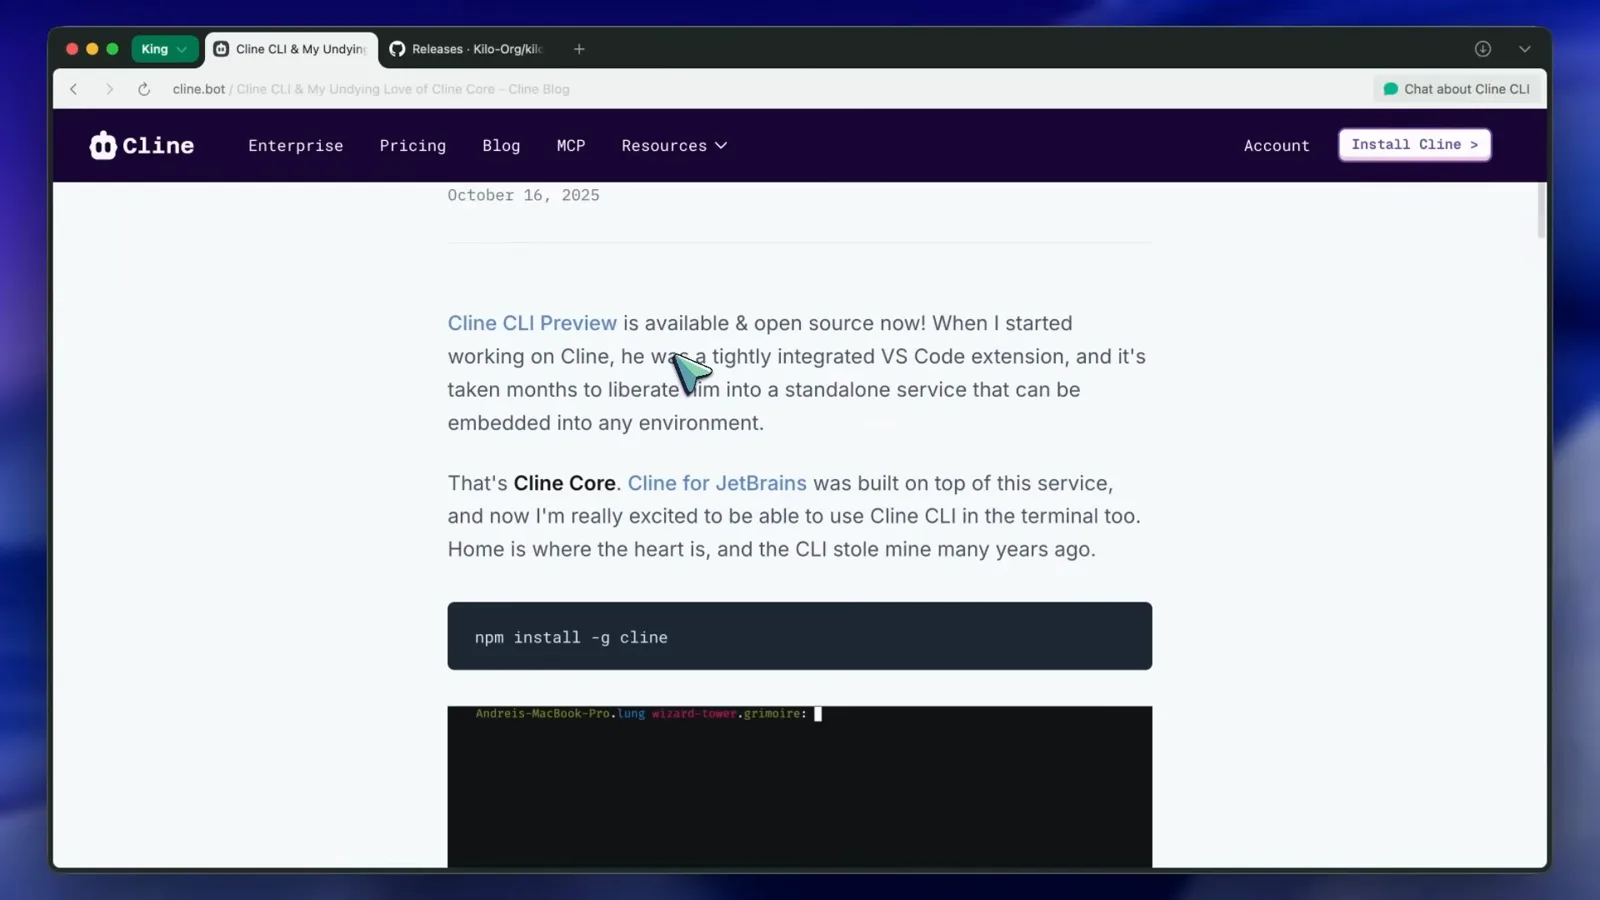
The What's Special About Cline CLI page in the official docs.Watch at 1:18 - 2
See what it's built for
The launch post collects ideas from their Discord: game NPCs that write memories to files, a remote-control mobile app, a Cline-powered Discord bot, Cline in shell scripts, and Cline in GitHub issues automatically triaging bug reports. You don't need any of these to get started — but they explain why the CLI is headless and scriptable by design.
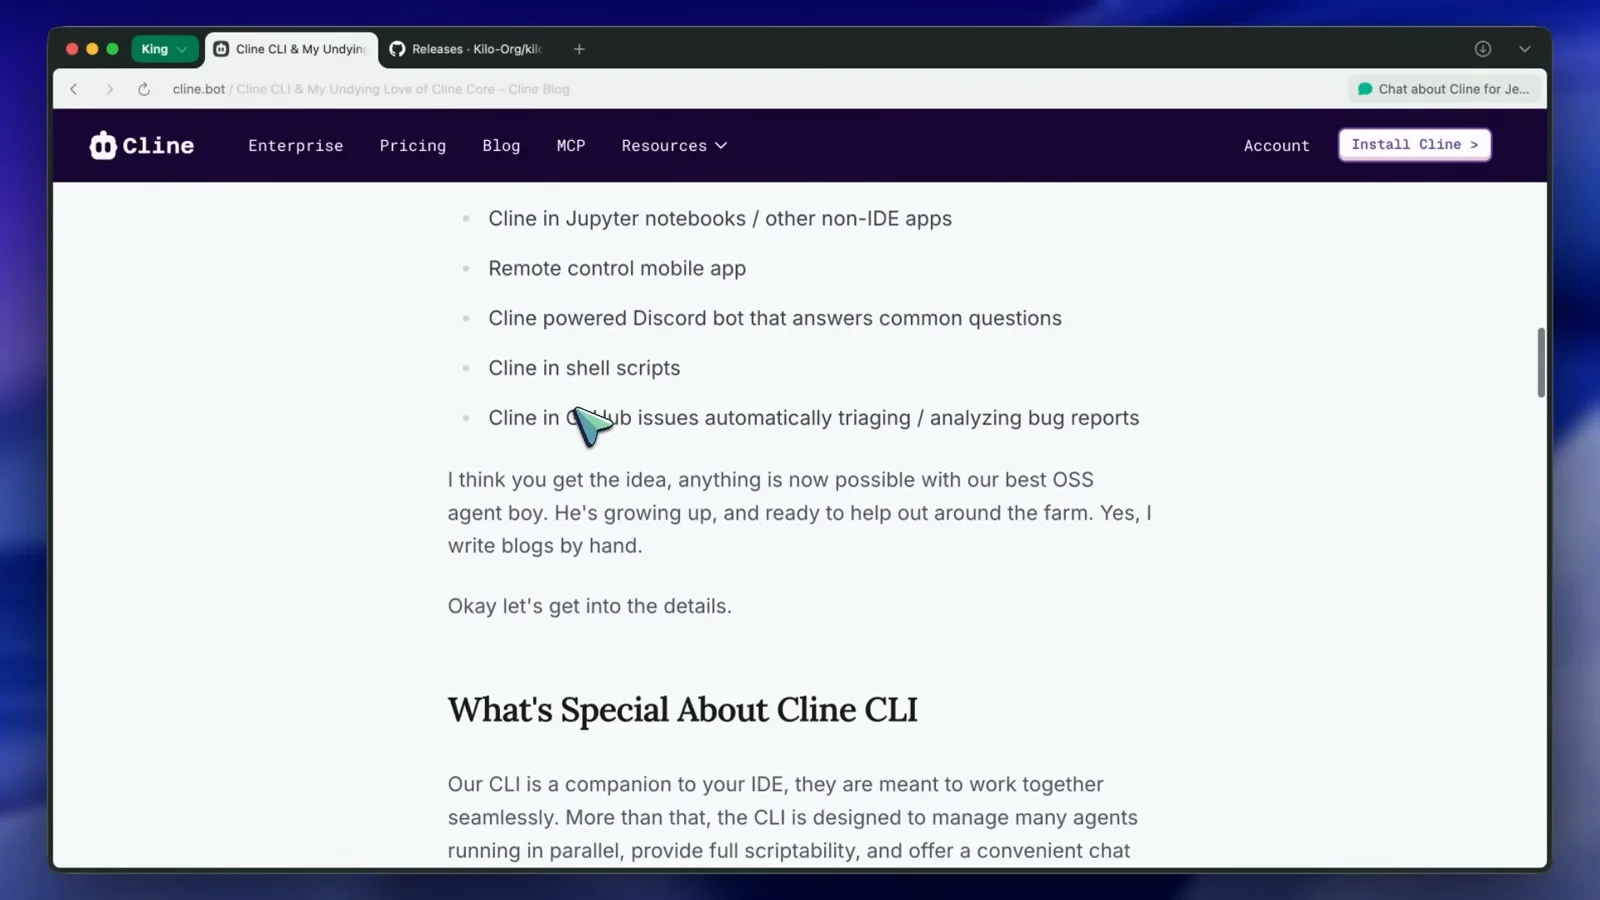
Build ideas for the CLI, straight from the announcement post.Watch at 1:48 - 3
Install the CLI
Run npm install -g cline in any terminal (Node.js required). The same command appears in the Cline for CLI is here banner inside VS Code, with a copy button. When npm finishes, the cline command is available everywhere.
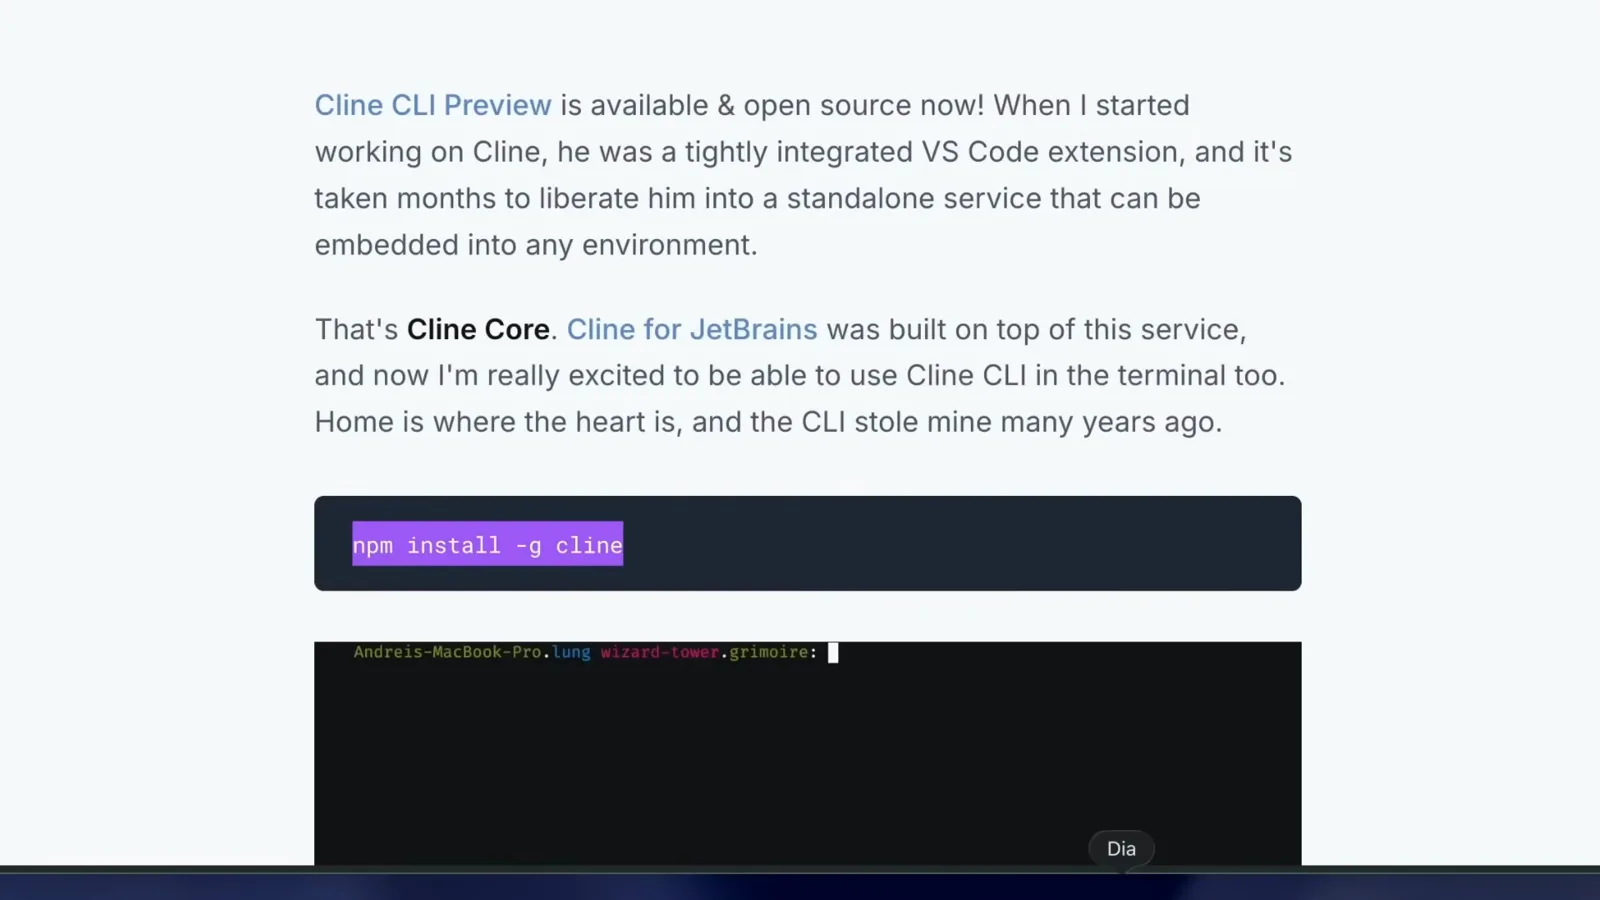
The official install command in the CLI Preview announcement.Watch at 4:30 - 4
Launch it in a project folder
cd into a project and type cline. A welcome box shows the preview version, the active provider and model, and a plan mode badge; below it, Start a new Cline task waits for your first instruction. The bottom bar is your shortcut map: alt+enter or ctrl+j for a new line, ctrl+e opens your editor for long prompts, enter submits.
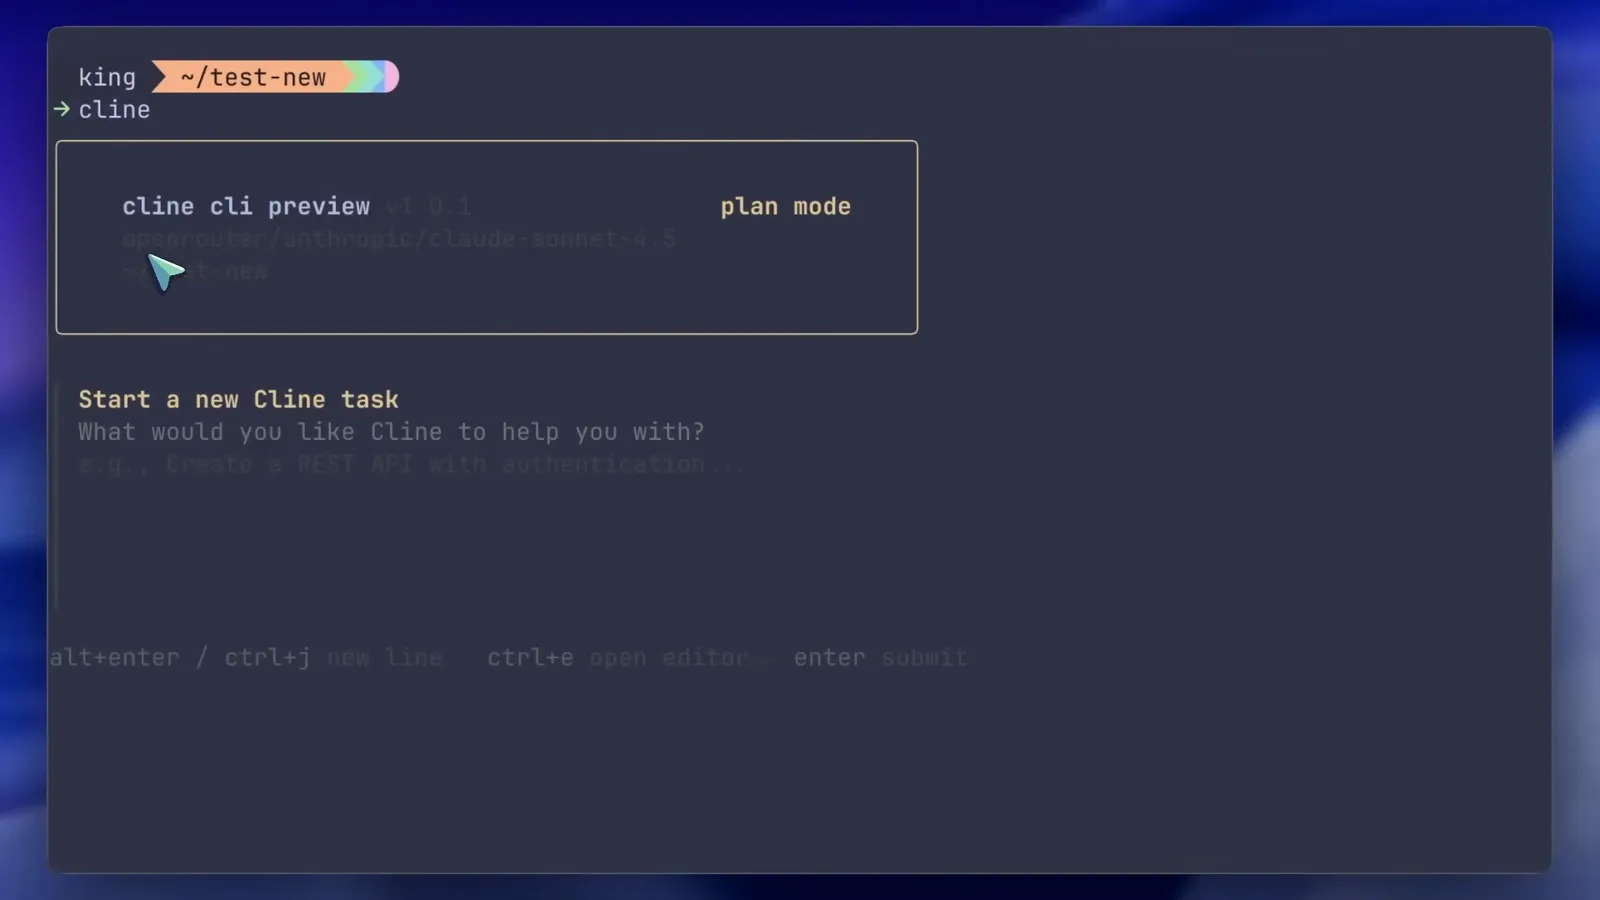
First launch: the welcome box and the new-task prompt.Watch at 3:36 - 5
Connect a provider with cline auth
A fresh install knows nothing about accounts or models. Run cline auth and the authorization wizard appears: authenticate with a Cline account, select the active provider (Cline or bring-your-own), configure an API provider, or exit. In the demo the active model reads anthropic/claude-sonnet-4.5 via OpenRouter. Changed your mind later? cline auth is still the command.
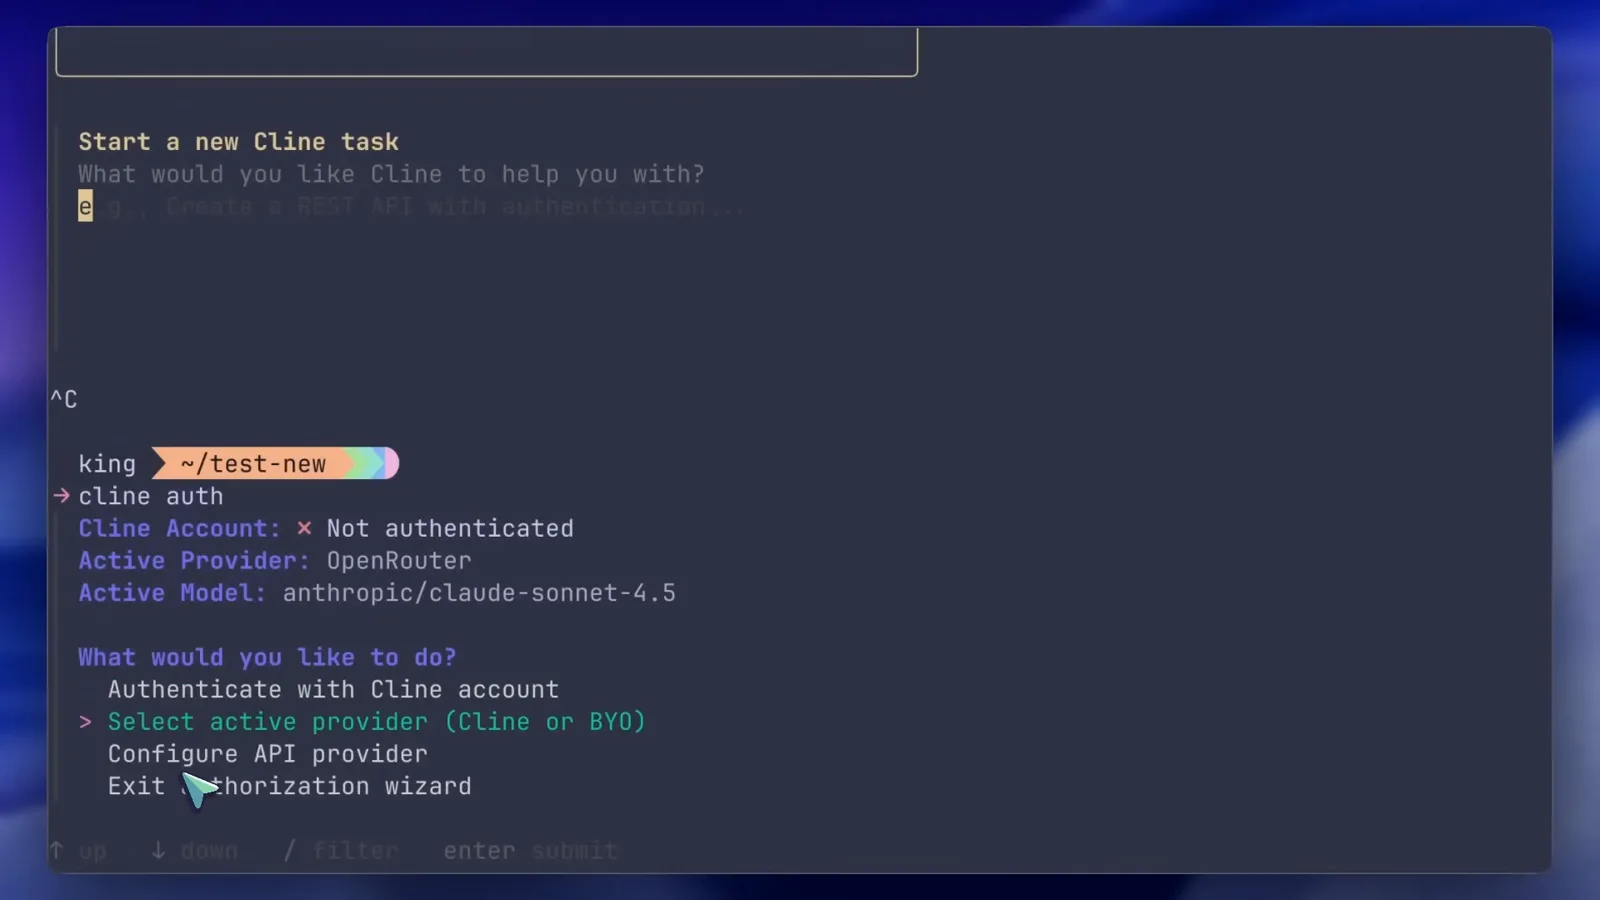
The cline auth wizard with account and provider options.Watch at 3:49
Plan, act and the headless flags
- 6
Expect plan mode first
Send a greeting and Cline answers with a plan instead of touching files — interactive sessions start in plan mode, which is for information gathering and architecting. The reply ends with a token and cost readout, then the input hint reads [plan mode] Cline is ready for your message...
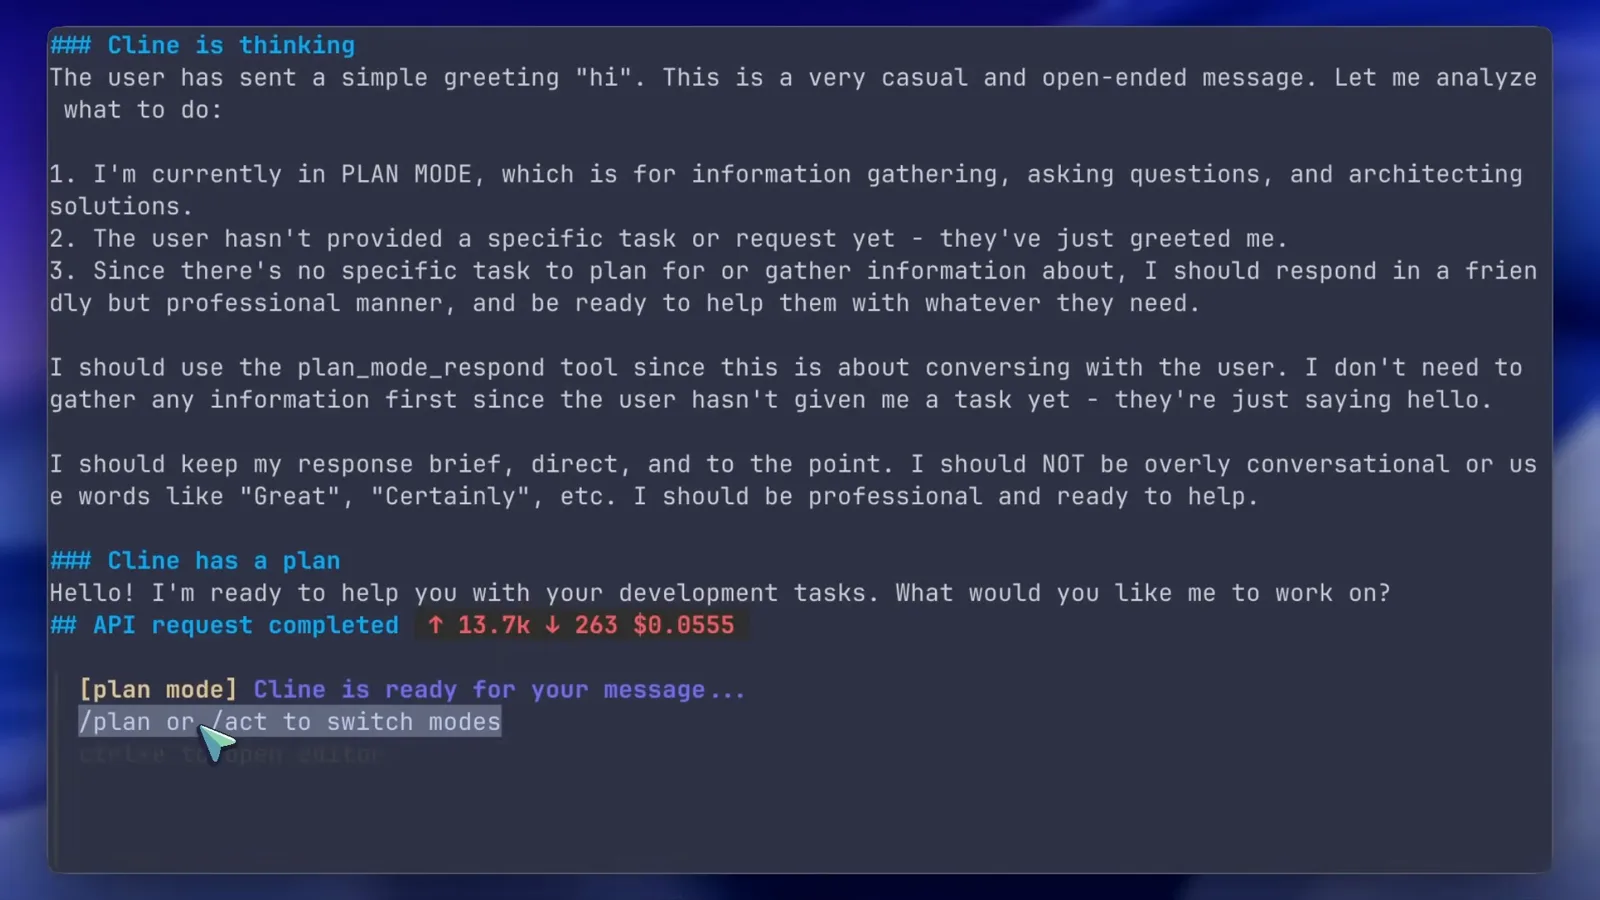
A first reply in plan mode, complete with cost and mode hints.Watch at 4:24 - 7
Switch to act with /act
Type /act and the session switches to act mode, where Cline can edit files and run commands; /plan goes back the other way. For one-off tasks you can set the starting mode with the -m/--mode flag instead, and the current CLI reference also lists -p/--plan for plan-first runs.
![Terminal cursor pointing at the /plan or /act to switch modes hint below the [plan mode] Cline is ready for your message input in the Cline CLI](/images/guides/cline-cli-tutorial/cline-cli-tutorial-plan-act-switch-hint.webp "Terminal cursor pointing at the /plan or /act to switch modes hint below the [plan mode] Cline is ready for your message input in the Cline CLI")
The /plan or /act hint lives right under the input.Watch at 4:16 - 8
Learn the headless flags
The CLI reference's INSTANT TASK OPTIONS section is the cheat sheet: -o (--oneshot) runs a task fully autonomously and exits, -y (--yolo) disables every interactive prompt and auto-completes, -s overrides a setting for one task, and -m sets the starting mode. Flag sets have evolved since launch — the current reference folds oneshot/yolo into --auto-approve and -p/--plan, so run cline -h to see what your version supports.
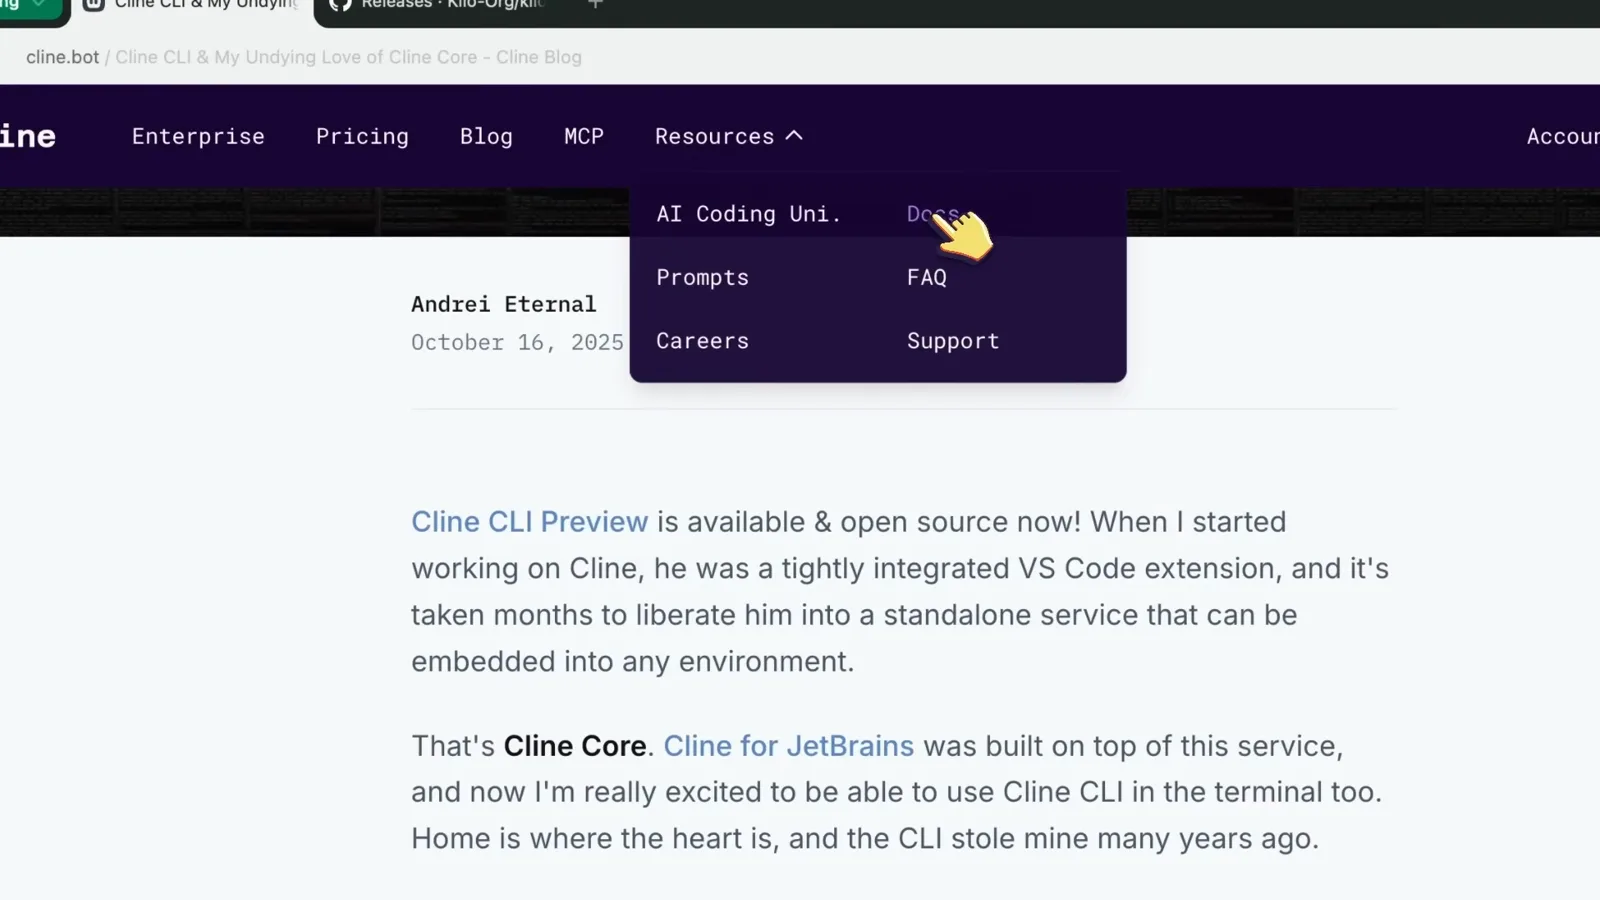
Instant task options: oneshot, yolo, per-task settings and mode.Watch at 4:35
Subagents from the VS Code extension
- 9
Update the extension and spot the banner
Subagents ship in the VS Code extension, new in v4.106.0. Update Cline, open the panel, and the changelog plus the Cline for CLI is here! banner appear — with the npm install -g cline snippet and a note that Cline can spawn cline commands in separate subprocesses to keep the main context window clean.
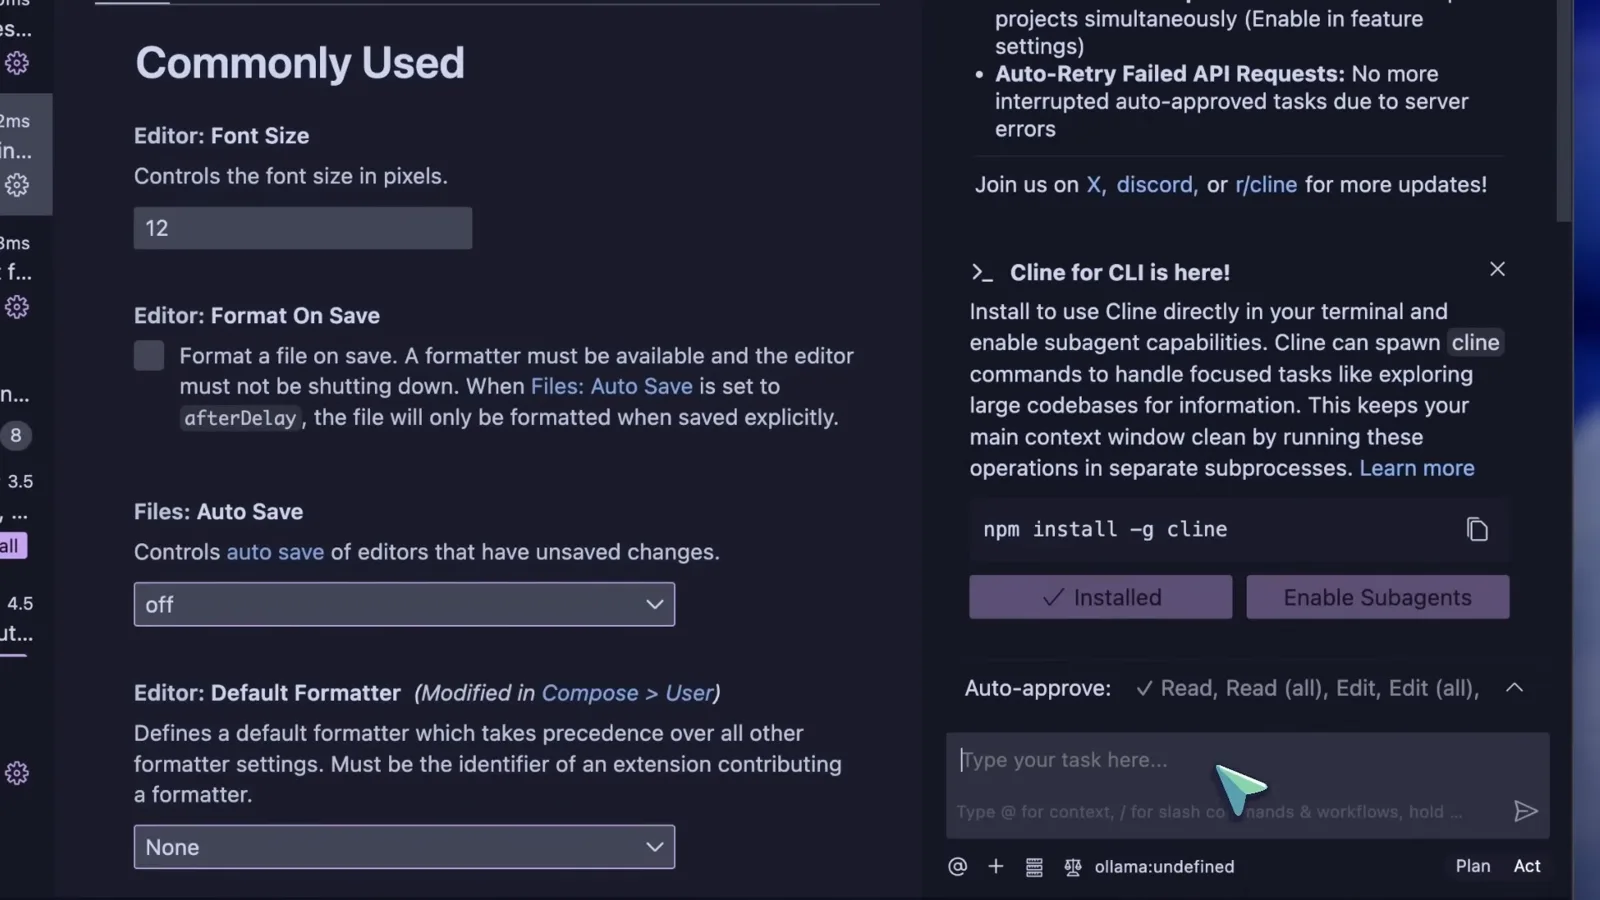
The CLI banner inside the Cline VS Code panel.Watch at 5:25 - 10
Click Enable Subagents
The banner's second button, Enable Subagents, flips the feature on in the extension's feature settings. This is the step that fails without the CLI: subagents work by launching headless cline instances in your terminal, so npm install -g cline has to have run first.
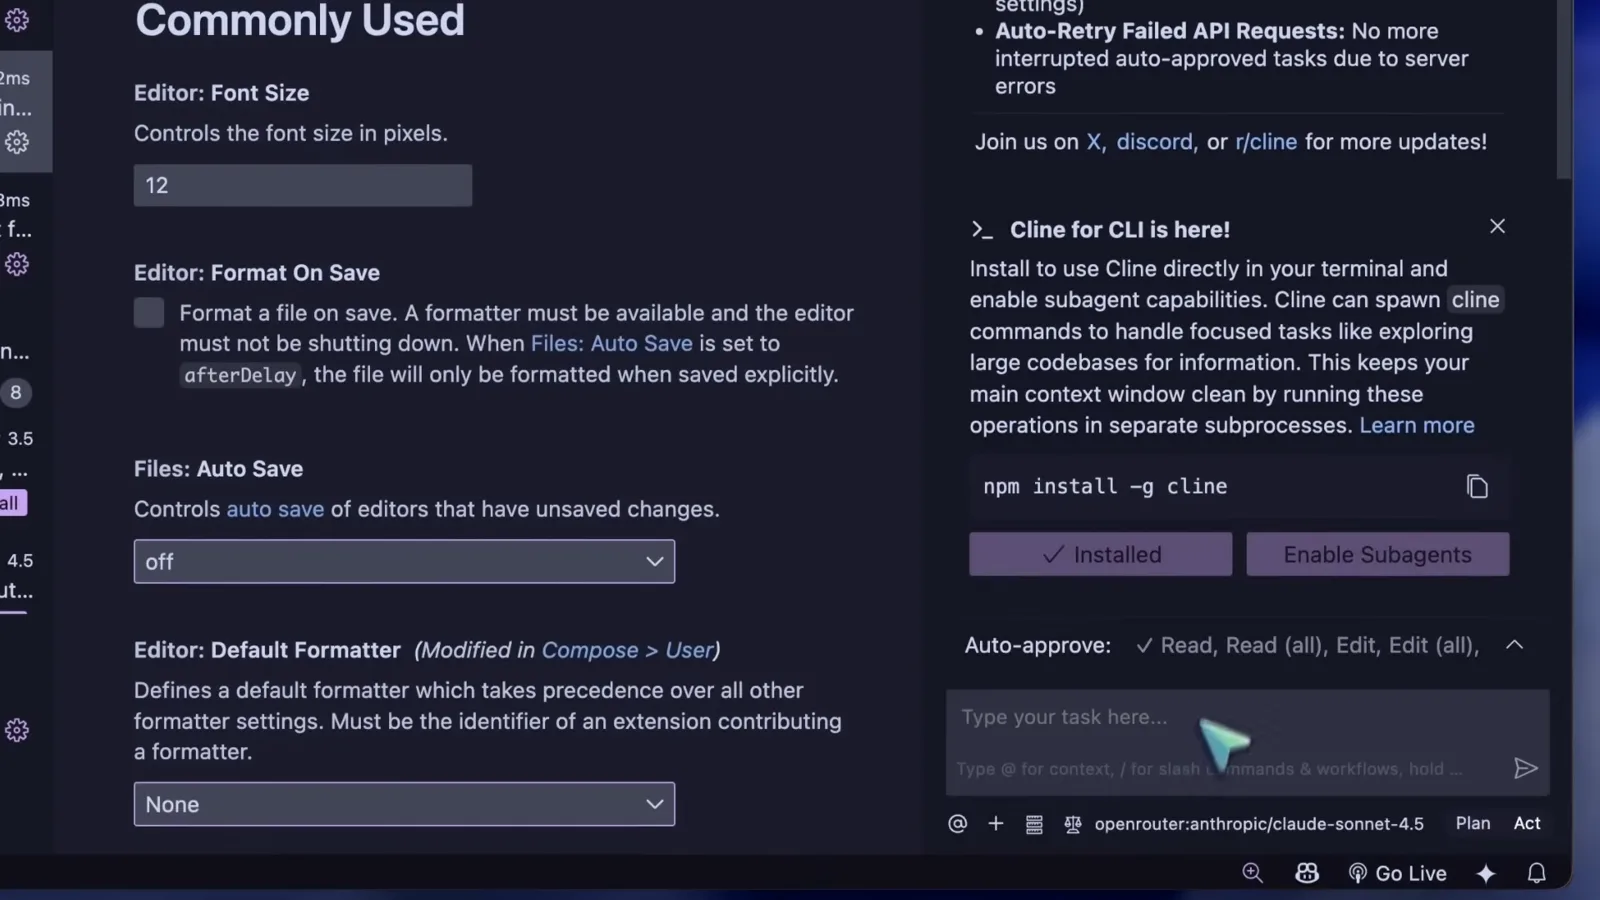
Installed and Enable Subagents sit side by side in the panel.Watch at 5:32 - 11
Ask for a subagent
Give the main agent a task that rewards exploration — in the demo: Spin up a sub agent that tells me about the repo. Cline reasons about the request and dispatches a subagent on its own when parallel research helps; you can also request one explicitly.
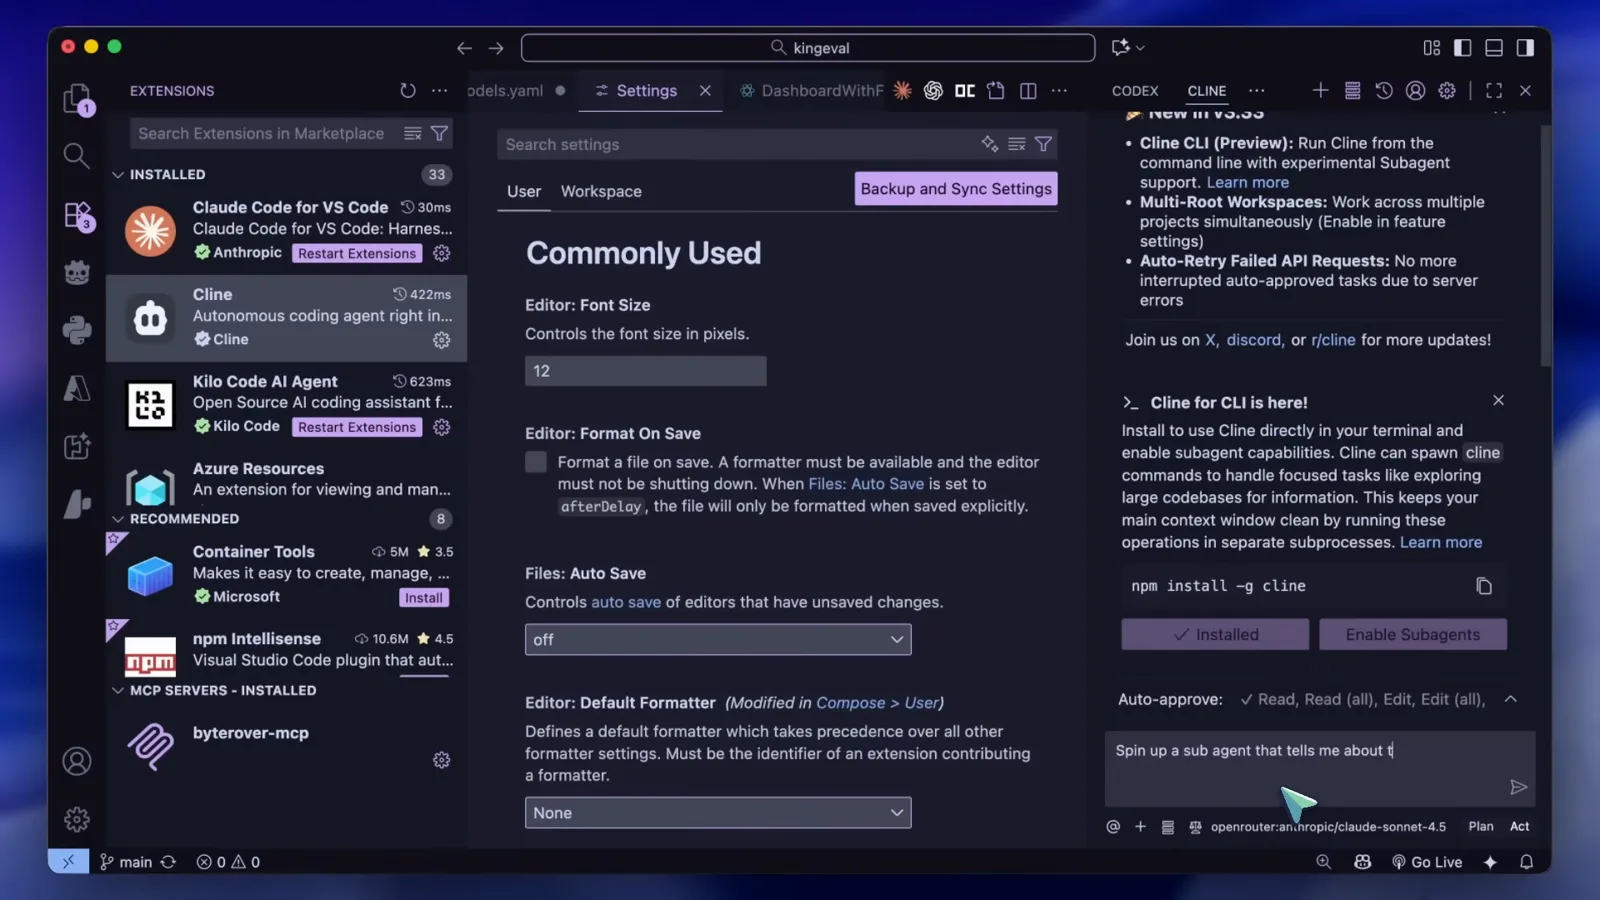
The main agent plans to spin up a sub agent.Watch at 5:42 - 12
Approve the pending prompt
Before anything runs, the panel shows Cline wants to use a subagent with the exact prompt it plans to send — here a five-point repository analysis covering purpose, tech stack, features, data model and implementation patterns. Approve it (or let auto-approve handle it) and the subagent runs headless, returning a report instead of filling the main context window.
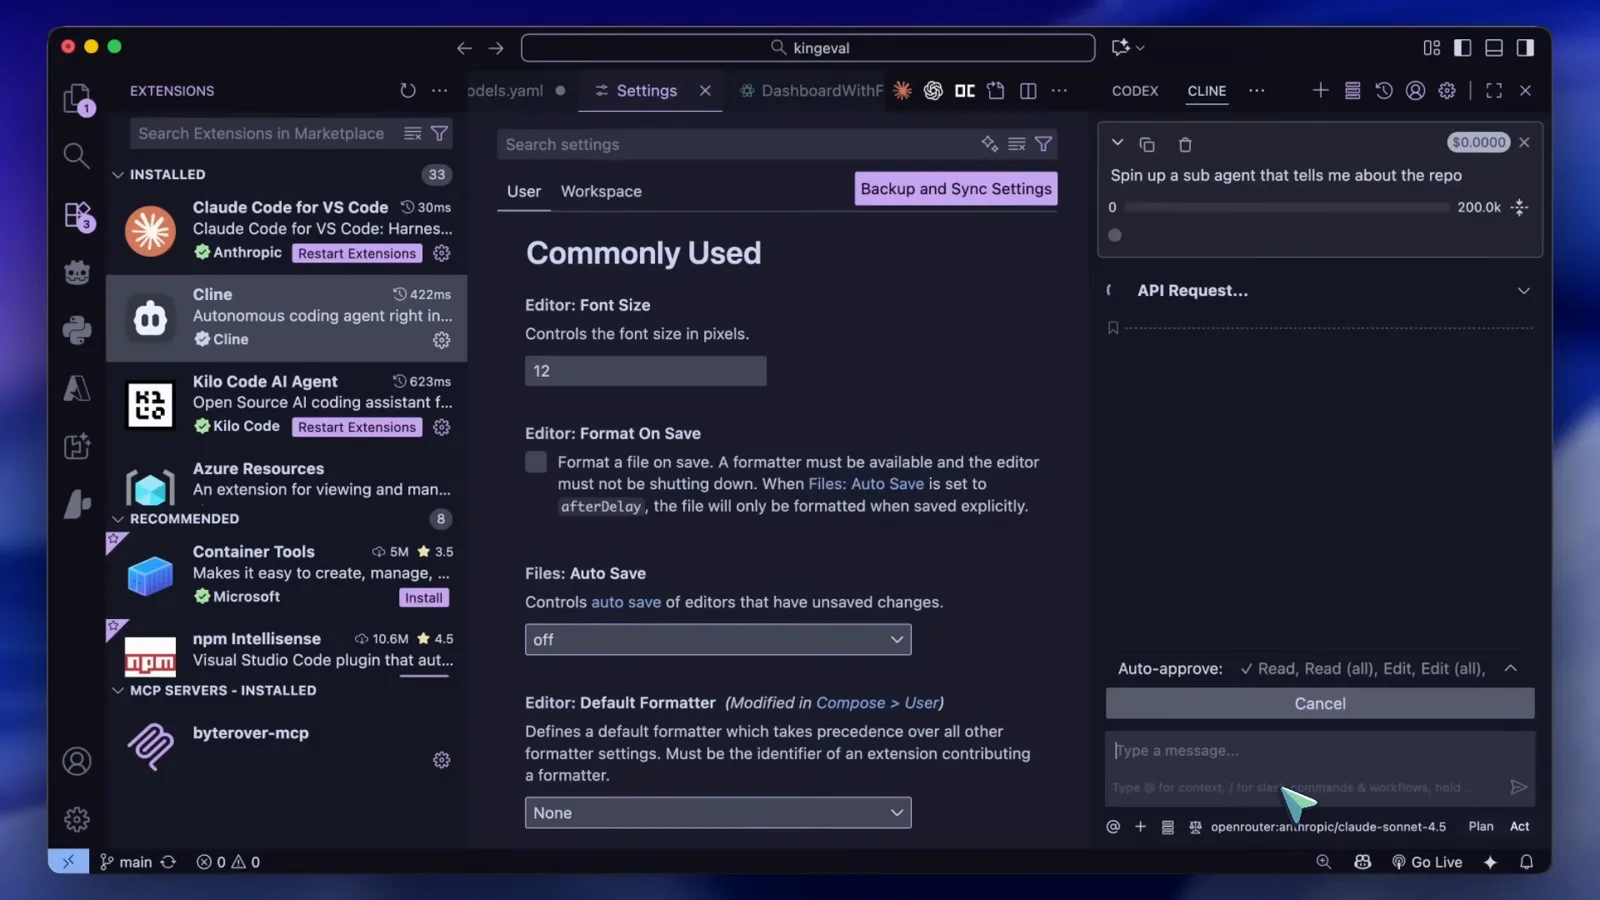
The pending subagent prompt, point by point.Watch at 5:46
Cline CLI vs the Cline VS Code extension: which one when
Both surfaces run the same Cline agent with plan and act modes, so the choice is about where you want the agent to live, not what it can do.
- 1Everyday feature work: stay in the extension. You get the panel, diffs, checkpoints and editor context around your files without leaving VS Code.
- 2Automation and repetitive chores: reach for the CLI. One-off prompts, shell scripts, GitHub Actions, Discord or Slack bots — headless runs with flags like -o and -y are what it was designed for.
- 3Mixed sessions: state carries across. Tasks can start in the terminal and continue in the IDE (and back), so a plan you sketch in a terminal can become an afternoon of edits in VS Code.
- 4Subagents need both: the extension orchestrates while the CLI executes. The Enable Subagents button only works once the CLI is installed — that's the whole mechanism.
If you only pick one, pick the one that matches where your work already happens; installing the CLI costs one npm command and unlocks the subagents toggle either way.
Subagents in practice: prompts, limits, fixes
Subagents were the headline of this release, and they're also where first runs go sideways. What the demo shows, plus what the current docs add:
- 1No Enable Subagents button? Update the extension to v4.106.0 or newer — the button lives in the Cline for CLI banner, and the CLI itself must be installed or nothing will spawn.
- 2No subagent ever spawns? Ask explicitly ("spin up a sub agent to..."). Per the current docs, subagents are read-only researchers: they can read files, search and run read-only commands, but can't edit files, use the browser or MCP, or spawn further subagents.
- 3It ran — now what? Each subagent returns a report pointing at the file paths it found, and per-agent stats (tool calls, tokens, cost) appear in the chat, so you can audit what the fleet did.
- 4Tired of approvals? Subagent launches follow the Read project files auto-approve permission — enable it and the prompts stop blocking, with the full prompt still shown in the panel.
- 5Behavior changed since the video? At launch this was an experimental feature-settings toggle; the current docs describe subagents as enabled by default, configurable via Settings → Features, with the flag set consolidated (--auto-approve, -p/--plan) in the CLI reference. When docs and an older review disagree, trust the docs.
Treat subagents as a research multiplier, not an army of coders: they compress an hour of codebase reading into one report, and the main agent does the writing.