
How to Use DeepSeek in Google Antigravity
A 13-step illustrated walkthrough of Google Antigravity — the model selector as it really ships, the honest limits for DeepSeek users, and the two routes that actually work: a custom OpenAI-compatible endpoint and an MCP bridge.
TL;DR
- Google Antigravity is an agentic IDE that combines an Agent Manager, a full code editor and an agent-driven browser — the official demo below walks all three.
- The built-in model selector offers Gemini 3 tiers, Claude Sonnet 4.6 and Opus 4.6, and GPT-OSS-120B. DeepSeek is not on the list, on any plan.
- Two honest routes: a custom OpenAI-compatible endpoint (community reports say it only appears on Linux/Cloudtop setups) or an MCP server that exposes DeepSeek as a tool.
- On the DeepSeek side, use base URL https://api.deepseek.com with model names deepseek-flash or deepseek-v4-pro — the API is OpenAI-compatible.
Learn the basics of Google Antigravity
VideoGoogle Antigravity13:53
Antigravity models & DeepSeek API docs
Fact sourceantigravity.google / api-docs.deepseek.com
Honest limit: Antigravity does not ship a DeepSeek model option. The custom-endpoint path is reported to work on Linux/Cloudtop setups only, and the MCP route adds DeepSeek as a tool rather than a built-in model. We update this page as the lineup changes.
Screenshots come from Google's official demo video and are used with attribution; DeepSeek API facts come from the official API documentation.
Antigravity, step by step — then wiring in DeepSeek
- 1
Install Antigravity and sign in
Get the desktop app from antigravity.google, pick a theme, and finish the Google sign-in. Everything in this guide was checked against the public 2026 build, so your screens should match.
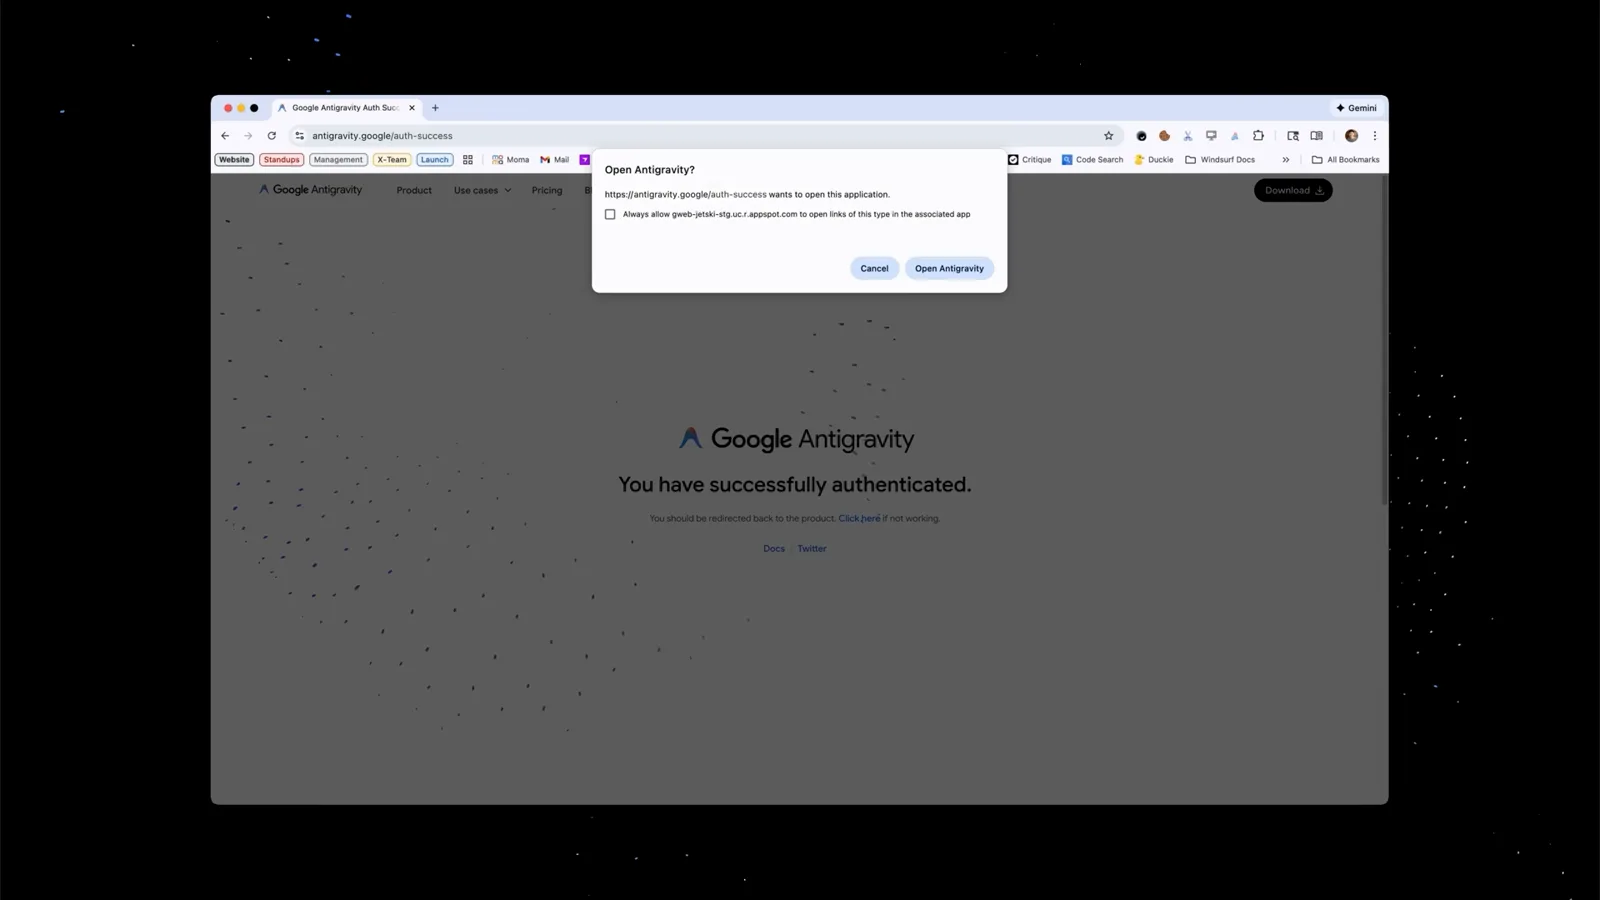
The confirmation shown in Chrome right after a successful Google sign-inWatch at 0:40 - 2
Learn the three surfaces
Antigravity bundles an Agent Manager for orchestrating tasks, a full code editor, and a browser the agent can drive. You will move between all three, so open the editor once and locate the Switch to Agent Manager shortcut before starting real work.
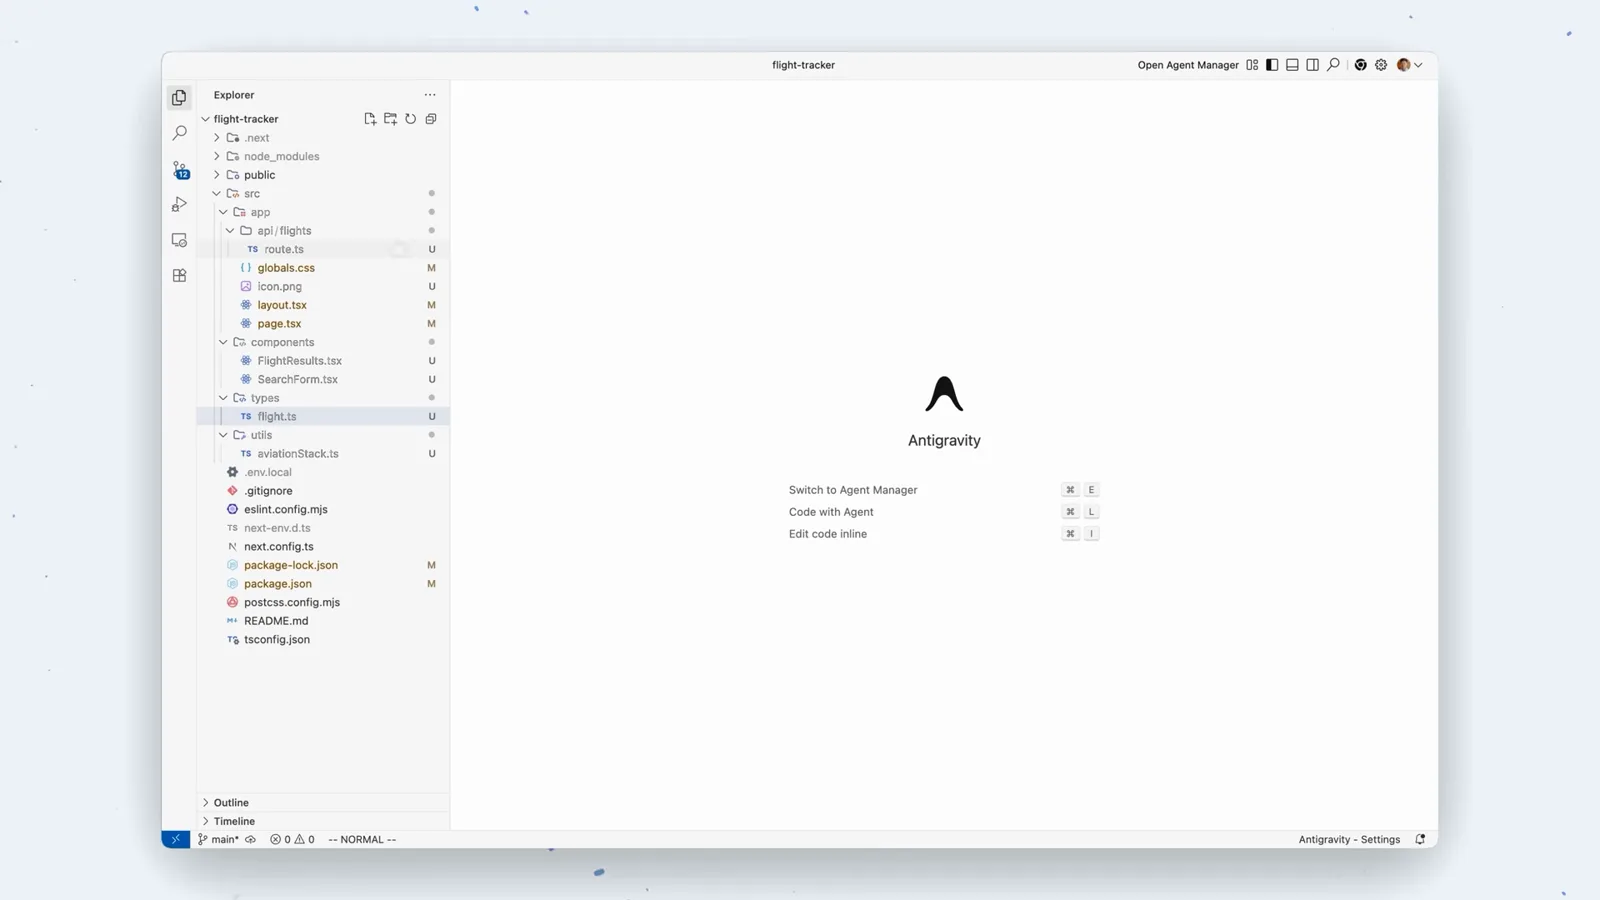
Editor welcome panel with the Agent Manager shortcut visibleWatch at 1:10 - 3
Approve the one-time browser extension
The first time the agent wants to test what it built, Chrome asks you to add the Antigravity Browser Extension. This is what enables the blue-bordered, agent-controlled browsing later — approve it once and move on.
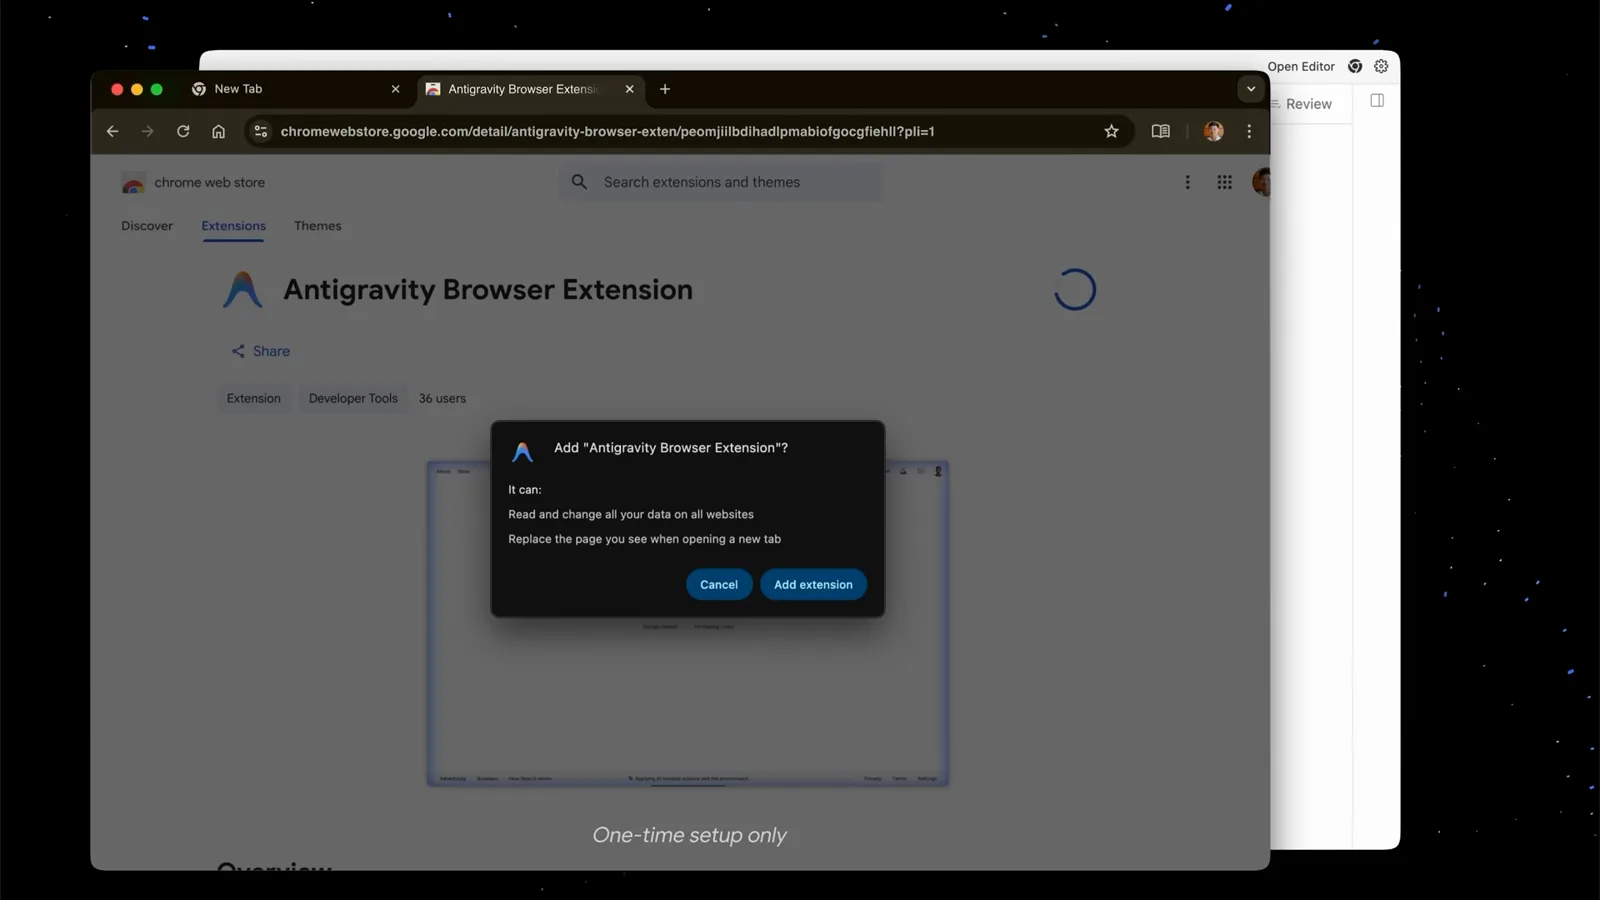
Chrome's Add Antigravity Browser Extension promptWatch at 5:20 - 4
Open the model selector and see what ships
Every prompt box carries a chip row that opens the model selector. The official list covers Gemini 3 Flash tiers, Gemini 3.1 Pro, Claude Sonnet 4.6 and Opus 4.6 (thinking), and GPT-OSS-120B. There is no DeepSeek entry on any plan — that is the honest starting point for this guide.
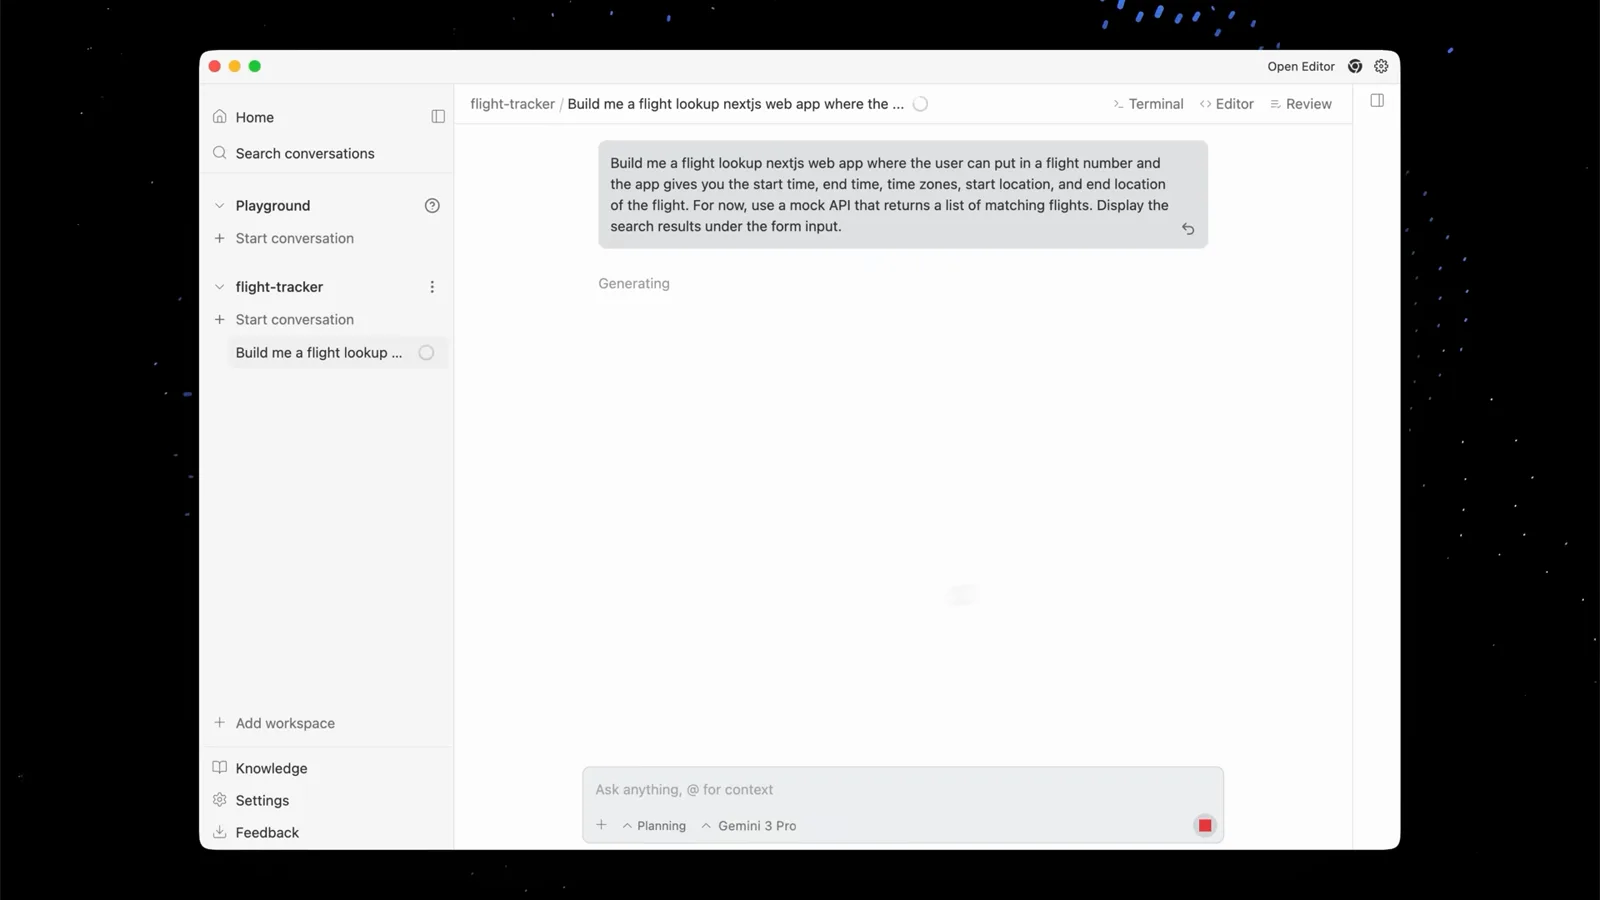
Prompt box showing the Planning workflow and Gemini 3 Pro chipsWatch at 3:00 - 5
Understand artifacts: task list, plan, walkthrough
The agent tracks itself with three artifacts: a running task list, an implementation plan it asks you to approve, and a final walkthrough with verification evidence. The plan is where you will pin the DeepSeek configuration later.
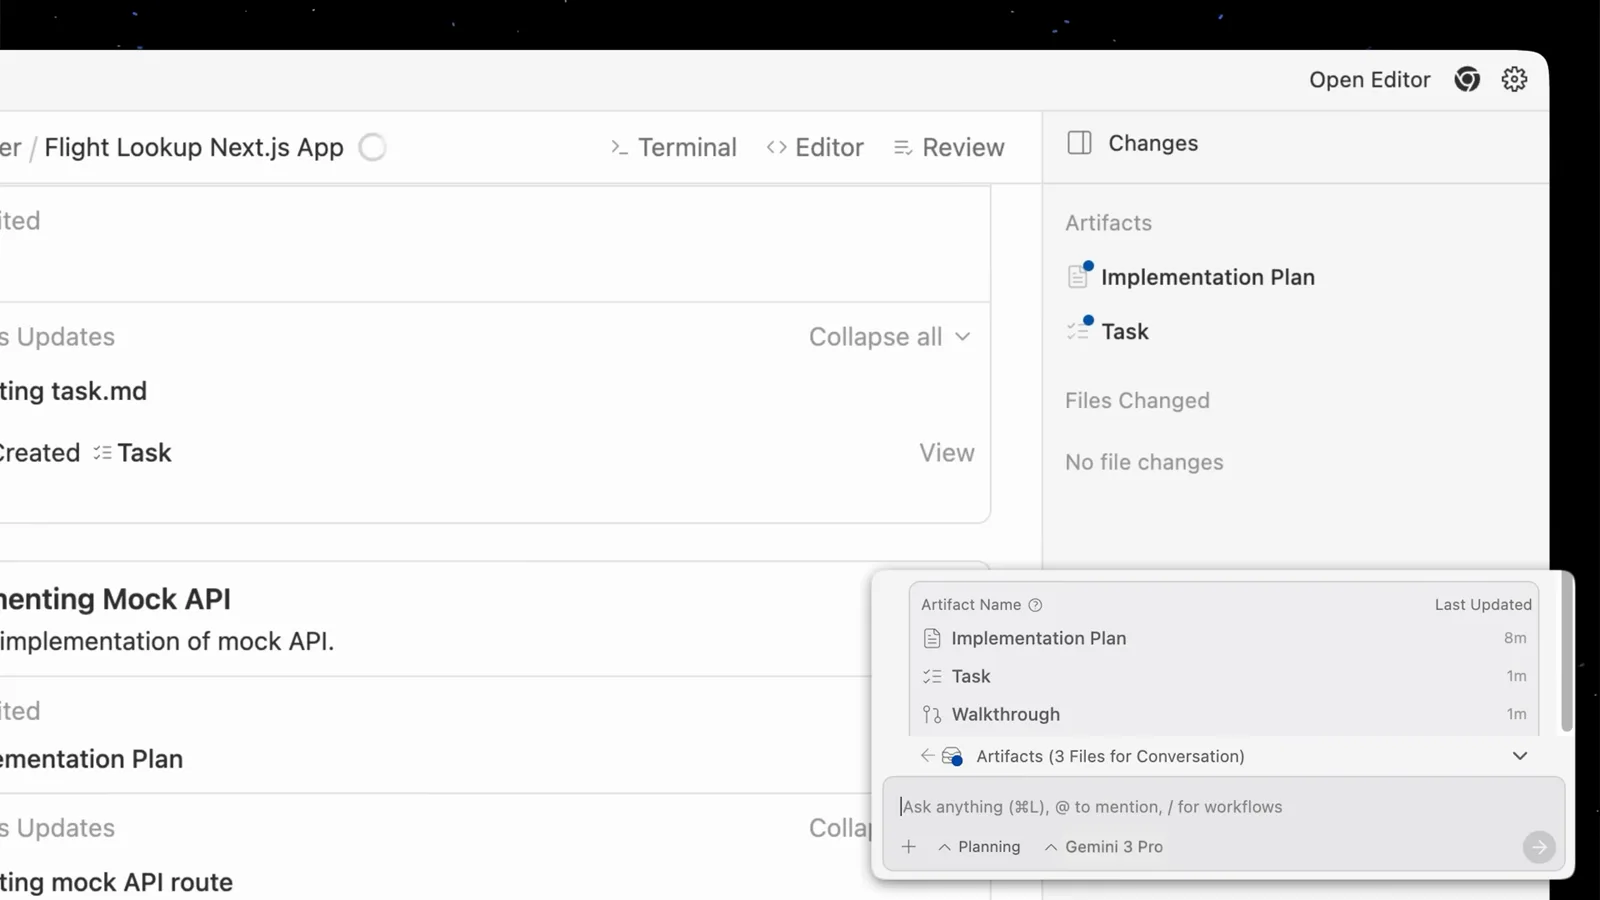
Changes panel listing the Implementation Plan and Task artifactsWatch at 3:40 - 6
Watch one native build end to end
Before bringing in an outside model, watch the default flow deliver: an app generated from one prompt, previewed in the managed browser, and tested by the agent itself. Knowing what the built-in models already do well tells you exactly what you want DeepSeek for.
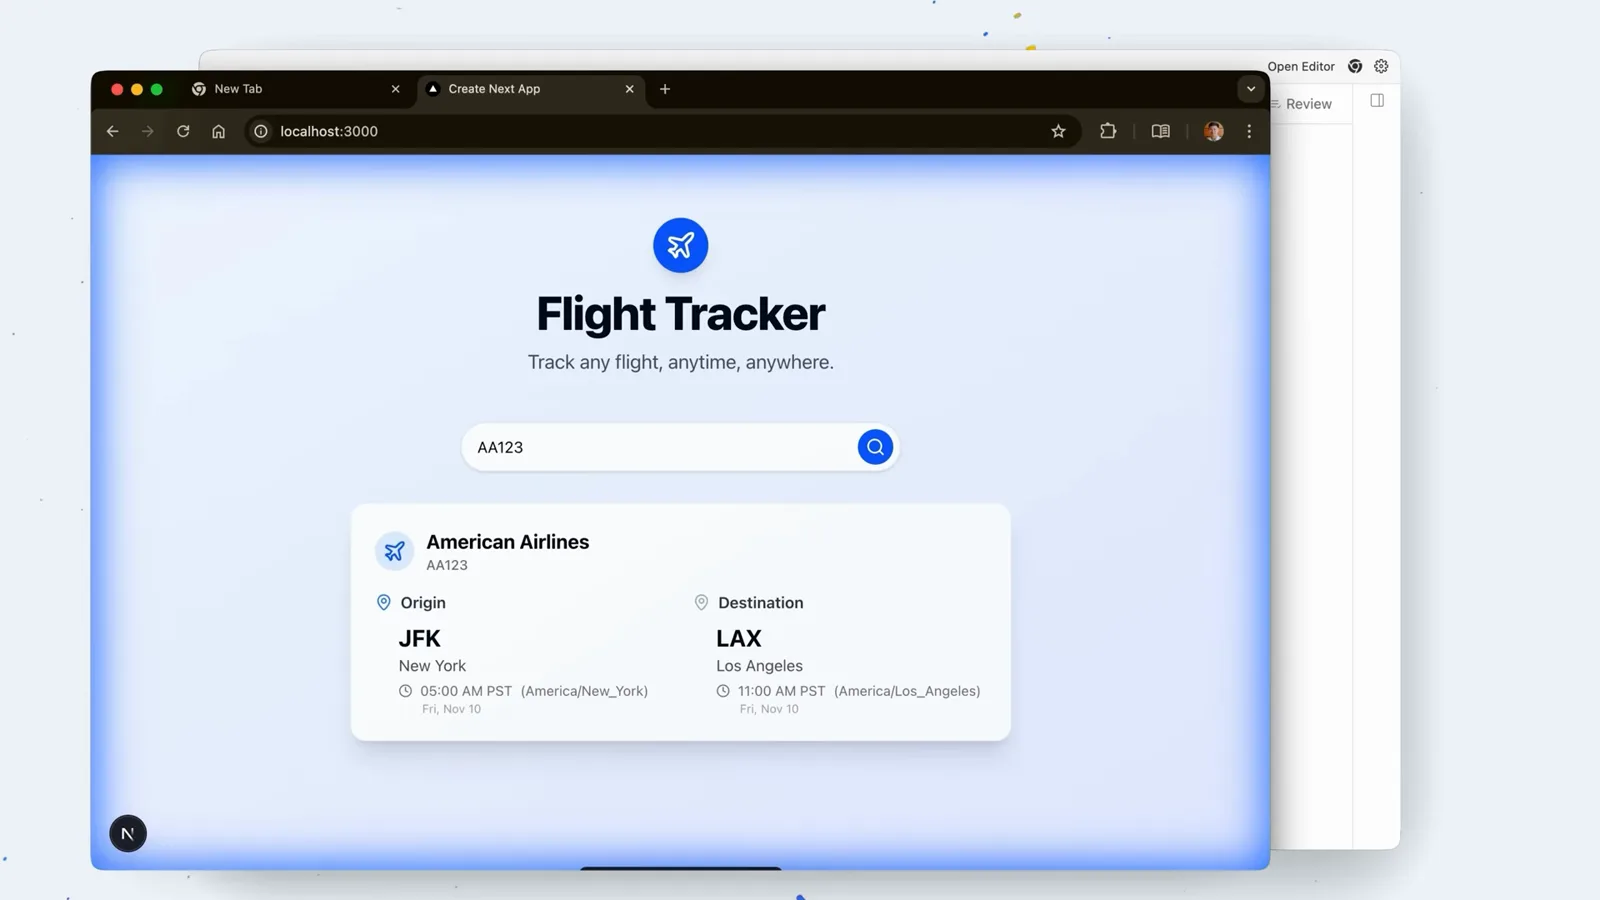
Generated Flight Tracker app answering an AA123 lookupWatch at 1:40 - 7
Route 1 — teach the agent the DeepSeek API
Ask the agent to research the DeepSeek API docs, then comment on its plan like a Google Doc: base URL https://api.deepseek.com, model deepseek-flash or deepseek-v4-pro, OpenAI-compatible format, your key in .env. The agent folds comments into the code it writes. Note the limit: the desktop app we tested has no custom-model settings screen; community reports place that option on Linux/Cloudtop setups only.
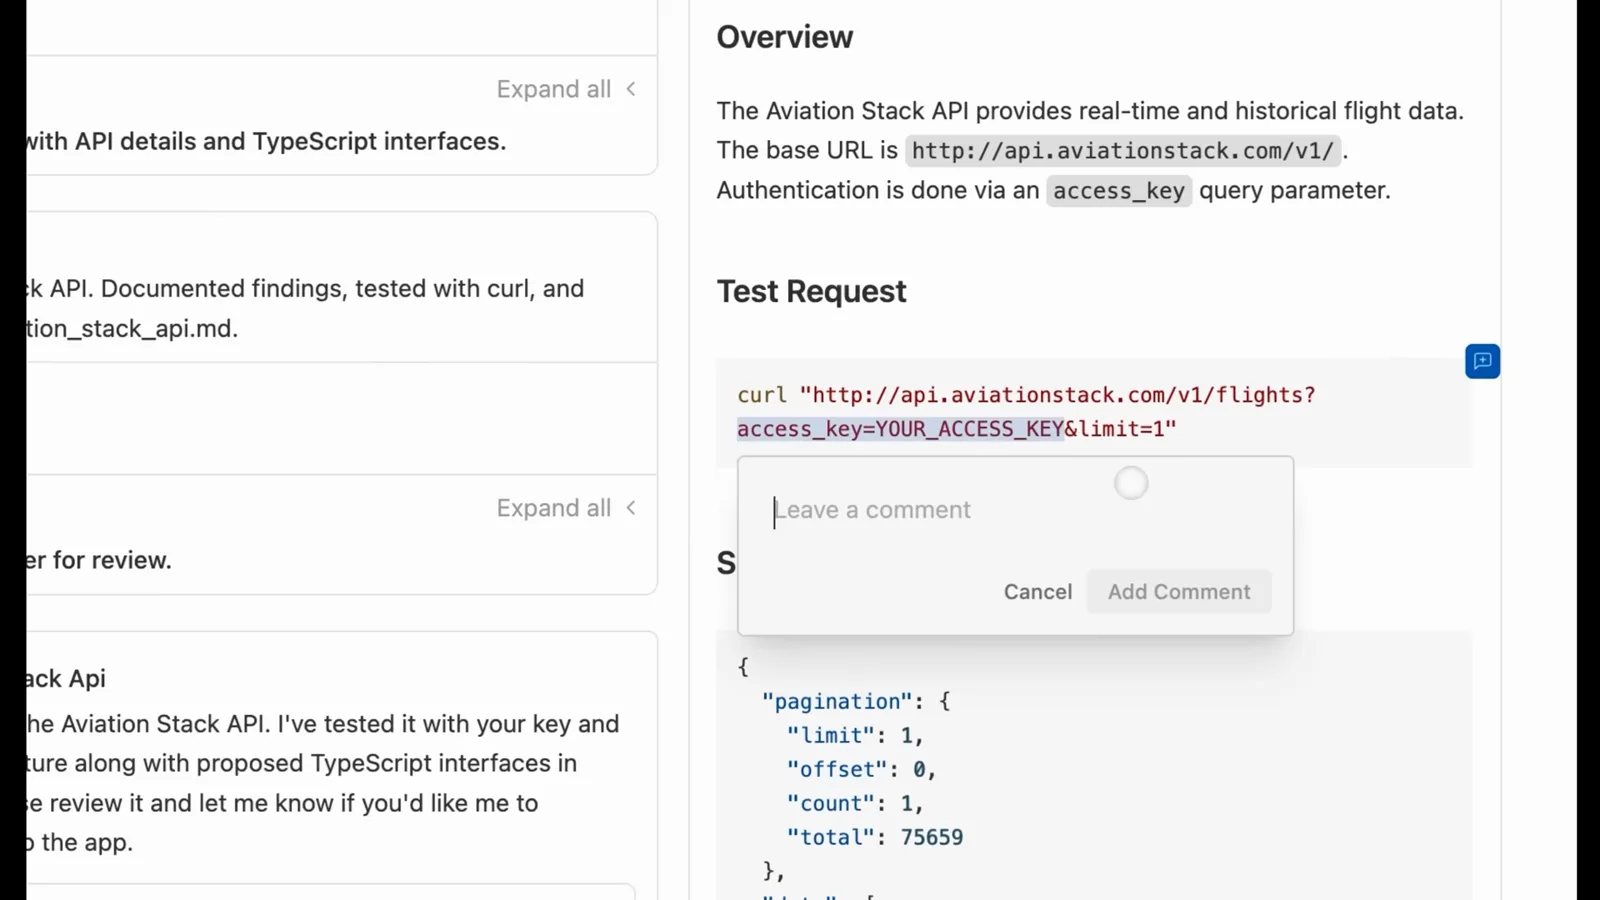
API research artifact with a doc-style comment box openWatch at 9:00 - 8
Pin the config in the implementation plan
The agent proposes files, components and a verification checklist before touching your repo. This is the moment to insist that the OpenAI-compatible client points at api.deepseek.com with the model name you chose — once you press Accept, changes start landing immediately.
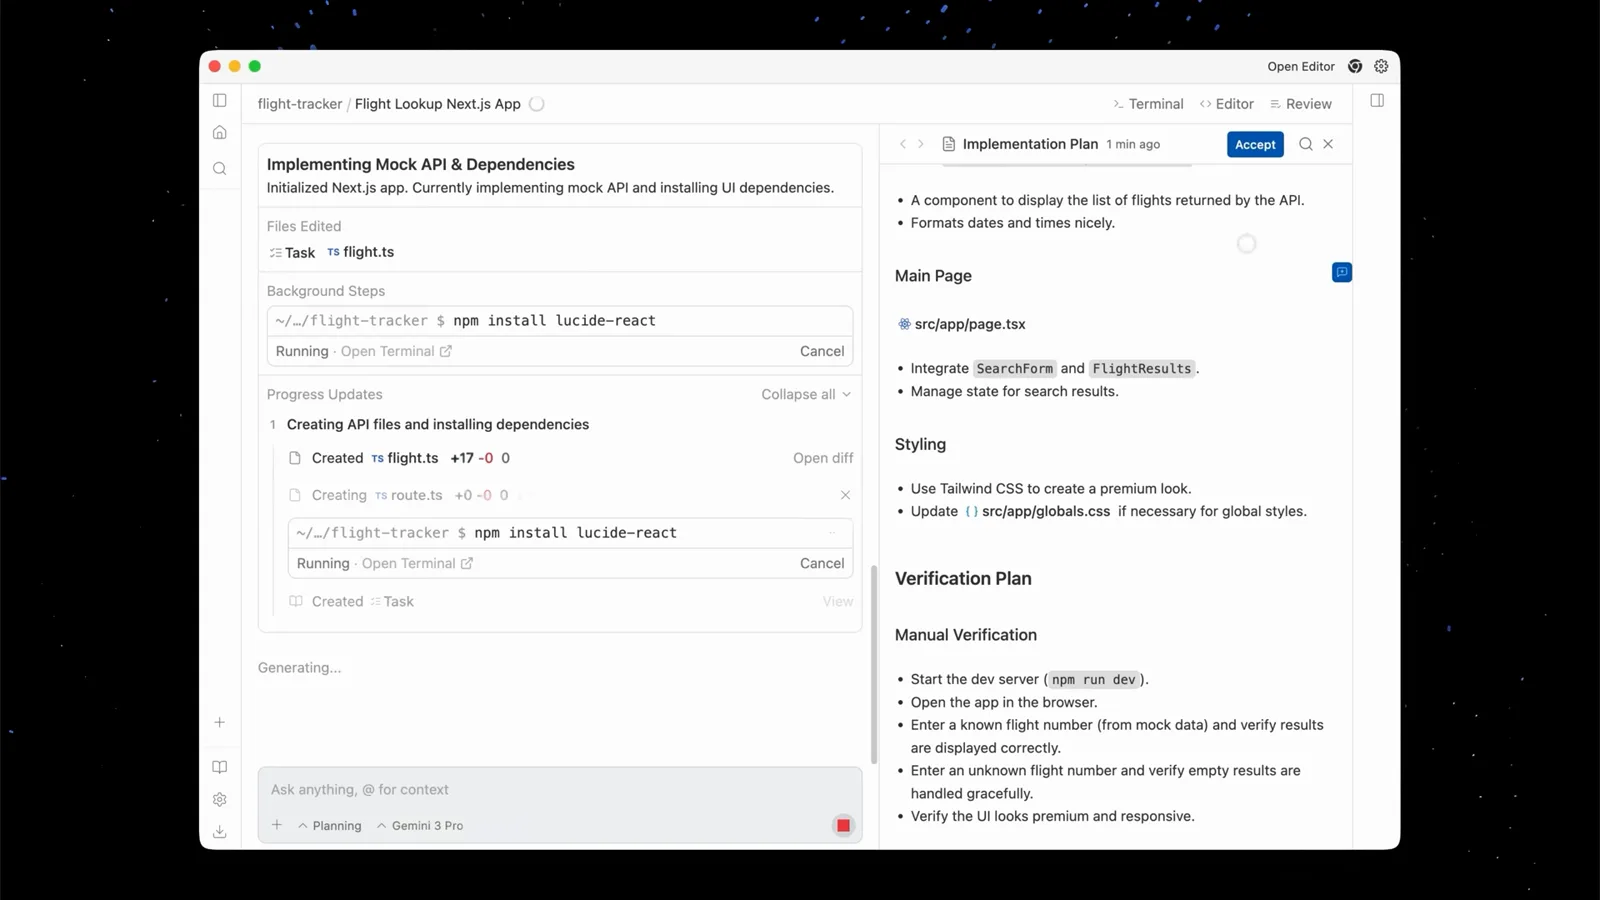
Implementation plan with verification checklist and Accept buttonWatch at 5:00 - 9
Let the browser verify the integration
Hand the feature to the agent's browser: it types real inputs, hits your DeepSeek-backed endpoint, and checks both the success and failure paths on screen. A blue border means the browser is under agent control.
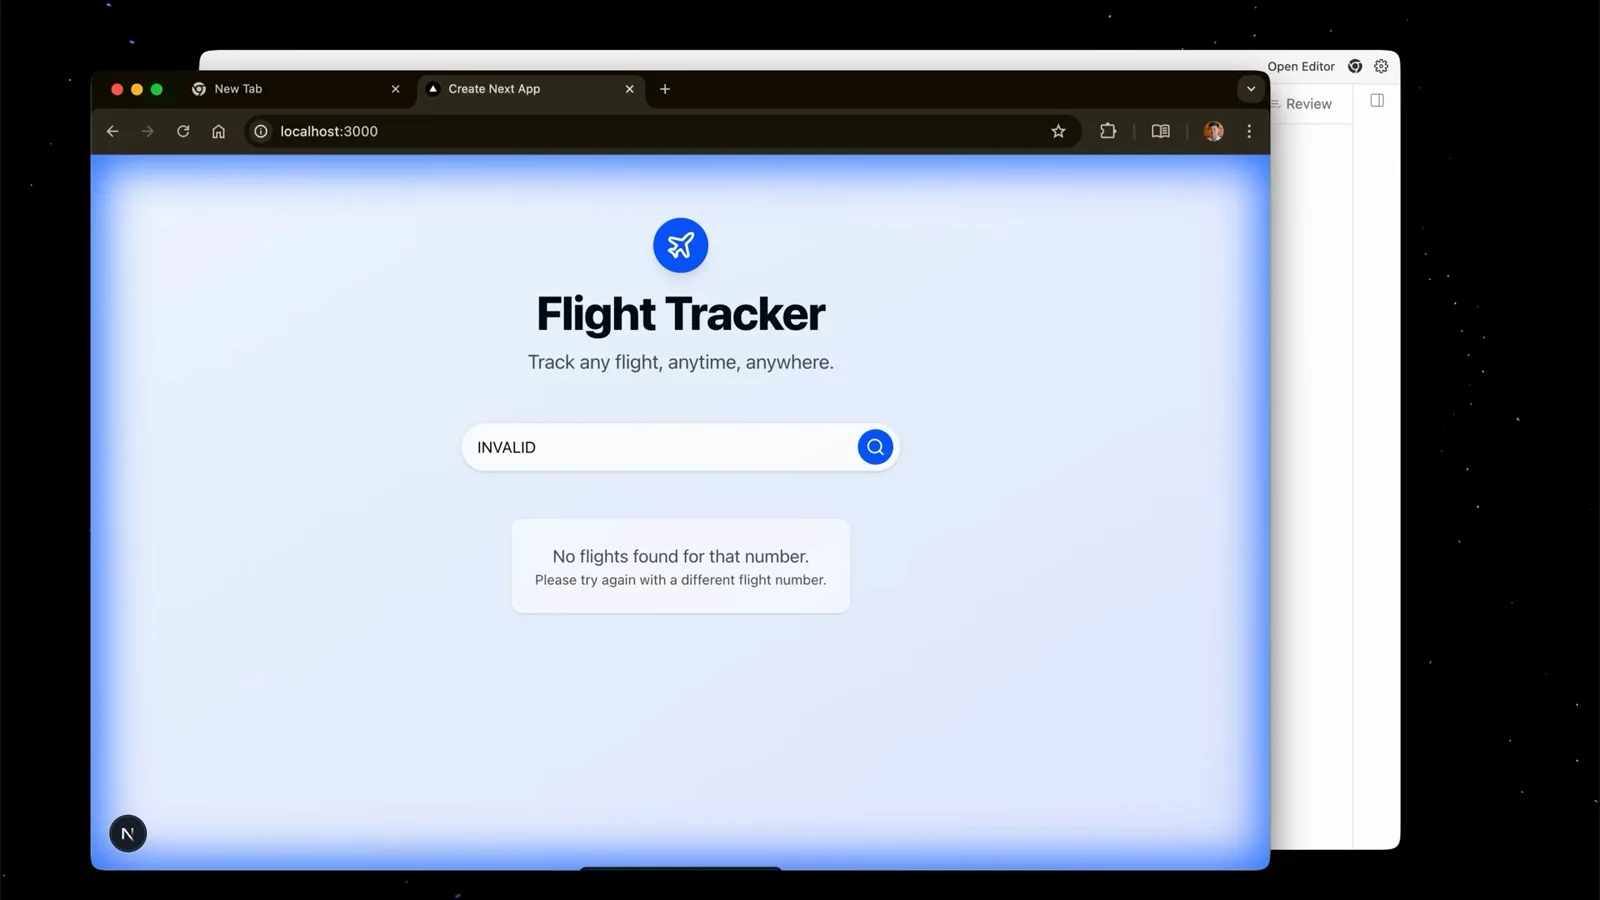
Agent-controlled browser mid-test on an invalid flight numberWatch at 5:48 - 10
Route 2 — the agy CLI and the MCP bridge
Antigravity also ships a terminal agent: install with the official script, then run agy inside your project. The CLI supports MCP servers, so you can register a small server that calls api.deepseek.com and let the agent delegate work to DeepSeek as a tool — headless, without the desktop app.
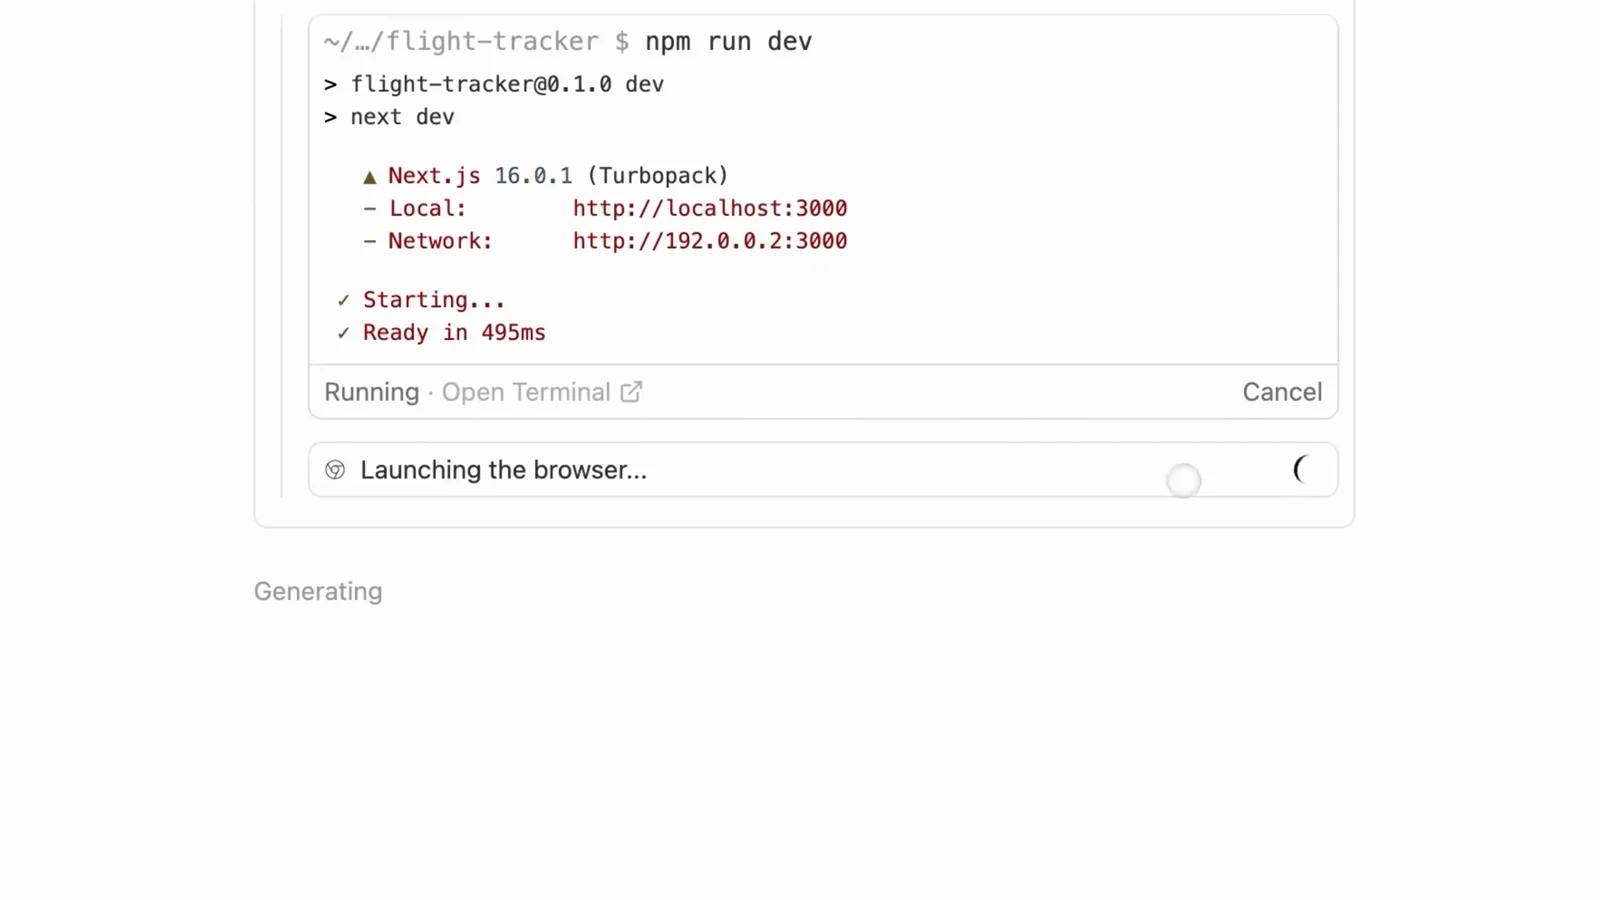
Agent-run dev server in the embedded terminal, browser launch nextWatch at 1:32 - 11
Read the verification evidence
When a task finishes, the walkthrough artifact records what was implemented and how it was verified — real lookups, real failures, screenshots. Treat it as the acceptance report for your DeepSeek integration.
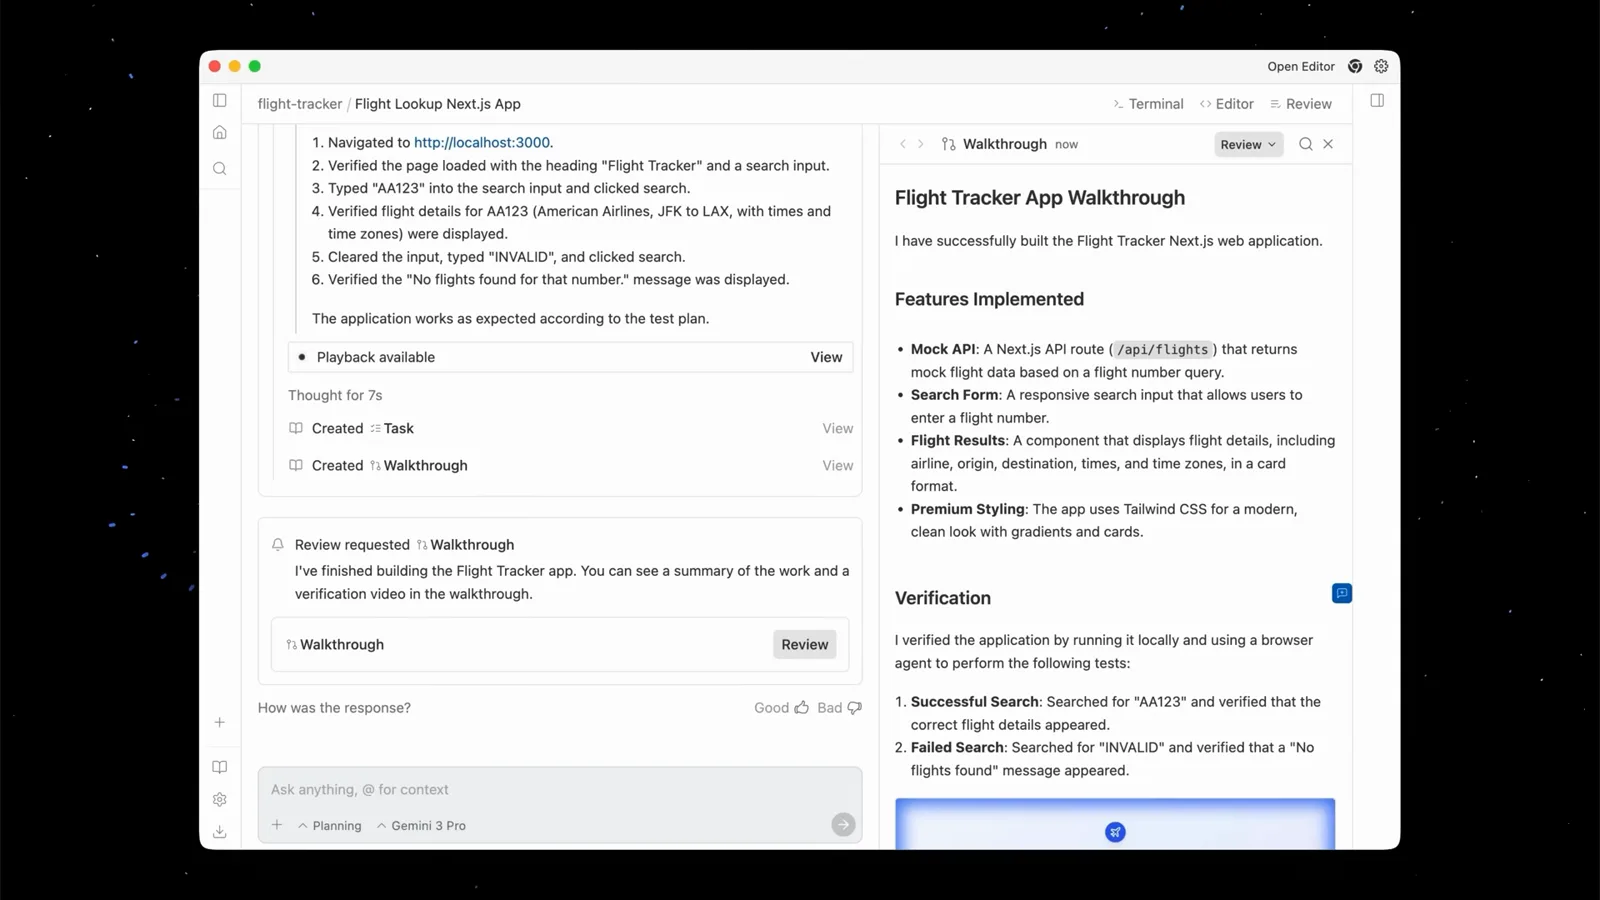
Walkthrough panel listing successful and failed search checksWatch at 5:56 - 12
Take over the last ten percent
Press the Open in Editor shortcut to finish by hand: adjust types, rename fields, or swap the mock data source for the live DeepSeek-driven one. Tab completion picks up the agent's own utilities as you go.
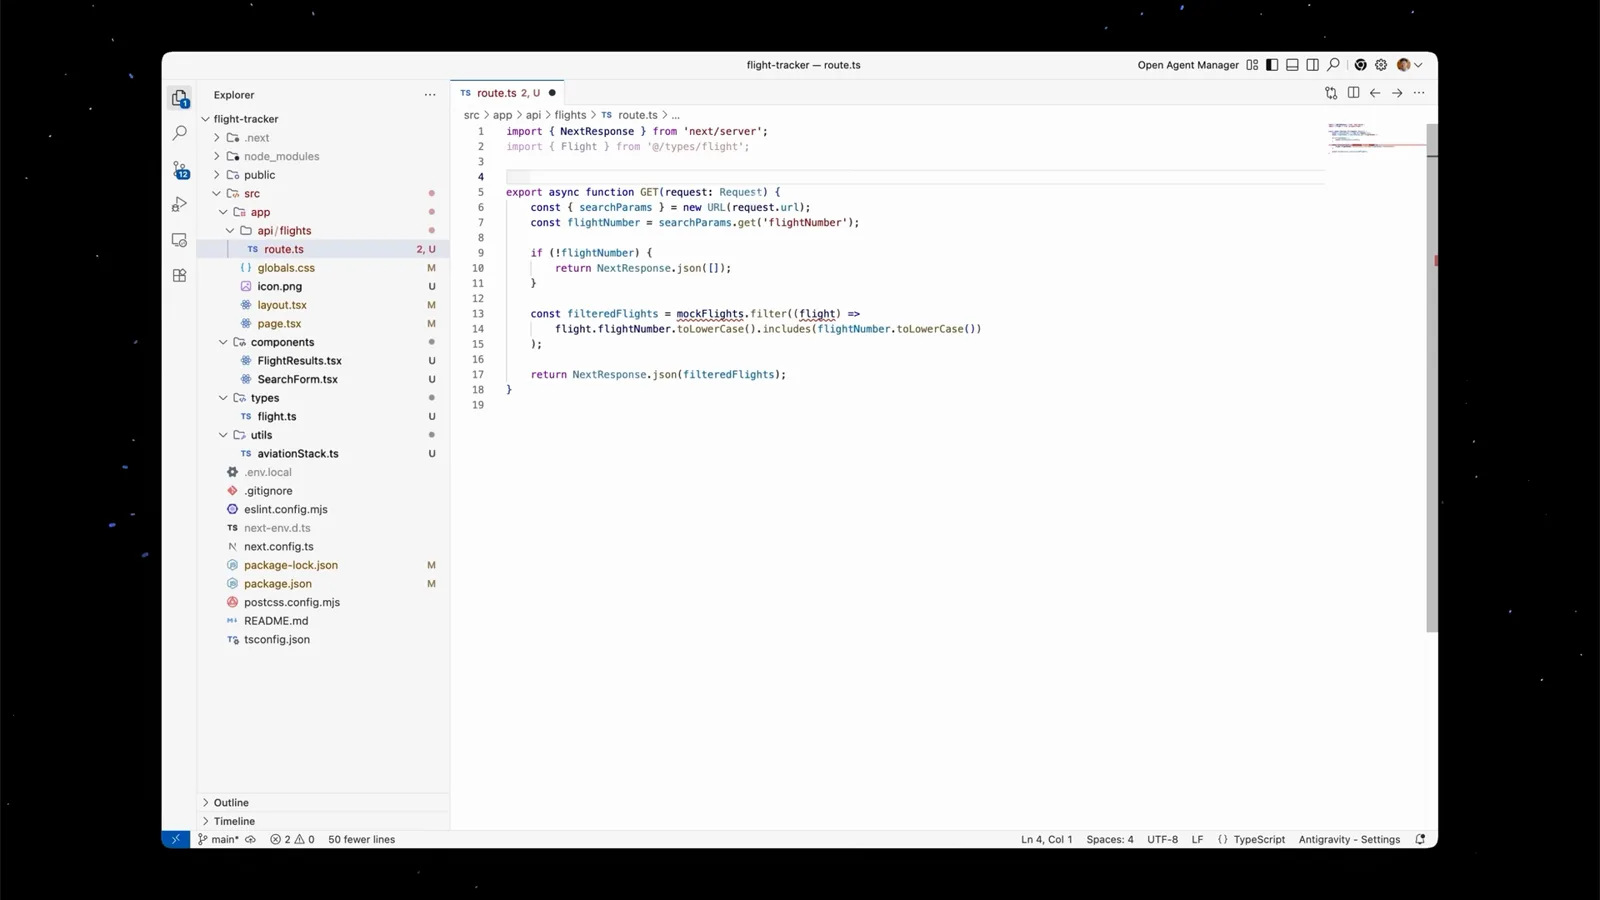
Editor view on the flight results component with live importsWatch at 10:20 - 13
Commit with a generated message
The Source Control panel drafts a commit message from the conversation and the diff. Review it, commit, and your DeepSeek-powered feature is in the branch with a full walkthrough to show for it.
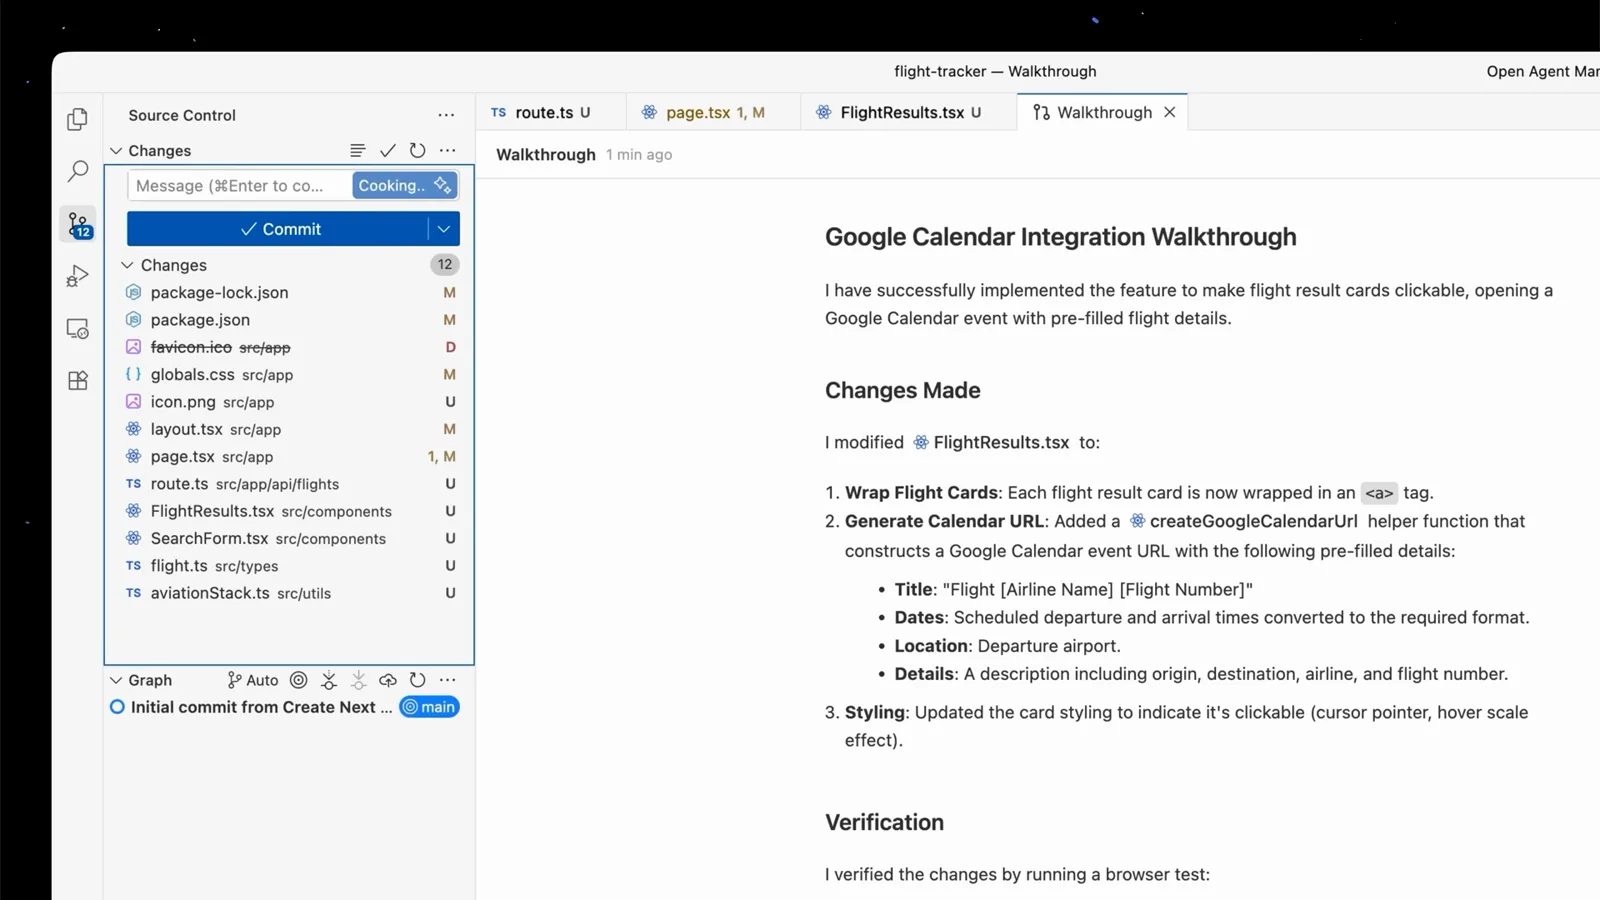
Staged changes next to the finished integration walkthroughWatch at 13:20