
太长不看版
- npm install -g cline 装一次,之后在任何项目目录输入 cline 就能进入交互会话。
- 交互会话默认进 plan mode;想让它动手改代码就输 /act,退回规划用 /plan,一次性任务也可以用 --mode 指定。
- cline auth 是账号和模型的控制台:Cline 账号、Cline 或 OpenRouter 这类自带 key 的 provider 都行,随时可以重跑更换。
- subagents 开关在 VS Code 插件里:装好 CLI,在 Cline 面板点 Enable Subagents,Cline 就会拉起无头终端实例做并行调研。
Cline CLI & Sub Agents: Cline is back with a new CLI Agent, but is it good?
频道:AICodeKing8:03
Introducing Cline CLI 2.0
频道:Cline1:42
Cline CLI — official documentation
官方文档:docs.cline.bot
截图取自 AICodeKing 评测中干净的终端与 VS Code 演示画面——视频全程无主播出镜,仅跳过了结尾的结束页。命令与旗标已对照 Cline 官方文档和发布公告核实。
画面归各自创作者所有,这里署名并附上精确时间点的深链;文字部分是我们写的。
Cline CLI 配置全流程
认识 CLI、安装并连接 provider
- 1
先搞清楚 CLI 是什么、不是什么
官方文档把 CLI 定位成 IDE 的同伴而非替代品:同一个智能体内核,为并行管理多个 agent 而设计,完全可脚本化,还带一个顺手的聊天界面。plan/act 模式、checkpoints、终端执行、无头运行全都在——你在 VS Code 插件里的经验可以直接平移过来。
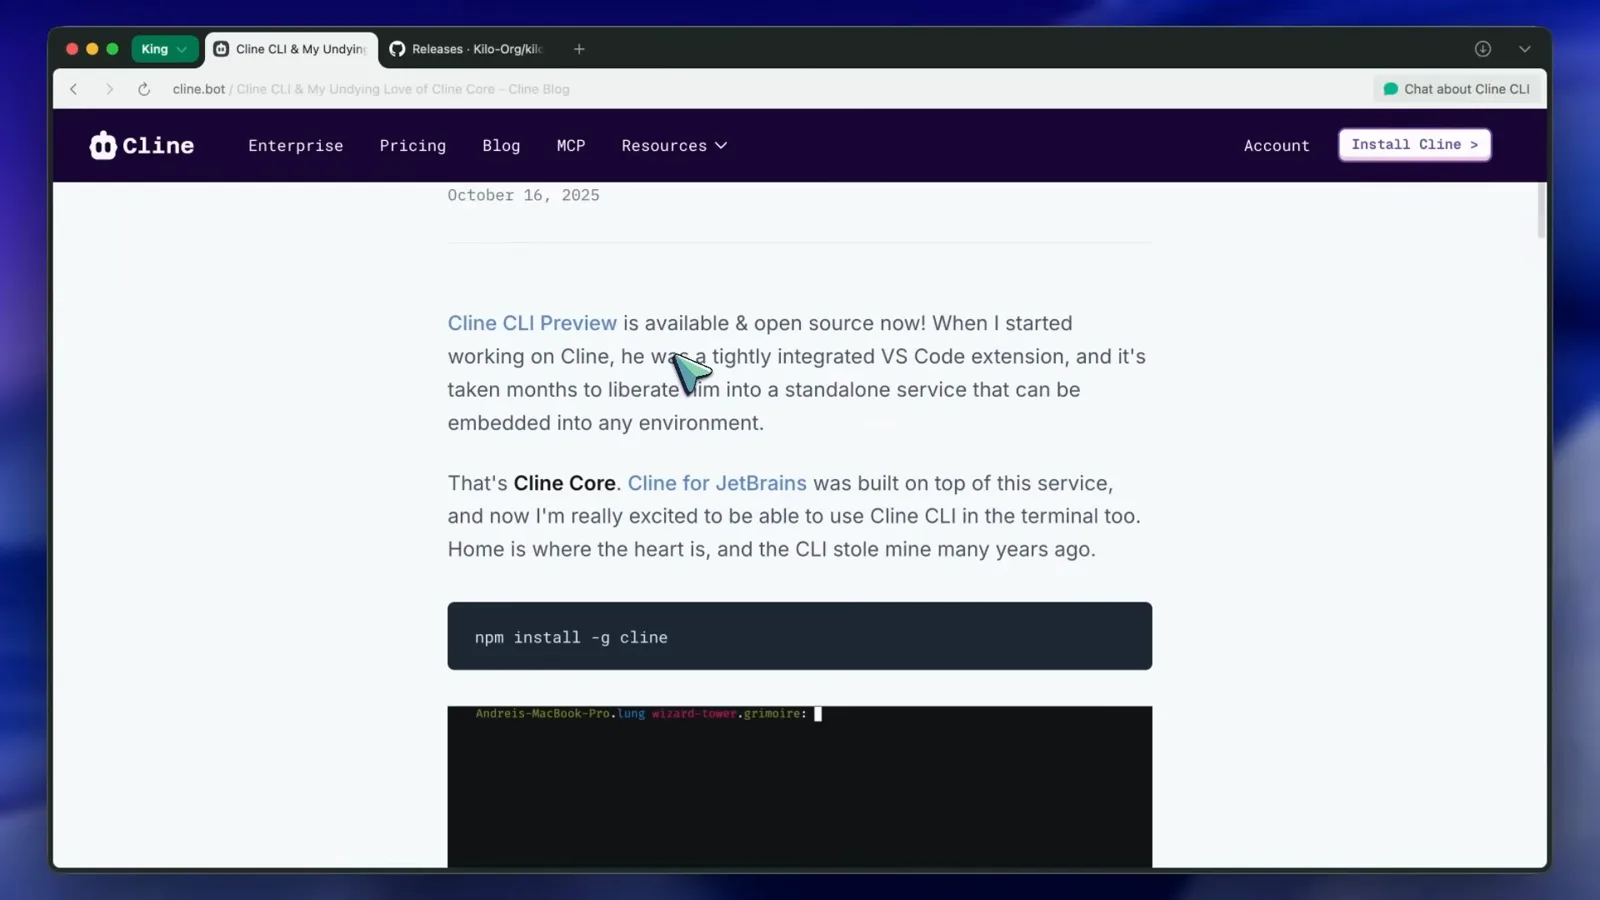
官方文档里的 What's Special About Cline CLI 页面。看原片 1:18 - 2
看看它适合干什么
发布公告里收集了来自 Discord 的点子:把记忆写进文件的游戏 NPC、远程遥控的移动 App、用 Cline 驱动的 Discord 机器人、写进 shell 脚本的 Cline,以及在 GitHub issues 里自动分诊 bug 报告的 Cline。上手不需要这些场景,但它们解释了 CLI 为什么天生无头、可脚本化。
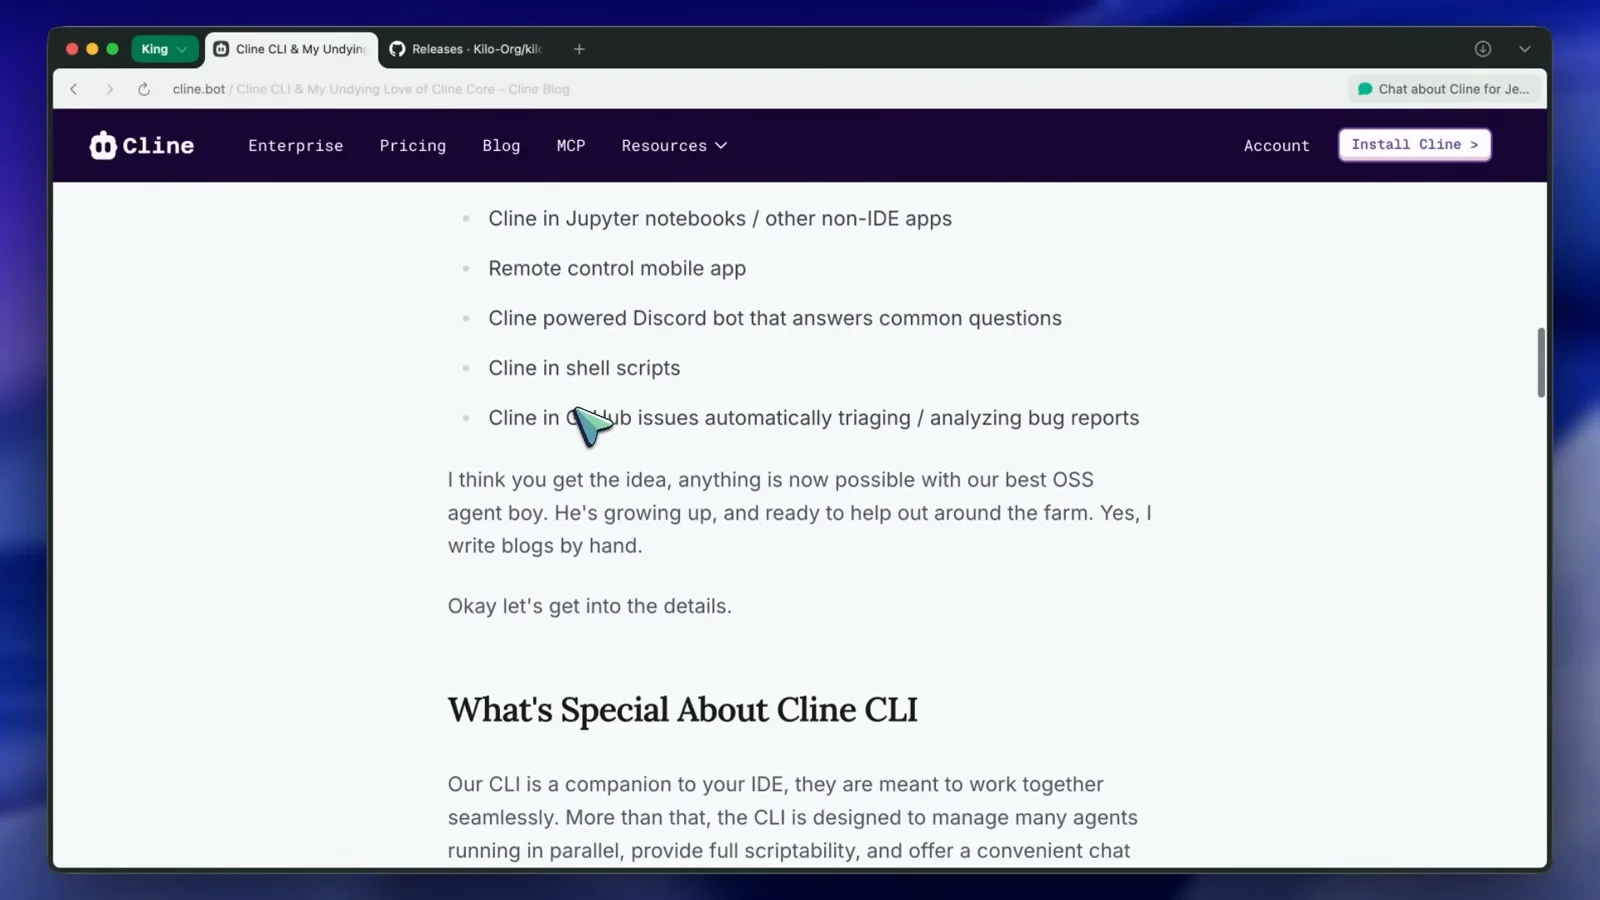
发布公告里列出的 CLI 玩法。看原片 1:48 - 3
安装 CLI
在任意终端运行 npm install -g cline(需要 Node.js)。VS Code 的 Cline for CLI is here 横幅里也有同样的命令,带复制按钮。npm 跑完后,cline 命令在任何目录都可用。
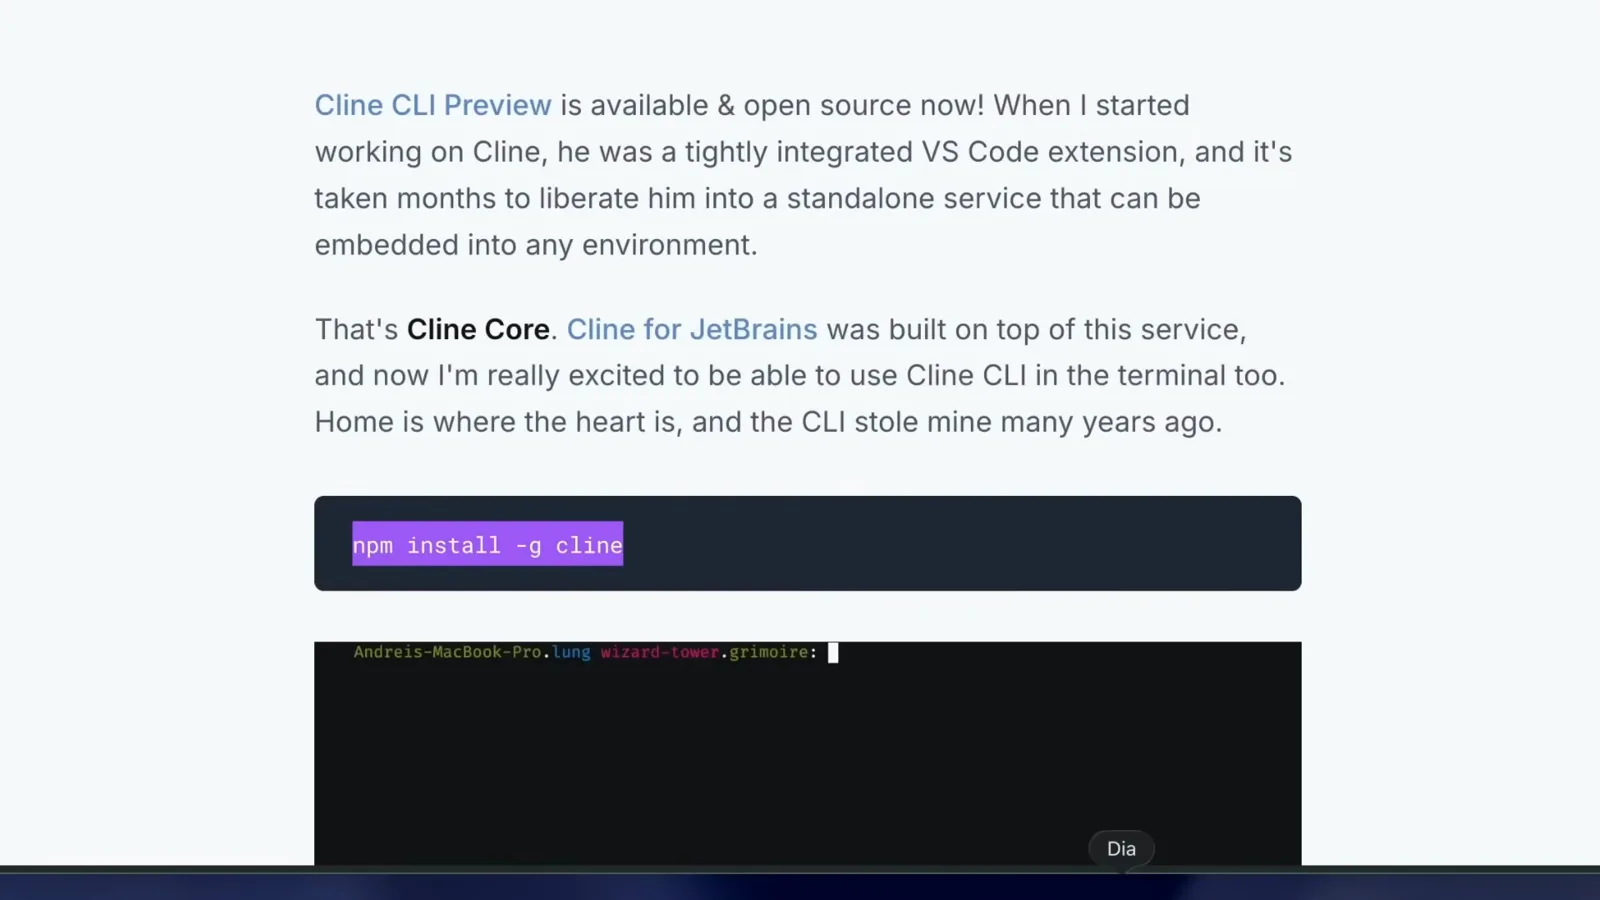
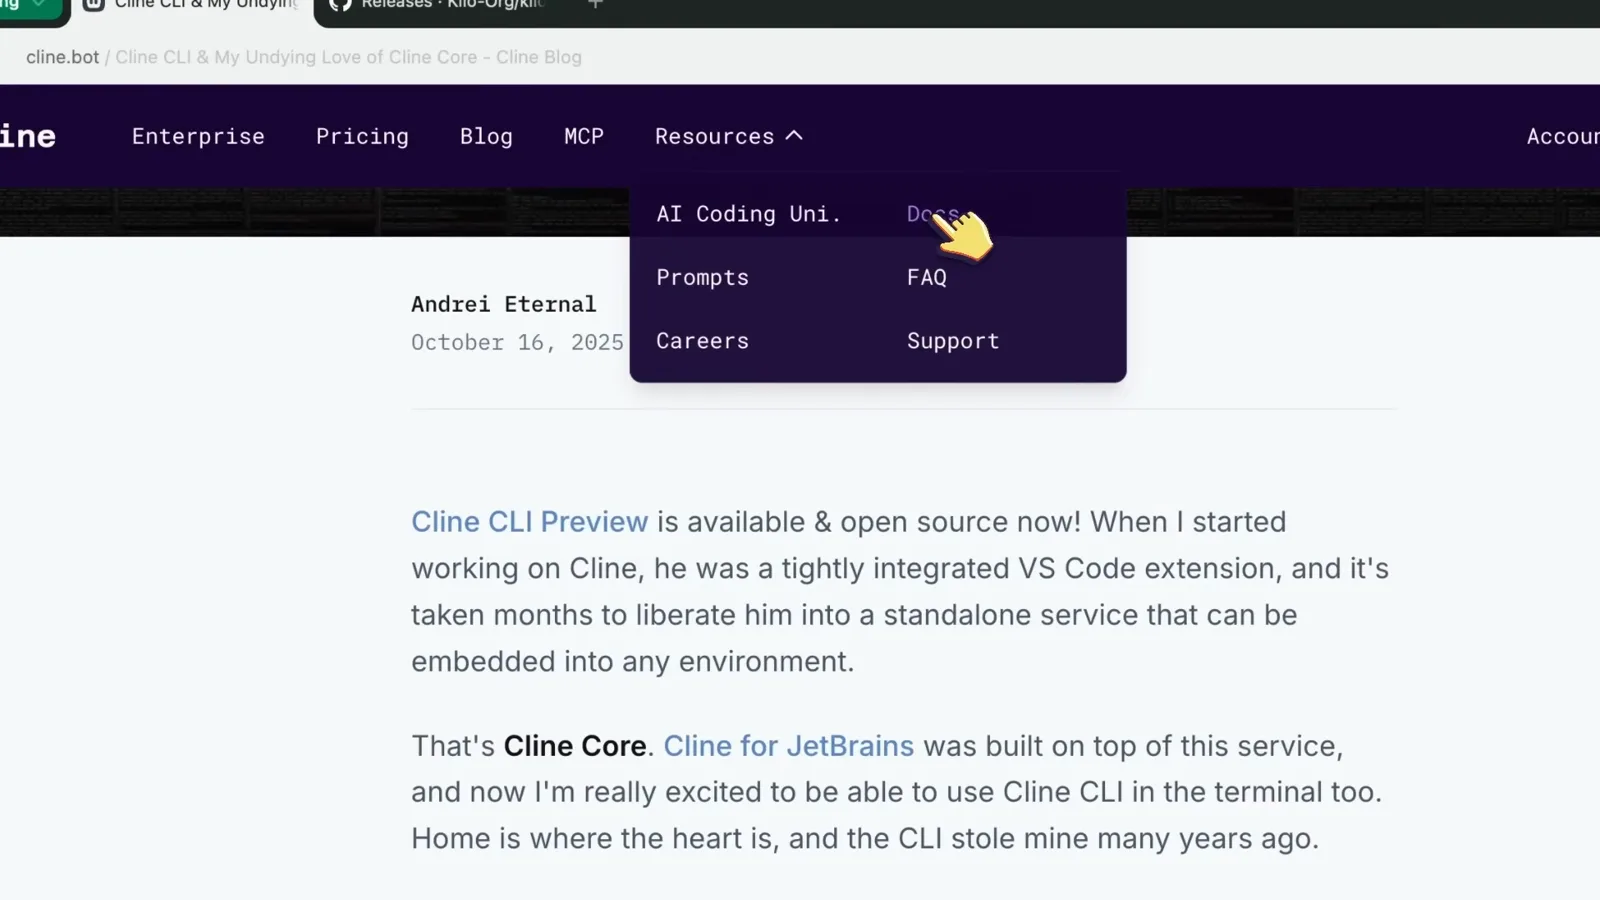
CLI Preview 公告里的官方安装命令。看原片 4:30 - 4
在项目目录里启动
cd 到项目目录,输入 cline。欢迎框会显示 preview 版本号、当前 provider 和模型,以及一个 plan mode 徽标;下方的 Start a new Cline task 等你输入第一条指令。底部一栏是快捷键提示:alt+enter 或 ctrl+j 换行,ctrl+e 打开编辑器写长 prompt,enter 发送。
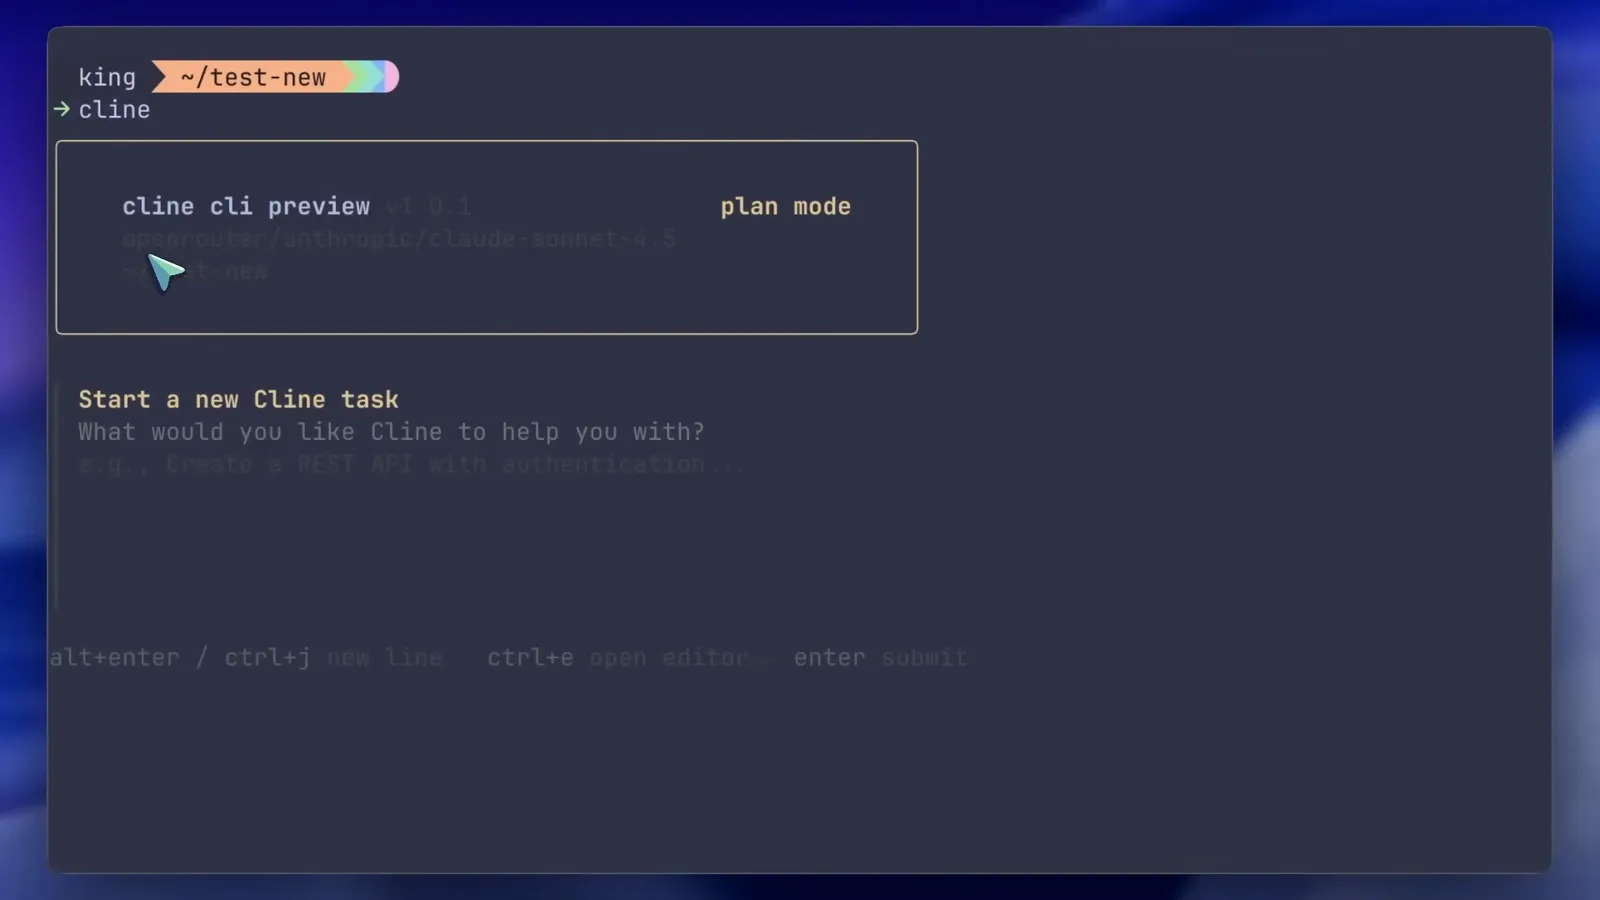
首次启动:欢迎框和新任务输入区。看原片 3:36 - 5
用 cline auth 连接 provider
刚装好的 CLI 不带任何账号和模型。运行 cline auth,授权向导会给出选项:Authenticate with Cline account(登录 Cline 账号)、Select active provider(选择 Cline 或自带 key 的 provider)、Configure API provider(配置 API provider),或者退出。演示里的当前模型是通过 OpenRouter 接入的 anthropic/claude-sonnet-4.5。以后想换?还是 cline auth。
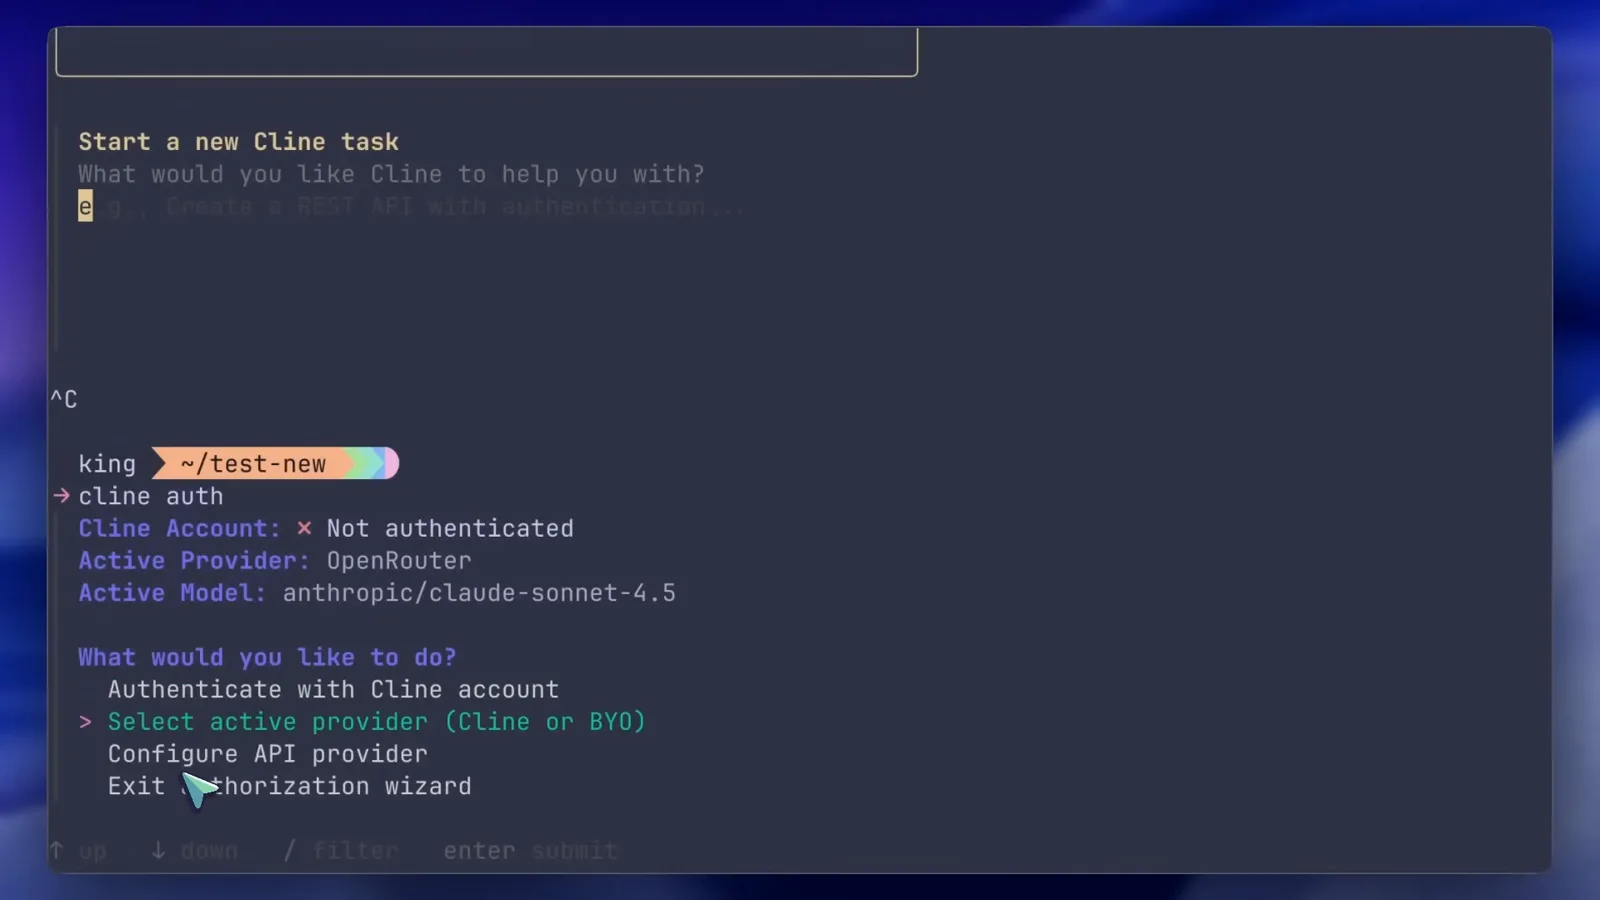
cline auth 向导里的账号与 provider 选项。看原片 3:49
plan、act 与无头模式旗标
- 6
默认先进 plan mode
发个问候,Cline 回你的会是方案而不是直接改文件——交互会话默认从 plan mode 开始,负责收集信息、做架构。回复末尾会带上 token 用量和成本,然后输入框提示 [plan mode] Cline is ready for your message...。
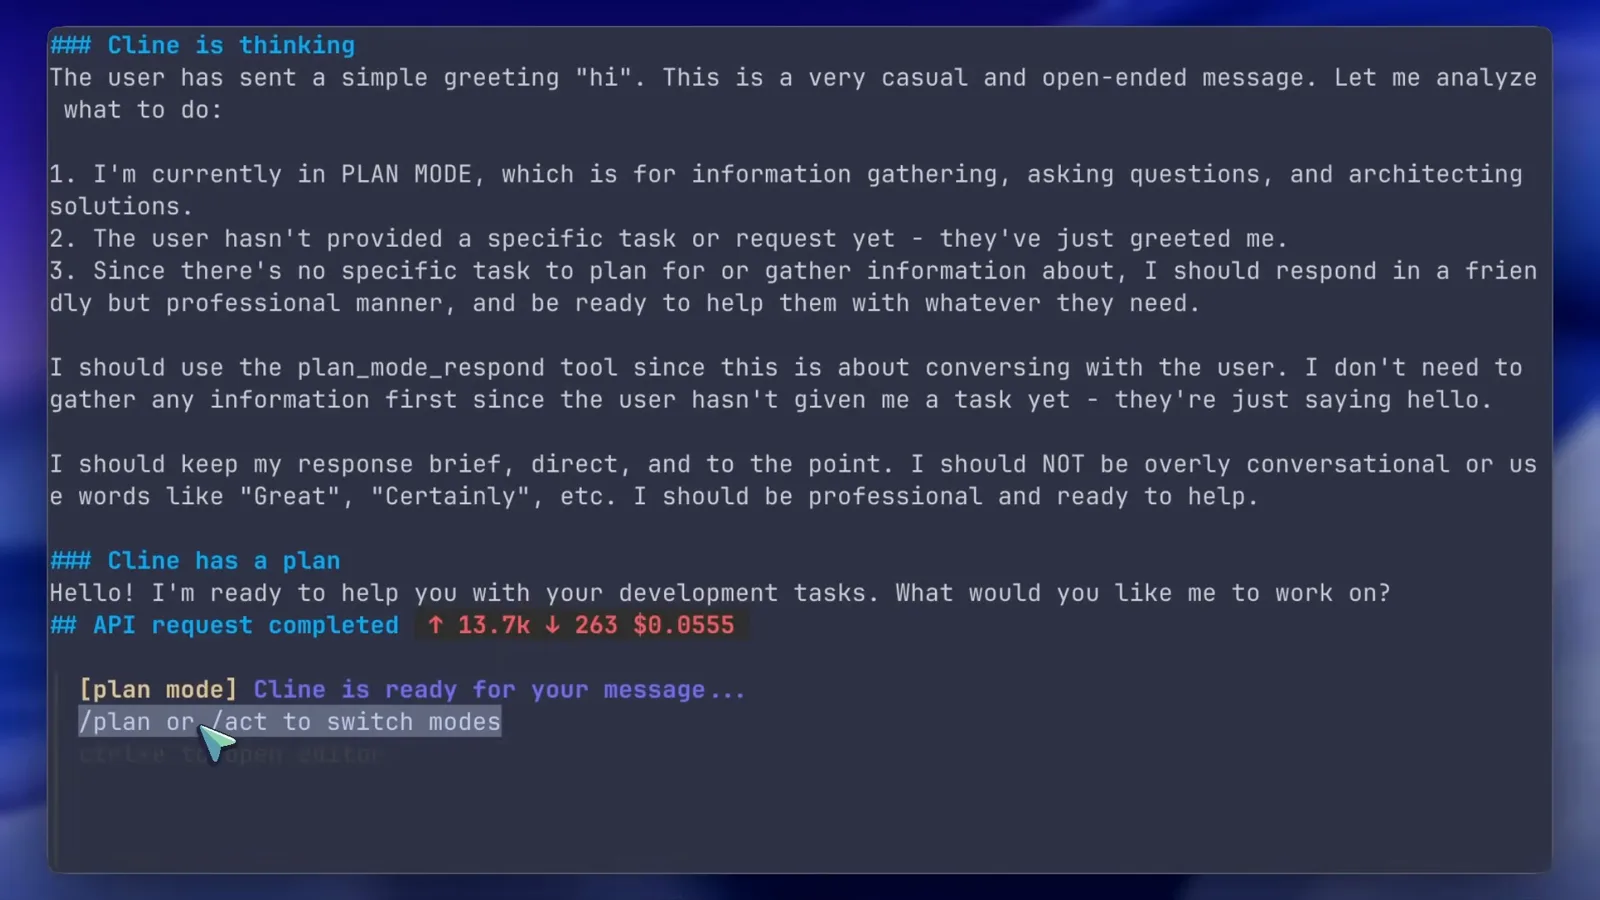
plan mode 下的首次回复,成本和模式提示齐全。看原片 4:24 - 7
用 /act 切到 act 模式
输入 /act,会话切到 act mode,Cline 这时才能真正改文件、跑命令;/plan 则切回去。一次性任务可以直接用 -m/--mode 旗标指定起始模式,当前的 CLI 参考文档里还有 -p/--plan 用于先规划再执行。
![Terminal cursor pointing at the /plan or /act to switch modes hint below the [plan mode] Cline is ready for your message input in the Cline CLI](/images/guides/cline-cli-tutorial/cline-cli-tutorial-plan-act-switch-hint.webp "Terminal cursor pointing at the /plan or /act to switch modes hint below the [plan mode] Cline is ready for your message input in the Cline CLI")
/plan or /act 提示就挂在输入框下面。看原片 4:16 - 8
记住这些无头旗标
CLI 参考文档的 INSTANT TASK OPTIONS 一节就是速查表:-o(--oneshot)全自主跑完任务后退出,-y(--yolo)关掉所有交互确认并自动完成,-s 为单个任务覆盖设置,-m 指定起始模式。发布以来旗标有过调整——现在的参考文档把 oneshot/yolo 收敛进了 --auto-approve 和 -p/--plan,所以以 cline -h 看你手上版本支持的为准。
Instant task options:oneshot、yolo、单任务设置与模式。看原片 4:35
VS Code 插件里的 subagents
- 9
更新插件,找到横幅
subagents 随 VS Code 插件发布,是 v4.106.0 的新功能。把 Cline 更新到最新,打开面板,就能看到更新日志和 Cline for CLI is here! 横幅——带着 npm install -g cline 命令,并注明 Cline 会在独立子进程里拉起 cline 命令,保持主上下文窗口干净。
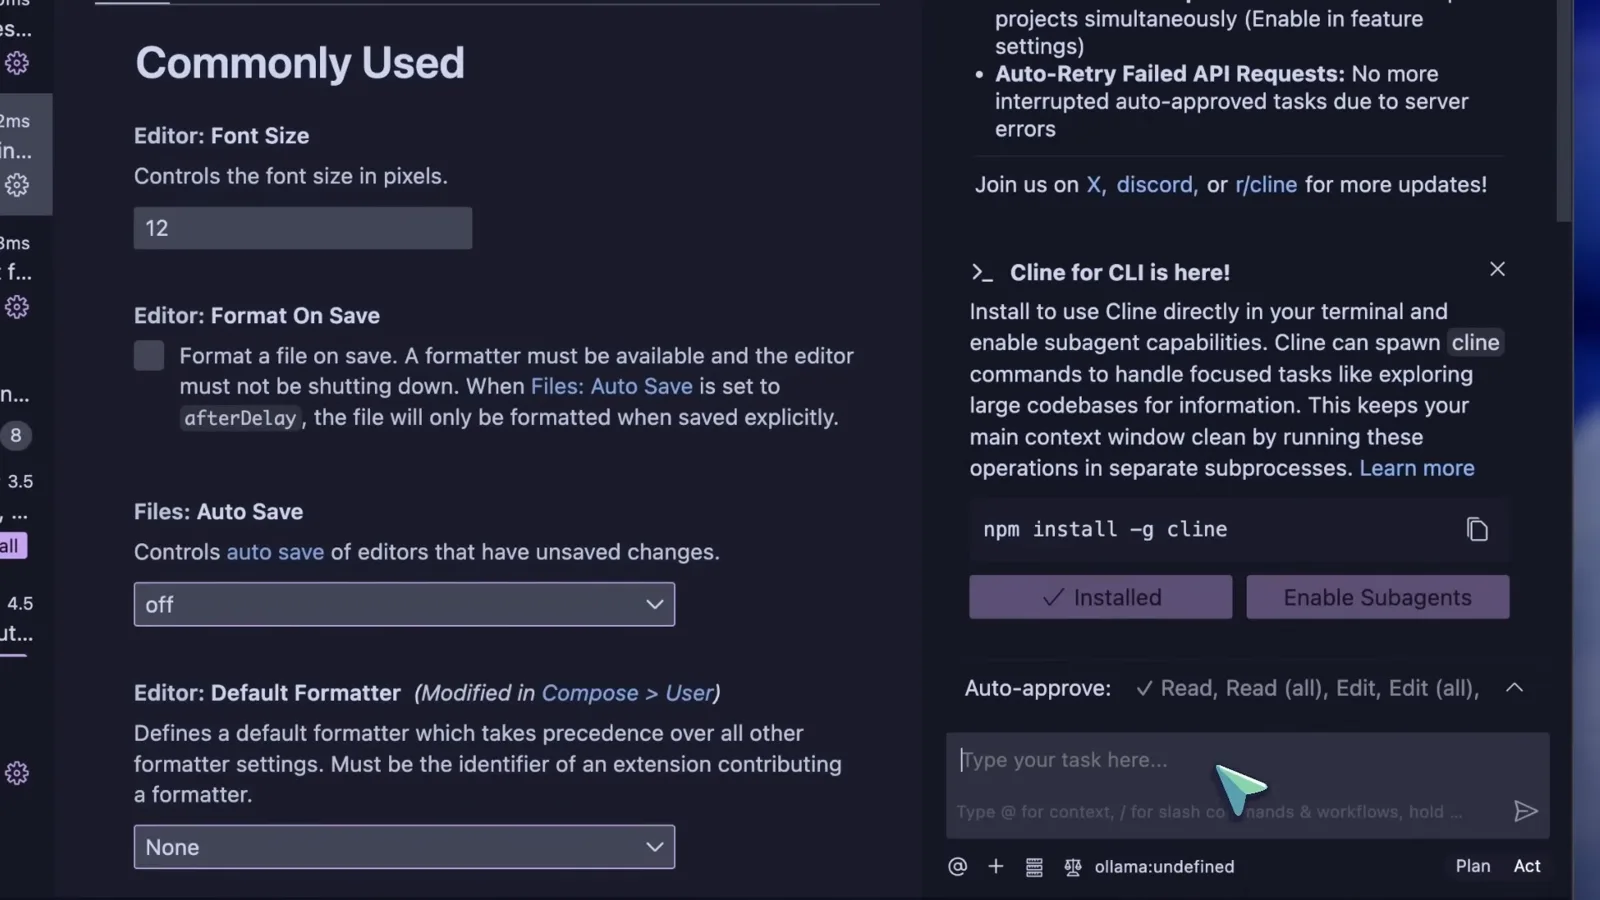
Cline VS Code 面板里的 CLI 横幅。看原片 5:25 - 10
点下 Enable Subagents
横幅上的第二个按钮 Enable Subagents 会在插件的 feature settings 里打开这个功能。没装 CLI 这一步就会失败:subagents 靠在你的终端里拉起无头 cline 实例来工作,所以 npm install -g cline 必须先跑过。
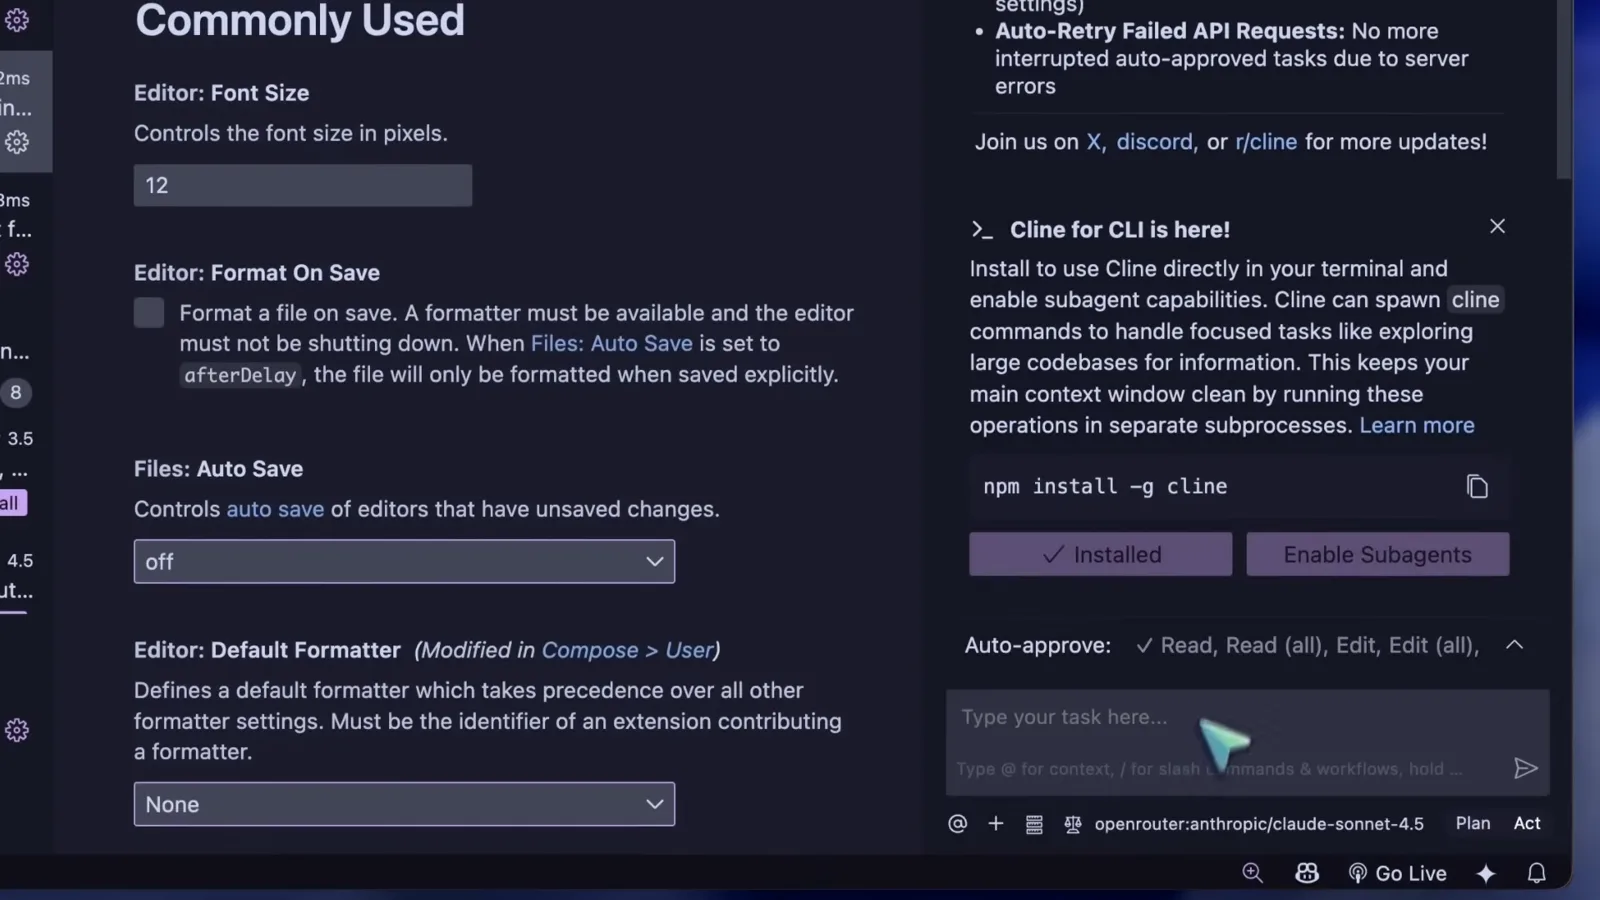
Installed 与 Enable Subagents 并排出现在面板里。看原片 5:32 - 11
让主 agent 派一个 subagent
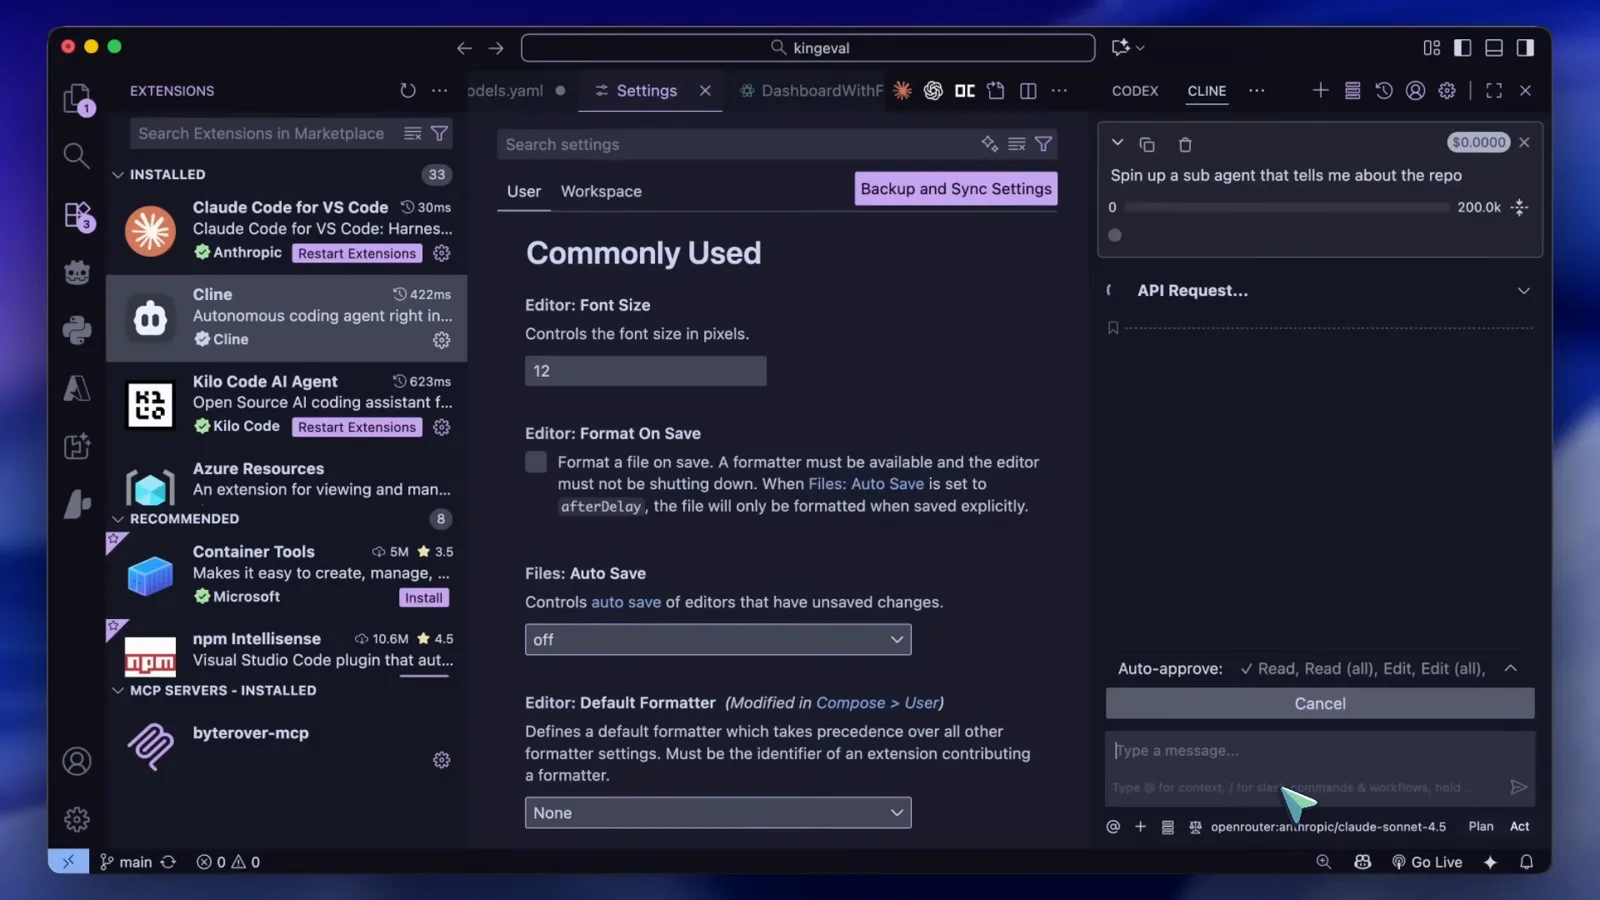
给主 agent 一个值得并行探索的任务——演示里用的是:Spin up a sub agent that tells me about the repo。Cline 会自己判断何时需要并行调研并派出 subagent,你也可以在指令里直接点名要一个。
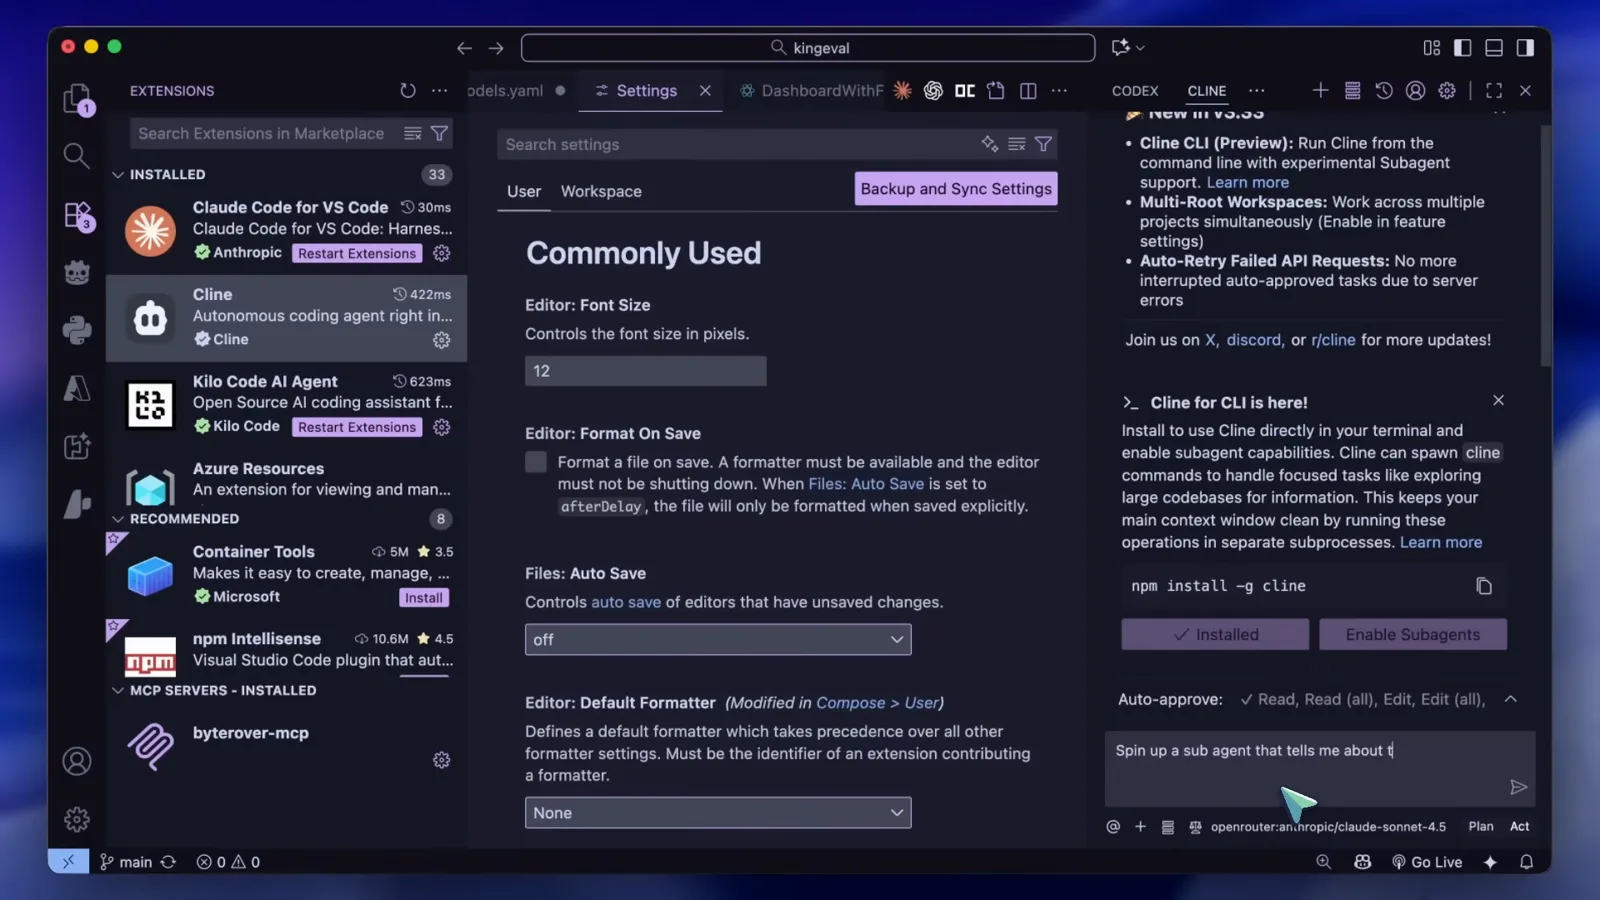
主 agent 正在计划派出 sub agent。看原片 5:42 - 12
审批待发的 prompt
真正运行之前,面板会显示 Cline wants to use a subagent,并附上它准备发送的完整 prompt——演示里是一份覆盖项目用途、技术栈、功能、数据模型与实现模式的五点仓库分析。批准它(或者让 auto-approve 放行)后,subagent 无头运行,最后交回一份报告,而不会撑爆主上下文窗口。
待批的 subagent prompt,五个要点一目了然。看原片 5:46
Cline CLI 与 Cline VS Code 插件:什么时候用哪个
两端跑的是同一个 Cline 智能体,都有 plan/act 模式,所以选择的依据是你在哪里工作,而不是它能做什么。
- 1日常功能开发:留在插件里。面板、diff、checkpoints 和编辑器上下文都在 VS Code 手边。
- 2自动化与重复性杂活:交给 CLI。一次性 prompt、shell 脚本、GitHub Actions、Discord 或 Slack 机器人——带 -o、-y 这类旗标的无头运行正是它的设计目标。
- 3混合使用:状态是互通的。任务可以在终端启动、在 IDE 继续(反之亦然),在终端里画好的方案,下午就能在 VS Code 里接着改。
- 4subagents 两者都要:插件负责编排,CLI 负责执行。Enable Subagents 按钮只有在装好 CLI 后才会生效——机制就是这么设计的。
如果只想选一个,就选你工作流已经在用的那个;装 CLI 只是一条 npm 命令的事,而且不管怎样都能解锁 subagents 开关。
subagents 实战:prompt、限制与排障
subagents 是这次发布的头牌,也是最容易翻车的地方。下面是演示视频展示的行为,加上当前文档补充的细节:
- 1找不到 Enable Subagents 按钮?先把插件更新到 v4.106.0 或更新——按钮就在 Cline for CLI 横幅里,而且必须装好 CLI,否则什么都拉不起来。
- 2从来不派 subagent?在指令里明确要("spin up a sub agent to...")。按当前文档,subagent 是只读调研员:能读文件、搜索、跑只读命令,但不能改文件、用浏览器或 MCP,也不能再派子 subagent。
- 3跑完了然后呢?每个 subagent 会交回一份报告,指向它找到的文件路径;面板里还会显示每个 agent 的工具调用、token 和成本,方便你审计这一队人都干了什么。
- 4嫌审批烦?subagent 的启动走 Read project files 这个 auto-approve 权限——打开它就不再拦截,完整 prompt 仍会显示在面板里。
- 5和视频里的行为对不上?发布时它还是 feature settings 里的实验开关;当前文档说 subagents 默认开启,可在 Settings → Features 里配置,旗标也整合成了 --auto-approve 和 -p/--plan。文档和旧评测打架时,信文档。
把 subagent 当成调研放大器,而不是一支写码大军:它把一小时的代码库阅读压缩成一份报告,动笔的仍然是主 agent。