
How to Switch Models with the Codex CLI Model Picker
The /model command opens Codex's model picker, where you choose the active model — GPT-6 Sol or Luna on current builds — and its reasoning effort. This walkthrough follows a real terminal session step by step, and every screenshot was checked against the frame it came from.
Quick answer
- Type /model in the Codex composer to open the model picker. Arrow keys move the selection, Enter confirms, Esc goes back one screen.
- Codex CLI 0.156.1 (September 23, 2026) added GPT-6 Sol and GPT-6 Luna to the model catalog, so both appear in the picker on current installs.
- Choosing a model chains straight into Select Reasoning Level — Medium is the default, and higher tiers think deeper but consume usage limits faster.
- The status line under the composer always shows the active pair, e.g. gpt-6-sol high. Pin a standing default with the model key in ~/.codex/config.toml.
Change the Model and Reasoning Level in OpenAI Codex CLI using a Screen Reader
Video walkthrough:Coding Blind Tech11:46
OpenAI Codex CLI Course #2: /model · /fast
Command reference:Standarity2:26
Every still comes from Coding Blind Tech's terminal session, which predates 0.156.1 — its picker lists the earlier gpt-5.6-sol / terra / luna catalog where current installs see GPT-6 Sol and Luna. Command behavior follows the official Codex docs wherever the two differ.
Frames are credited screenshots from the source videos, each deep-linked to its timestamp. This guide's text is original and is not a transcript.
Switch models in the Codex CLI model picker, step by step
1 · Launch Codex in your project
- 1
Open the integrated terminal
Codex runs in any terminal; the video uses the VS Code integrated one. Press Ctrl+` (the key above Tab) and the panel opens directly in your project folder, so Codex picks up the right workspace from the start.
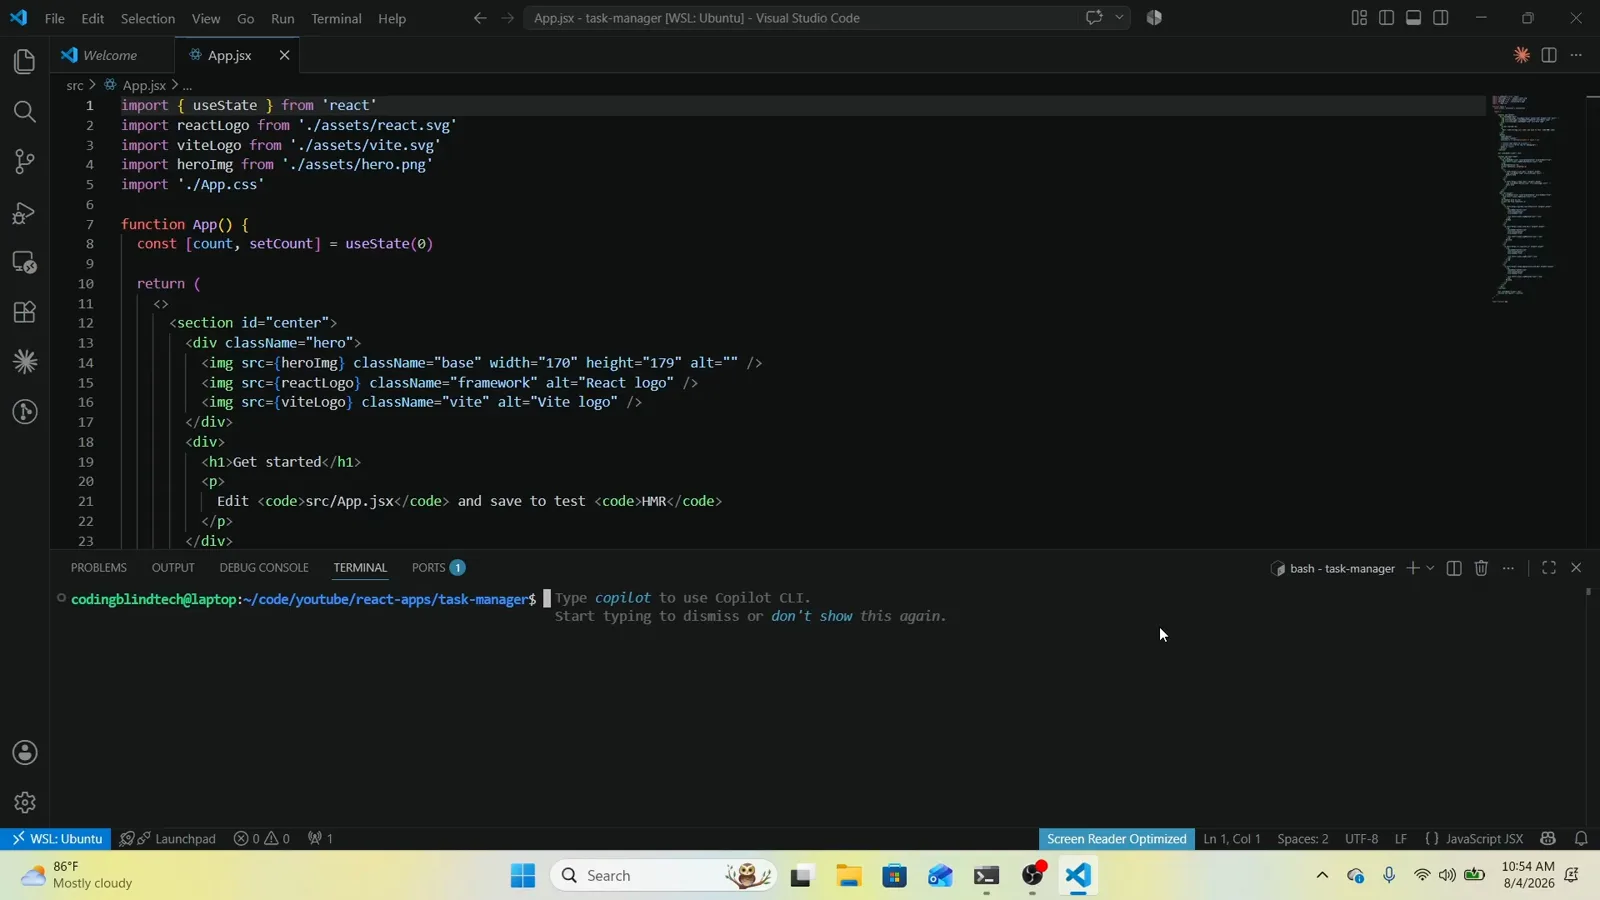
Ctrl+` opens the terminal in the folder VS Code already has open.Watch at 1:52 - 2
Start Codex
Type codex and press Enter. The CLI starts an interactive session in the current directory — this is the session whose model you are about to change.
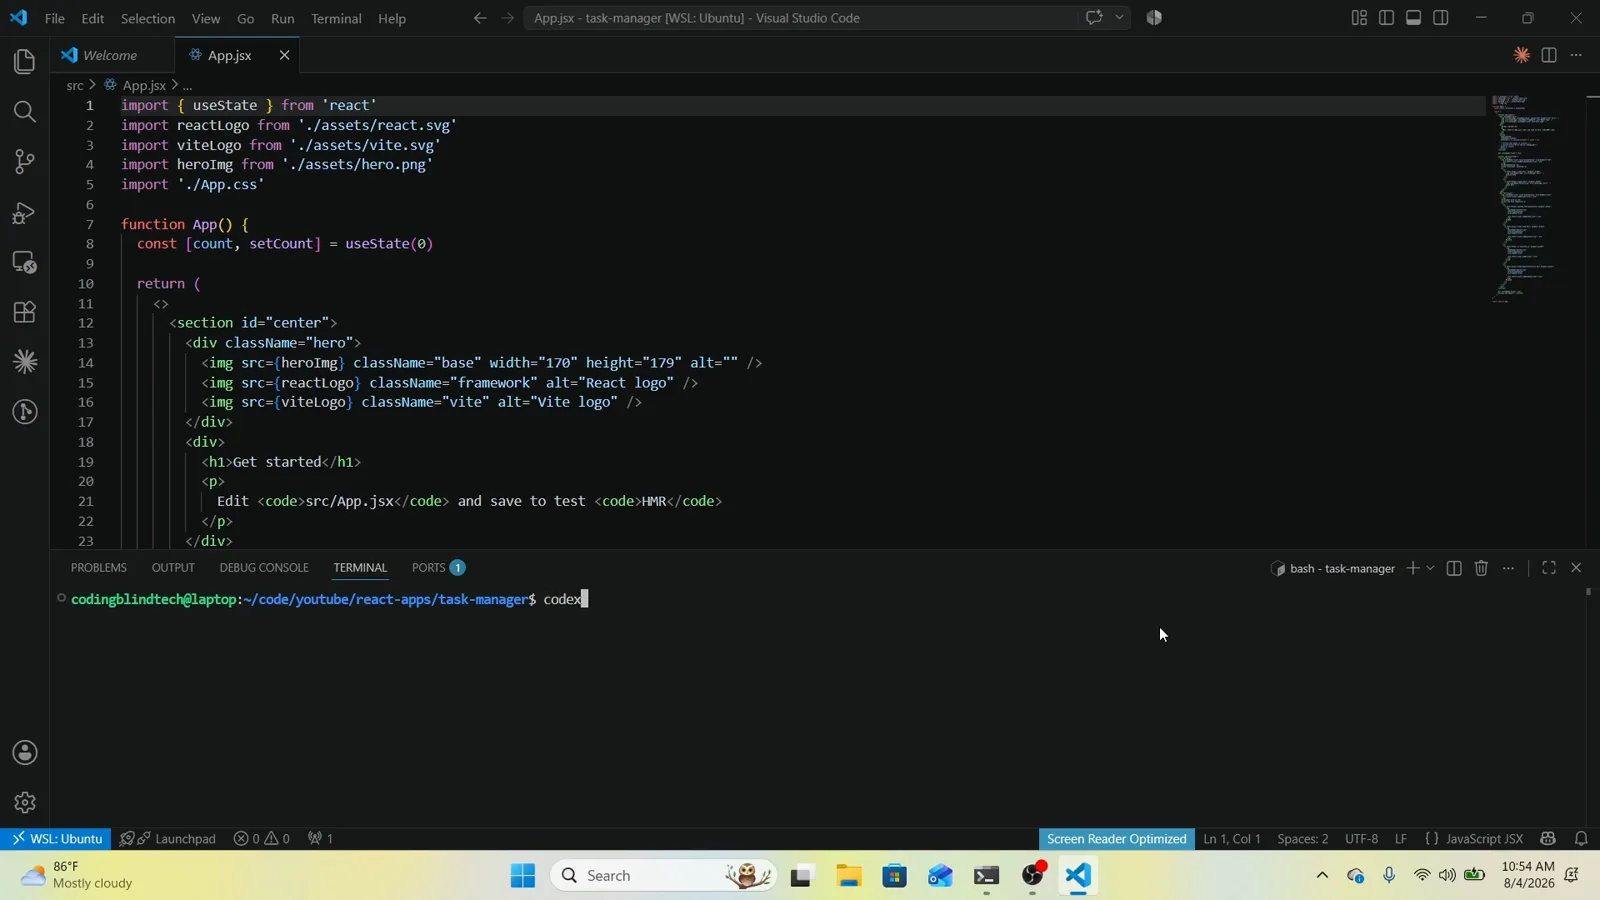
One word launches the agent; no flags are needed to reach the picker.Watch at 2:07 - 3
Confirm the directory trust prompt
First launch in a new folder asks: Do you trust the contents of this directory? Trusting it lets project-local config, hooks and exec policies load. Keep 1. Yes, continue selected and press Enter. The line marked with > is the current selection.
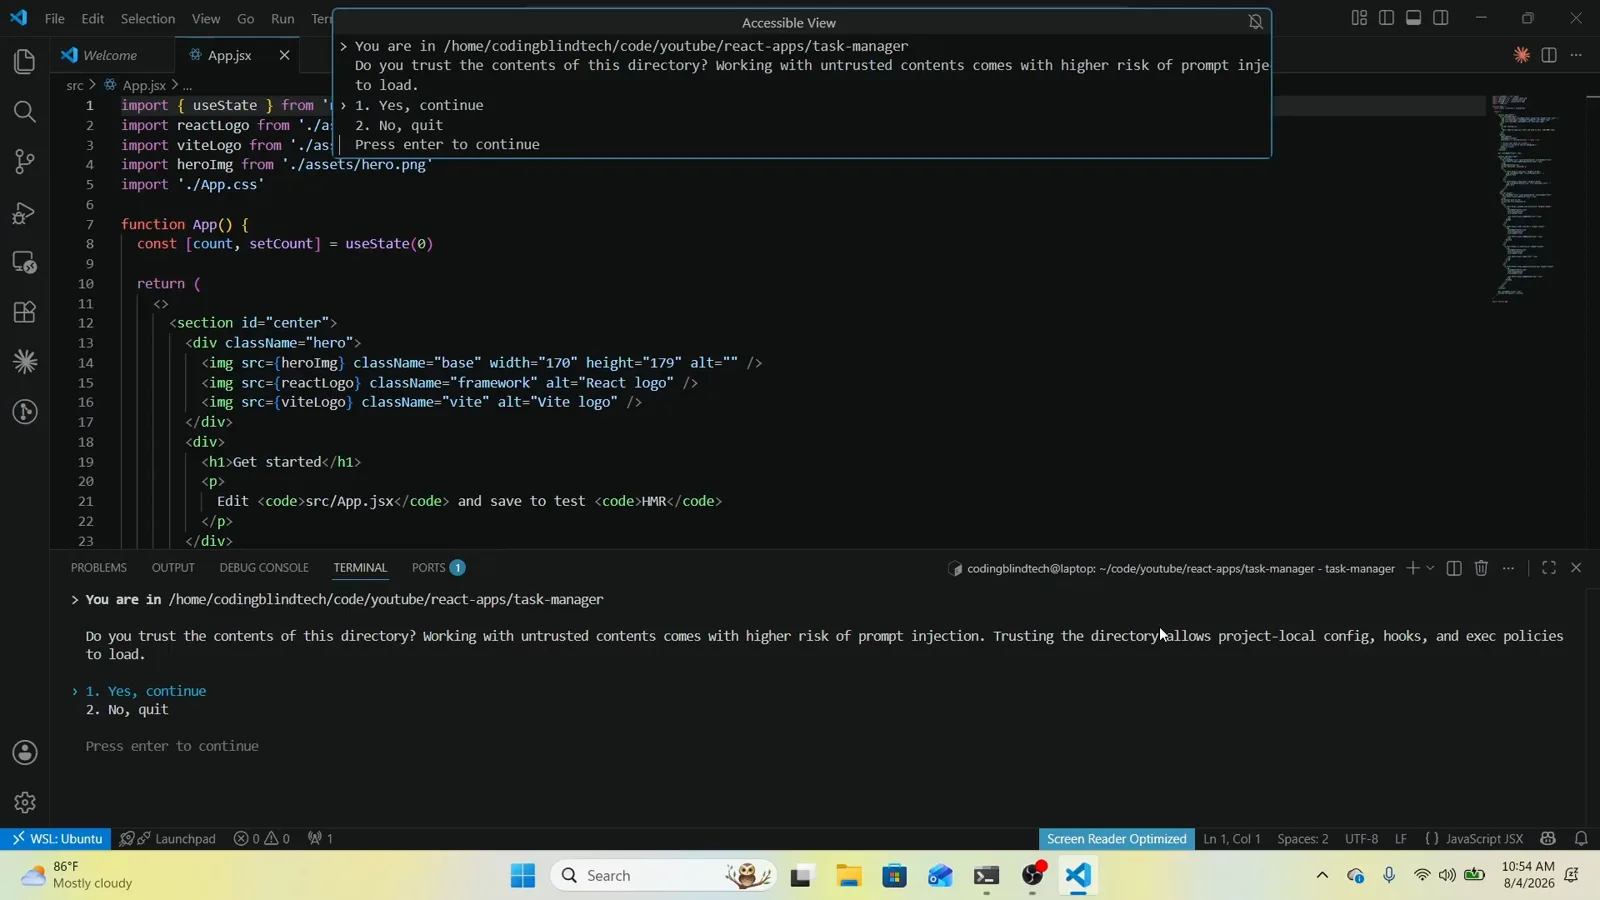
First run in any folder asks for trust before Codex loads project config.Watch at 2:28 - 4
Check the active model in the status line
Before changing anything, read the footer: it pairs the active model and effort — here gpt-5.6-sol high — with the project path, next to a /model to change hint. This line is your before-and-after check for the whole switch.
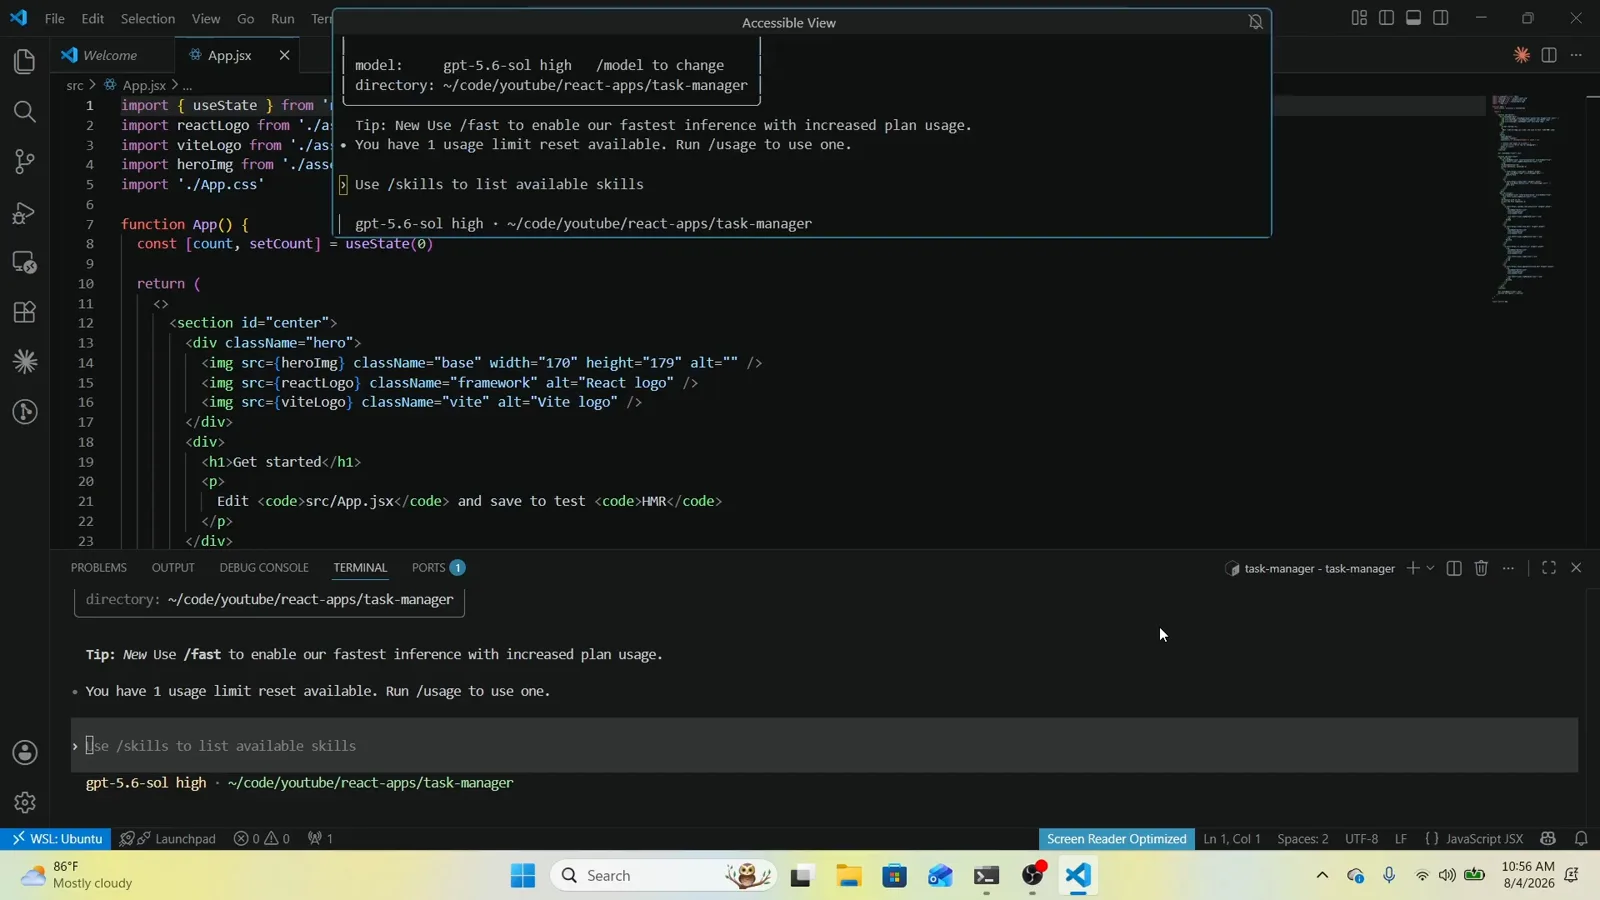
The footer pairs model and effort, e.g. gpt-5.6-sol high — note it before you start.Watch at 4:22
2 · Switch models with /model
- 5
Open the picker with /model
Type /model in the composer and press Enter. The Select Model and Effort dialog lists every model in your catalog with a one-line description, plus the fallback note: access legacy models by running codex -m <model_name> or in your config.toml.
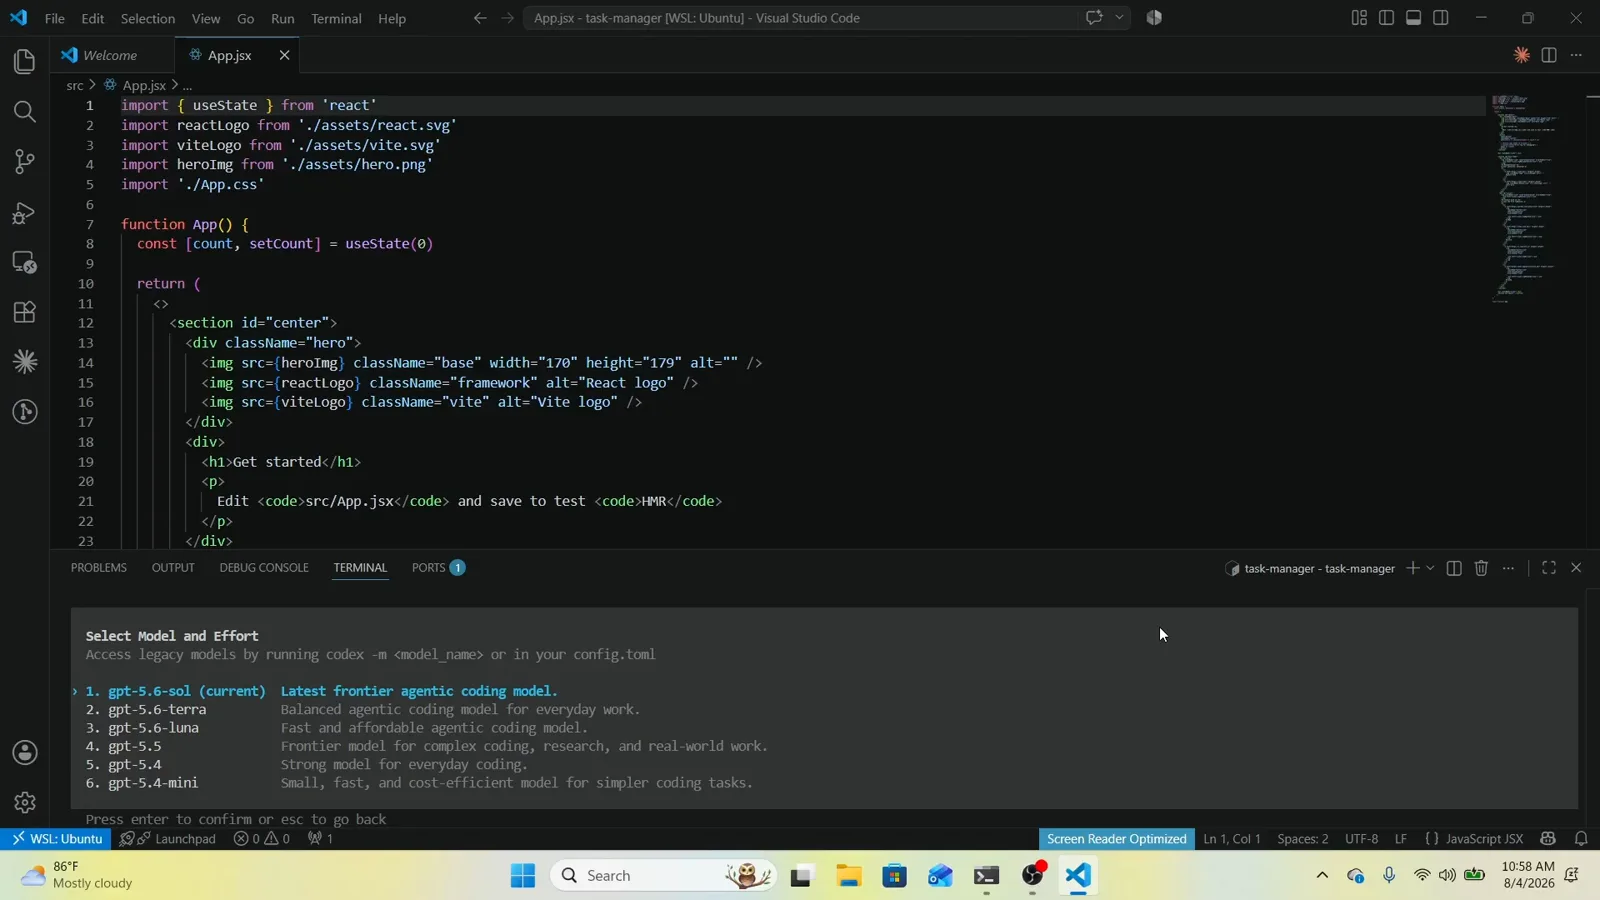
Select Model and Effort is the picker — models, descriptions and the legacy escape hatch.Watch at 6:15 - 6
Move the selection with the arrow keys
Press the down arrow and the > marker slides to the next entry — 2. gpt-5.6-terra here. Nothing is committed yet: Enter confirms and Esc backs out, so you can browse the whole list safely.
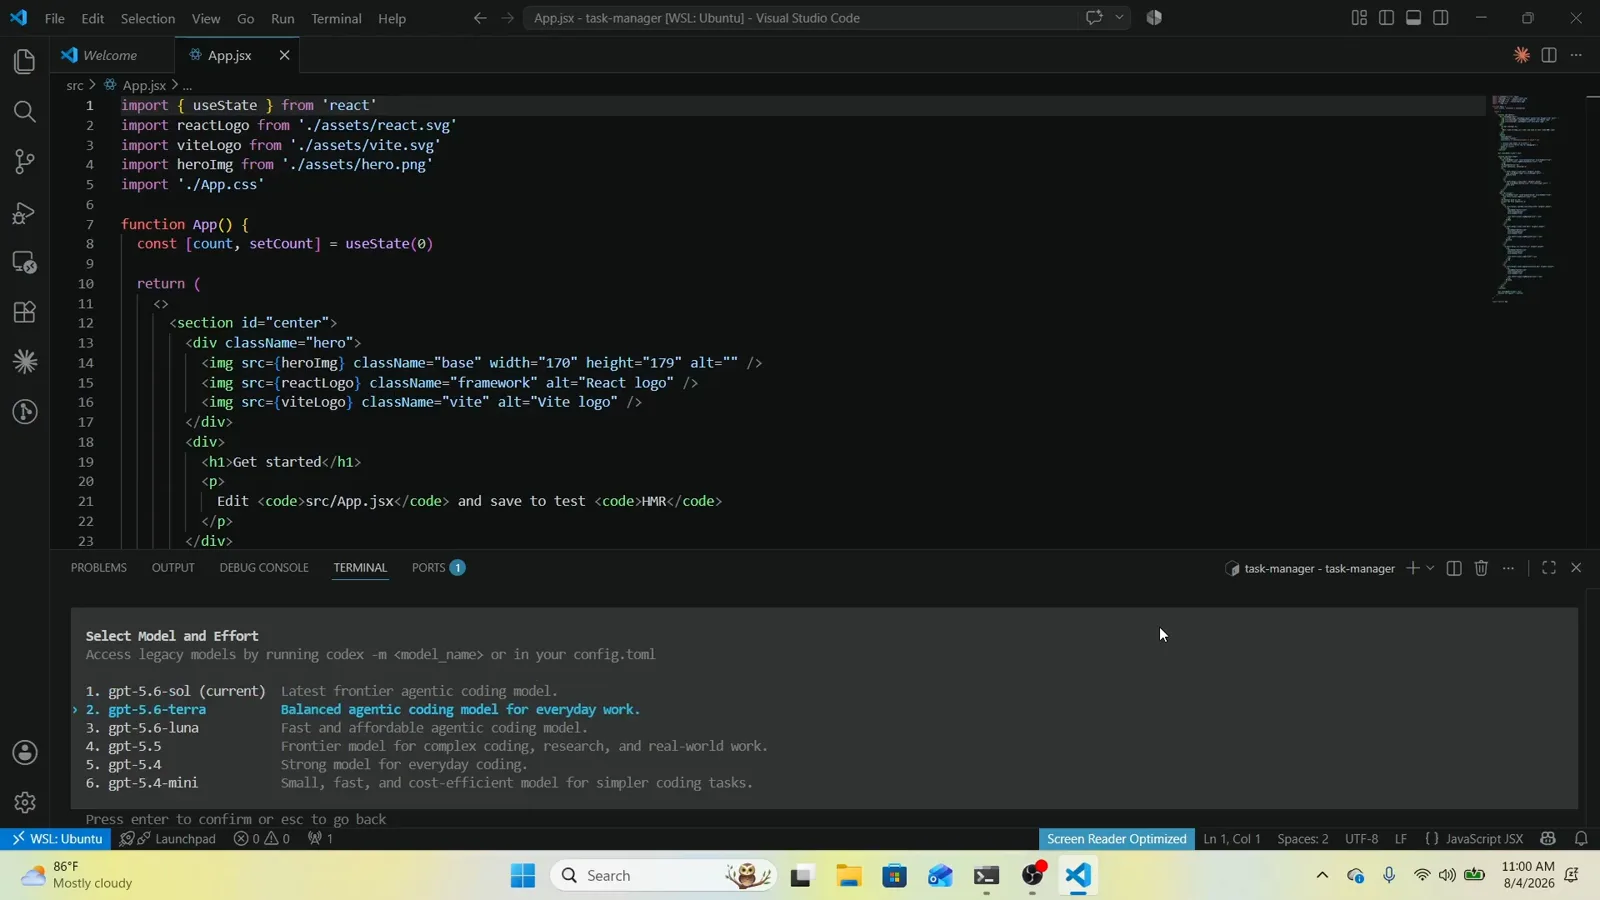
The > marker is the live selection; browsing never changes the model.Watch at 7:45 - 7
Highlight the model you want
Keep arrowing until the marker sits on your pick — 3. gpt-5.6-luna, Fast and affordable agentic coding model. On current installs the same list offers GPT-6 Sol and GPT-6 Luna; the navigation is identical.
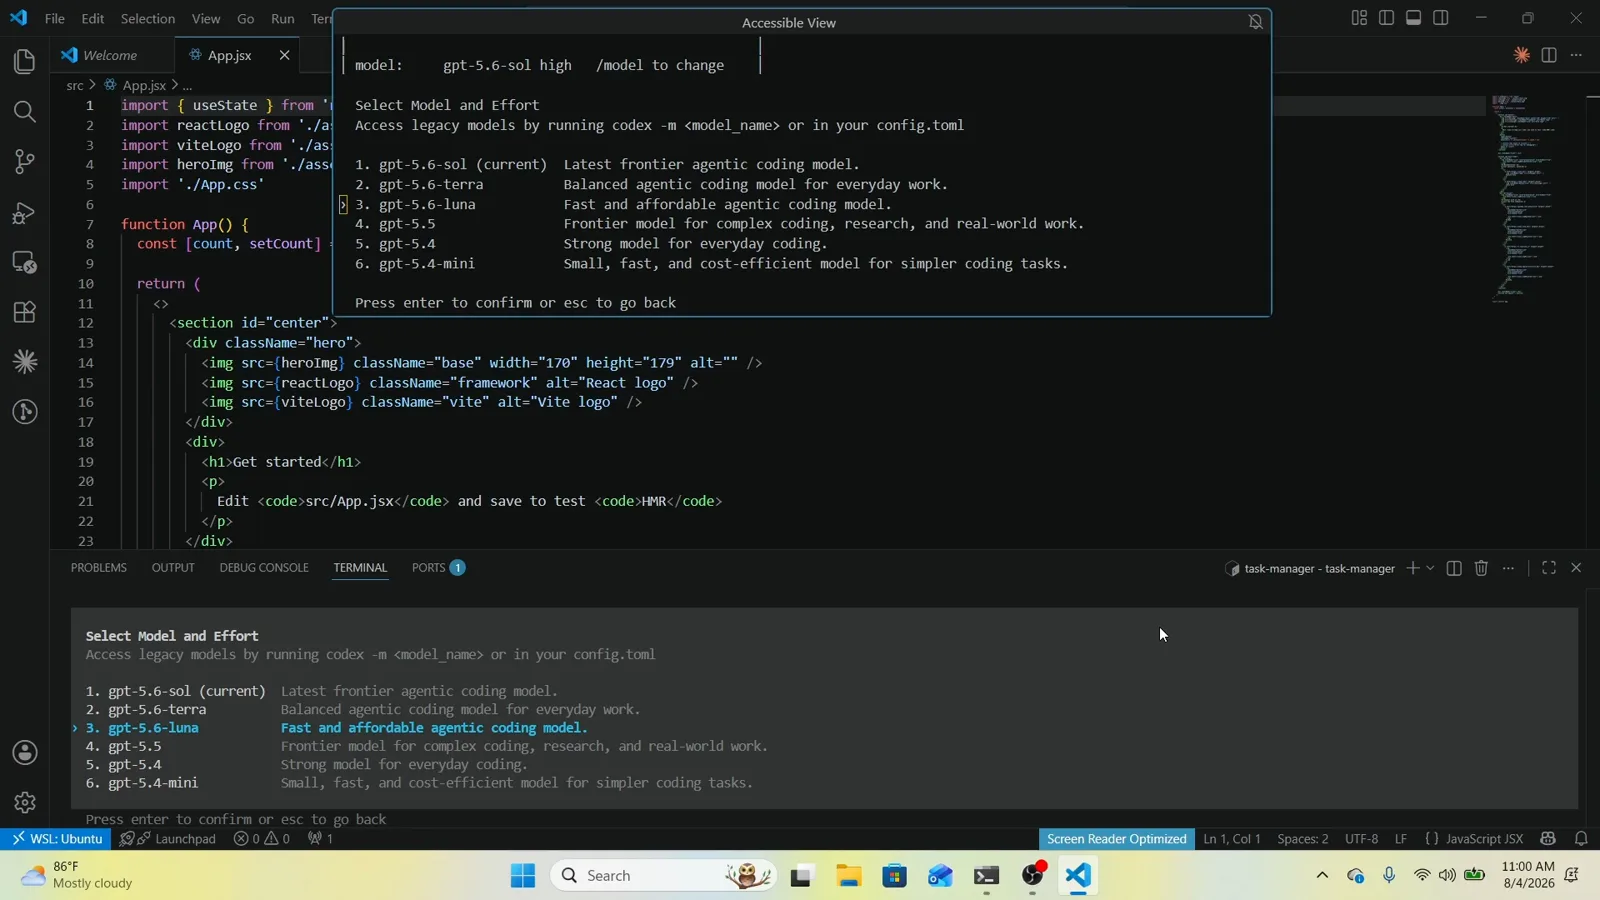
Selection parked on gpt-5.6-luna — Enter moves on to the effort step.Watch at 8:12
3 · Pick reasoning effort and confirm
- 8
Pick the reasoning effort
Confirming the model opens Select Reasoning Level for <model>. Medium is marked as the default and balances speed and reasoning depth; Low responds fastest, while High and Extra high trade time for depth and More reasoning consumes usage limits faster.
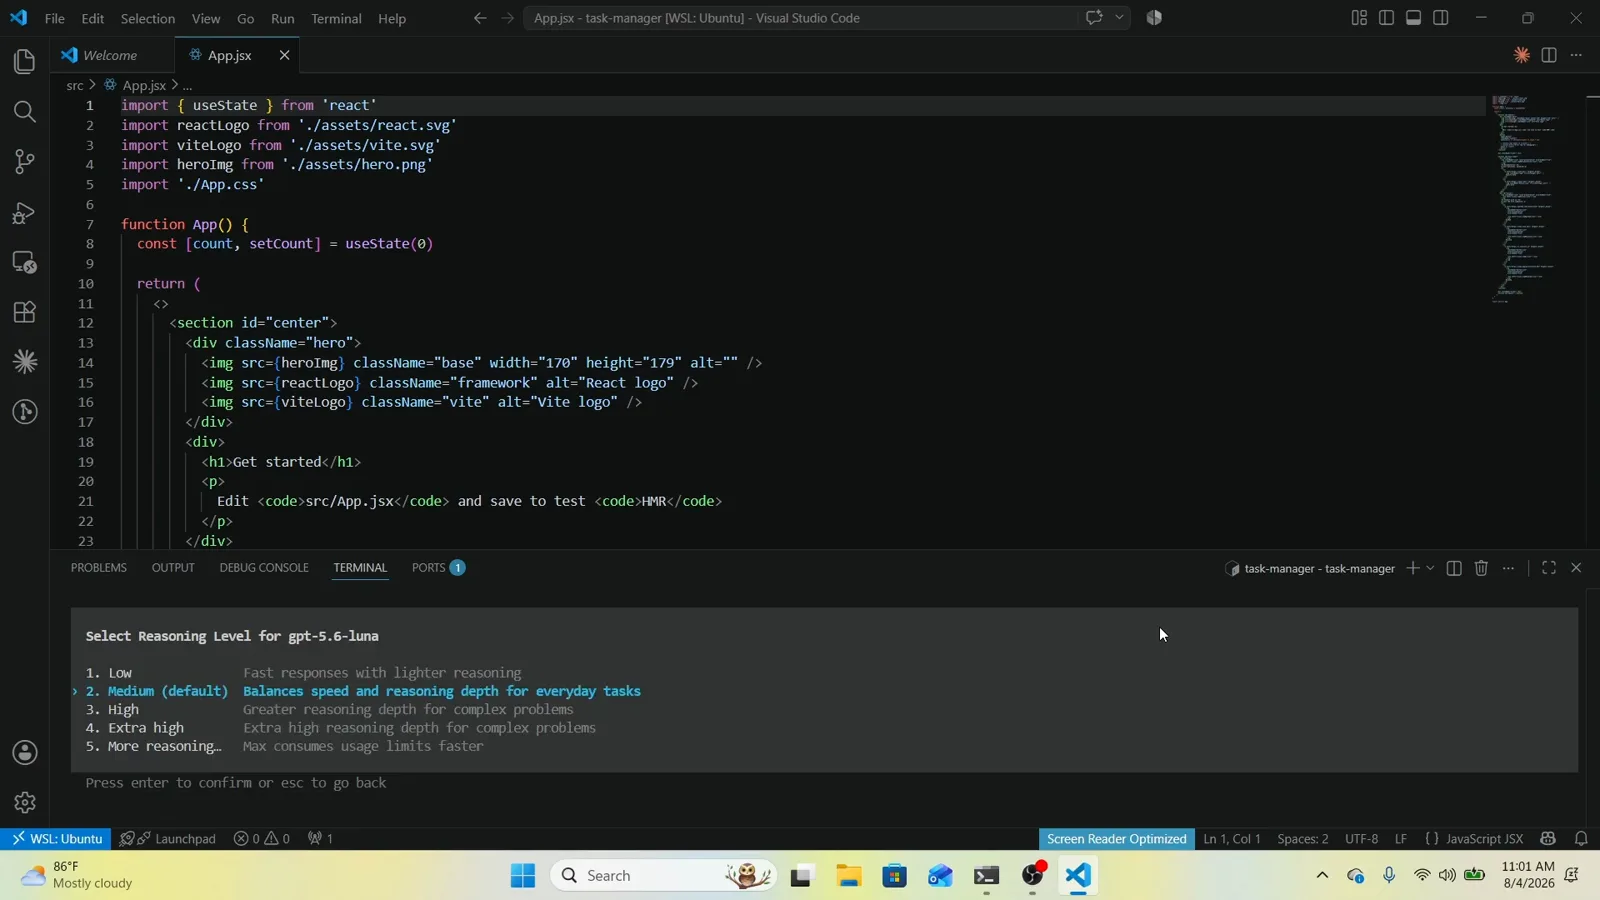
Effort is per-model: Medium (default) highlighted for gpt-5.6-luna.Watch at 9:12 - 9
Know the higher tiers before you commit
The full menu runs Low, Medium, High, Extra high and More reasoning; the docs describe the effort axis as low, medium, high, xhigh, max or ultra depending on the model. Higher tiers think deeper but finish slower and drain your usage limit — for everyday coding, Medium stays the sensible default.
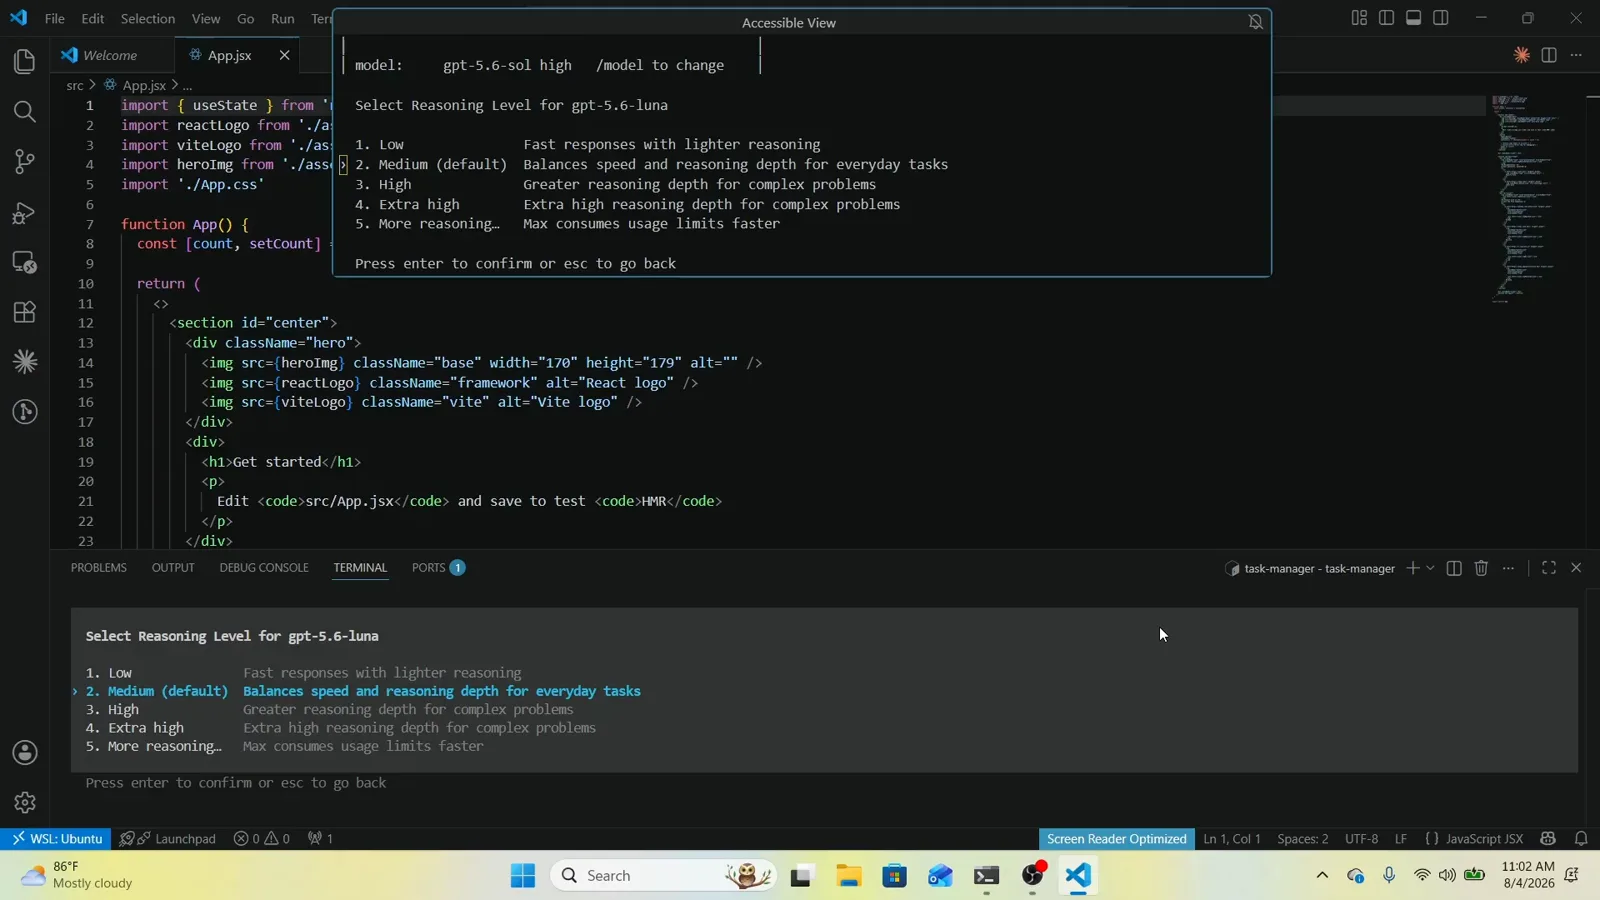
The whole effort ladder in one view, with the previous model still in the footer.Watch at 9:35 - 10
Confirm and verify the switch
Press Enter and Codex reports Model changed to <model> <effort> — and the status line now reads gpt-5.6-luna medium. That footer pair is your receipt; if it still shows the old model, you backed out with Esc instead of confirming.
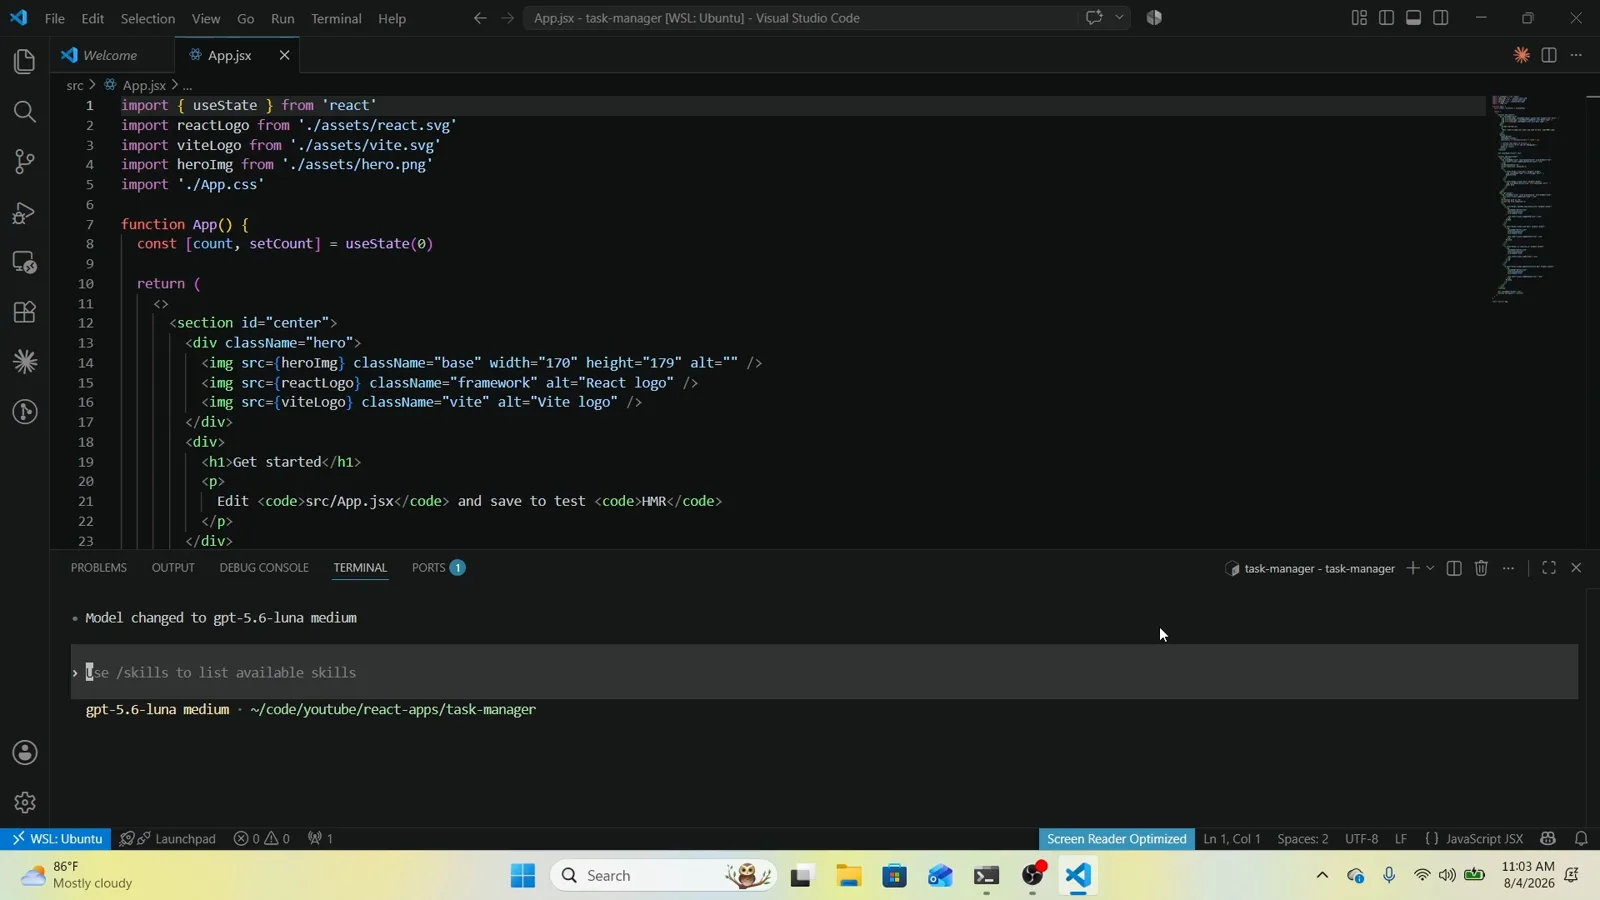
Model changed to gpt-5.6-luna medium — the footer is the confirmation.Watch at 10:40
Model picker troubleshooting
The picker shows gpt-5.6 models instead of GPT-6 Sol and Luna
Your install predates 0.156.1, which added GPT-6 Sol and Luna to the catalog on September 23, 2026. Update with npm install -g @openai/codex@latest (or brew upgrade codex), restart the session, and check codex --version. Older catalogs list gpt-5.6-sol, gpt-5.6-terra and gpt-5.6-luna — exactly what this video captures.
/model doesn't do anything
The command only works inside an interactive Codex session — launch codex first, then type / at the composer. If /model is missing from the command list entirely, you are on an old build: update the CLI and start a new session.
The status line still shows the old model
The switch is not done until you clear the reasoning-level screen: choose an effort and press Enter. Pressing Esc twice walks you back out without changing anything, and one Esc too many reopens the menu. Confirm until the footer reports the new pair.
The model I want isn't in the list
The picker only shows the current catalog. Older or specialized models stay reachable as legacy targets: launch with codex -m <model_name>, or set model = "<model_name>" in ~/.codex/config.toml to pin it for every session.