
快速答案
- 在 Codex 输入框里输入 /model 打开 model picker:方向键移动选中项,Enter 确认,Esc 返回上一屏。
- Codex CLI 0.156.1(2026 年 9 月 23 日)把 GPT-6 Sol 和 GPT-6 Luna 加进了模型目录,新版本打开 picker 就能看到这两款。
- 选定模型后会直接进入 Select Reasoning Level 界面——默认 Medium;档位越高思考越深,但消耗用量也更快。
- 输入框下方的状态行始终显示当前生效的「模型 + 力度」组合(如 gpt-6-sol high)。要长期固定默认模型,在 ~/.codex/config.toml 里设置 model 键。
Change the Model and Reasoning Level in OpenAI Codex CLI using a Screen Reader
视频来源:Coding Blind Tech11:46
OpenAI Codex CLI Course #2: /model · /fast
命令参考:Standarity2:26
全部截图取自 Coding Blind Tech 的终端实录,录制时间早于 0.156.1——它的 picker 列表还是上一代 gpt-5.6-sol / terra / luna,新版本对应位置显示 GPT-6 Sol 和 Luna。命令行为以 Codex 官方文档为准,两者不一致时按文档执行。
截图均来自上述来源视频并逐帧署名,每张图都带原视频时间戳深链。本文文字为原创,不是字幕转写。
一步一步切换 Codex CLI 的模型
1 · 在项目里启动 Codex
- 1
打开集成终端
Codex 在任何终端都能跑,视频用的是 VS Code 内置终端。按 Ctrl+`(Tab 上方那个键),终端面板会直接在当前项目文件夹里打开,Codex 从一开始就能拿到正确的工作区。
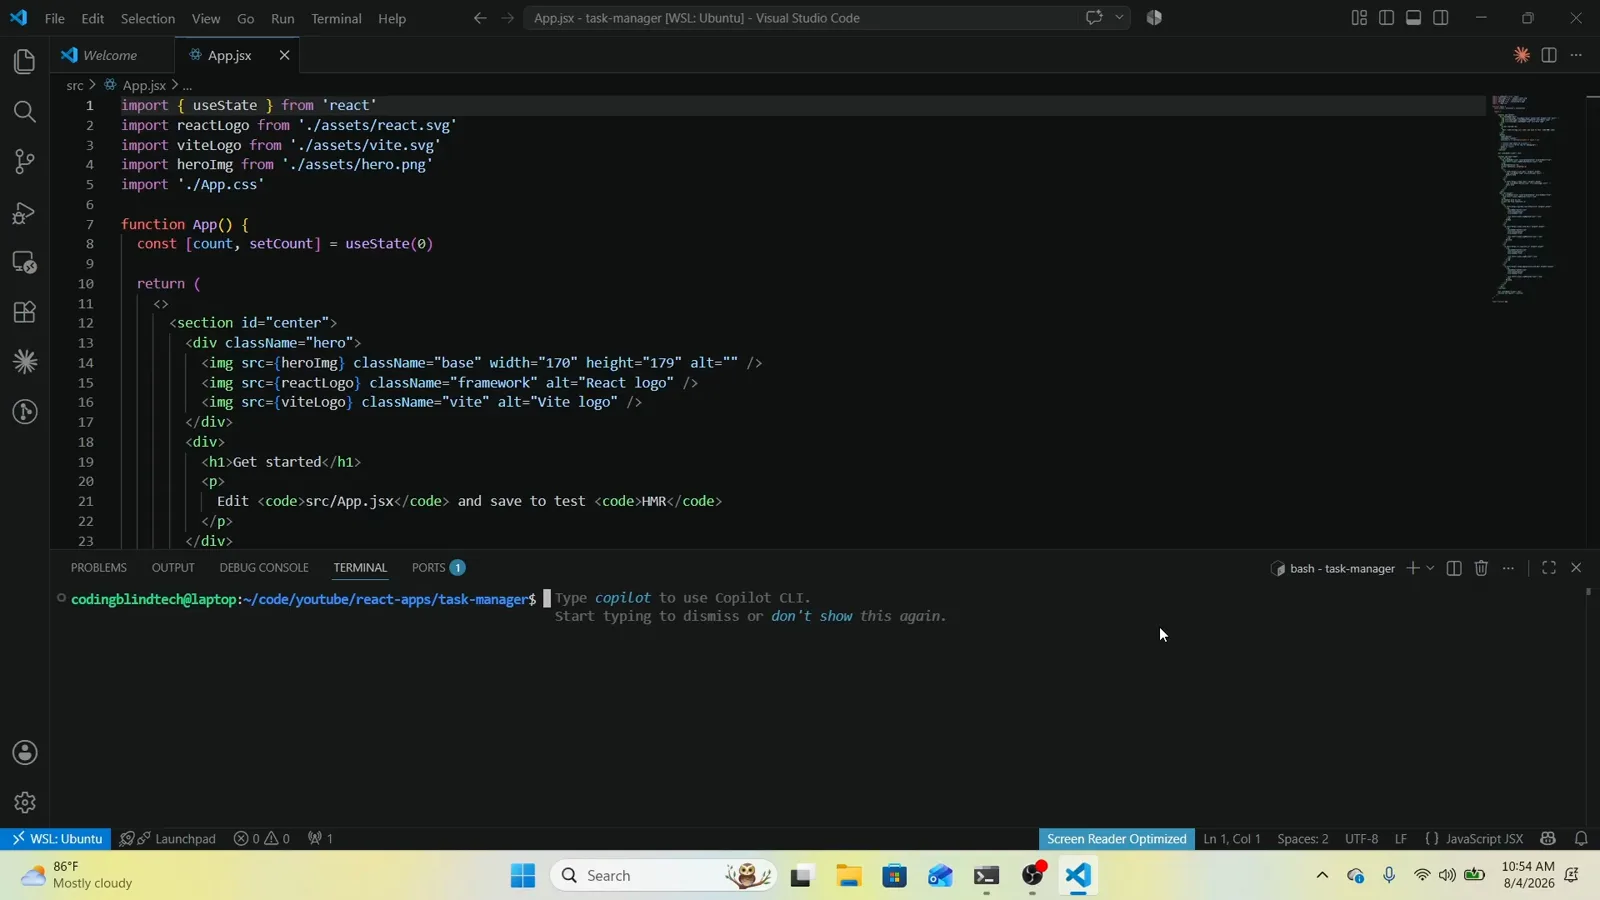
Ctrl+` 打开的终端直接落在 VS Code 当前打开的项目目录。看原视频 1:52 处 - 2
- 3
确认目录信任提示
首次在新文件夹启动会问:Do you trust the contents of this directory?信任后项目级 config、hooks 和 exec policies 才会加载。保持 1. Yes, continue 选中,按回车。以 > 开头的行就是当前选中项。
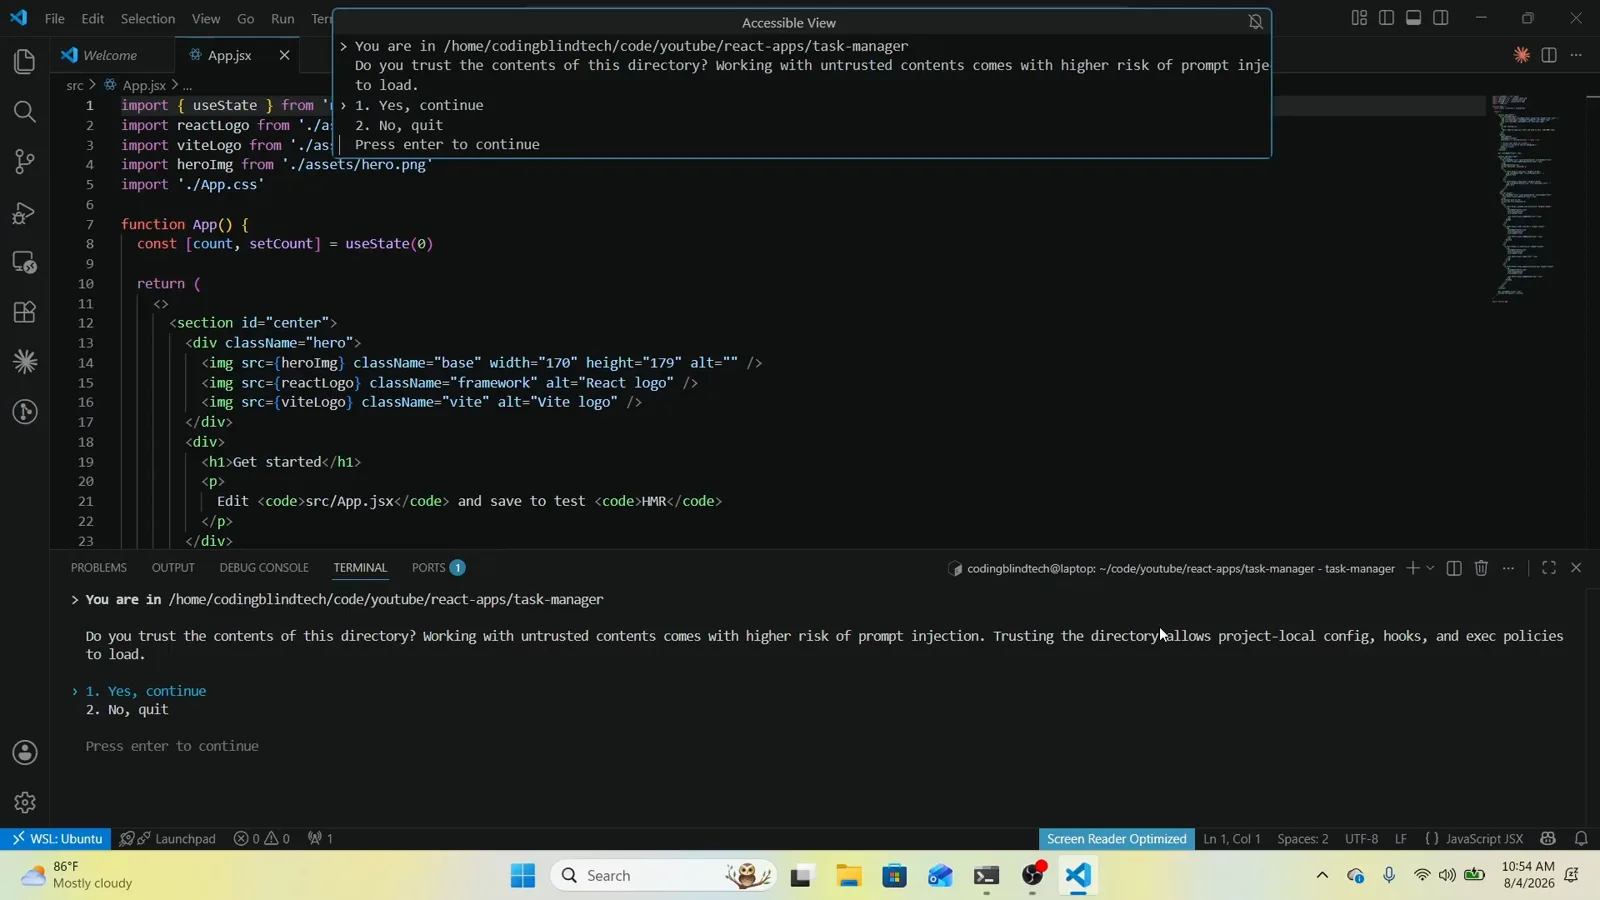
每个新文件夹首次运行都要先过这道信任确认。看原视频 2:28 处 - 4
从状态行确认当前模型
改之前先读页脚:它把当前「模型 + 力度」(图中是 gpt-5.6-sol high)和项目路径放在一起,旁边还有 /model to change 提示。这行就是整个换模型过程的前后对照。
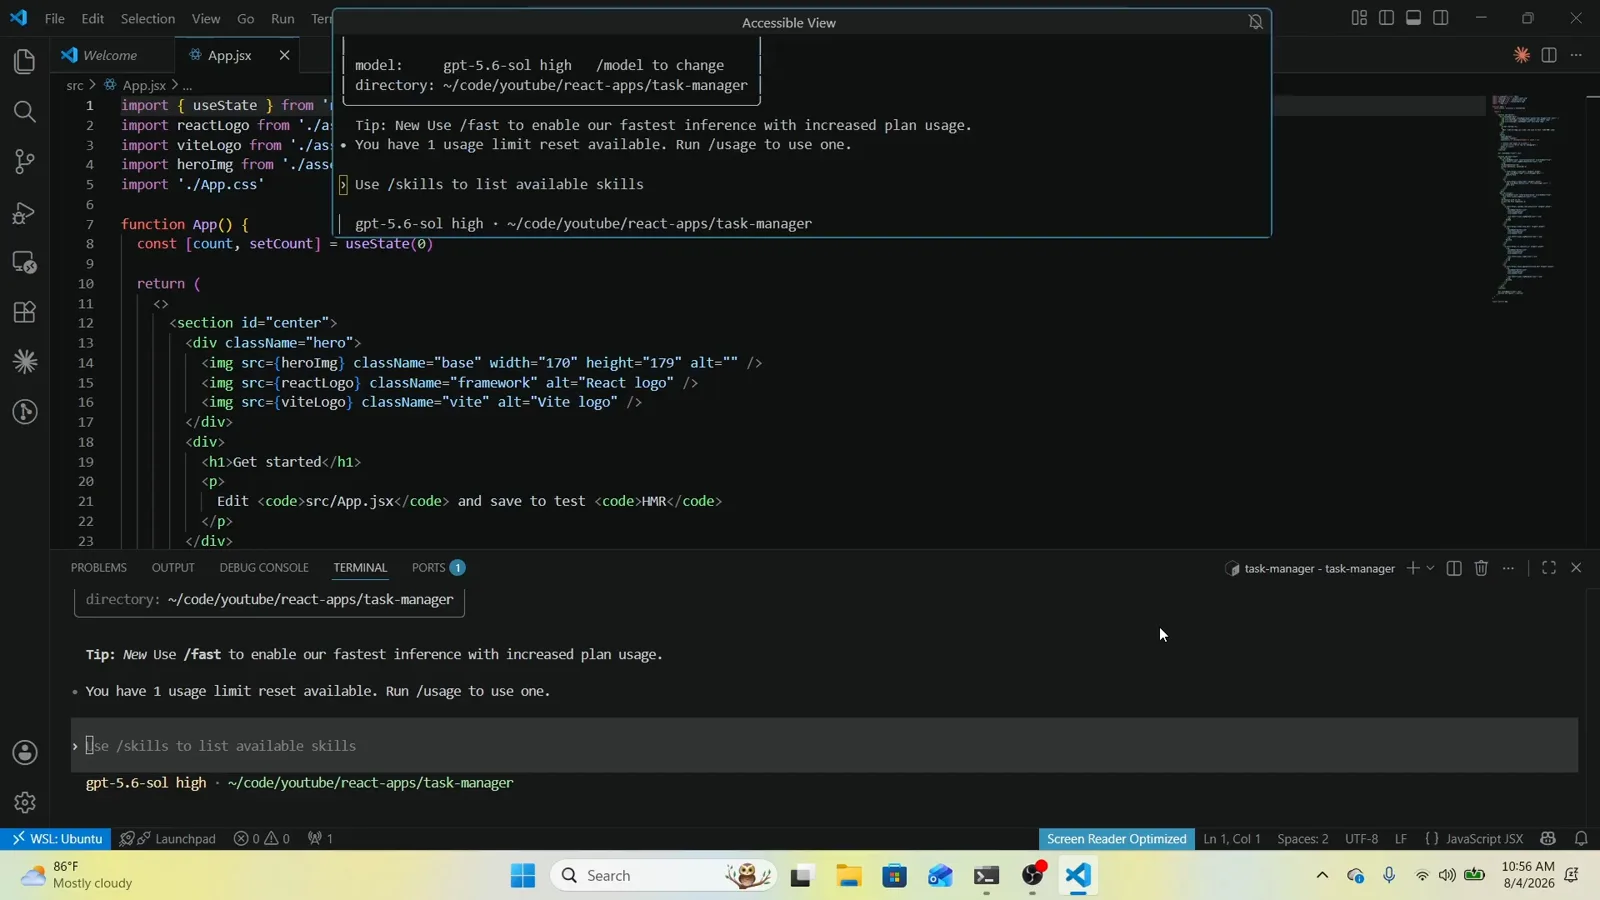
页脚显示模型和力度的组合,例如 gpt-5.6-sol high——动手前先记下它。看原视频 4:22 处
2 · 用 /model 打开 model picker 换模型
- 5
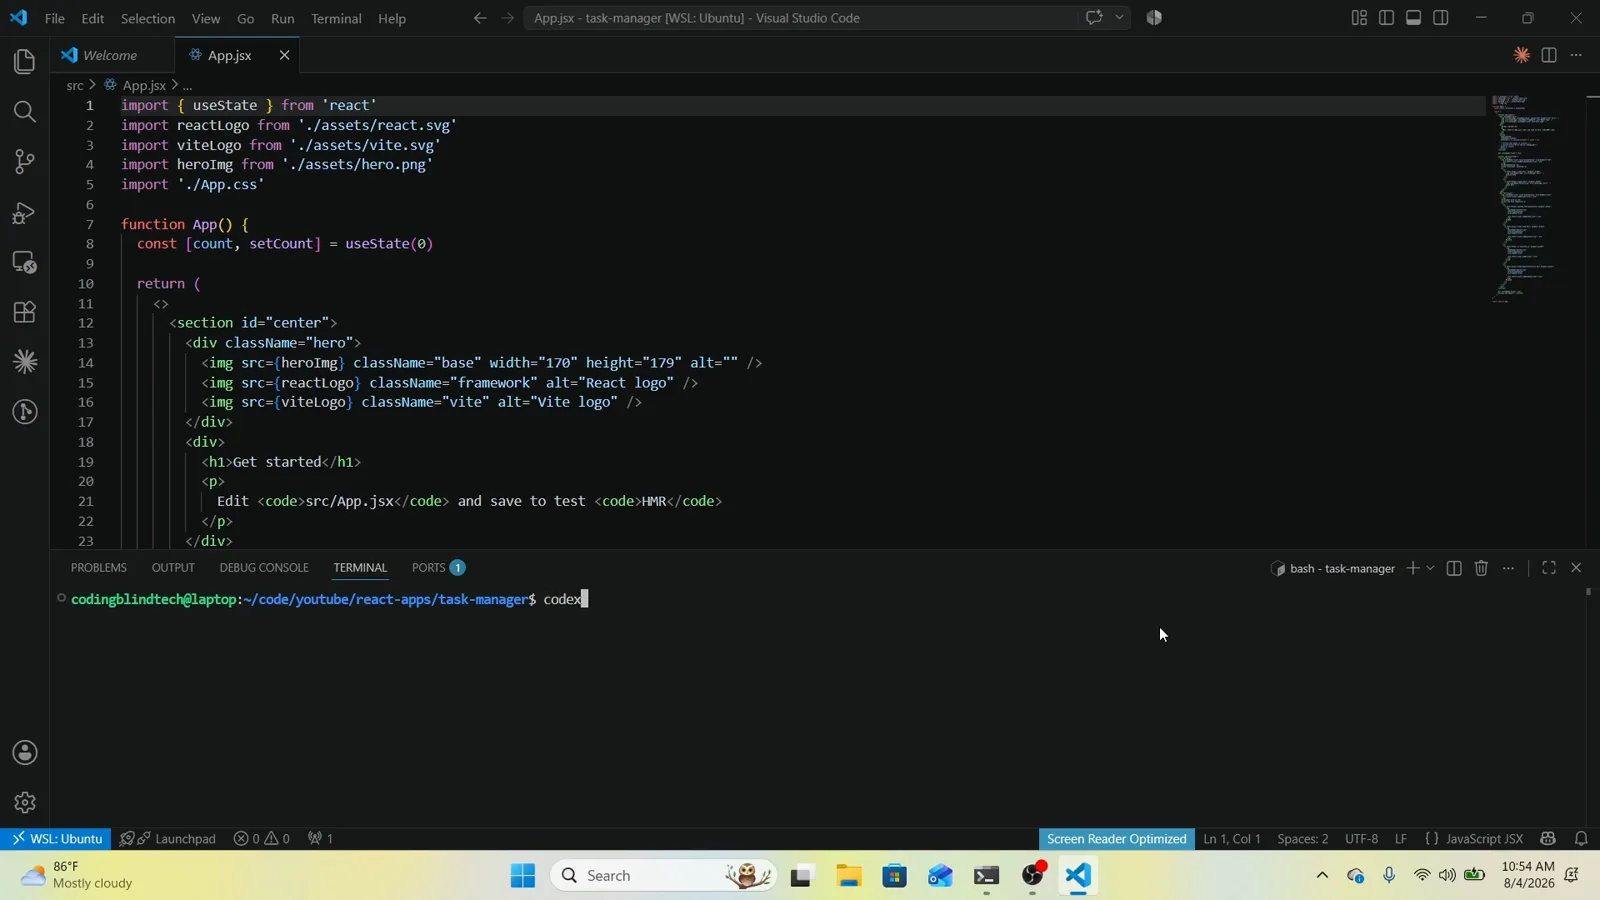
输入 /model 打开 model picker
在输入框输入 /model 回车。Select Model and Effort 对话框列出目录里的全部模型和一行简介,还附了兜底说明:老模型可以用 codex -m <model_name> 启动参数或写进 config.toml。
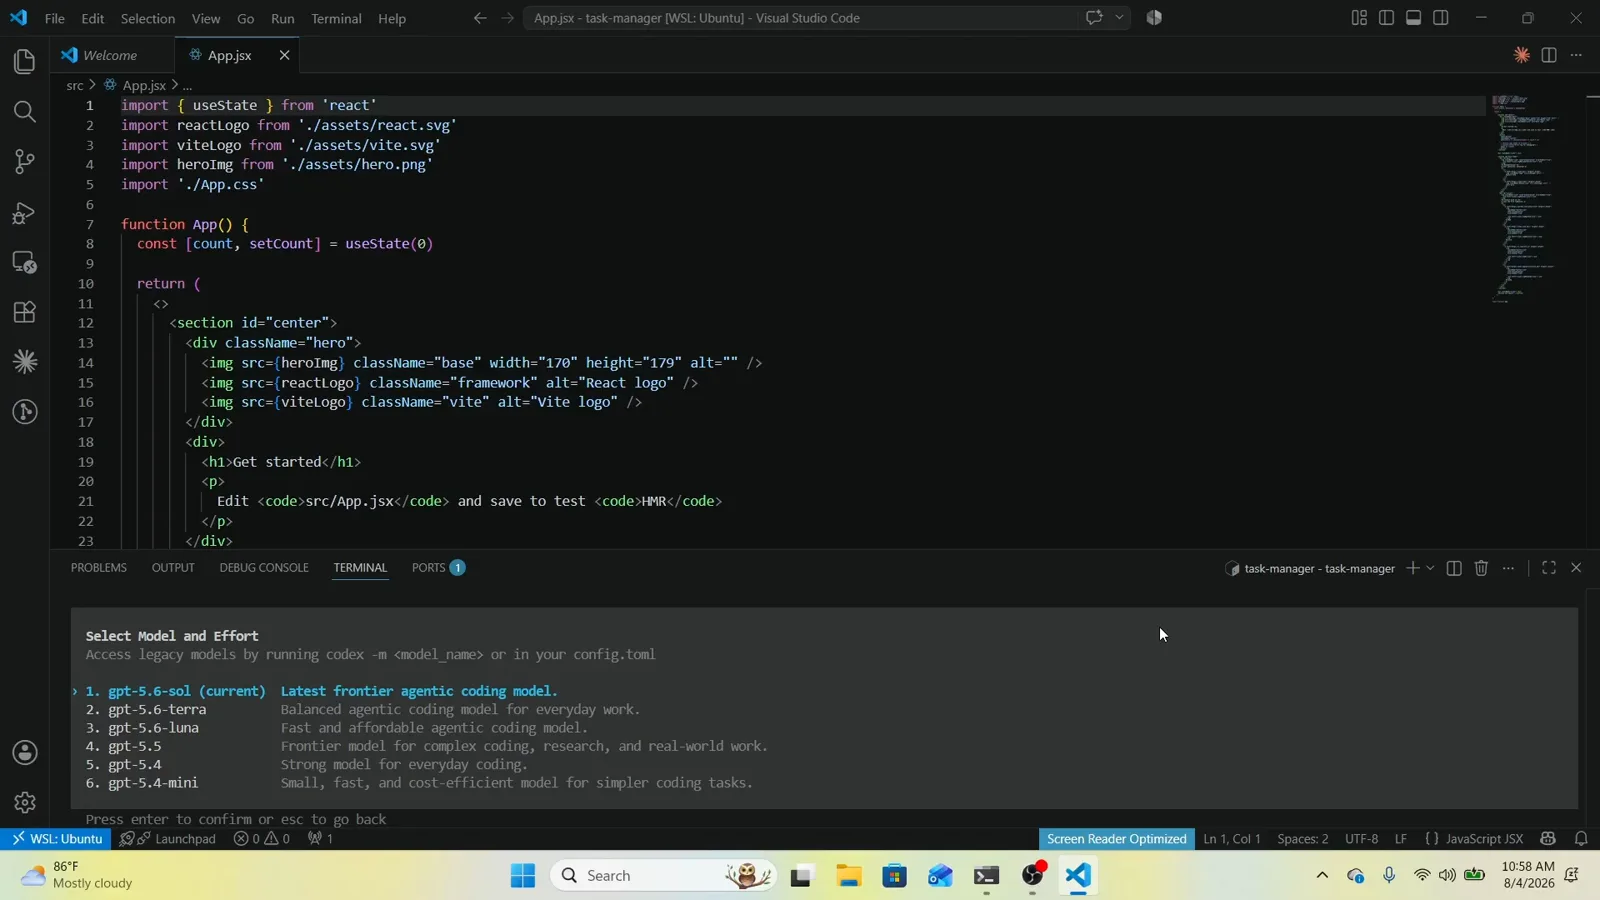
Select Model and Effort 就是 model picker:模型、简介和 legacy 入口都在这一屏。看原视频 6:15 处 - 6
用方向键移动选中项
按一下下方向键,> 标记就滑到下一项——图中是 2. gpt-5.6-terra。此时还没有任何改动:Enter 才确认,Esc 返回,可以放心把整个列表看一遍。
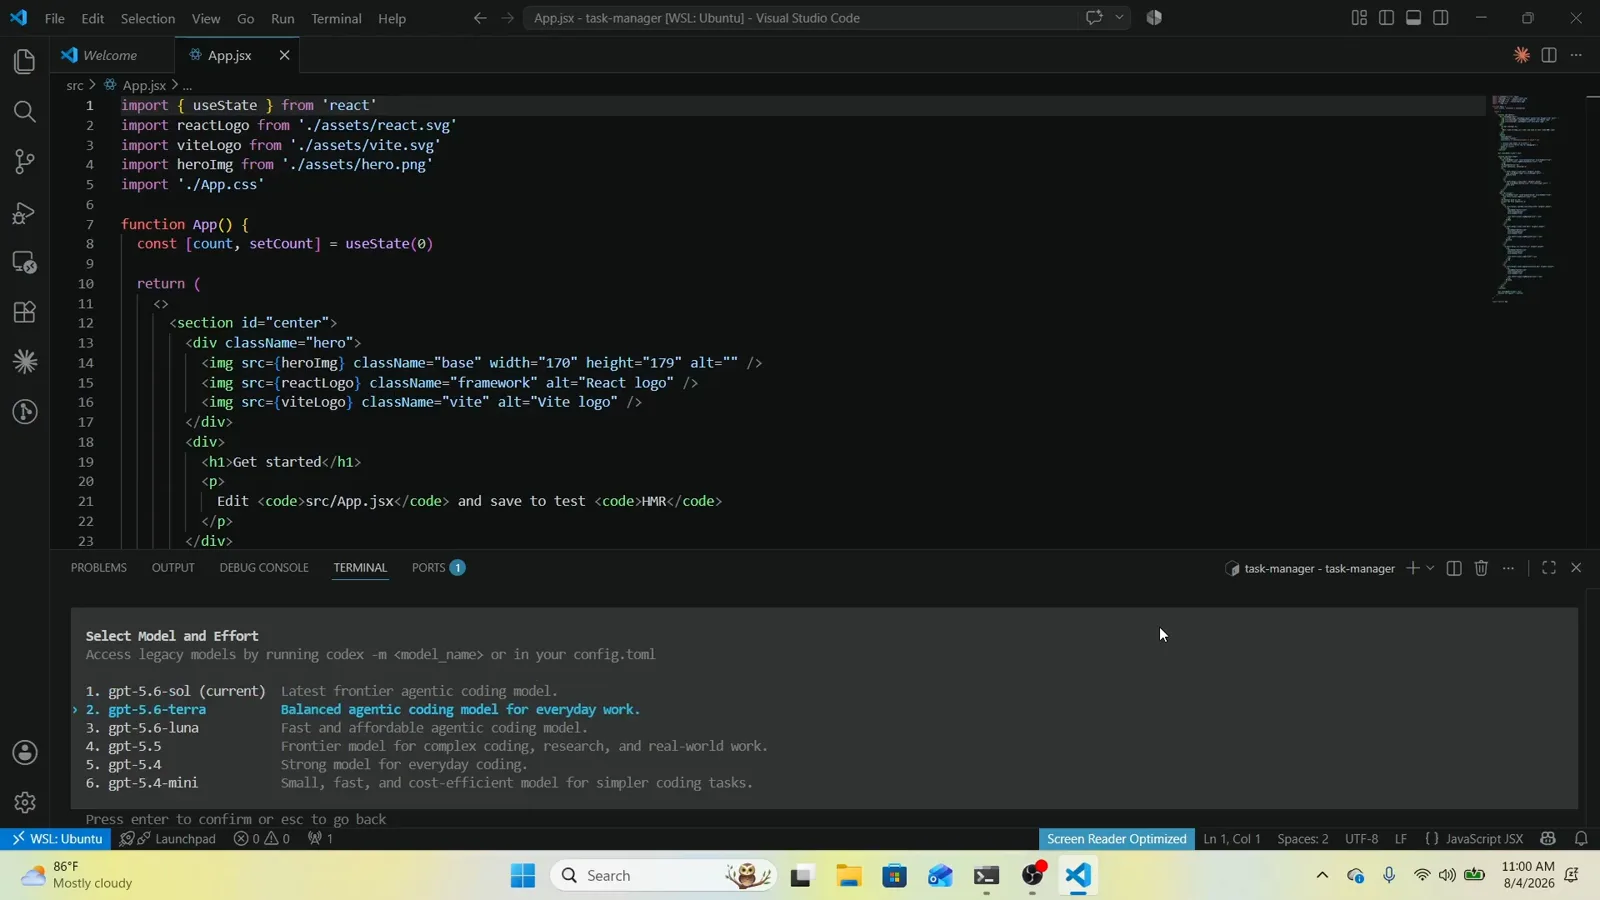
> 标记是实时选中项;浏览列表不会改动模型。看原视频 7:45 处 - 7
停到你要的模型上
继续按方向键,直到标记停在目标项——图中是 3. gpt-5.6-luna(Fast and affordable agentic coding model)。新版本的同一列表里是 GPT-6 Sol 和 GPT-6 Luna,操作方式完全一样。
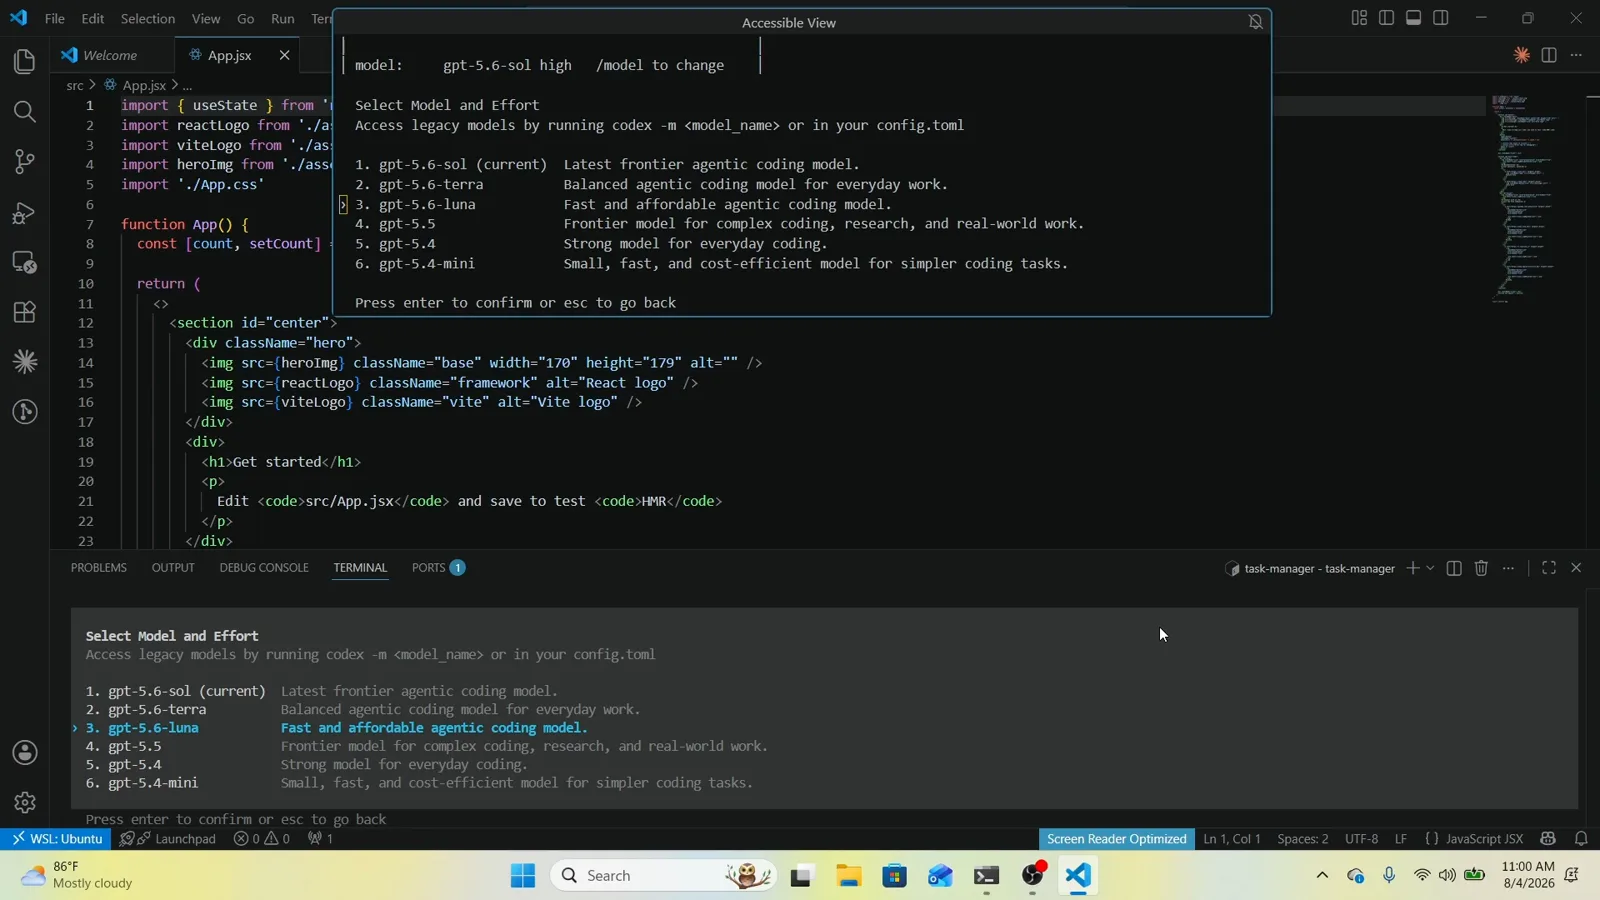
选中项停在 gpt-5.6-luna——回车进入力度选择。看原视频 8:12 处
3 · 选推理力度并确认
- 8
选推理力度
确认模型后会打开 Select Reasoning Level for <model>。Medium 标着 default,速度和推理深度均衡;Low 响应最快,High 和 Extra high 用时间换深度,More reasoning 消耗用量更快。
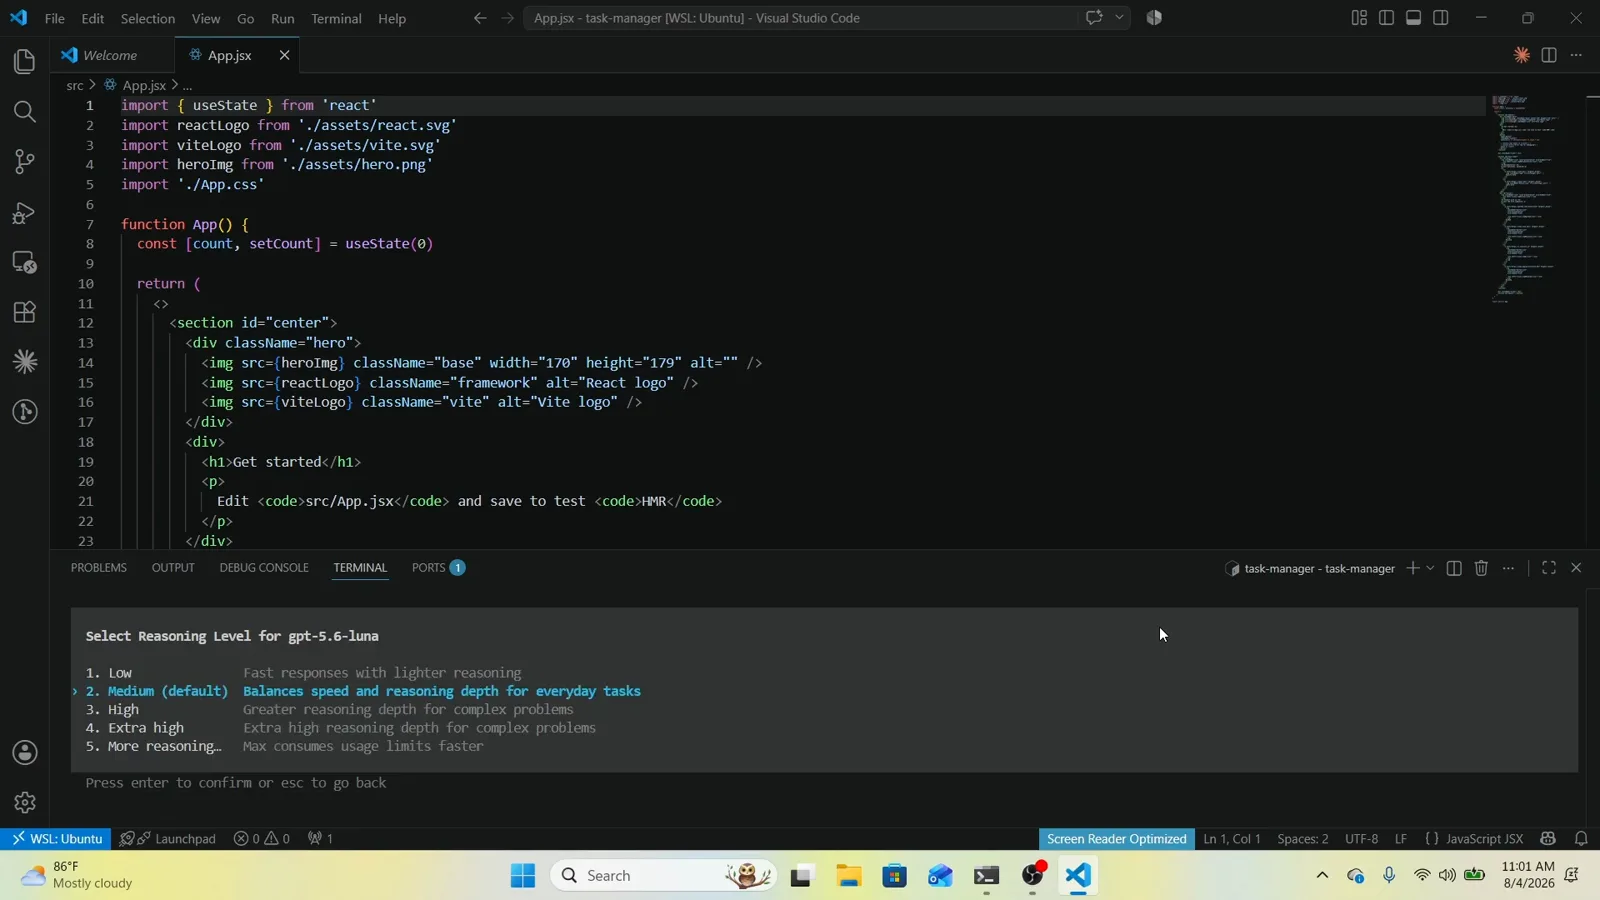
力度按模型给出:图中 gpt-5.6-luna 默认高亮 Medium(default)。看原视频 9:12 处 - 9
确认前认清高挡位
完整菜单是 Low、Medium、High、Extra high、More reasoning;官方文档把力度轴描述为 low、medium、high、xhigh、max、ultra,具体取决于模型。挡位越高思考越深,但更慢也更耗用量限额——日常写码,Medium 仍是最稳的默认。
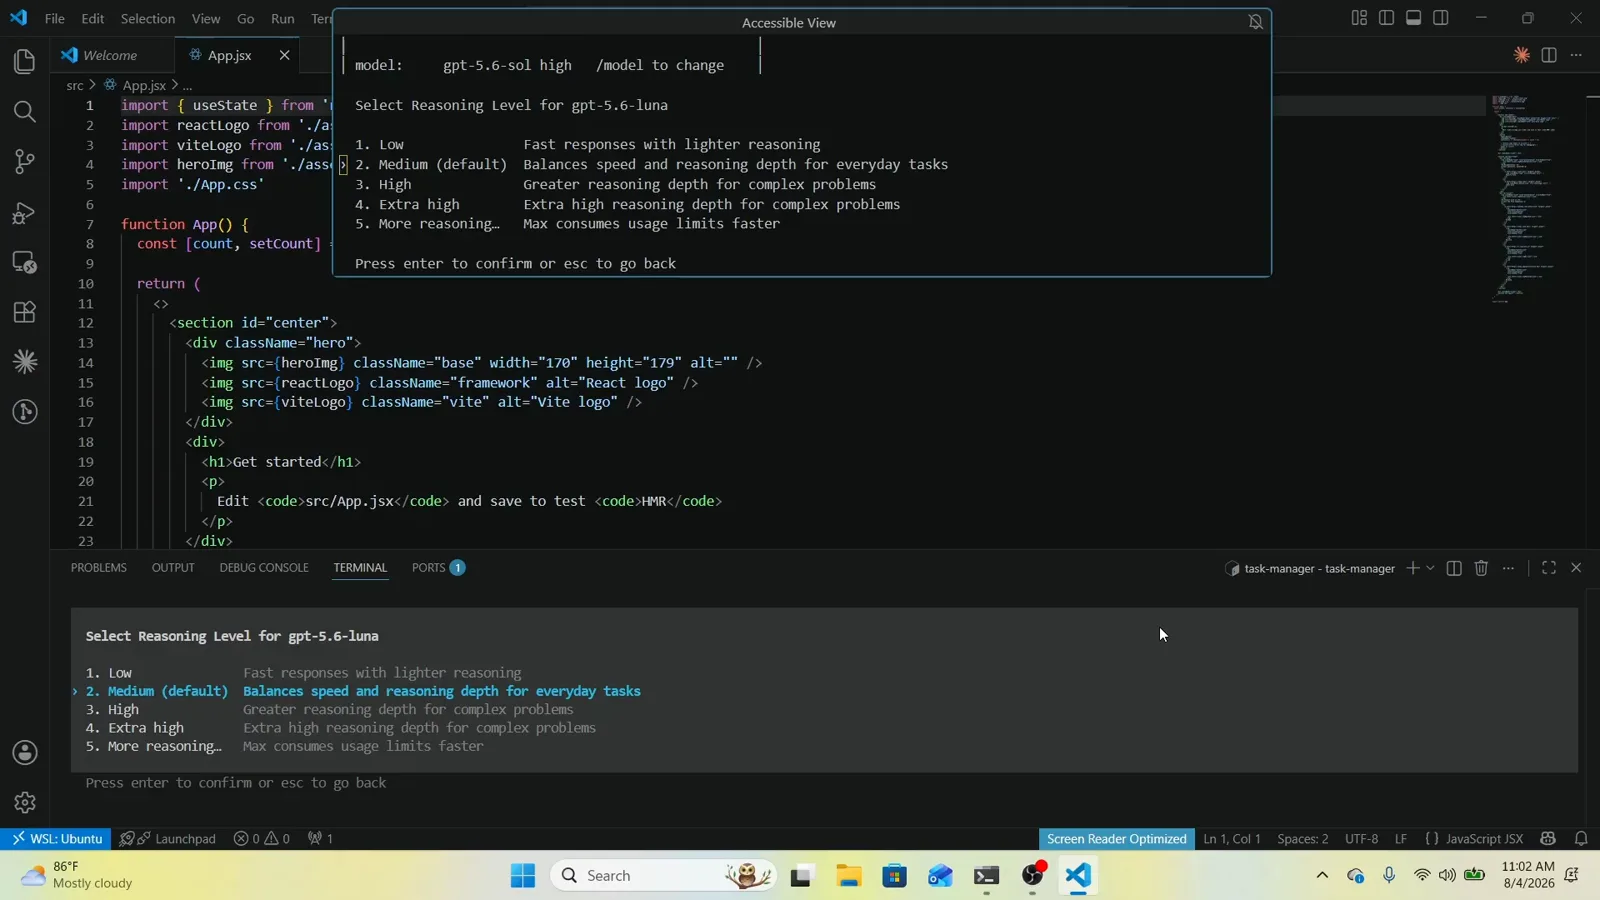
一屏看全力度档位,页脚还挂着切换前的旧模型。看原视频 9:35 处 - 10
确认并验证切换结果
按回车后 Codex 会报 Model changed to <model> <effort>,状态行随之变成 gpt-5.6-luna medium。页脚这对组合就是回执;如果它还是旧模型,说明你按 Esc 退出了而不是确认。
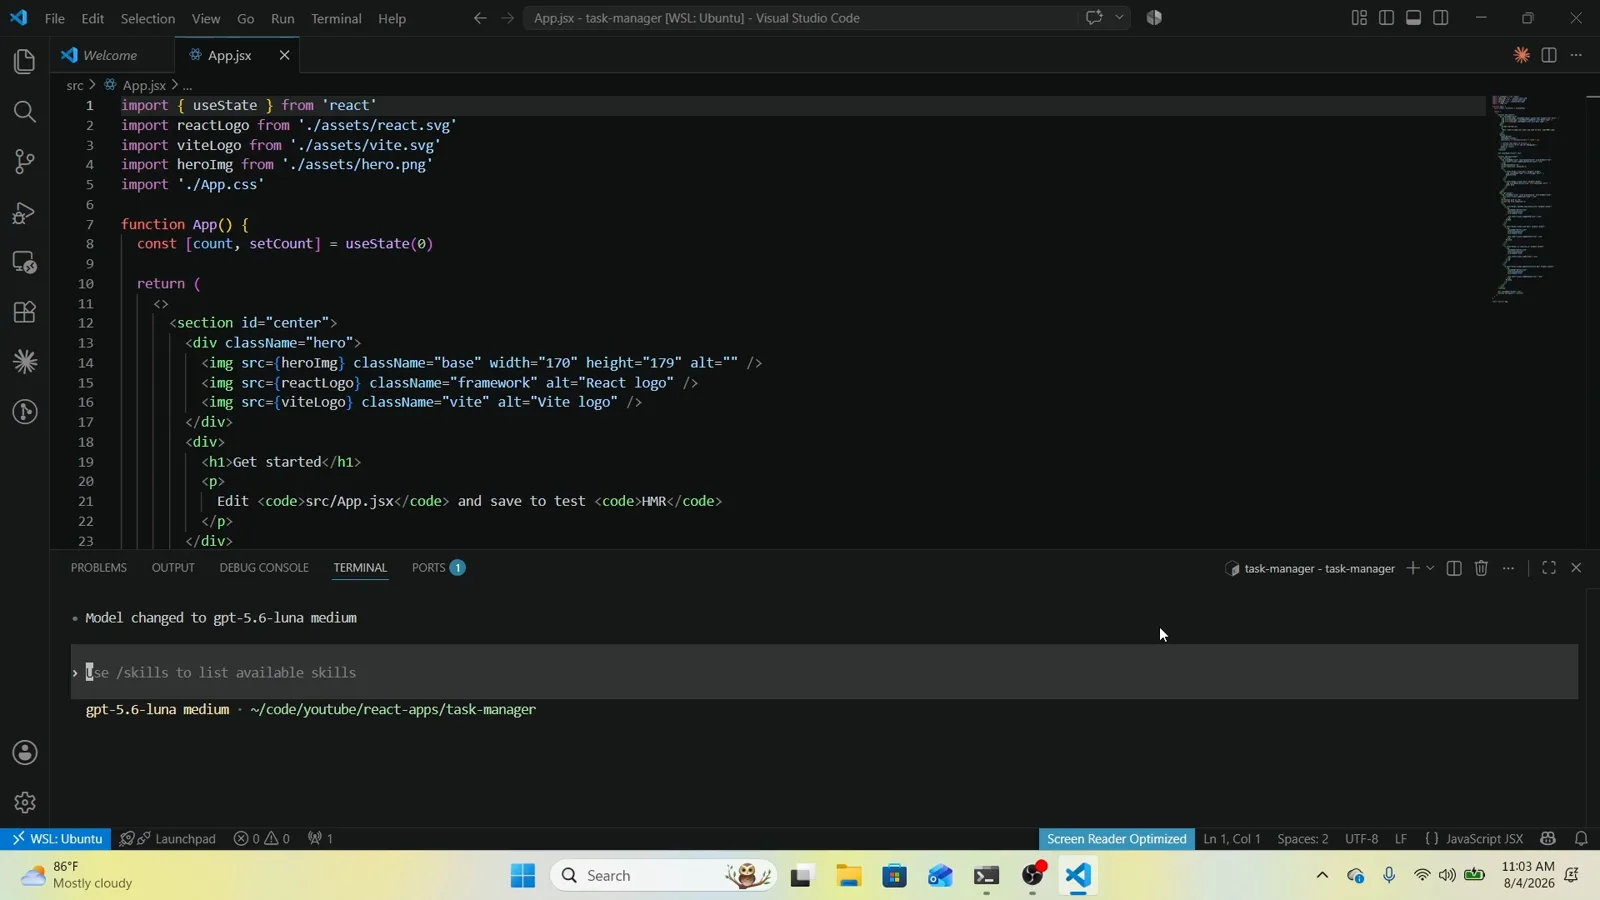
Model changed to gpt-5.6-luna medium——页脚就是确认凭证。看原视频 10:40 处
model picker 疑难排查
picker 里是 gpt-5.6 系列,看不到 GPT-6 Sol 和 Luna
说明安装版本早于 0.156.1(2026 年 9 月 23 日把 GPT-6 Sol 和 Luna 加入目录)。执行 npm install -g @openai/codex@latest(或 brew upgrade codex)更新,重开会话,再用 codex --version 核对。旧目录里列的是 gpt-5.6-sol、gpt-5.6-terra、gpt-5.6-luna——正是视频里的样子。
输入 /model 没有反应
这条命令只在交互会话里有效:先启动 codex,再在输入框打 /。如果命令列表里根本没有 /model,说明版本太旧,更新 CLI 后重开会话。
状态行还显示旧模型
没走完力度选择就不算切换完成:选一个档位再按回车。连按两次 Esc 会原路退出、什么都没改,多按一次还会重新打开菜单。确认到页脚显示新组合为止。
想要的模型不在列表里
picker 只展示当前目录。老模型和特殊模型作为 legacy 目标仍然可用:启动时加 codex -m <model_name>,或在 ~/.codex/config.toml 里写 model = "<model_name>" 把它固定成每次会话的默认。