
Windsurf AI Tutorial: Build Your First Site With Cascade
A screenshot-by-screenshot beginner walkthrough of the Windsurf AI editor: install it, open the Cascade agent, generate a portfolio from one prompt, then iterate to a polished dark site — no coding required.
This Windsurf AI tutorial at a glance
- Windsurf installs from windsurf.com like a normal editor and opens with a Getting started checklist — VS Code users can carry over their theme and extensions.
- Ctrl+L opens Cascade, the AI agent panel. Keep it in Code mode so it writes files directly; Chat mode only suggests code without applying it.
- One specific starter prompt produced a complete four-file portfolio — index.html, styles.css, script.js and a README — served at localhost:8000.
- Everything after that is a loop: small follow-up prompt, review the red-and-green diff, Accept all, refresh the browser. The whole build takes six prompts.
How I Built a Complete Website with Windsurf AI — Step-by-Step Tutorial
Channel:Web Tech Knowledge7:24
Frames are screenshots from the recording, used to illustrate original step-by-step instructions written for this page. Every step deep-links back to the exact moment in the video.
All footage © Web Tech Knowledge. Windsurf terminology (Cascade, Code/Chat modes, Accept all) was cross-checked against Tech With Tim's "Windsurf Tutorial for Beginners (AI Code Editor)" and corbin's "How To Use Windsurf Editor For Beginners".
From download to finished portfolio in 14 steps
- 1
Download Windsurf from the official site
Go to windsurf.com and click Download for Windows (macOS and Linux builds sit right beside it). Run the installer and sign in. If the editor offers to import your VS Code settings, accept — Windsurf is a VS Code fork, so your theme and extensions carry over.
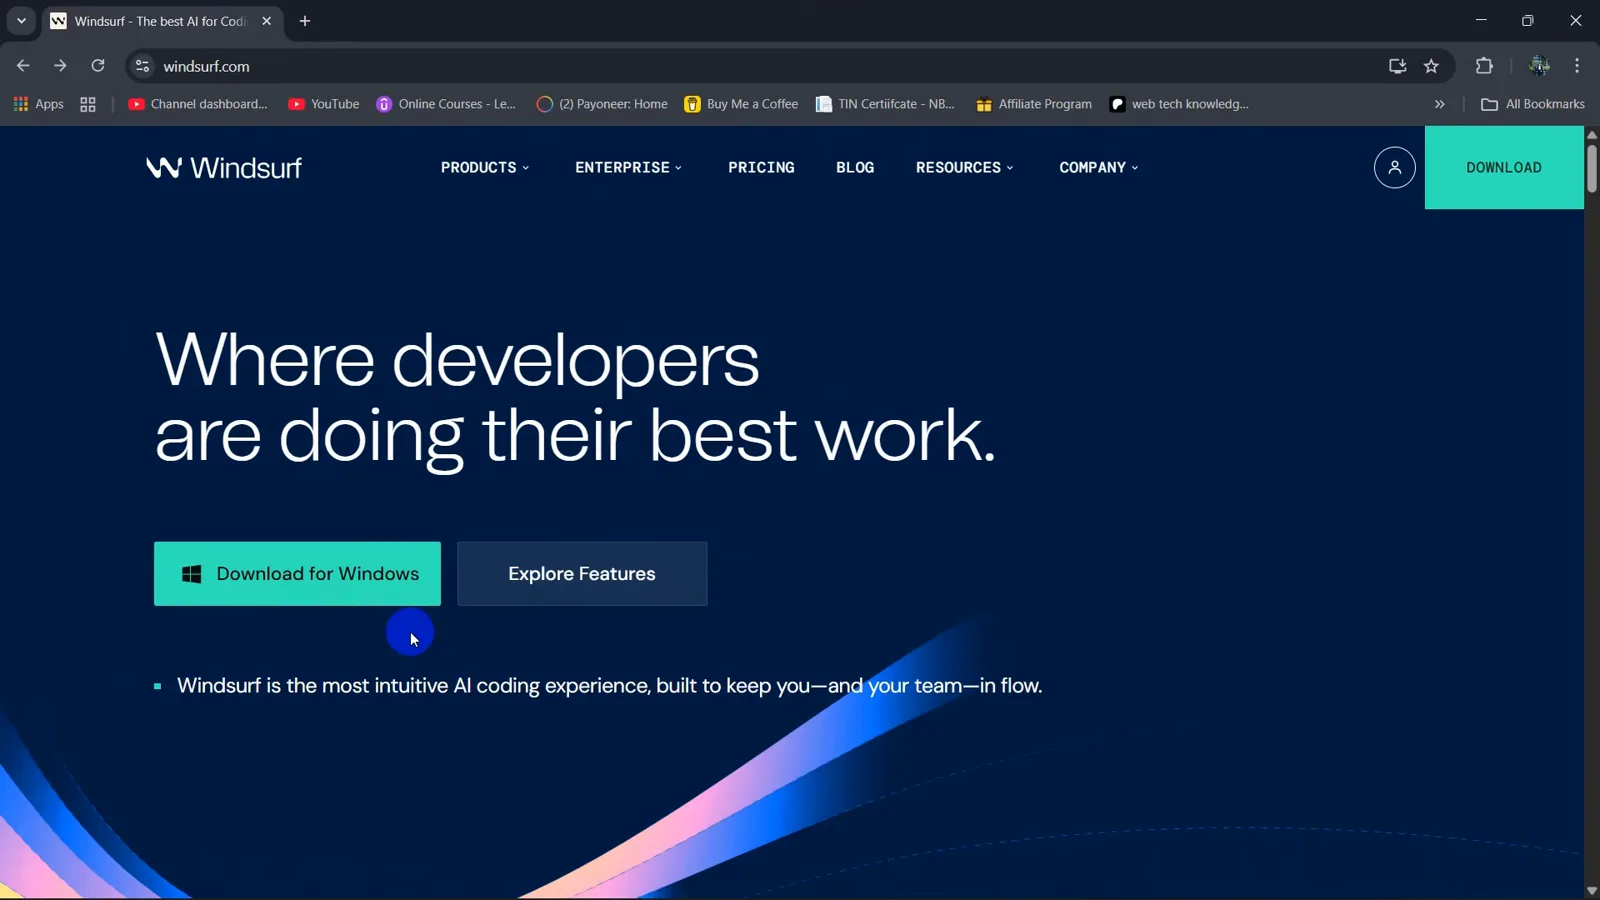
The windsurf.com homepage with the Download for Windows button front and center.Watch at 0:10 - 2
Create an empty project folder
From the welcome screen choose Code with Cascade, then click Open Folder. Create a new folder — the video uses My_cool_portfolio — and click Select Folder. An empty folder is all Cascade needs; it will create every file itself.
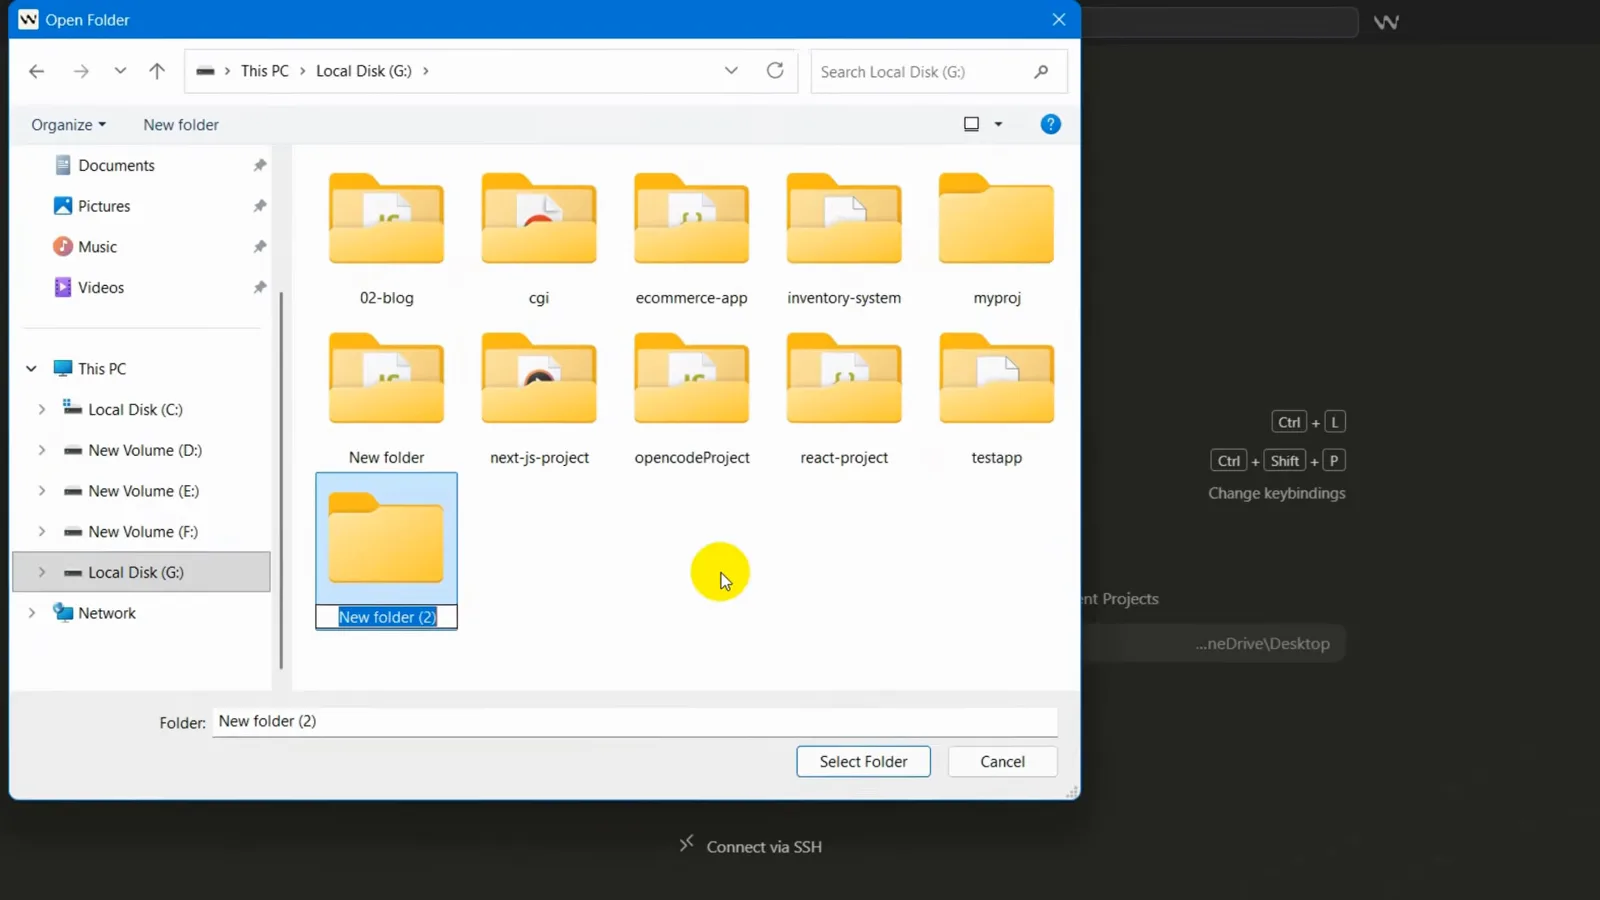
Naming a brand-new folder in the Open Folder dialog before hitting Select Folder.Watch at 0:33 - 3
Learn the editor layout in one minute
You land on a Getting started with Windsurf checklist. The Explorer sidebar on the left holds your project files, and the checklist highlights the only shortcuts you need: Ctrl+L opens Cascade and Ctrl+I edits code inline. That is all the orientation this tutorial requires.
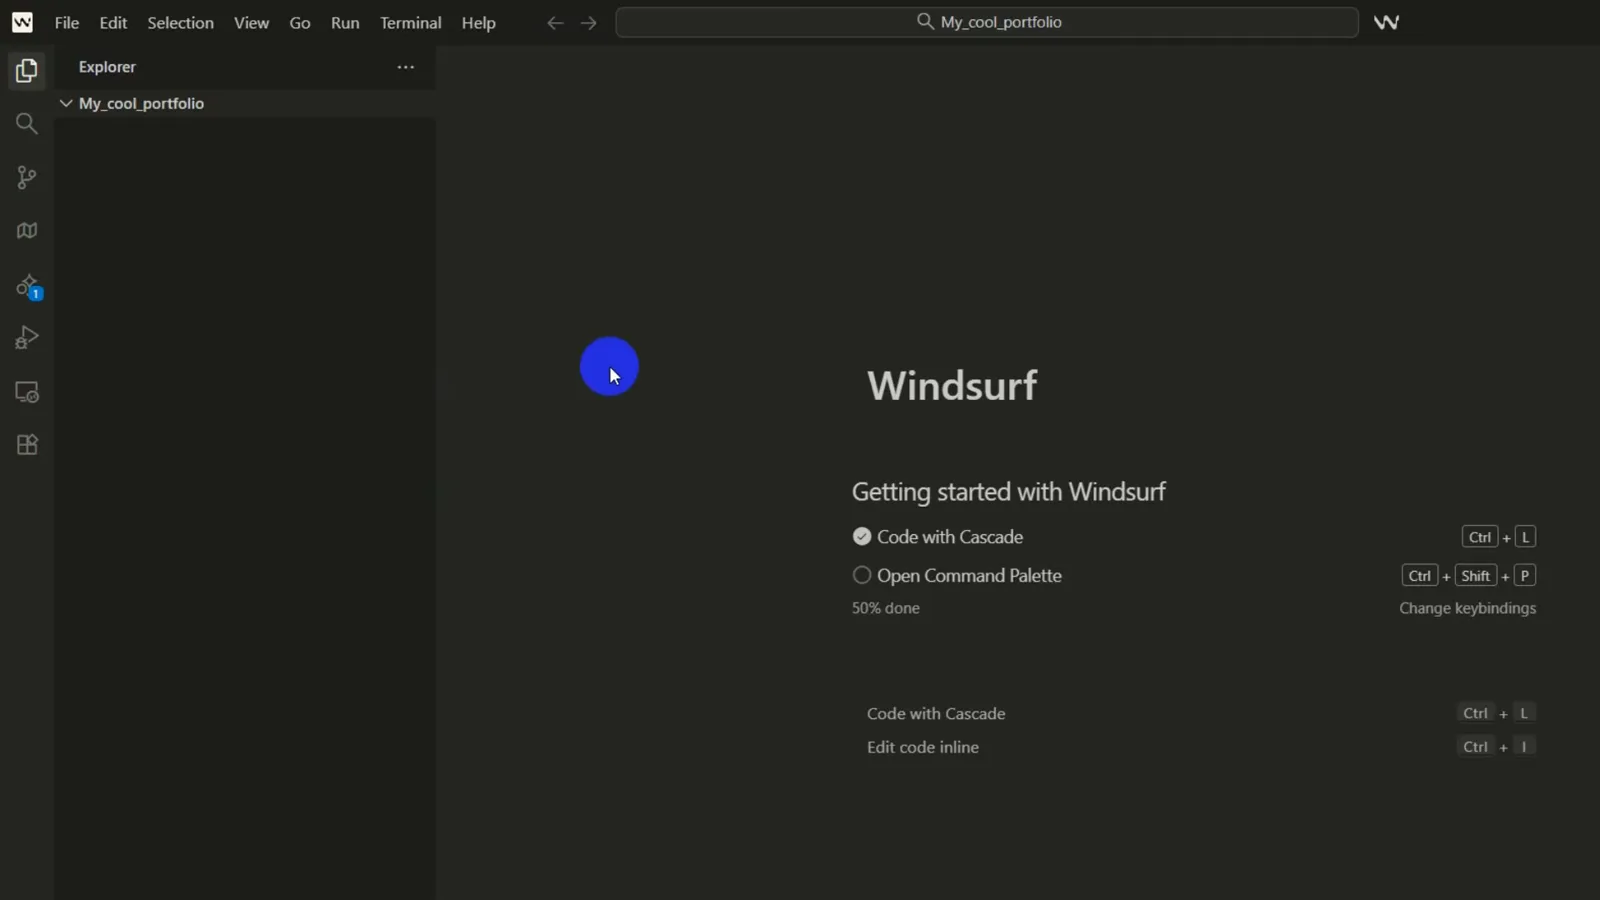
The Getting started checklist with the project folder already open in the Explorer.Watch at 0:45 - 4
Open the Cascade panel with Ctrl+L
Press Ctrl+L (Cmd+L on macOS) and Cascade opens on the right with an Ask anything input. Under the input, keep the Code mode selected — that is what lets Cascade write files directly. Chat mode only suggests code without touching your project. Then pick a model from the dropdown; this walkthrough uses Claude Sonnet 4.5.
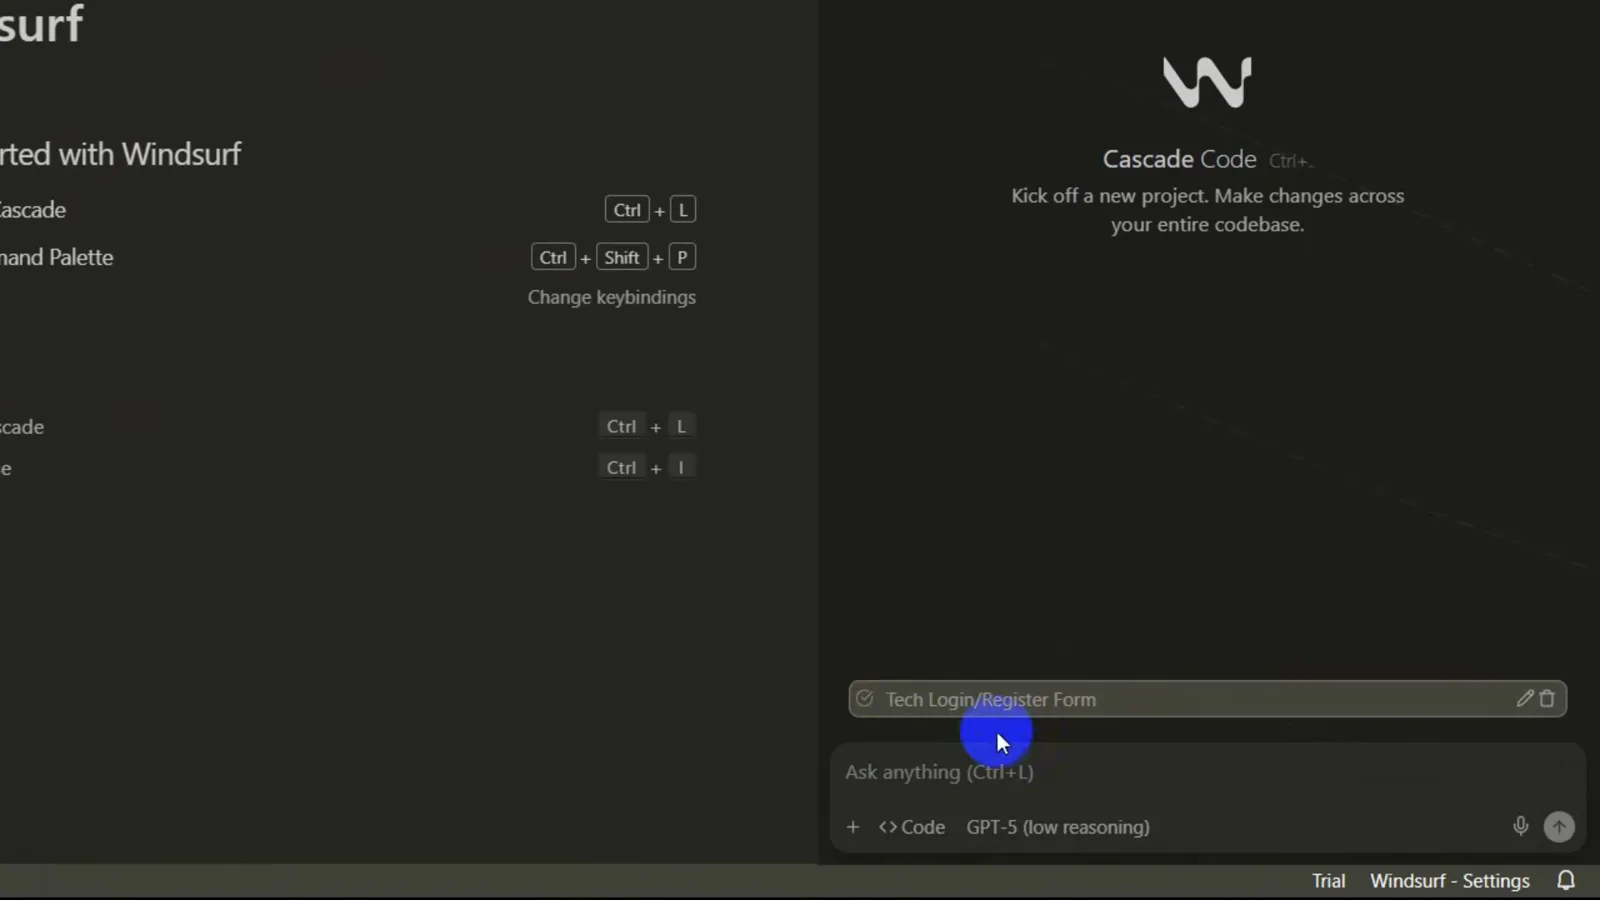
Cascade's welcome state with the Ask anything input, Code mode toggle and model picker.Watch at 1:03 - 5
Send the build prompt
Type: Create a responsive portfolio website using HTML, CSS, and JavaScript. Include a hero section, about, projects, and contact form. Naming the stack and listing the sections matters — the more specific the prompt, the better the result. Press Send and Cascade turns the brief into a todo list before writing a single line.
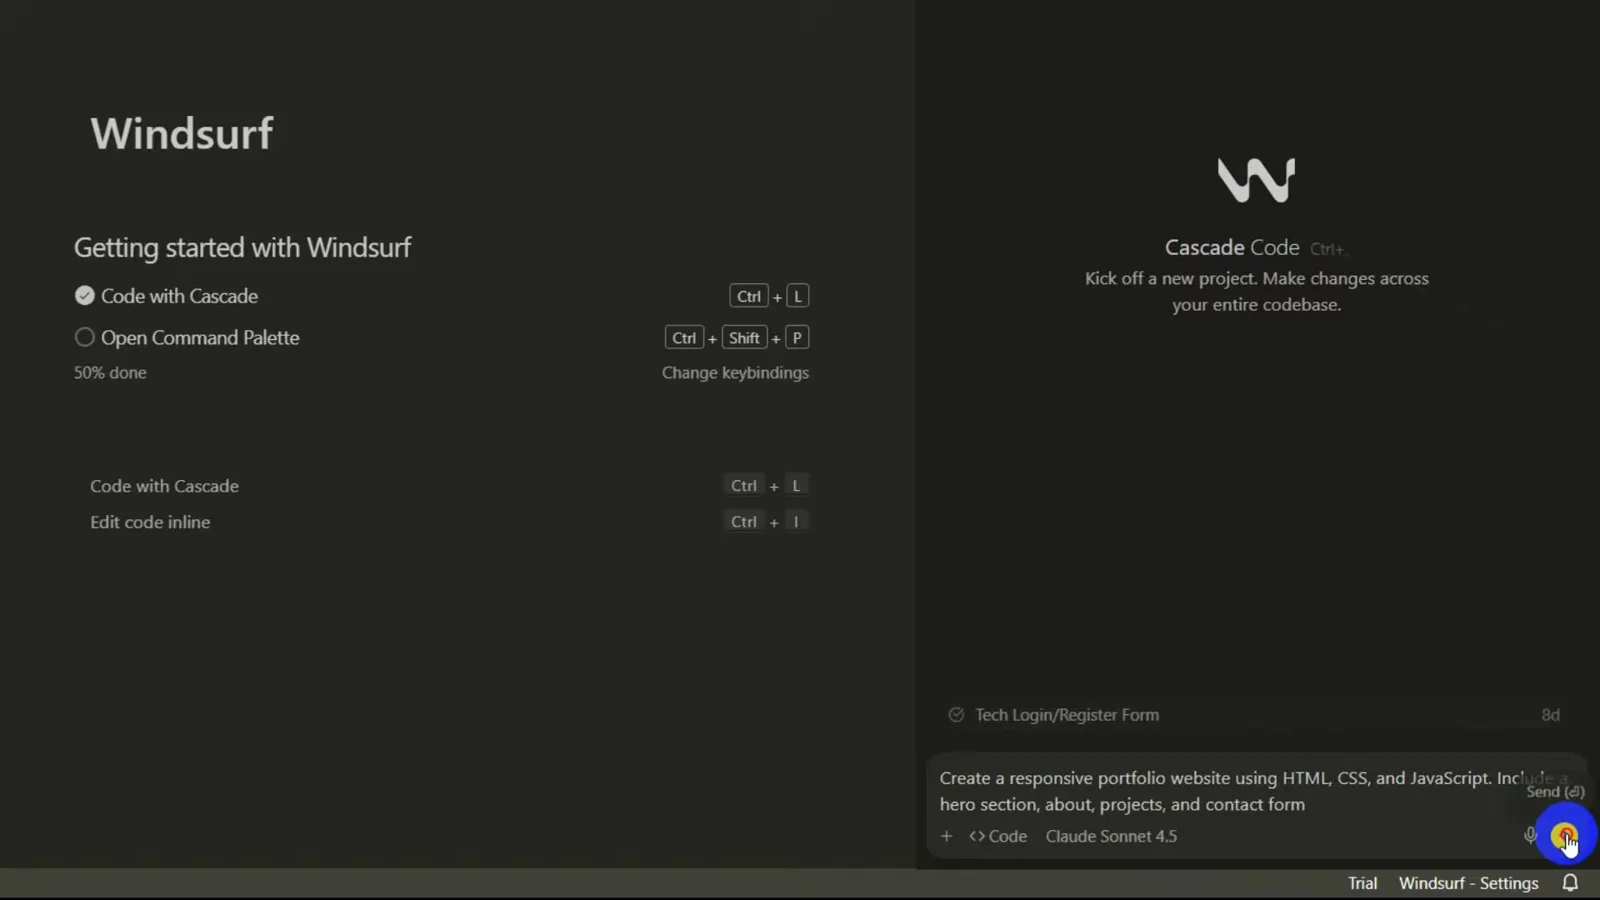
The full portfolio prompt ready to send with Claude Sonnet 4.5 selected in Code mode.Watch at 1:35 - 6
Watch Cascade build the files
Cascade works through its todo list: index.html first (231 lines), then styles.css, script.js and a README that documents the project. Each new file shows up in the panel with a green line counter, and the tracker reads 3 files, +1132 by the time the code is done.
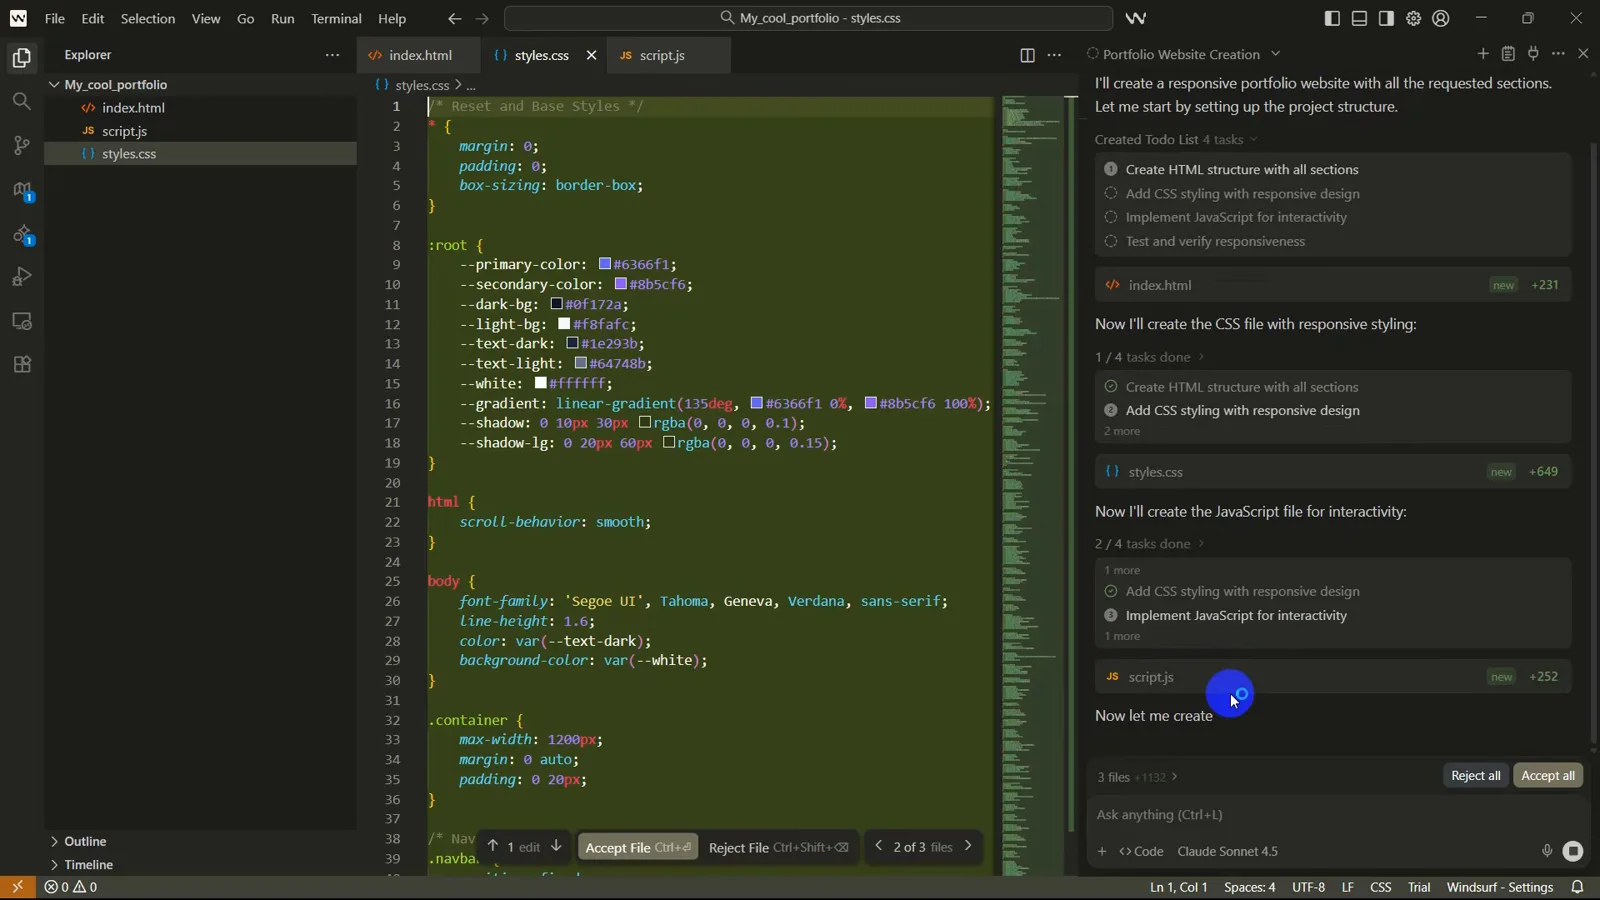
Cascade's todo list mid-build with index.html, styles.css and script.js already created.Watch at 2:10 - 7
Open the browser preview
The completion report ends with the site running at http://localhost:8000 — click the preview link and a full one-page portfolio opens: sticky navbar, hero with a profile circle, about, projects and a contact form. Look closely at the headline: it prints a raw <span> tag. First drafts ship small bugs, and you will fix this one in step 13.
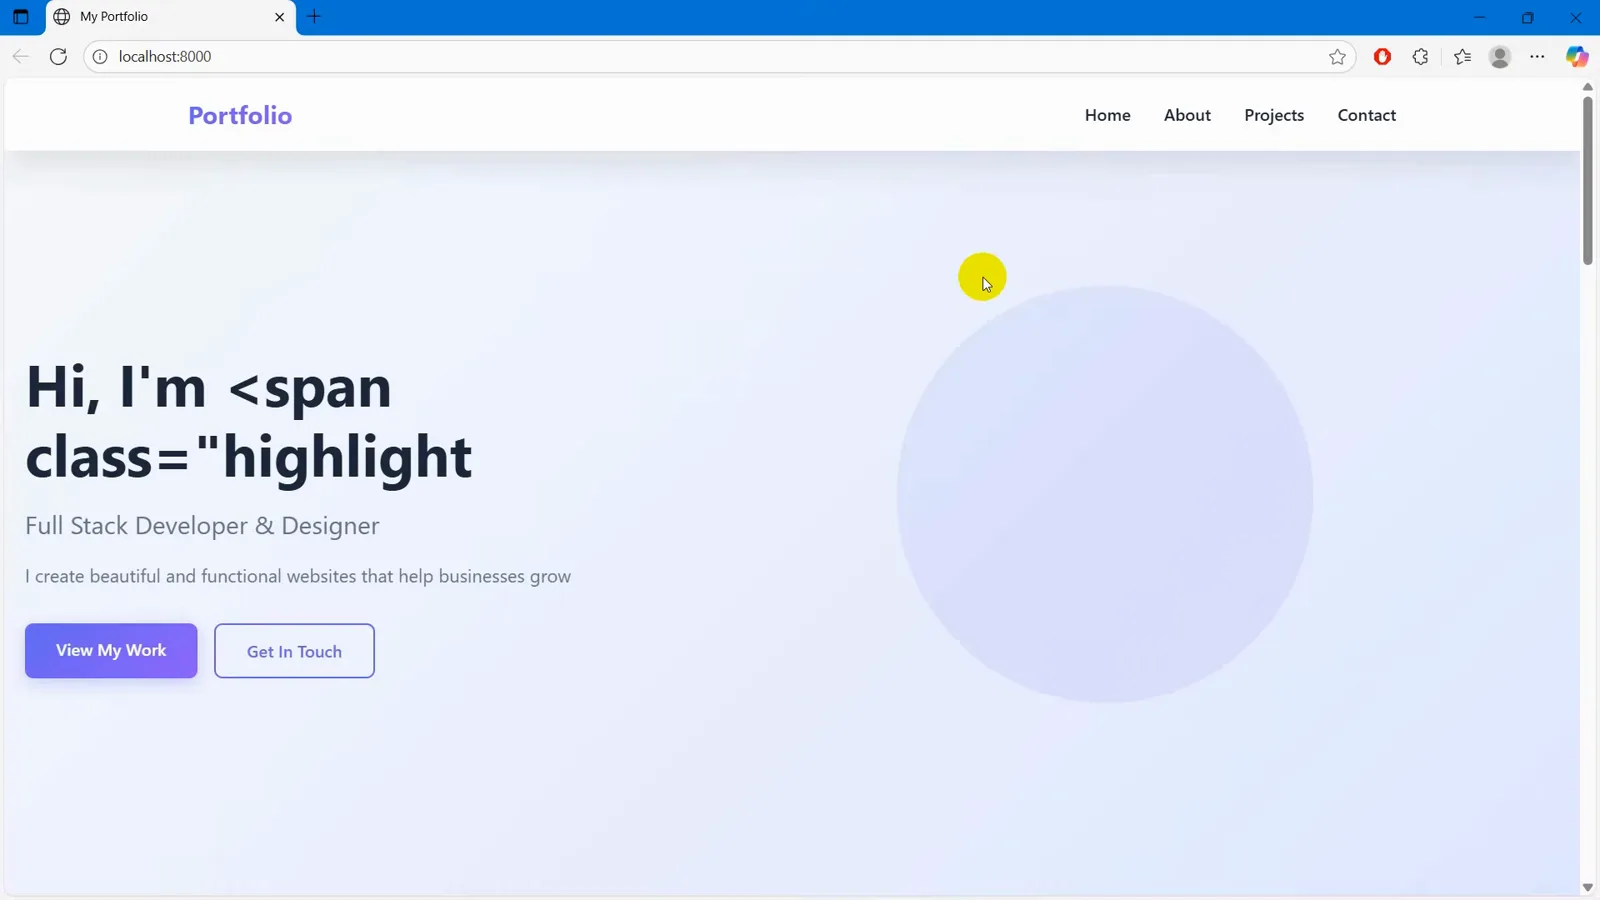
The generated site at localhost:8000 — complete, minus a raw span tag in the headline.Watch at 2:35 - 8
Prompt dark mode and neon buttons
Back in Windsurf, click Accept all so the generated files are saved, then send: Make it dark mode and give the buttons a neon glow. This is the rhythm of working with Cascade — one small, single-goal follow-up at a time, checking the result before moving on.
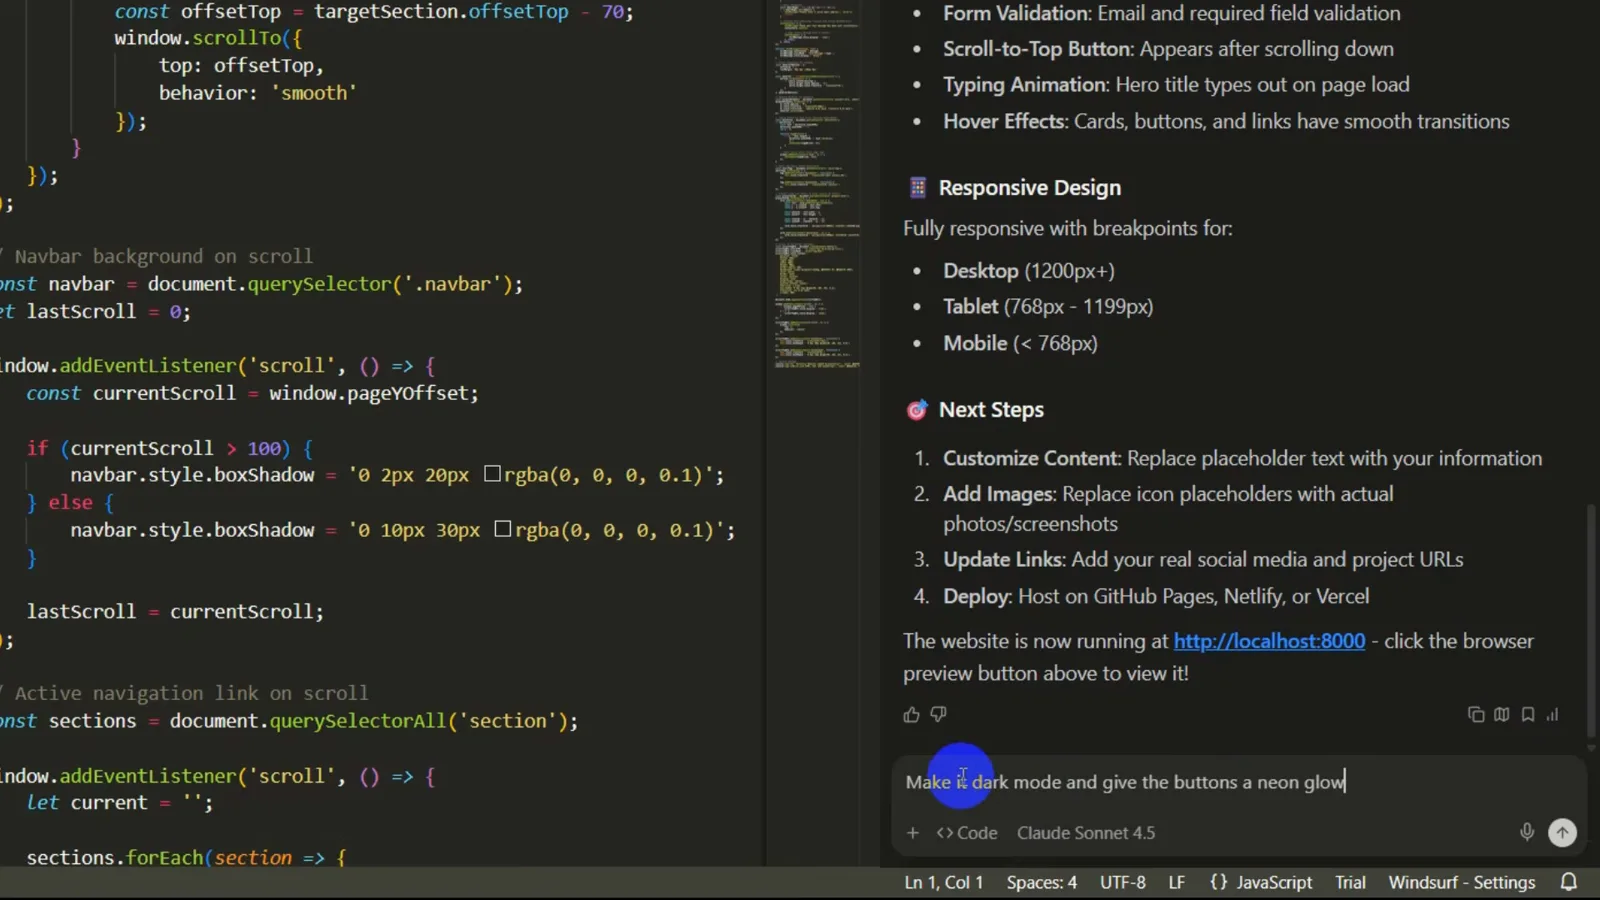
Cascade's completion report with Next Steps, and the dark-mode prompt typed into the input.Watch at 3:05 - 9
Review the diff, then Accept all
Cascade rewrites styles.css and lists every edit as a diff: red lines are deleted CSS, green lines are additions. Here the light palette is swapped for dark tokens plus neon-cyan and neon-magenta glow variables, spread across eleven change entries. Step through them, then click Accept all (Alt+A).
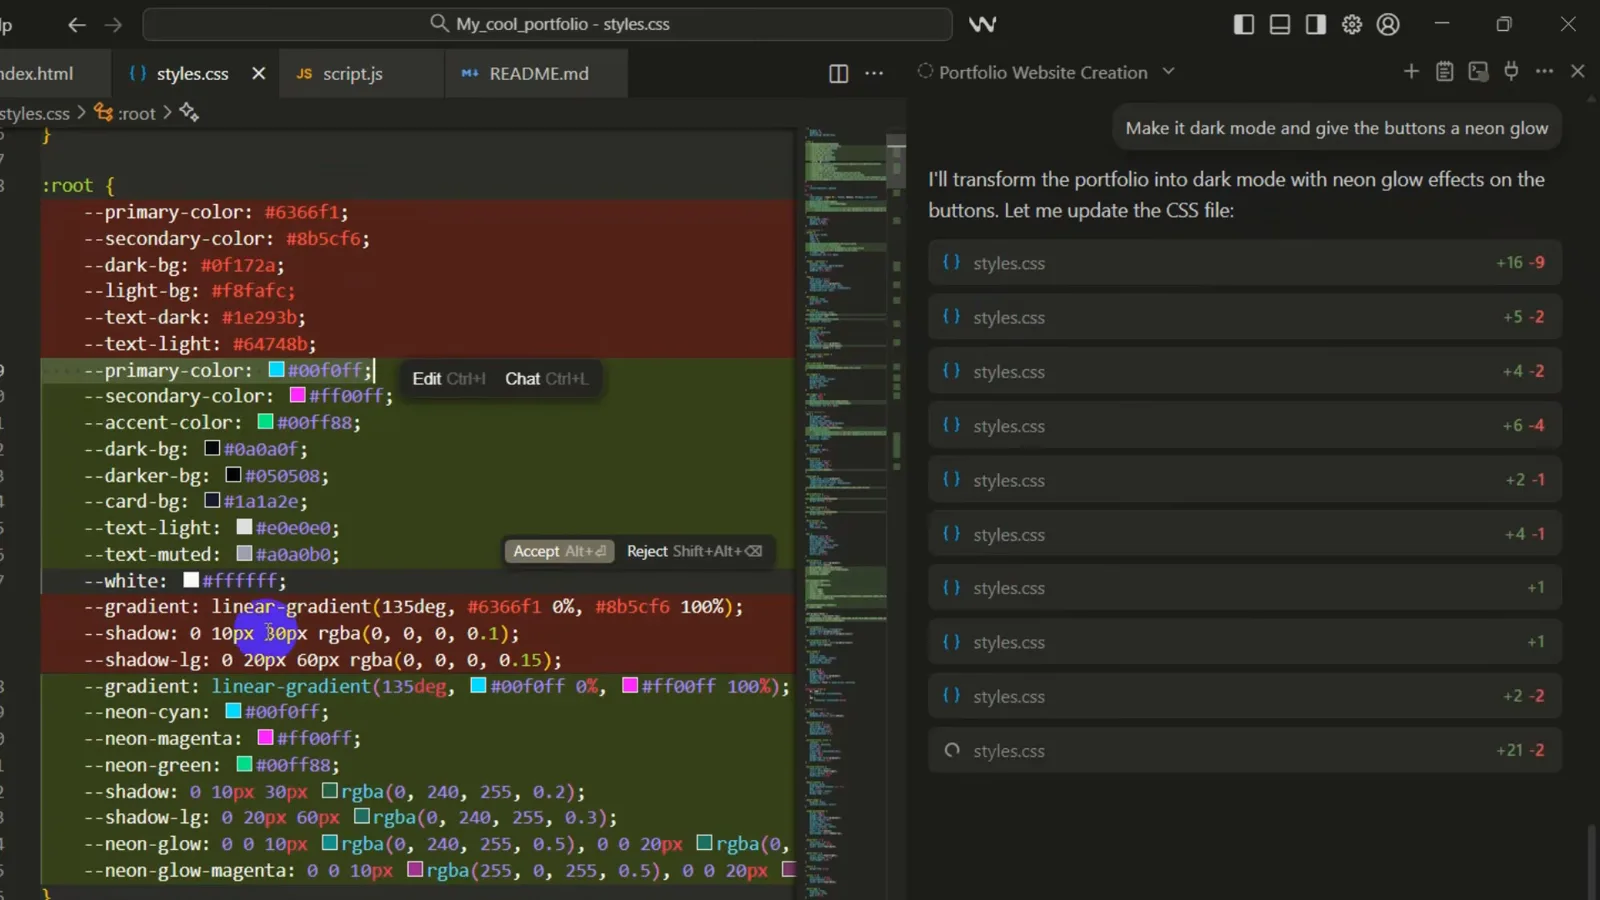
The styles.css diff — deleted light-theme variables in red, new neon tokens in green.Watch at 3:32 - 10
Refresh the browser and verify
Switch to the browser tab and refresh. The same portfolio is now black with glowing accents: View My Work carries a cyan-to-magenta gradient, Get In Touch has a neon outline, and the About Me heading sits under a glowing divider. Verifying after every prompt keeps small surprises from stacking up.
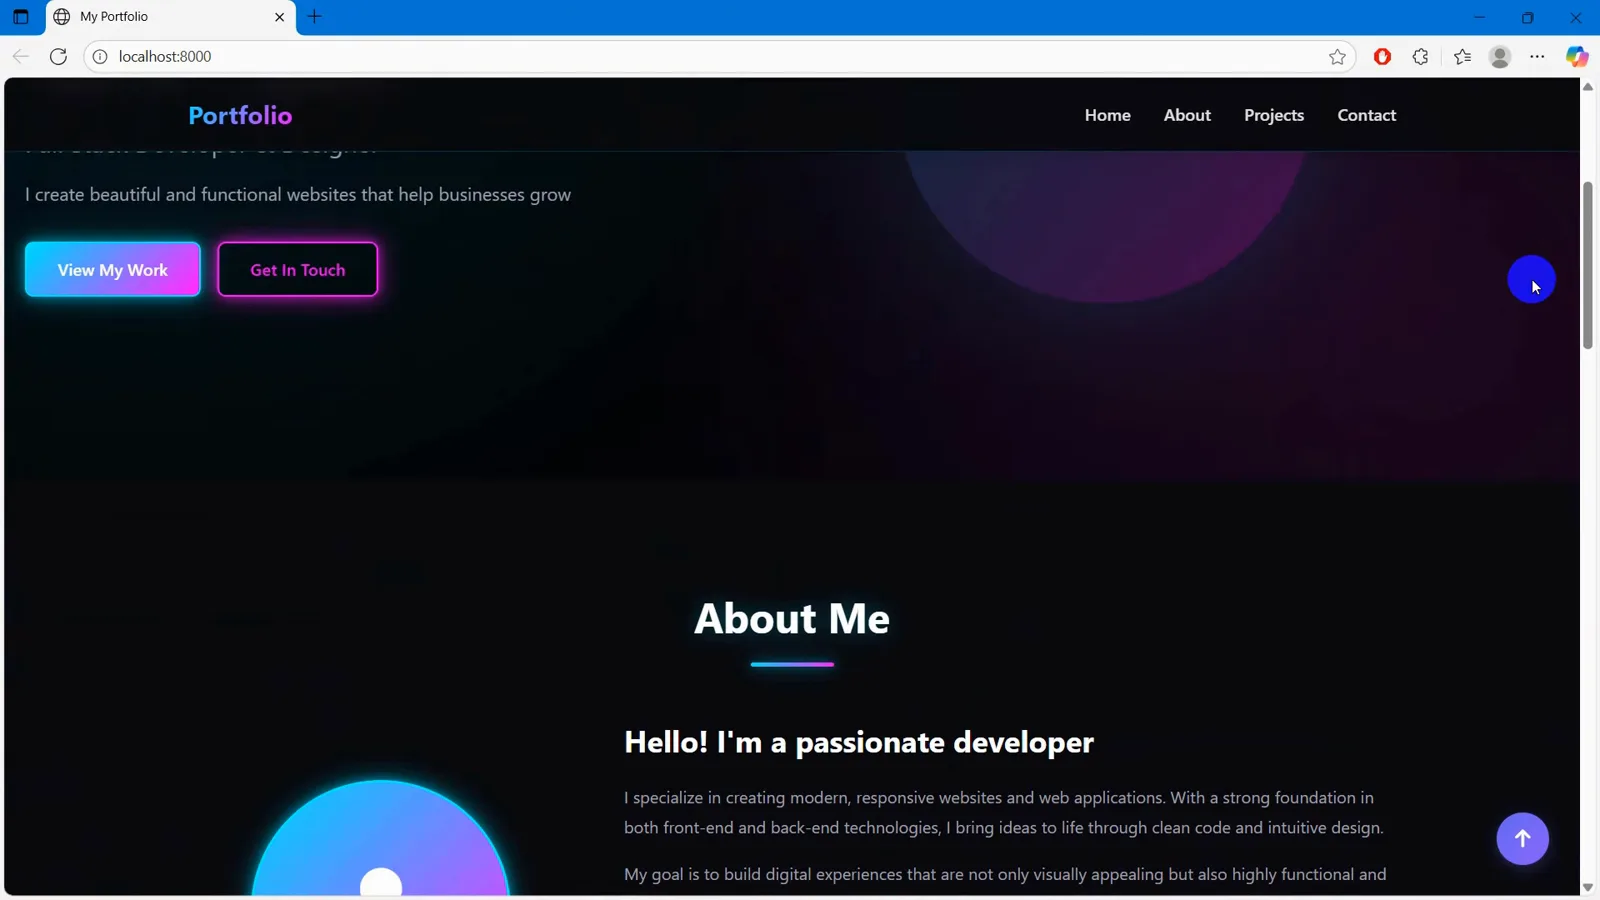
The dark refresh: neon buttons and the About Me section under the Portfolio navbar.Watch at 4:12 - 11
Add scroll animations and fade effects
Send: Add smooth scroll animation and fade effects. Cascade adds scroll-behavior: smooth and .fade-in classes, an Intersection Observer that reveals sections as they enter the viewport, a subtle parallax on the hero circle and staggered skill tags. Accept all, refresh, and scroll — sections now fade in as you go.
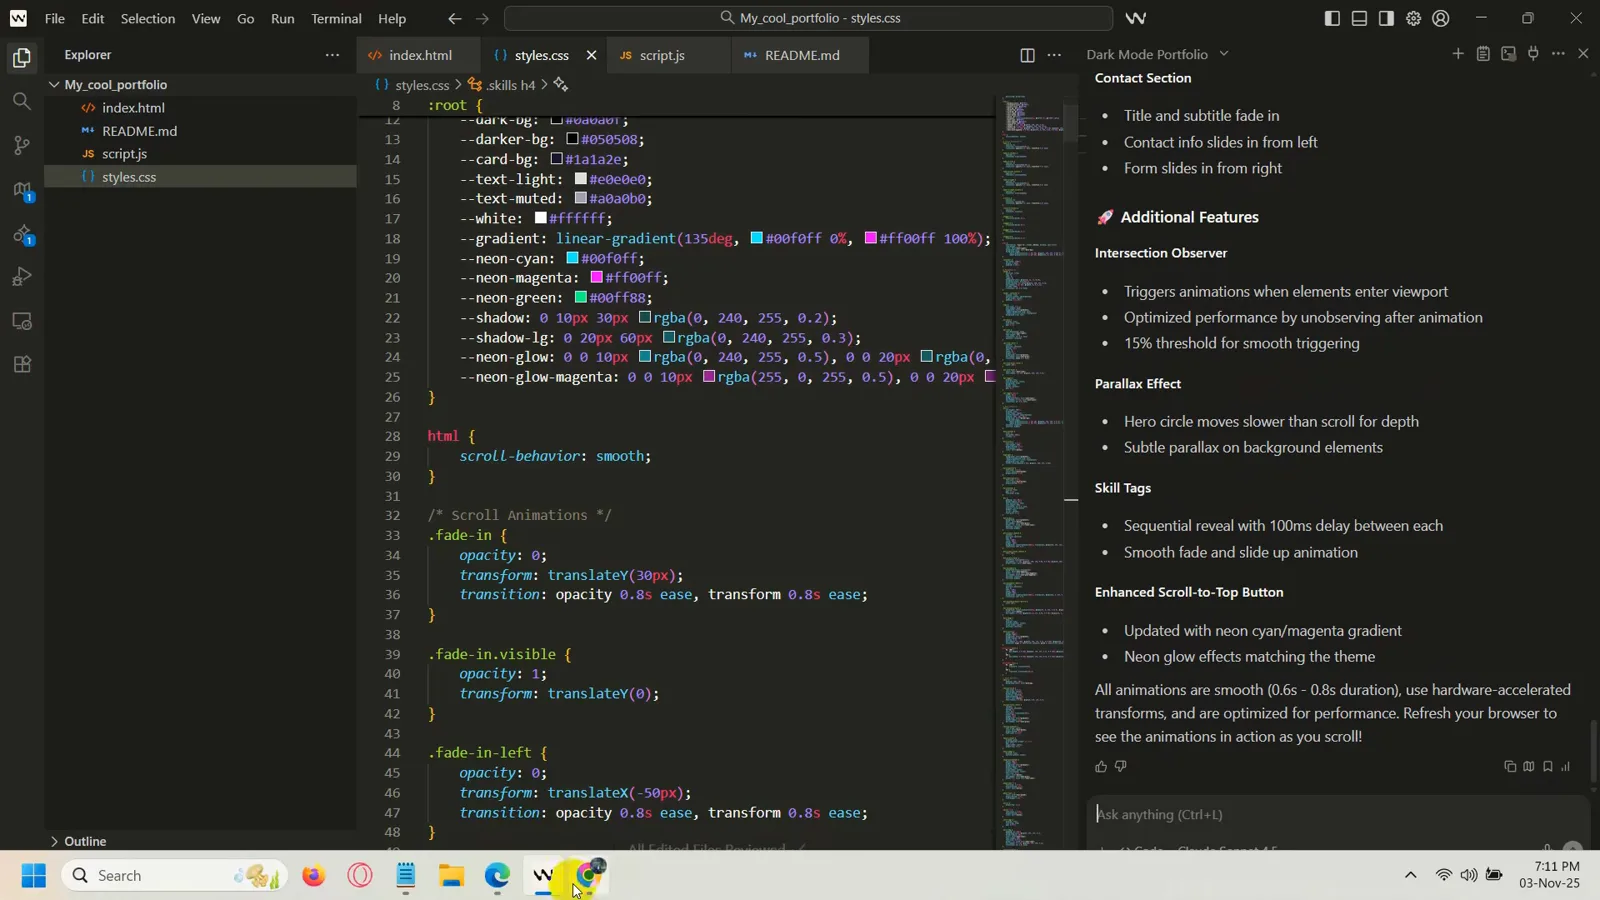
The Scroll Animations CSS beside Cascade's summary of observers, parallax and staggered reveals.Watch at 4:32 - 12
Replace placeholders with demo images
The profile circle and project cards are still icon placeholders, so send: Add some demo images. Cascade wires photos from Unsplash's CDN into the hero circle and the three project cards — sized with optimized URL parameters — and gives the cards a zoom-and-glow hover effect. Accept all, refresh, and the site finally looks finished.
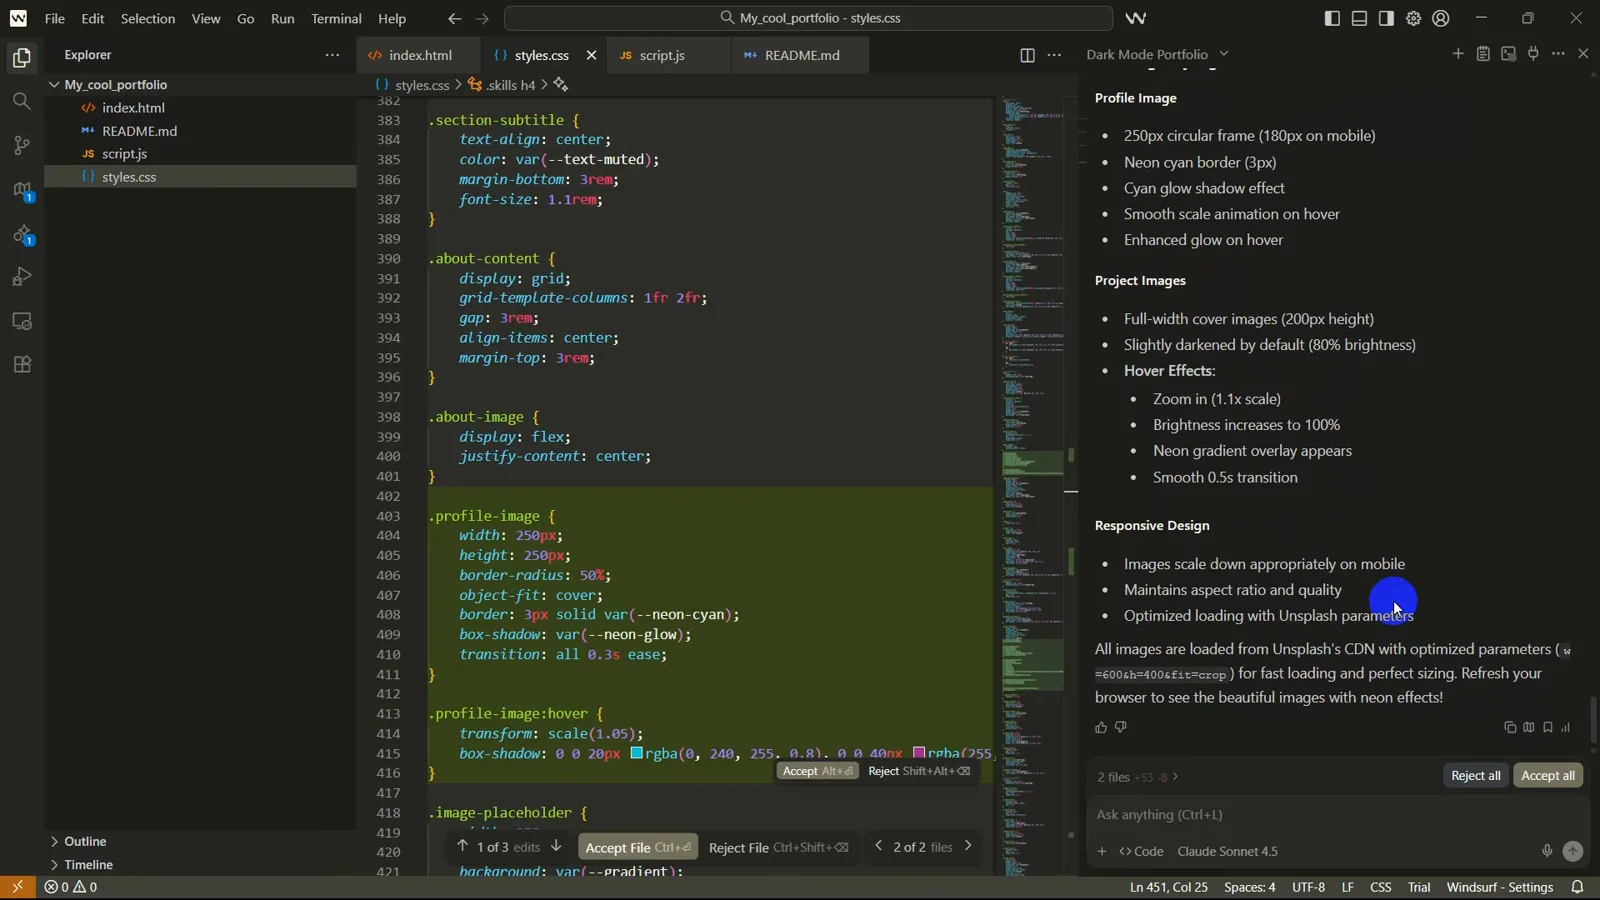
Cascade's image pass summary: Unsplash photos, a neon circular profile frame, hover zooms.Watch at 4:58 - 13
Catch the bugs and swap in your own image
Ask Cascade to write Hi! I am Your AI Developer in the hero and put an AI logo in the circle. The refresh exposes two flaws: the literal <span class="highlight"> markup prints in the headline, and the generated logo is not what you wanted. Click the plus icon above the input, choose Upload image, attach your own picture, then prompt: remove the span completely and add this image on the right circle.
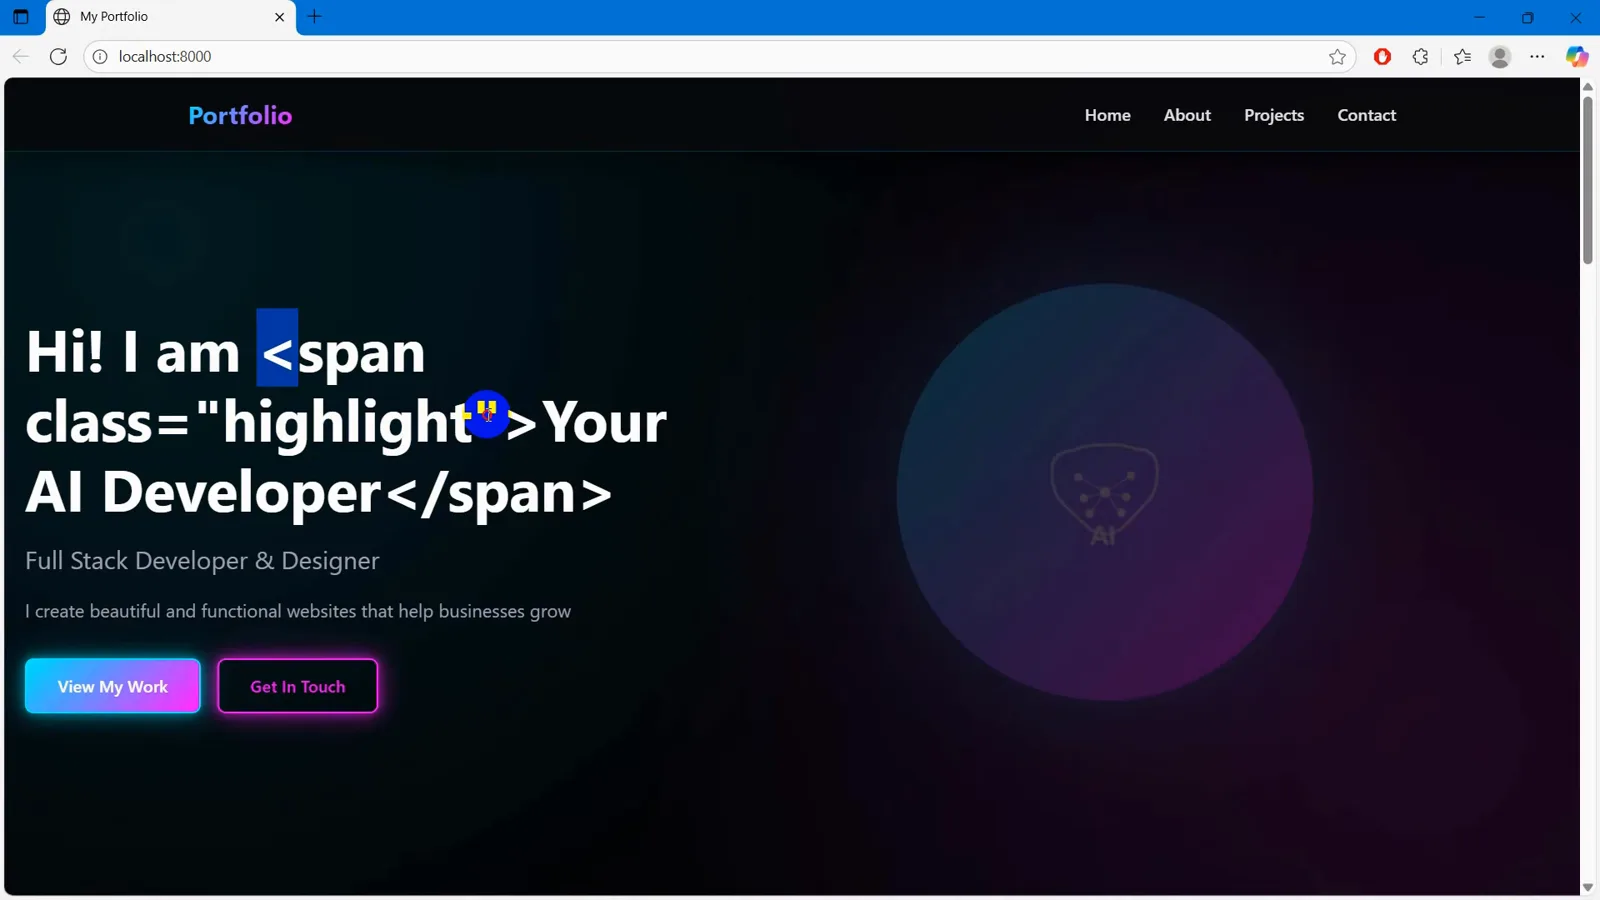
The hero still printing a raw span tag beside a placeholder AI logo — and the Upload image fix.Watch at 6:05 - 14
Final check on the finished site
One last refresh and the portfolio is done: the clean headline Hi! I am Your AI Developer, your own image glowing in the hero circle, neon buttons, animated sections and photo project cards. One starter prompt, five short follow-ups — describe, accept, verify, repeat is the whole Windsurf workflow.
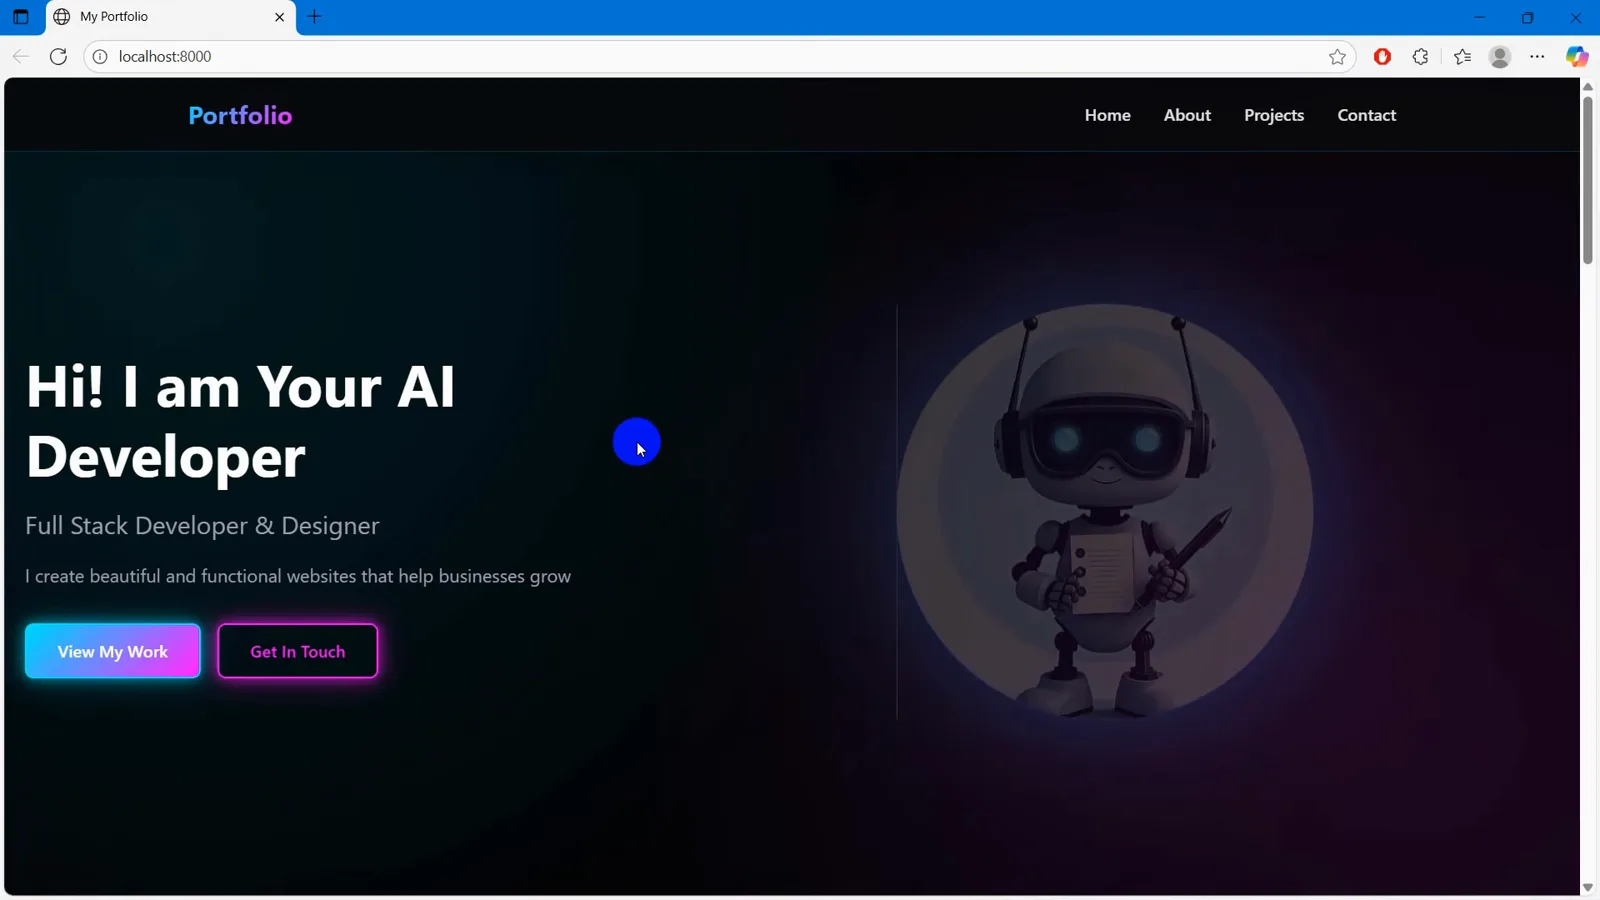
The finished portfolio: clean headline, uploaded robot avatar, neon buttons.Watch at 7:12