
Screenshot to Code AI for Free: the Open-Source Converter and the DeepSeek Route
Two ways to turn one design screenshot into markup that runs — install the MIT-licensed abi/screenshot-to-code with Docker and a single model key, or attach the image to DeepSeek and have it rebuilt as one HTML file. 15 steps, every claim checked against the repo and api-docs.deepseek.com.
The short version
- The software is free, the tokens are not. abi/screenshot-to-code is MIT-licensed and costs nothing to run yourself, but it needs at least one model key — OpenAI, Anthropic or Gemini — and you pay that provider per token.
- DeepSeek is not one of its models. The README's default list is Gemini 3 Flash / 3.1 Pro, GPT-5.5 / 5.4 Mini and Claude Opus 4.6 / 4.8, and the string "deepseek" appears nowhere in the repository.
- DeepSeek's vision model is deepseek-flash: its official pricing table shows Vision ✓ for flash and "Not supported" for deepseek-v4-pro. Images go in as base64, a public URL, or a Files API file_id.
- Both routes end the same way — a single HTML file you double-click from disk. One screenshot plus a few thousand tokens of markup costs well under one US cent at DeepSeek's published Flash rates.
Install Screenshot-to-Code Locally — Convert Screenshot to Functional Code
Channel:Fahd Mirza9:38
DeepSeek R1 Coding — Testing Screenshot to Code Conversion
Channel:United Top Tech3:06
abi/screenshot-to-code README — supported stacks, required keys, Docker
Docs:github.com/abi/screenshot-to-codeDocs
DeepSeek API Docs — Vision (base64, external URL, Files API)
Docs:api-docs.deepseek.comDocs
DeepSeek API Docs — Models & Pricing (the Vision row)
Docs:api-docs.deepseek.comDocs
Frames come from two clean screen recordings (no camera overlays, no burned-in captions); the supported stacks, required keys, Docker commands and DeepSeek image limits are cross-checked against the abi/screenshot-to-code README, its source files, and api-docs.deepseek.com.
Screenshots credit the recording channels and each step deep-links to the exact timestamp. Both recordings predate today's DeepSeek model names, so wherever a frame shows an older picker label the written steps follow the official documentation instead.
All 15 steps, from one screenshot to a page that runs
Start from one screenshot
- 1
Capture the UI you want rebuilt
Any flat image works — the converter's own demo uses a YouTube channel page, and the DeepSeek route below uses a 68 KB login mockup saved as log.PNG. A screenshot beats a written brief because spacing, colour and hierarchy are already decided: the model reads them instead of inventing them. Crop to the component you care about, because a full desktop shot mostly spends tokens on chrome you will delete.
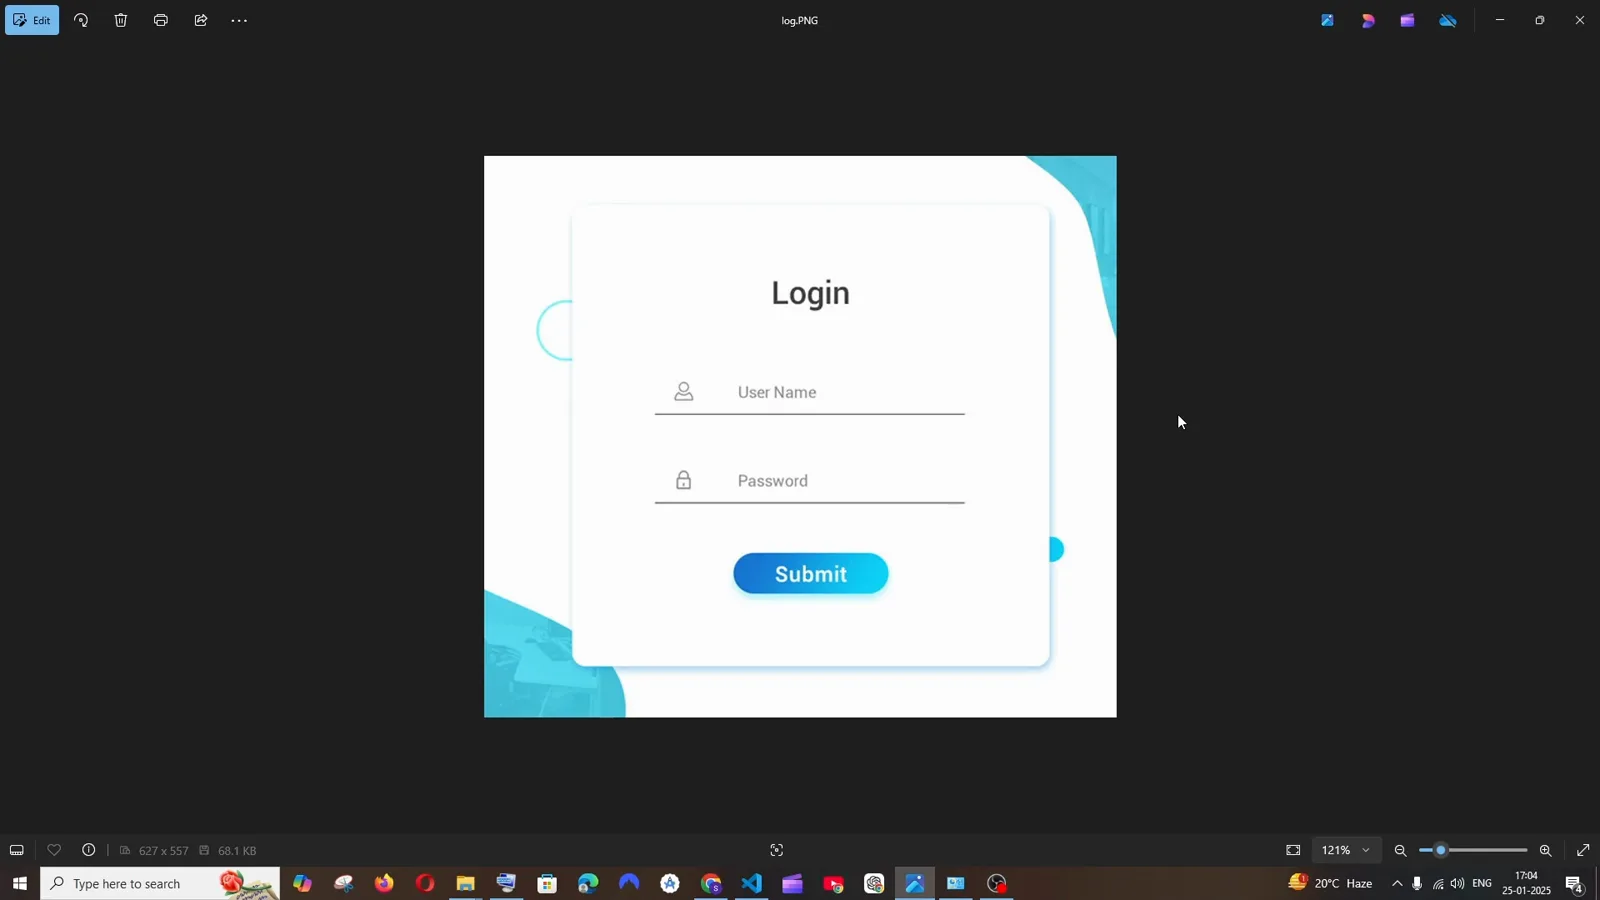
The starting point: a login card mockup saved as a PNG, before anything is converted.Watch at 1:02 - 2
Open the converter and see its four input paths
After the local install, http://localhost:5173 gives you one upload box and three shortcuts: Record Screen (capture a clip of a live site), Enter URL plus Capture (the app screenshots a URL for you), and Import from Code (paste existing HTML to keep editing it). The Generating dropdown picks the stack — HTML + Tailwind, HTML + CSS, React + Tailwind, Vue + Tailwind, Bootstrap, or Ionic + Tailwind. No account is involved; the app talks to your model provider directly.
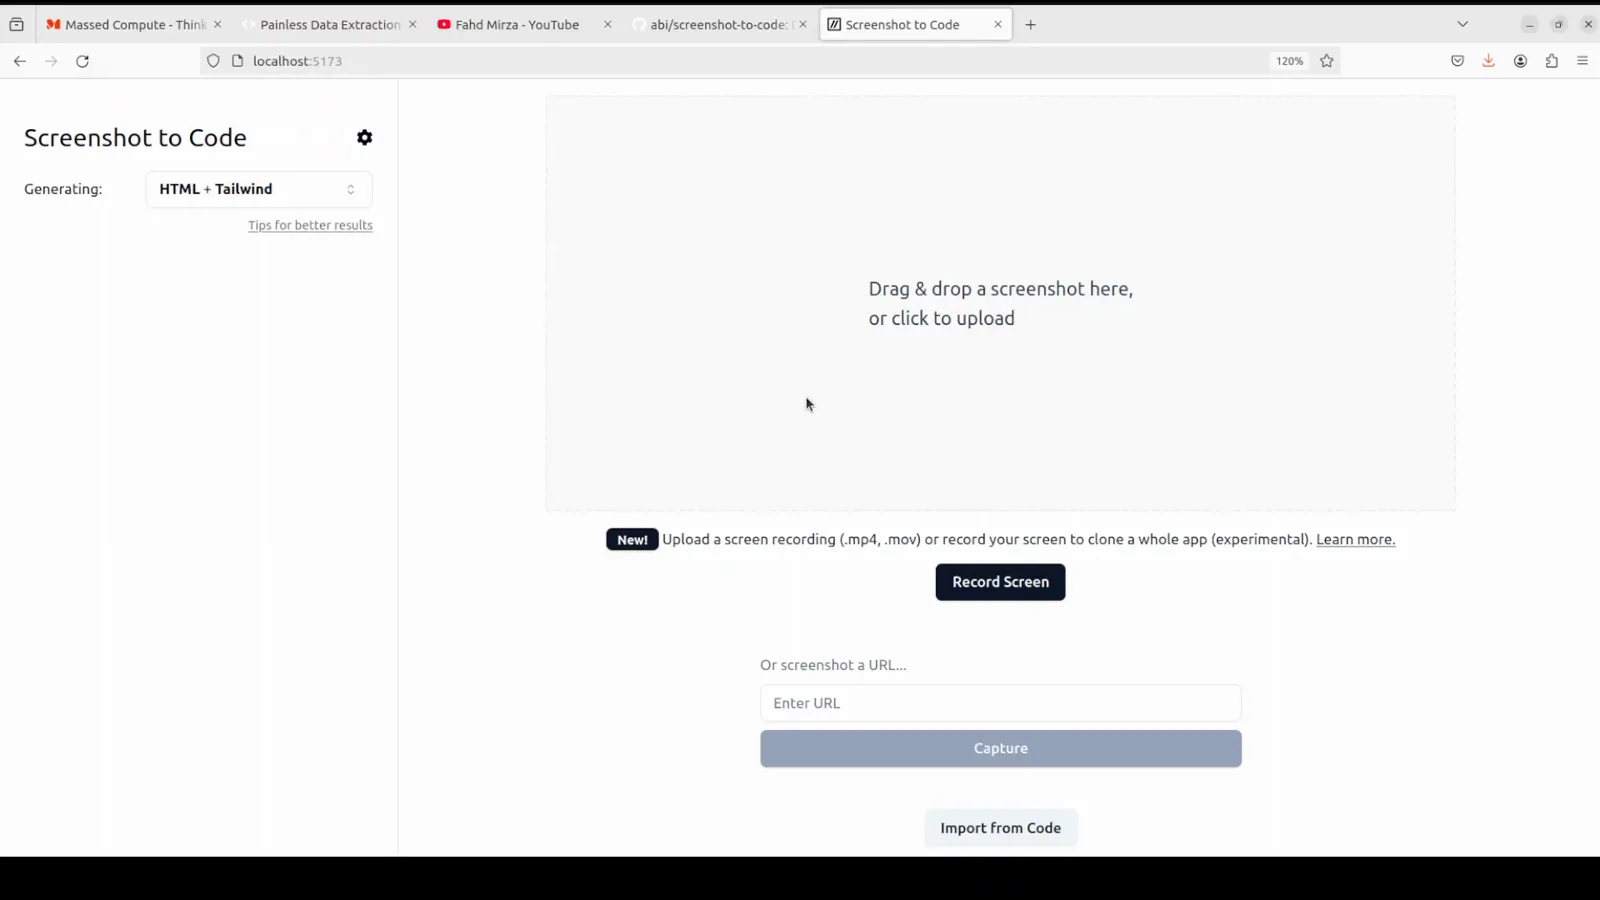
Front door of the self-hosted app: drop zone, screen recorder, URL capture and code import.Watch at 4:00
Install the free open-source converter
- 3
Check the host before installing
The app is a React/Vite frontend and a FastAPI backend, and the Docker route needs a working Docker Engine. Fahd Mirza verifies his box first with cat /etc/*release — Ubuntu 22.04.4 LTS here — because the commands that follow assume a POSIX shell with docker compose available. macOS and Windows work just as well as long as Docker Desktop is running.
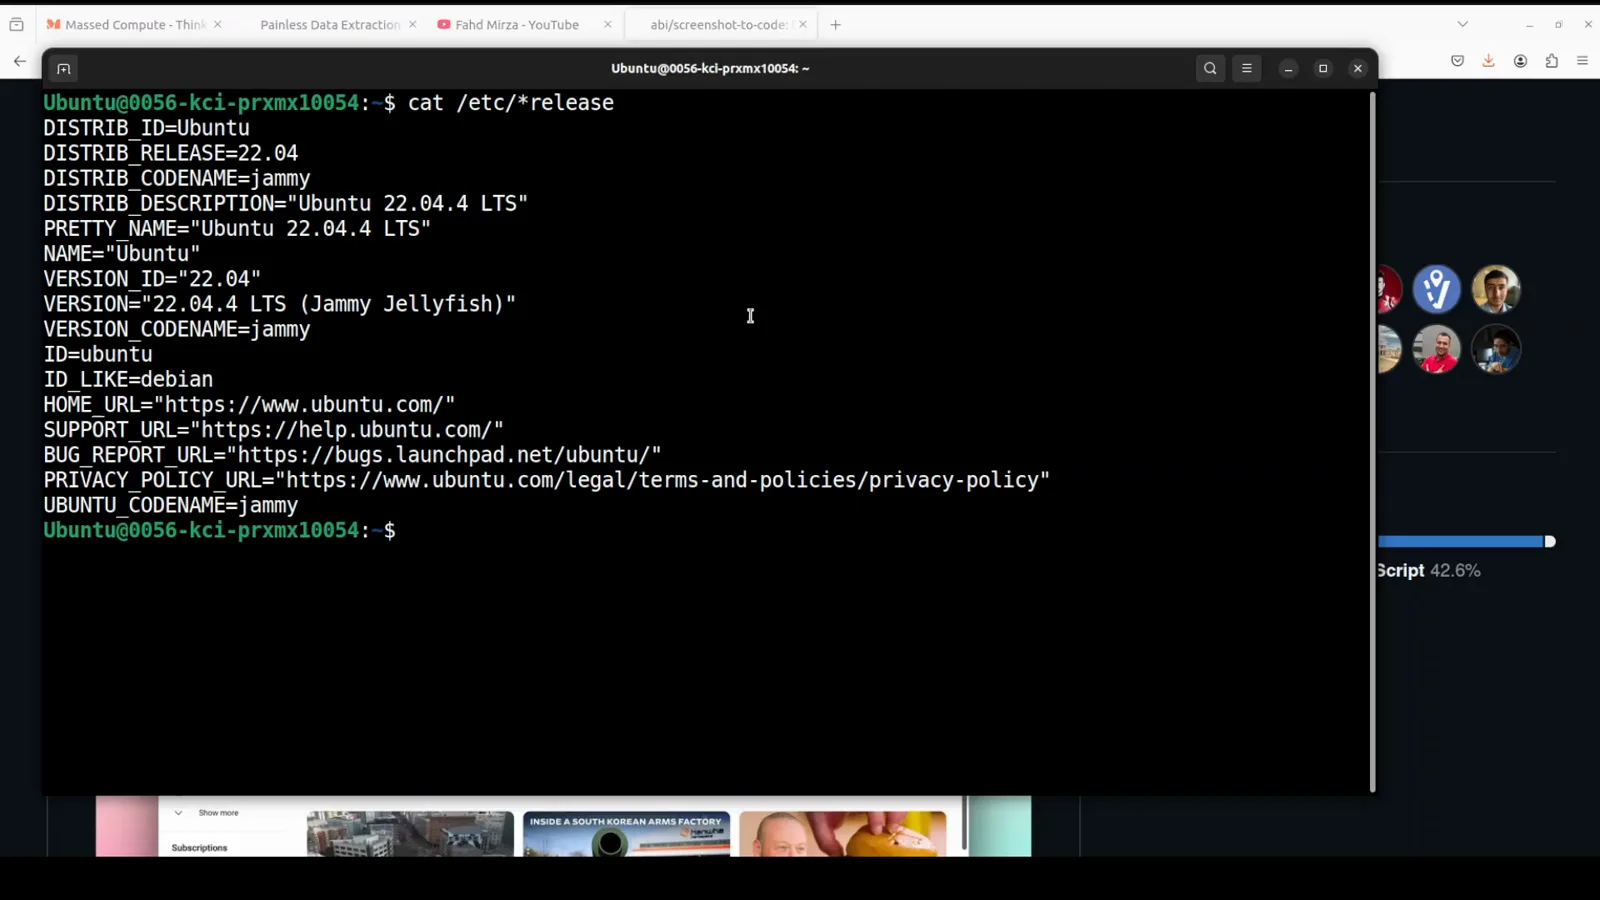
A two-second host check: Ubuntu 22.04.4 LTS, with Docker Desktop behind it.Watch at 2:12 - 4
Clone the repo and put one key in backend/.env
Run git clone https://github.com/abi/screenshot-to-code, cd into it, and write a key into the .env file the compose stack reads — the README's own line is echo "OPENAI_API_KEY=sk-your-key" > .env. One key is enough to start; OpenAI, Anthropic and Gemini are the three the README accepts, and adding more lets the app pick a stronger mix of models per run. DeepSeek is not on that list, and FAQ question 2 explains why the base-URL override does not change that.
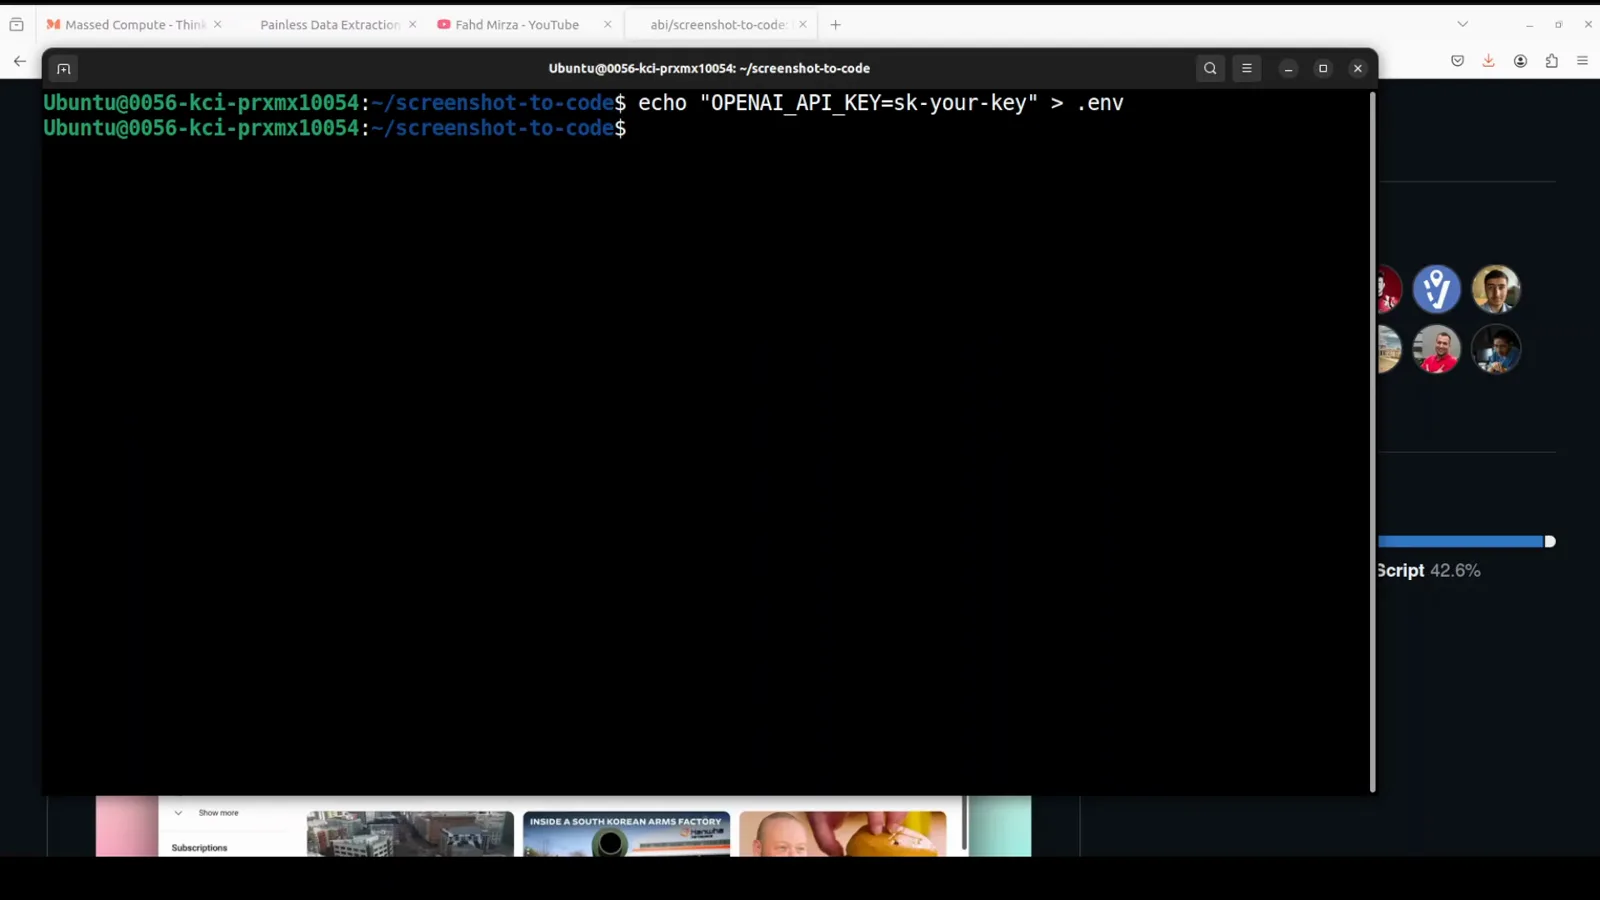
The placeholder key straight from the README, written to the file the backend loads at start-up.Watch at 2:55 - 5
Build and start both containers with one command
From the repository root, docker compose up -d --build pulls the base images, installs Poetry for the backend and yarn packages for the frontend, then leaves both running in the background. Expect a few minutes on a cold cache: the compose file maps the backend to port 7001 and the frontend to 5173. The README warns that this route is for running rather than developing, because file edits will not trigger a rebuild.
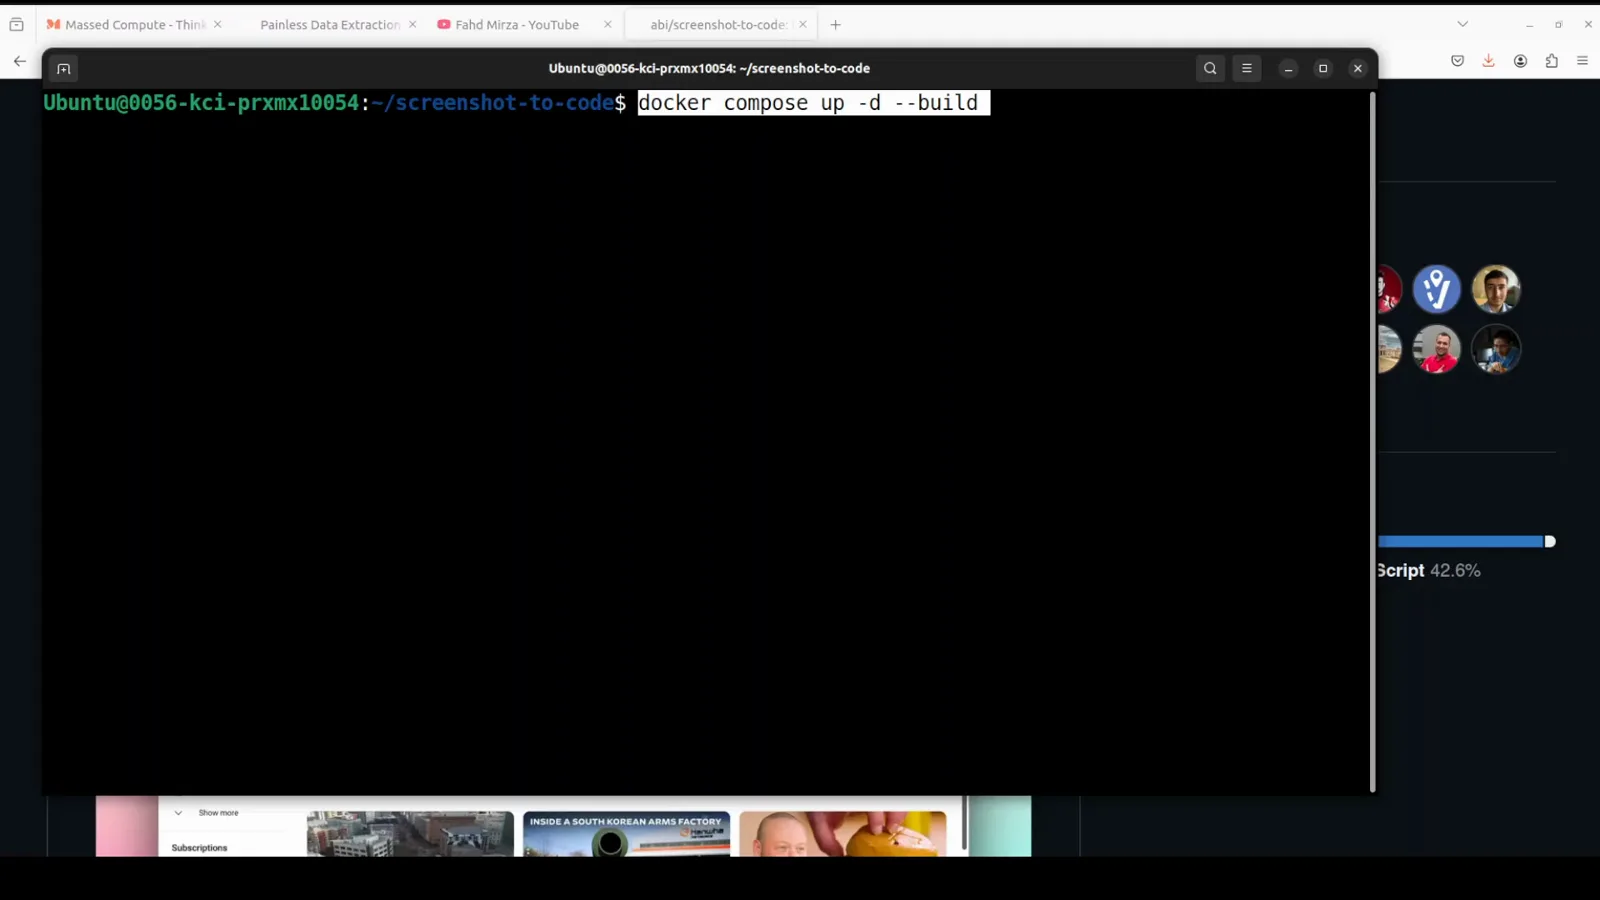
The entire install is one command; -d detaches it so you can close the terminal.Watch at 3:25 - 6
Watch the backend and frontend layers build
The log is the useful part when something fails: backend 2/7 RUN pip install "poetry==1.4.1" and frontend 4/5 RUN yarn install are the layers that break behind a proxy or on a locked-down network. If the build stops there, the fix is almost always your Docker DNS or an npm mirror rather than the app. When the last layer finishes, localhost:5173 starts answering.
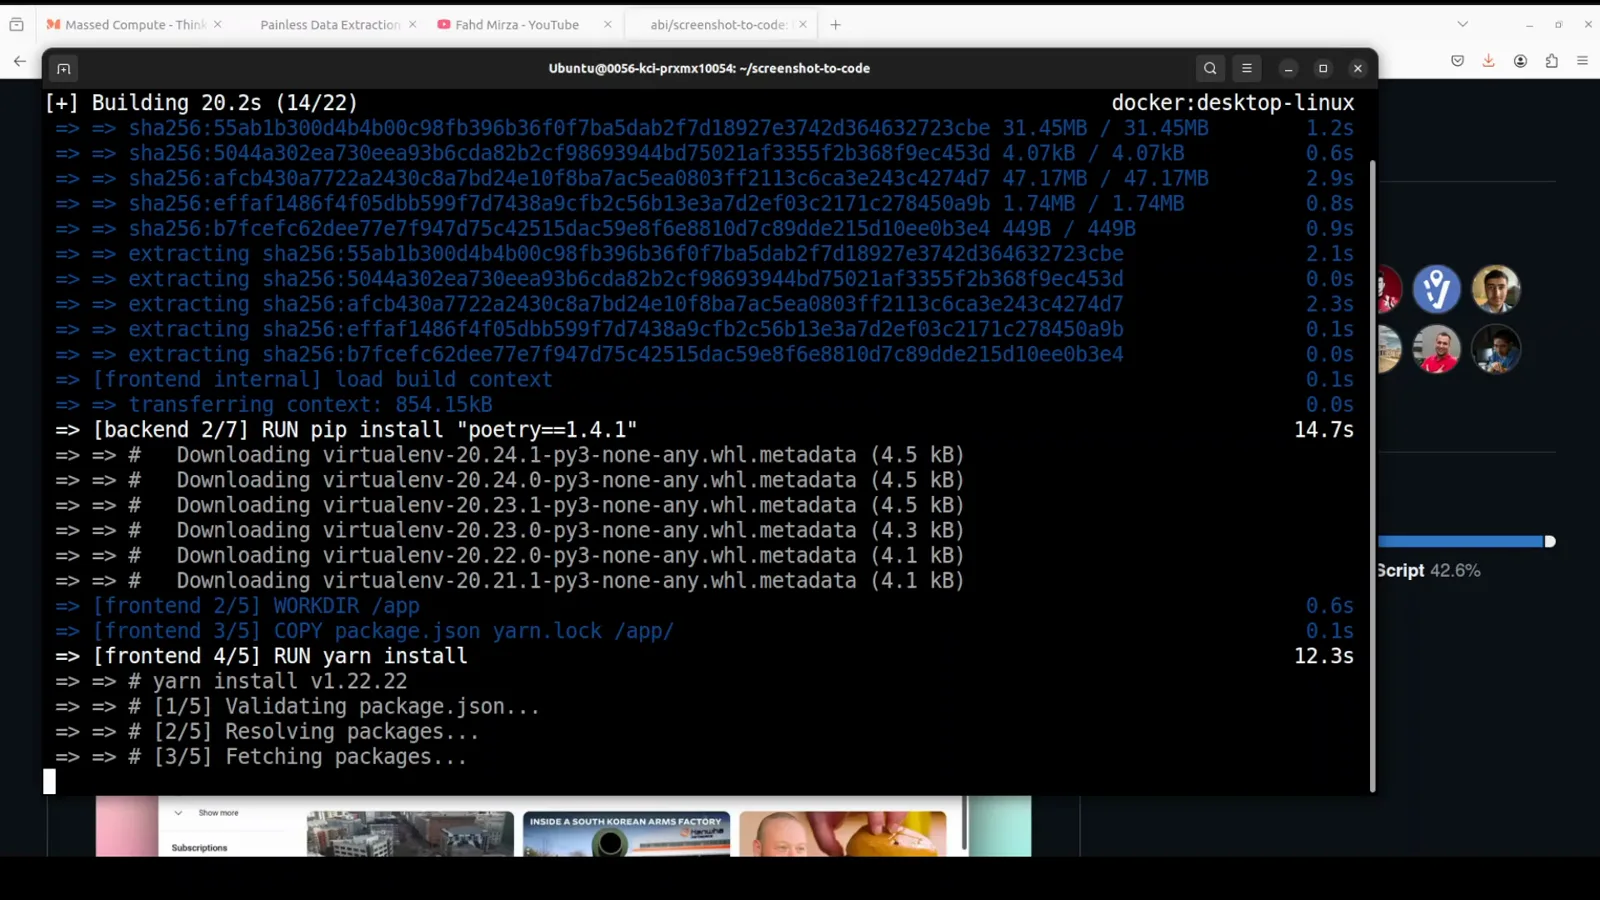
Twenty seconds in, both images are already through their dependency layers.Watch at 3:45
Convert, save, refine
- 7
Drop the screenshot in
Drag the file onto the dashed box or click it to open a picker; the image lands in the left rail as ORIGINAL SCREENSHOT and stays there as the reference for every later version. Dark or light is a preference under the gear icon, not a functional difference. That gear dialog is also where you can paste keys instead of editing .env — the README notes keys set there live only in your browser and override the .env config.
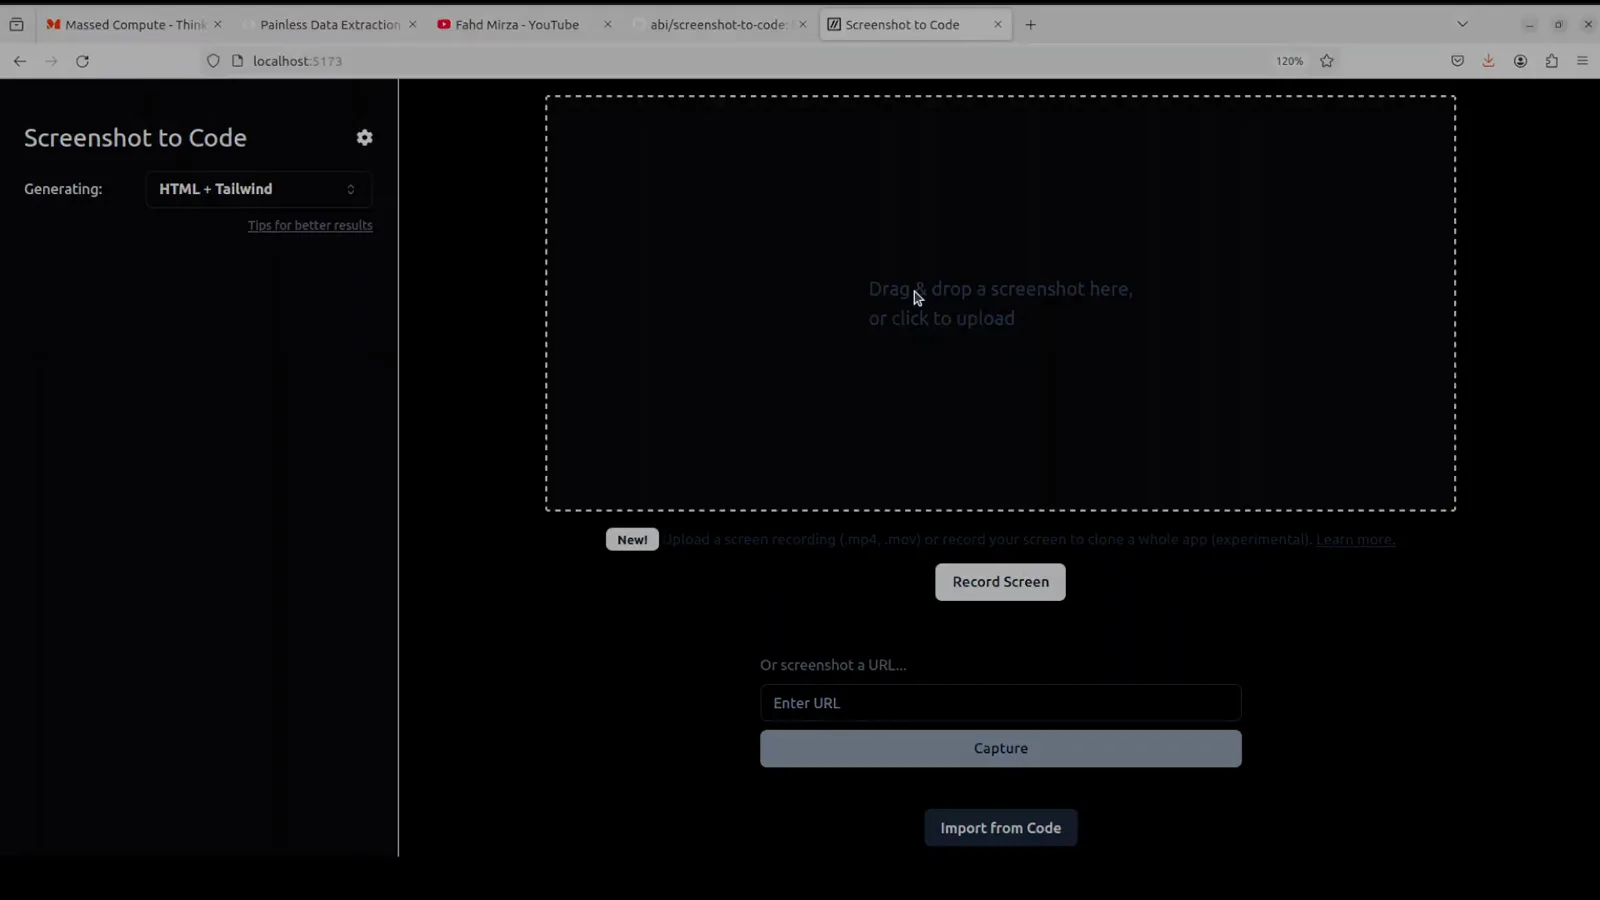
Same app in dark theme, waiting for the file — the drop zone is the whole interface.Watch at 4:45 - 8
Generate and compare the variants
The app runs more than one model per prompt so you pick a result instead of accepting the first one: Option 1 and Option 2 are tabs over the same screenshot, and how many variants you get comes from NUM_VARIANTS in backend/config.py — four for image input, two for video. Code streams into the sidebar as it is produced, with a Cancel button for when the direction is wrong. Every run is kept under Versions, so nothing is lost by experimenting.
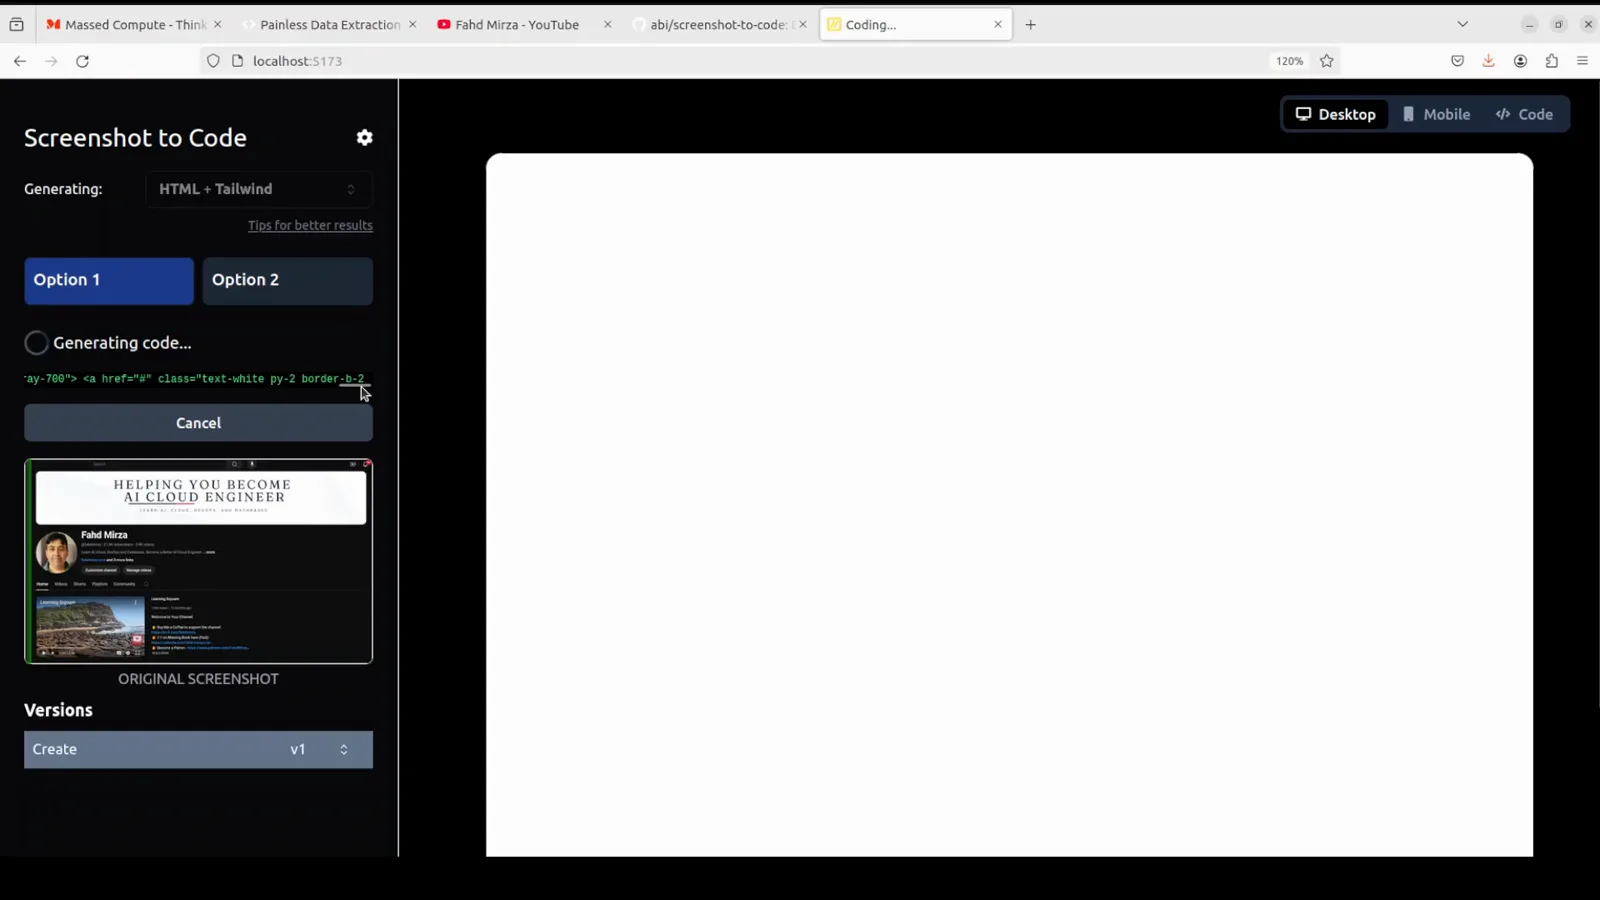
Two variants of the same screenshot, mid-stream, with the original pinned underneath.Watch at 5:00 - 9
Read it three ways: Desktop, Mobile, Code
The preview pane has three switches — Desktop, Mobile and Code — and Code is the one that matters for hand-off, because it shows the raw markup you can copy. Reset throws the run away, Download exports it, and under the variants sit Update (send another instruction), Regenerate (rerun the same one) and Select and update (draw a box over the region you want changed). This is where screenshot-to-code stops being a demo and becomes an editing loop.
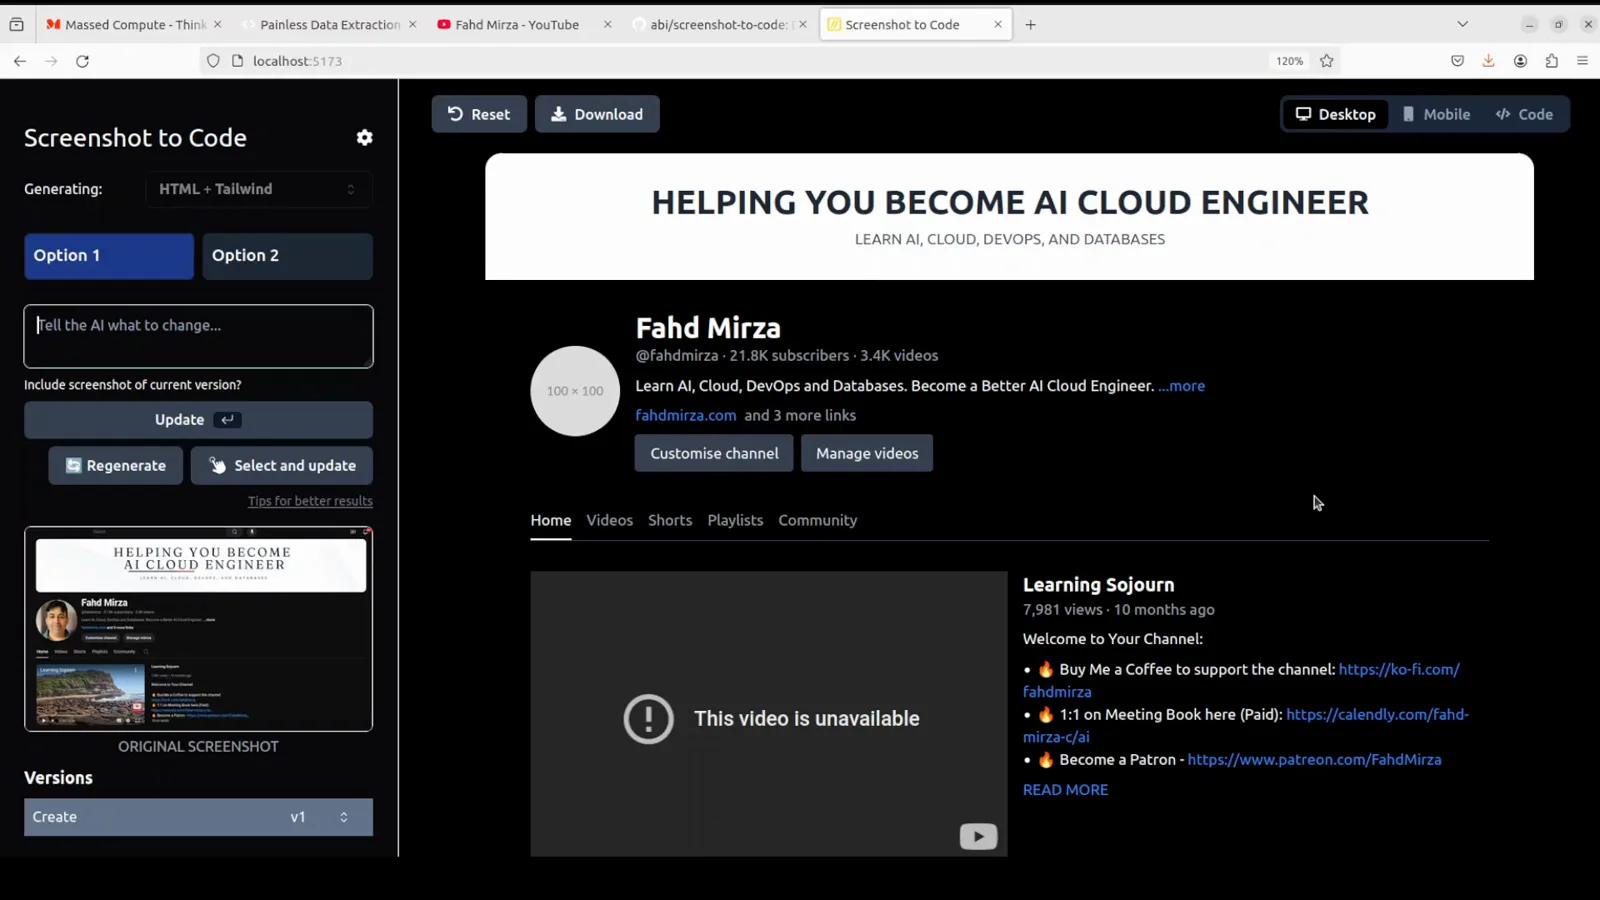
The rebuilt page sitting next to the controls for iterating on it.Watch at 5:20 - 10
Save the markup as a plain .html file
Copy the code out of the Code tab into a file — test.html in the mycode folder here — and that is the entire build step. The output is self-contained HTML with Tailwind classes, so there is no package install and no dev server between you and the page. If you want it inside a real component tree, paste it into a React or Vue file instead and re-point the class names there.
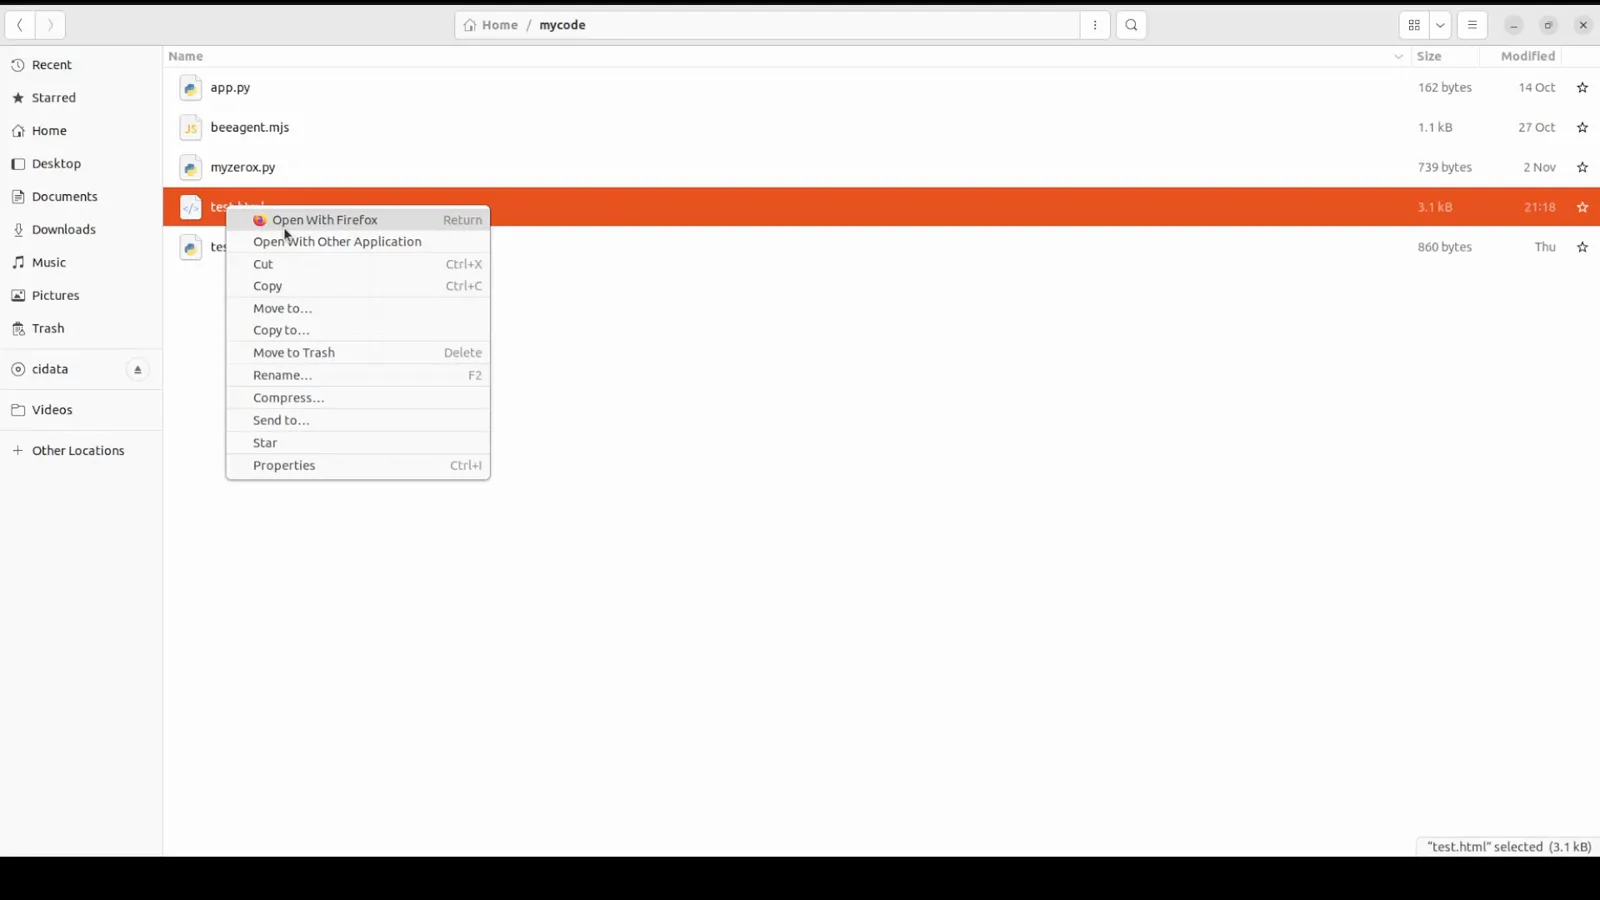
One file, 3.1 kB, right-clicked open in Firefox.Watch at 5:40 - 11
Open it from disk and check what survived
Loading the file straight from the filesystem proves the output runs with no server behind it. Now compare it honestly against the ORIGINAL SCREENSHOT thumbnail: layout, typography and spacing usually carry over well, while third-party logos and photographs are what gets approximated — which is exactly why the README recommends a Gemini key for asset extraction, reusing the real images from the screenshot, and a Replicate key for image generation and background removal. Anything missing is a follow-up instruction, not a rewrite.
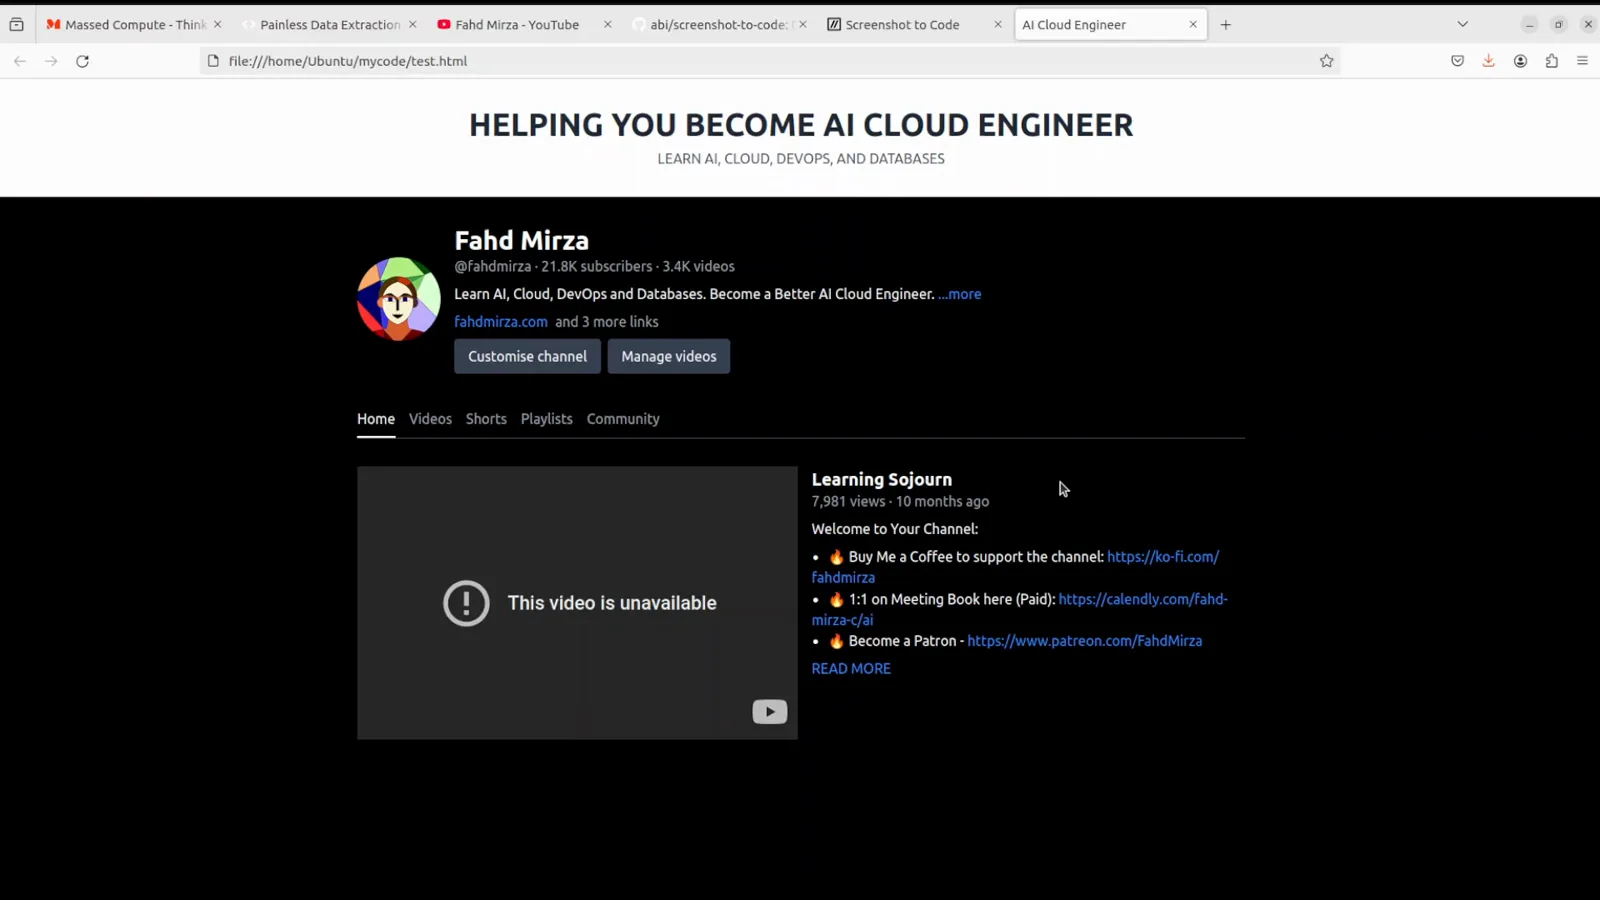
The converted page running from the local filesystem, banner and channel header rebuilt.Watch at 6:12 - 12
Refine with an update prompt instead of regenerating
Type the change into the box under the variants — "change the background color to deep blue" here — and the app produces a new version rather than a new page, so Versions keeps both: Create v1 and the update as v2. Ticking "Include screenshot of current version?" sends the current render along with the instruction, which is what stops a refinement from drifting back to a generic layout. This loop is the reason the tool is worth installing at all.
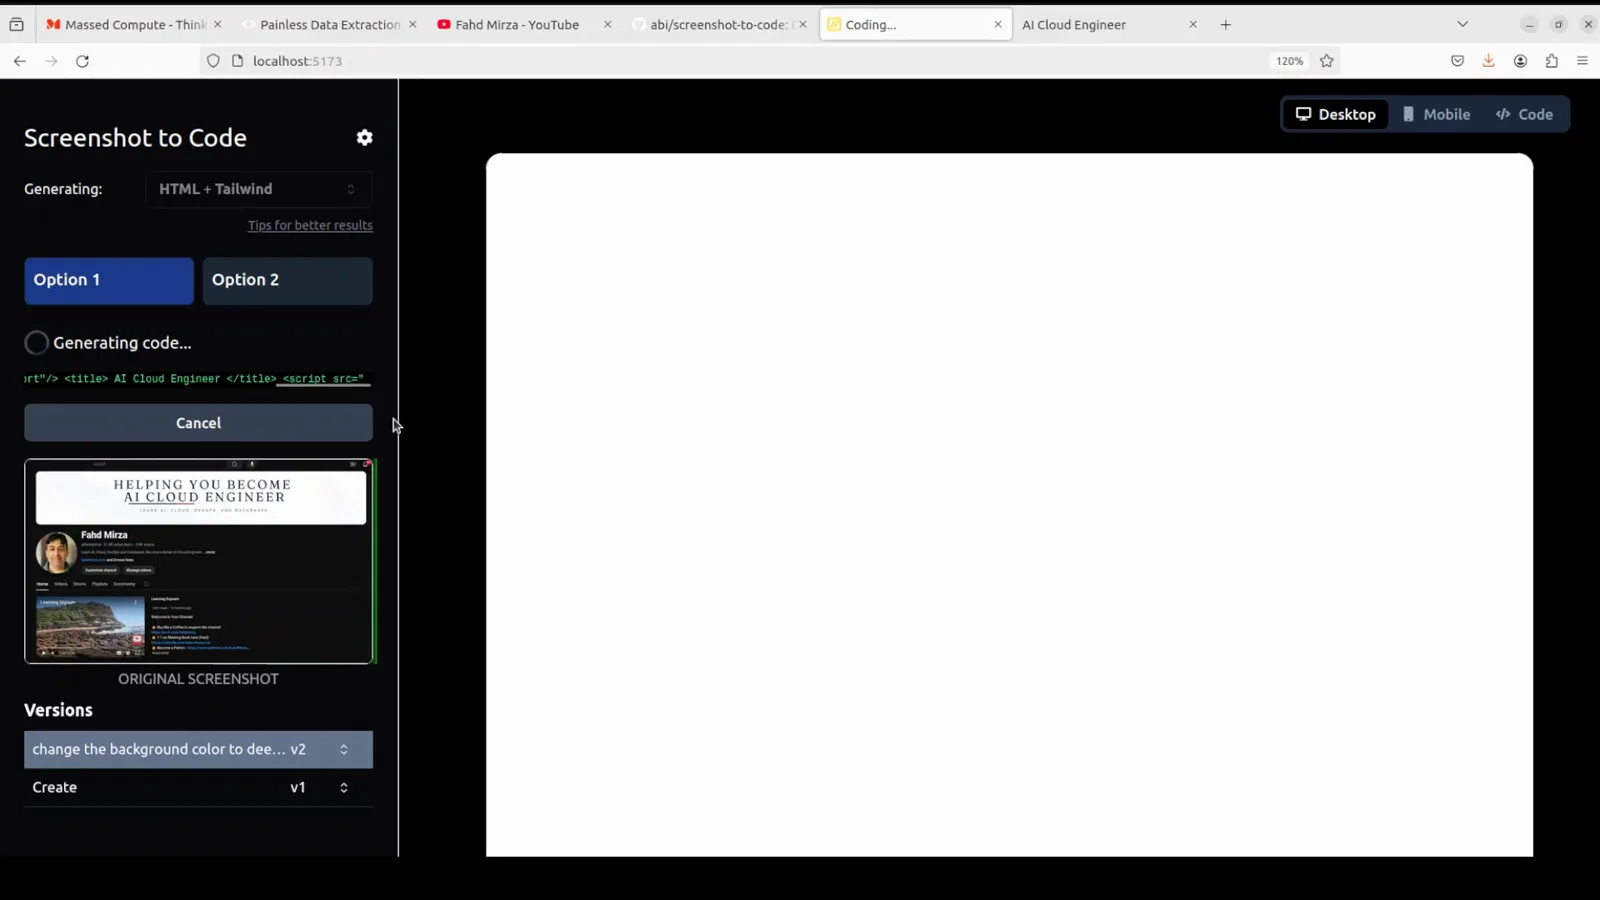
One instruction later, the update is stored as v2 with v1 still one click away.Watch at 6:45
Route B: DeepSeek reads the image
- 13
Route B: attach the screenshot to DeepSeek
If you would rather not run anything, DeepSeek takes the image directly in its chat product: the paperclip adds log.PNG, the composer shows it as a 68.14KB attachment, and the instruction is one sentence — "give me html and css code for this image in a single html file". The chip in this recording reads DeepThink (R1); picker labels move faster than tutorials do, so trust the mechanism rather than the label. What comes back is one file you can paste and open.
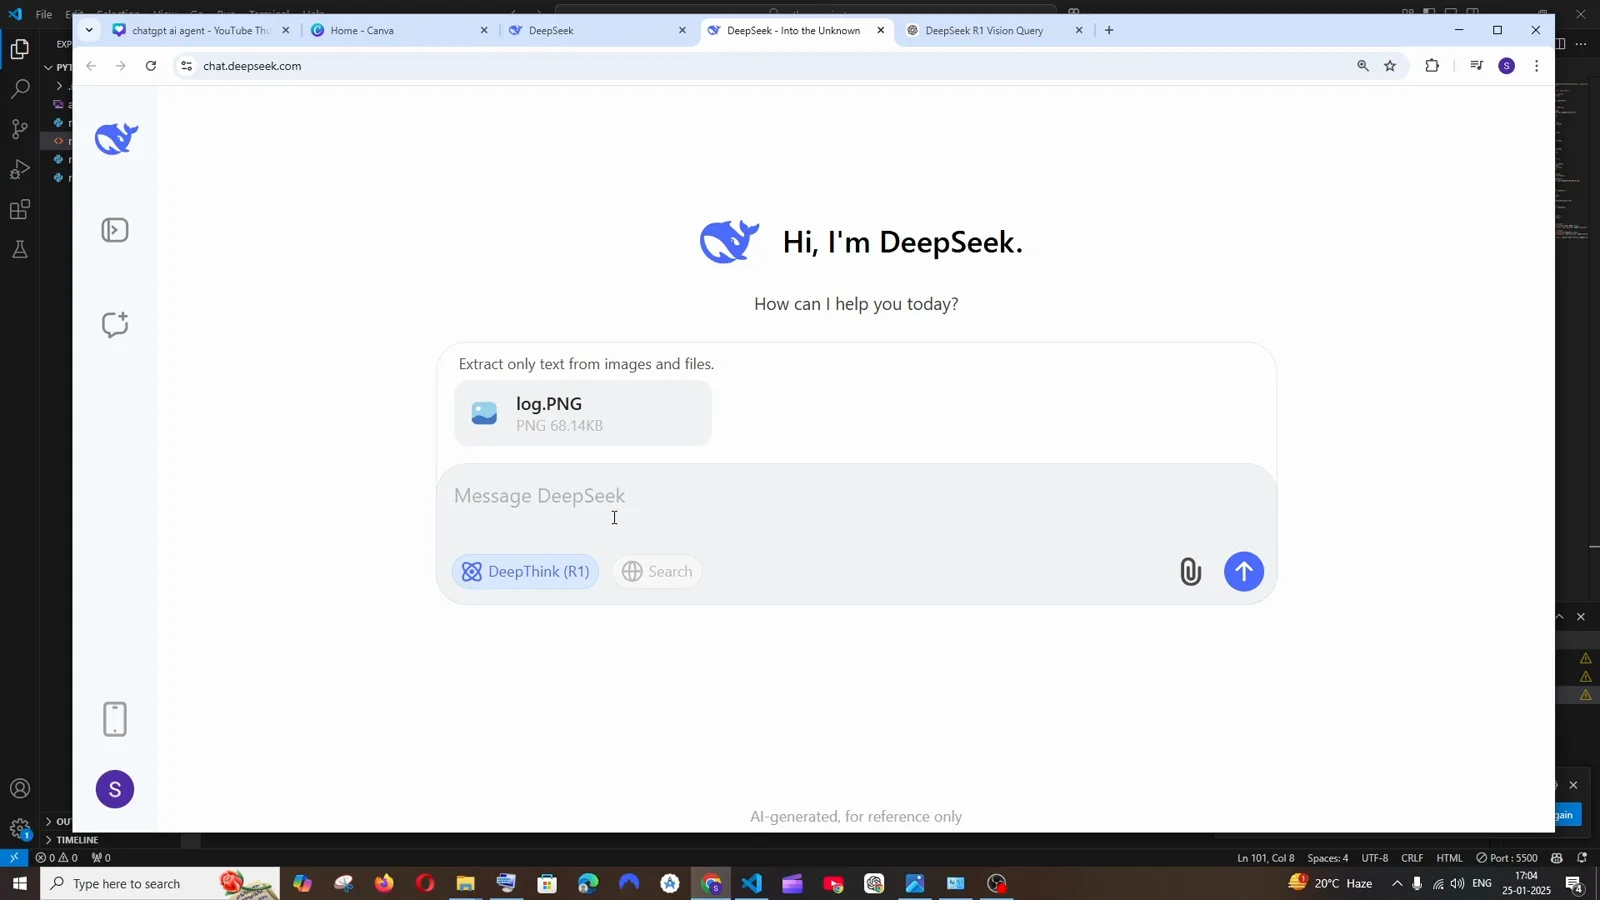
The screenshot attached in DeepSeek's chat, with the single-file instruction typed underneath.Watch at 1:22 - 14
Read the plan before the code
The thinking panel is where you can tell whether the model actually looked: it enumerates the "Login" heading, the "User Name" and "Password" labels, the input fields and the Submit button, then chooses flexbox with justify-content and align-items centred at 100vh. When a rebuild comes back wrong this is the step to watch — a model that skipped the labels will hand you a form with none. Expand it, and if the description is off, re-crop the screenshot and send it again.
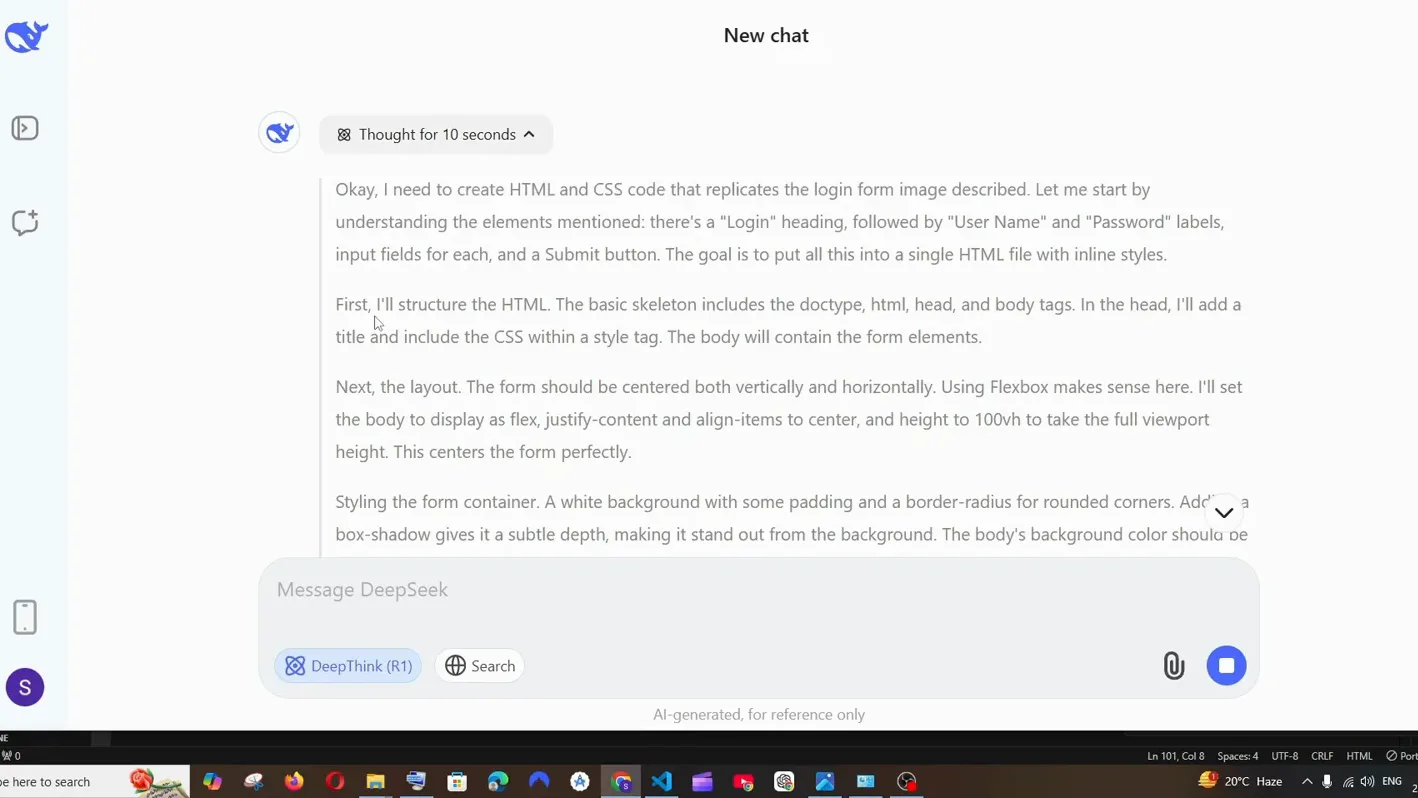
Ten seconds of reasoning: the model names each element it intends to reproduce.Watch at 1:45 - 15
Preview it, then take the code out
DeepSeek renders its own answer in a preview modal — the login card rebuilt with stacked labels, two inputs and a full-width blue Submit button, marked "AI-generated, for reference only". It is a simplification rather than a clone: the mockup's gradient blobs and field icons are gone. Copy the HTML out, save it as index.html and open it, exactly as in steps 10 and 11. Worth stating plainly: DeepSeek's chat product and its API both accept images, but text-only generators — including this site's own artifact generator — do not, so describe the UI in words there instead of expecting it to see your screenshot.
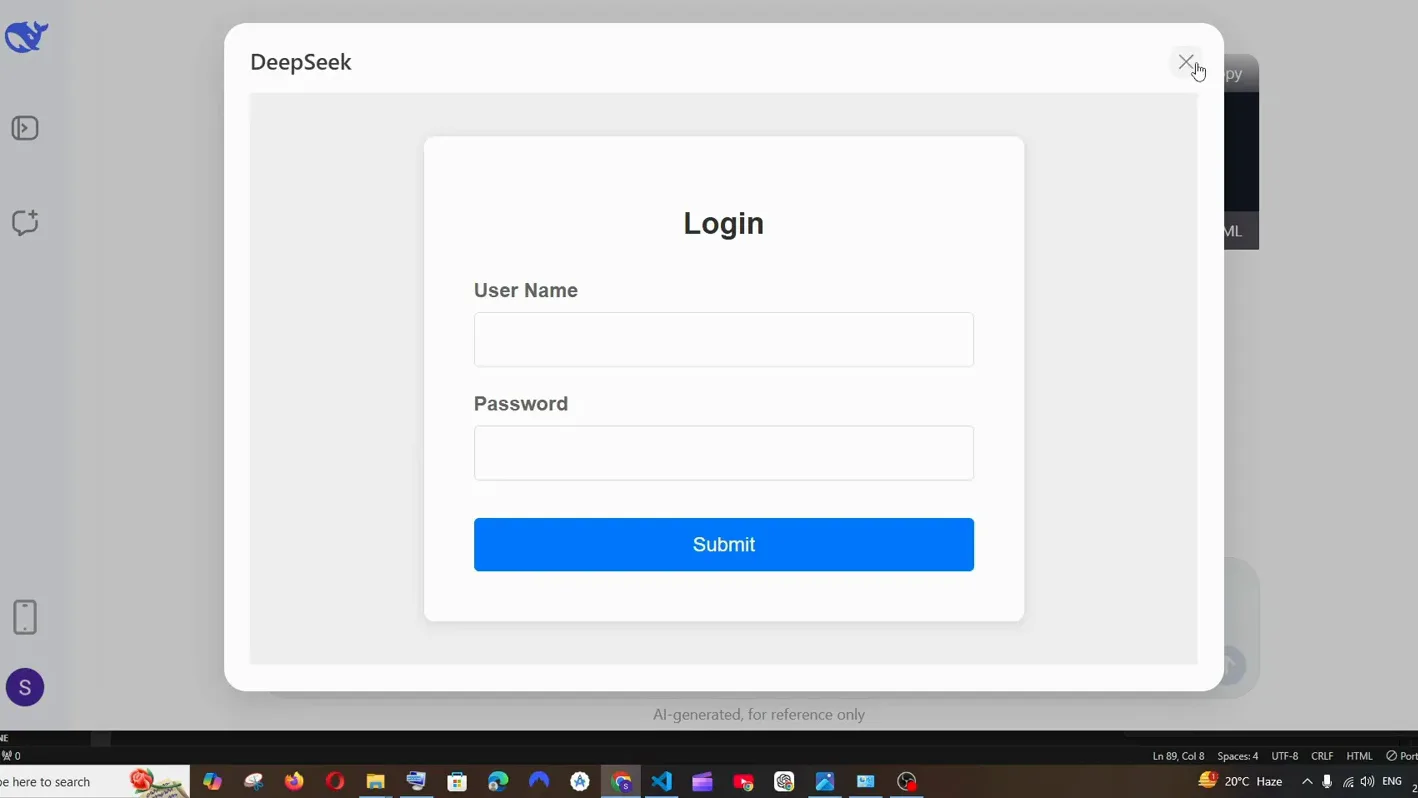
The rebuilt card inside DeepSeek's preview — close enough to build on, simplified enough to check.Watch at 2:48