
OpenCode チュートリアル:セットアップからDeepSeek接続・初タスクまで
オープンソースのターミナル型コーディングエージェントをインストールし、DeepSeek V4 Flash Free(または自身のAPIキー)に接続。実際のアプリを生成し、Planモードをマスターする——全13ステップ、すべて実写スクリーンショット付き。
要点まとめ
- opencode.ai のcurlコマンド1行でインストールし、任意のプロジェクトフォルダで opencode を実行。
- /connect でどのプロバイダーでも接続可能——無料の DeepSeek V4 Flash モデルを選ぶか、DeepSeek・OpenAI・Anthropic のAPIキーを貼り付け。
- Planモードは番号付きの計画と質問を出し、Buildモードは承認後にのみファイルを変更する。
- /init が AGENTS.md を生成し、以降のセッションはそのルールを自動で読み込む——gitにコミットしよう。
OpenCode Full Tutorial: Free Models, Skills & MCPs
動画ウォークスルー:Eric Tech23:11
DeepSeek V4 + OpenCode Is INSANE!
モデル情報:Julian Goldie SEO9:51
手順はOpenCode公式ドキュメント(opencode.ai/docs)とDeepSeek公式のOpenCode統合ガイド(api-docs.deepseek.com)で照合済み:/connect → deepseek → APIキー → DeepSeek-V4-Flash、OpenCode v1.18.30以上。
ウォークスルー映像のフレームはチャンネルのクレジット付きで使用しており、各ステップから元動画の該当秒へ飛べます。文章とスクリーンショットの選定は当サイト独自のものです。
インストールから初タスク完了までの13ステップ
- 1
1行のインストールコマンドをコピー
opencode.ai を開き、インストール用の1行——curl -fsSL https://opencode.ai/install | bash——をターミナルに貼り付けて実行。npm・Homebrew・Scoop版もあるが、curlスクリプトが定番の道で、PATHへの追加も自動。
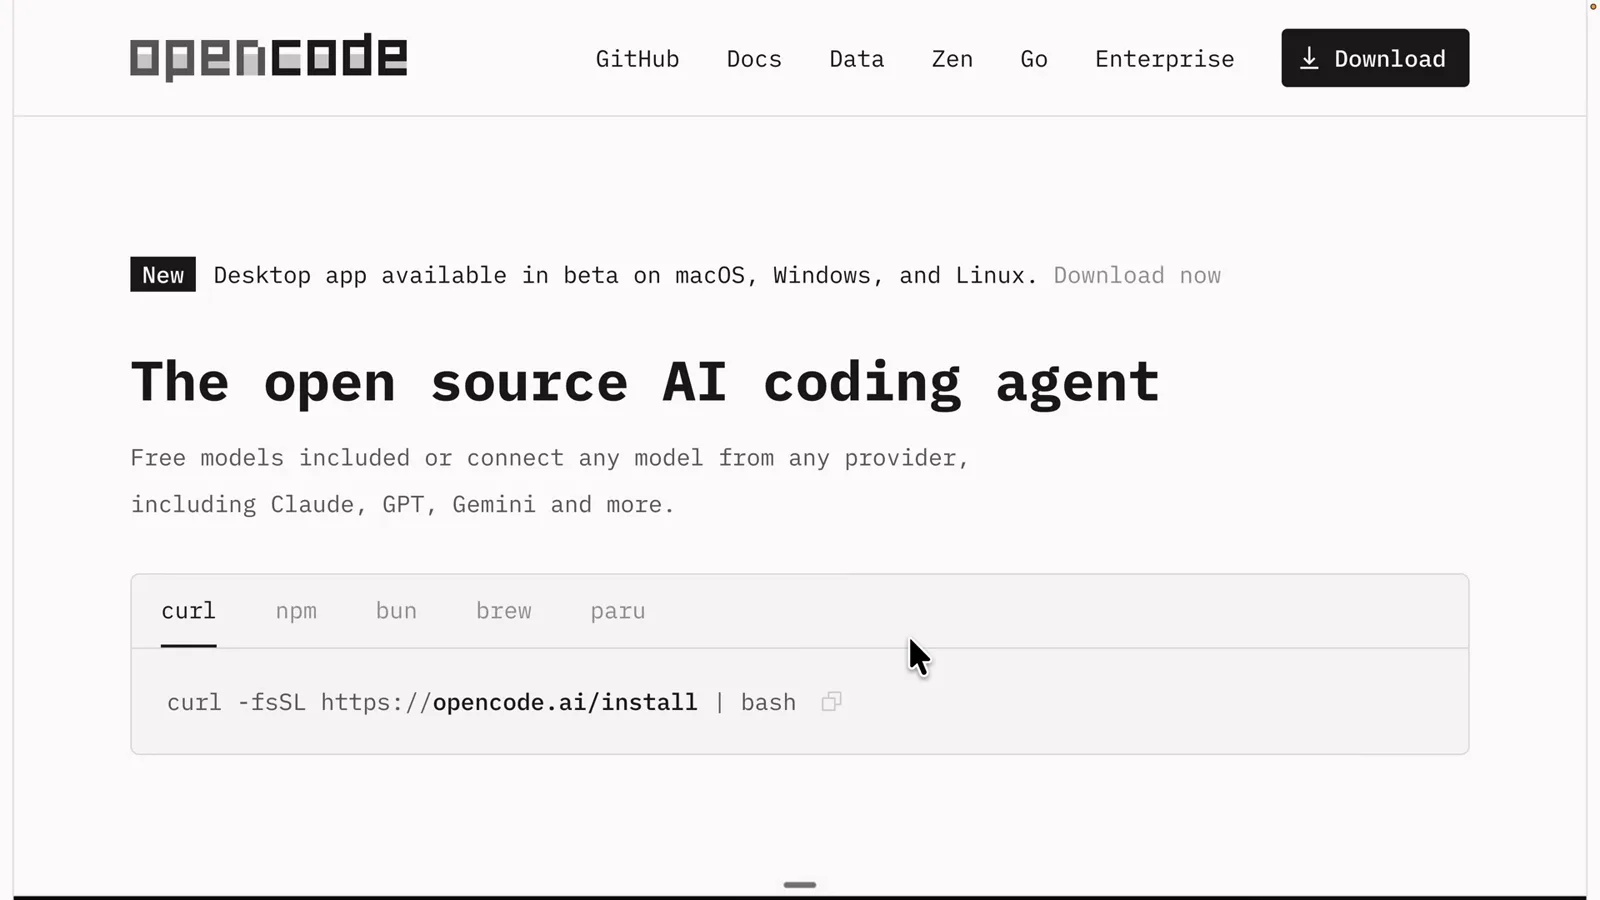
opencode.ai のインストールページにはパッケージマネージャー別のコマンドも並ぶ。1:10 を見る - 2
インストーラー完了後、新しいターミナルを開く
スクリプト終了時の2行が重要:"Successfully added opencode to $PATH" と、プロジェクトにcdして opencode を実行せよというヒント。"command not found" と出た場合は、そのターミナルがインストール前に開いたもの。新しいターミナルを開けば解決する。
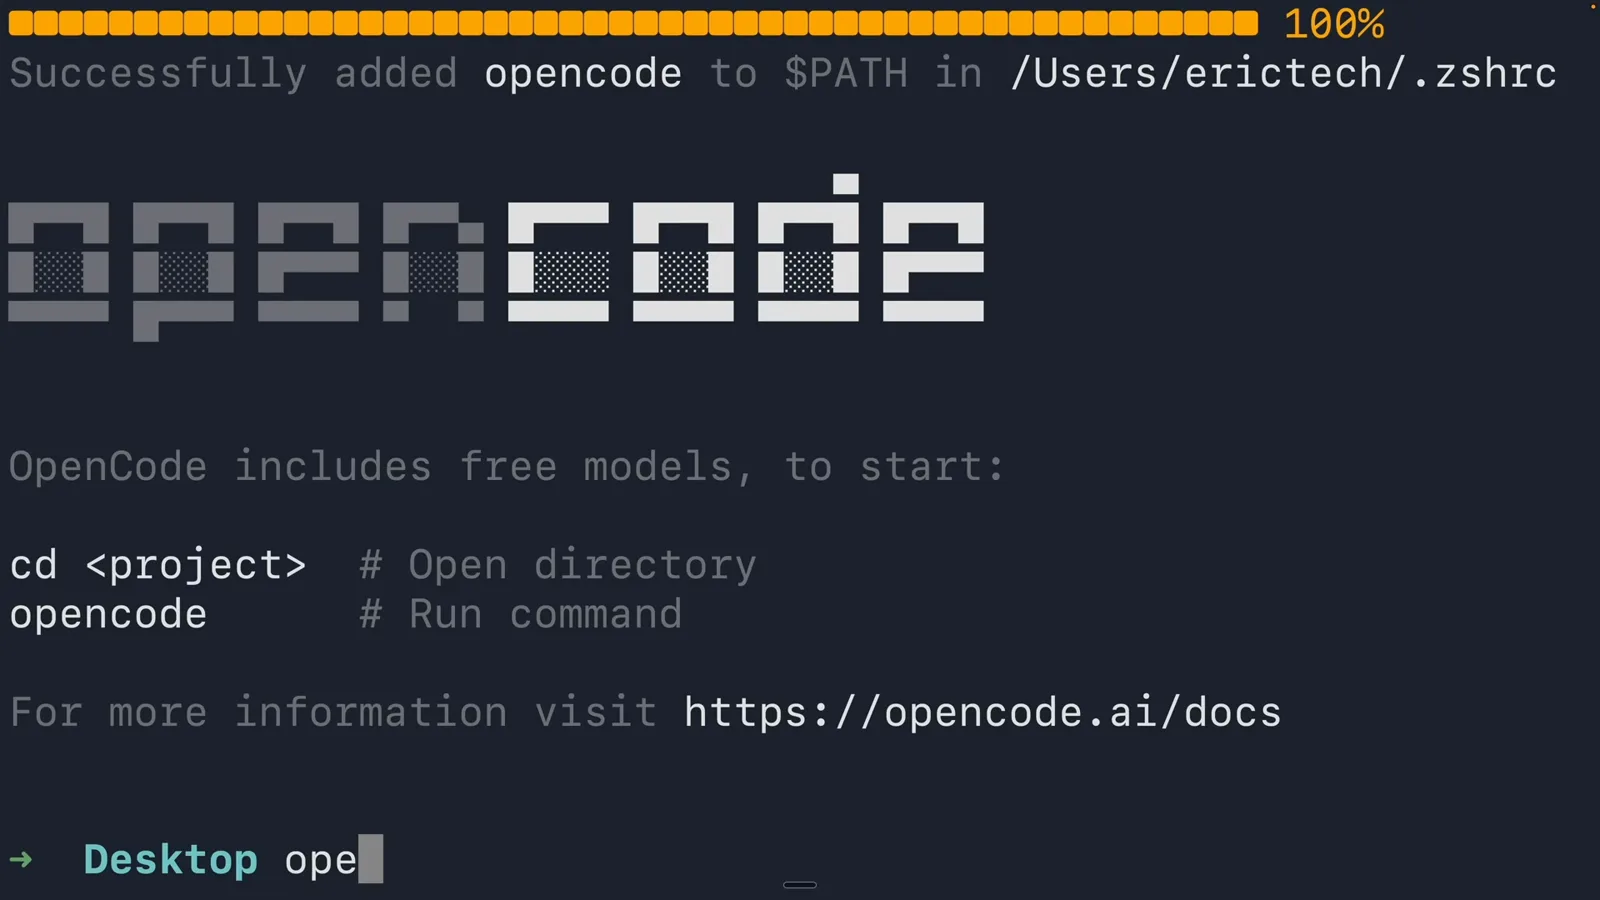
インストール完了でPATHに追加され、クイックスタートのヒントが表示される。1:30 を見る - 3
プロジェクト内でOpenCodeを起動
任意のフォルダへcd(またはVS Codeで開いて統合ターミナルを使用)し、opencode を実行。Ask anything の入力ボックス、下部のBuildバッジに現在のモデル、そして "/connect でプロバイダーを追加" というヒントが表示される。Ctrl+C で終了。
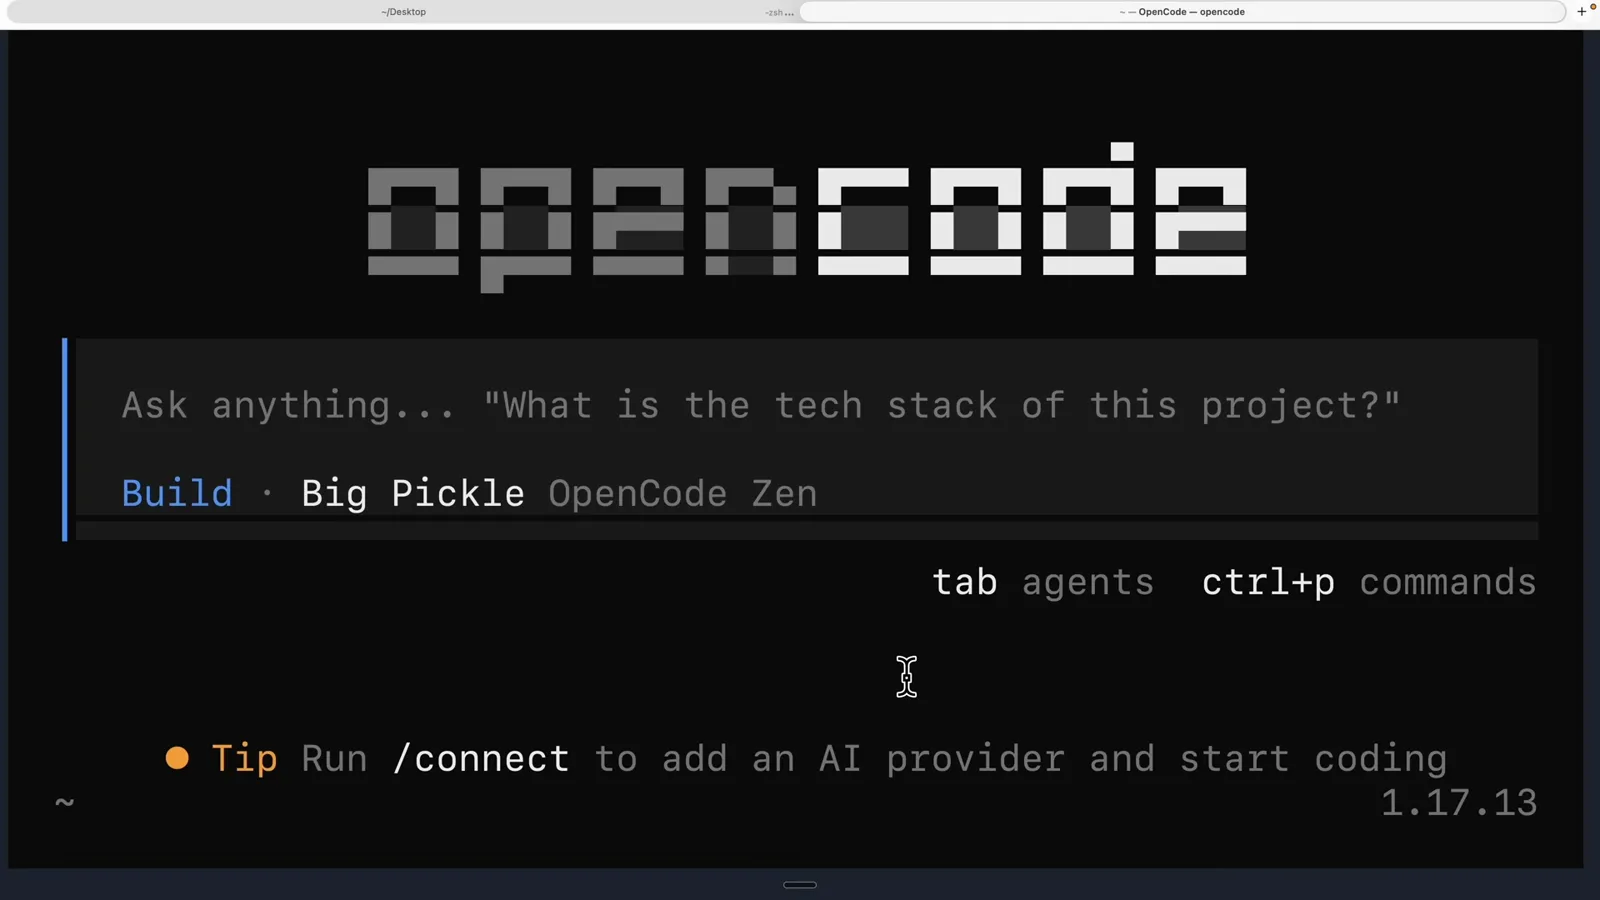
初回起動:ウェルカム画面がいきなり /connect を案内してくれる。2:00 を見る - 4
/connect でプロバイダーを選択
入力ボックスで /connect と入力。OpenCode Zen(推奨——厳選・検証済みのモデル一覧を1つのAPIキーで利用)、低価格サブスクのOpenCode Go、OpenAI ChatGPT、Anthropic、GitHub Copilot、Googleサインインが並ぶ。サブスクは定額、APIキーは従量課金。
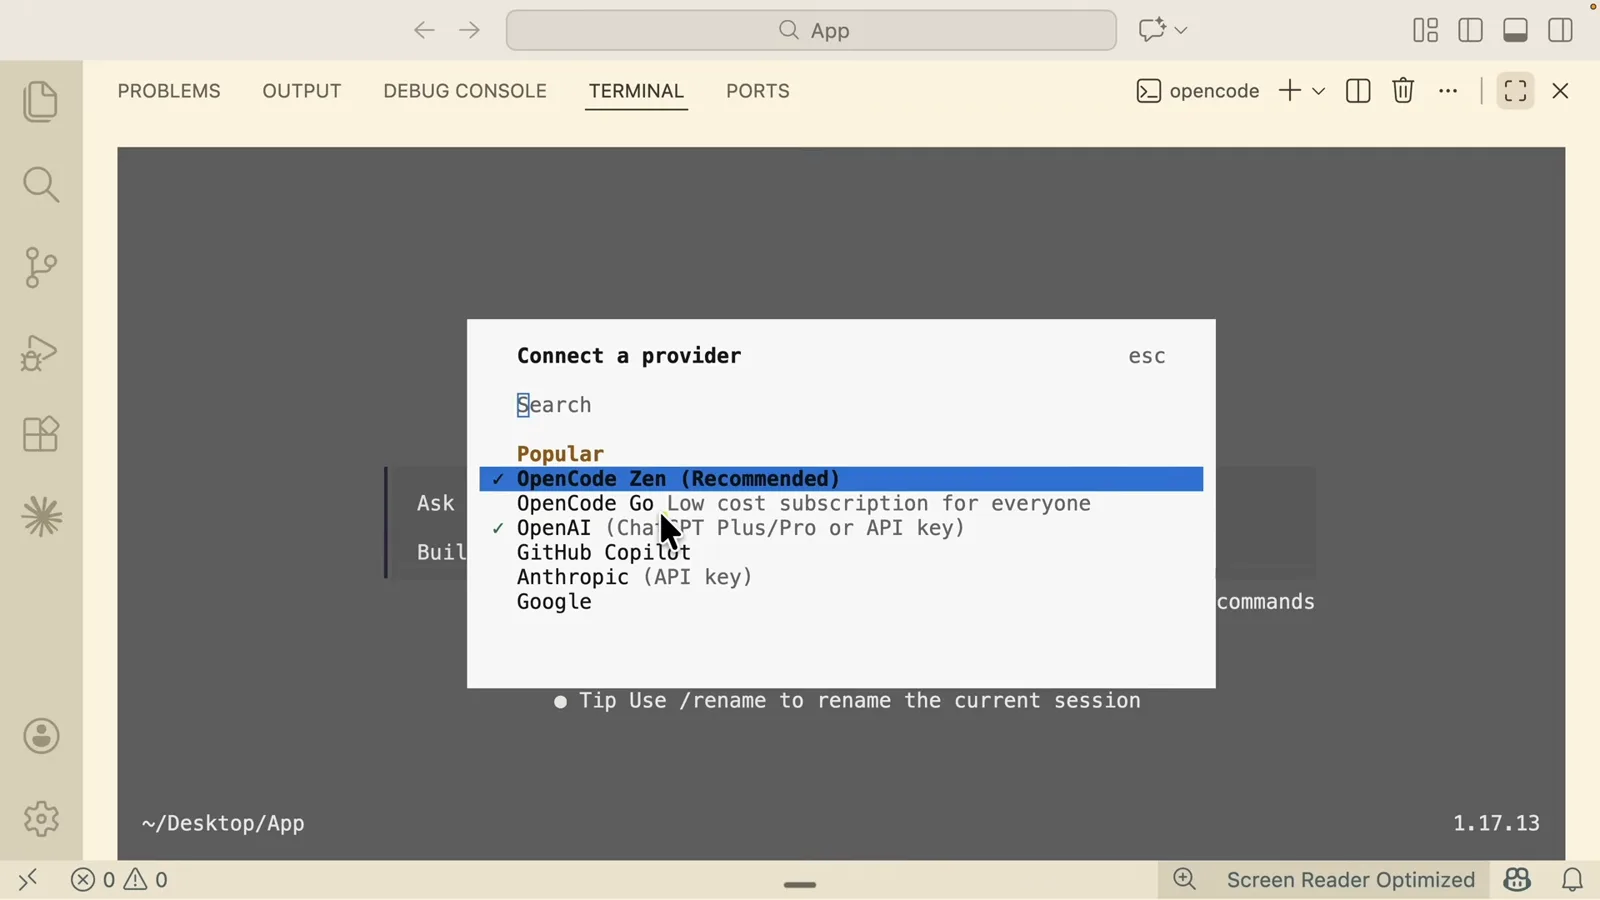
/connect にはZen・Go・主要プロバイダーが並んで表示される。3:40 を見る - 5
APIキーを発行して貼り付け
OpenCode Zen を選ぶとAPIキー入力欄とZenコンソールへのリンクが表示される。サインインして Create API Key を押し、コピーしてターミナルに貼り付け——キー発行は無料で、使ったトークン分だけ課金。キーはローカル保存なので作業は一度だけ。
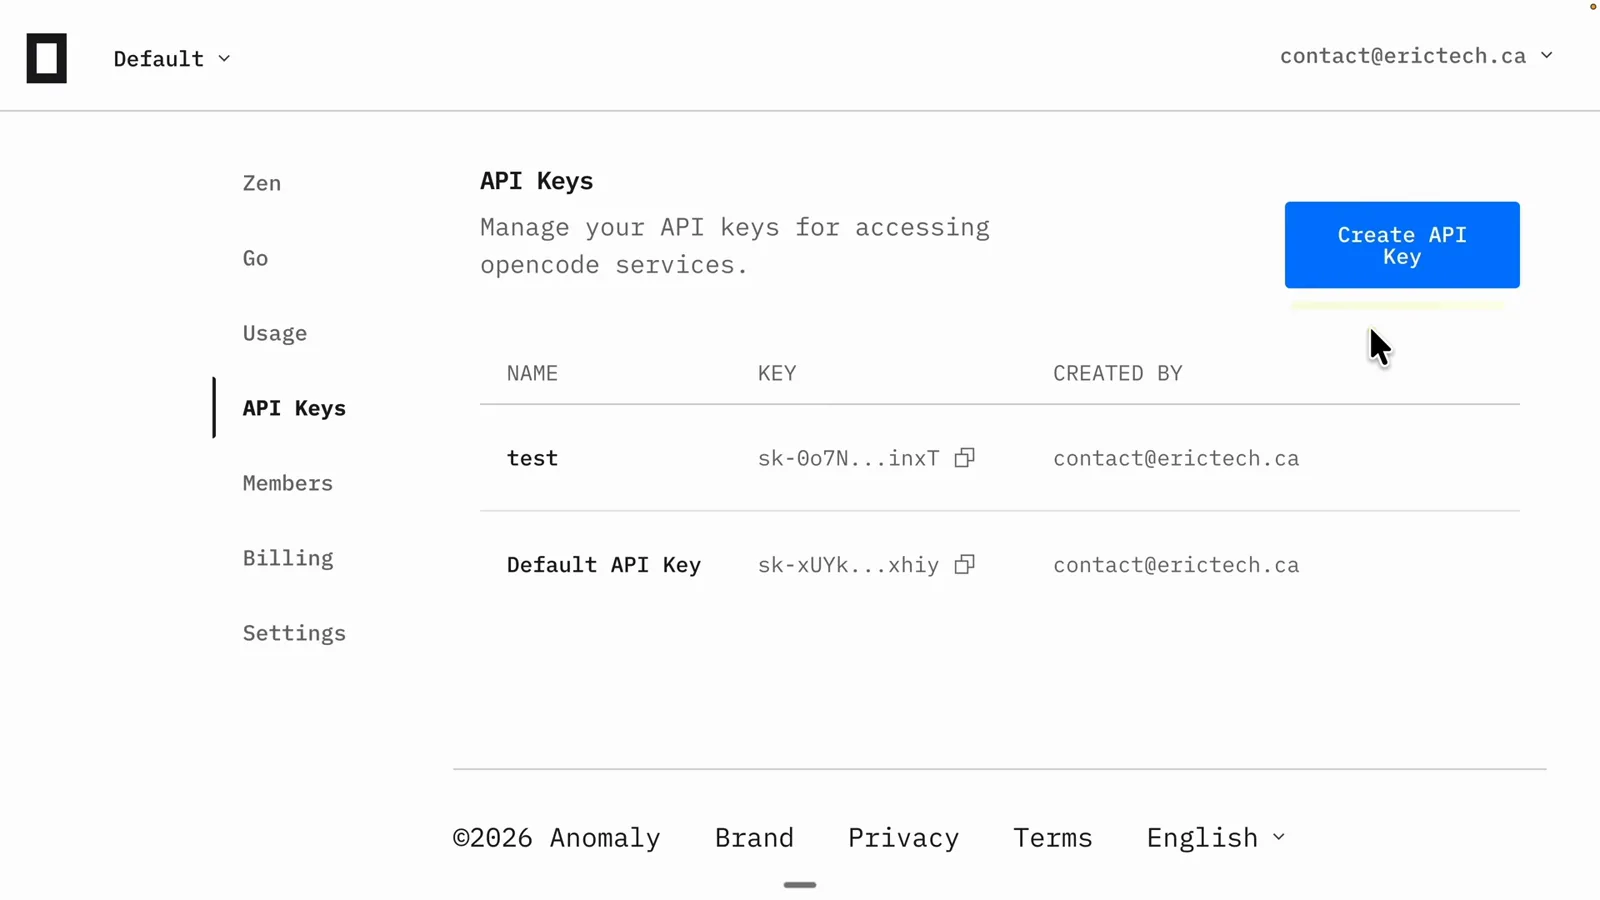
Zenコンソールが発行するキーでターミナルエージェントを認証する。4:08 を見る - 6
DeepSeek V4 Flash Free を選んで挨拶する
モデルピッカーに戻ると、無料モデルにはFreeバッジ —— DeepSeek V4 Flash Free までスクロールしてEnter、"hi" と送って応答を確認。自分のDeepSeekアカウントを使いたい場合は、DeepSeek公式ガイドと同じ流れ:/connect → deepseek プロバイダー → platform.deepseek.com/api_keys のAPIキー → DeepSeek-V4-Flash を選択(OpenCode v1.18.30以上)。
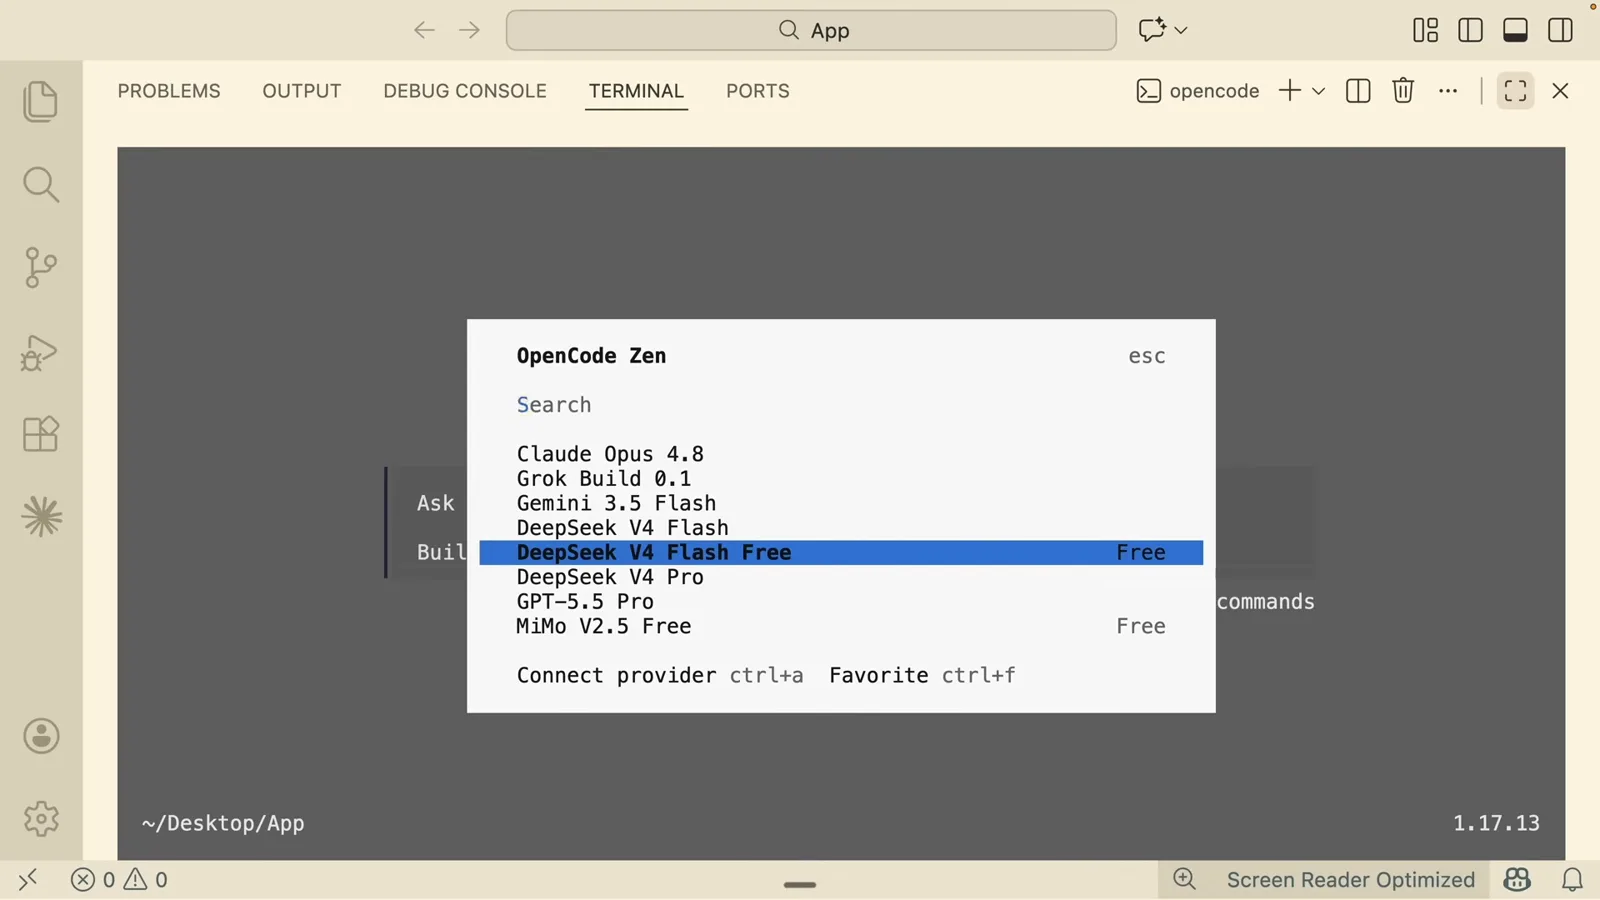
DeepSeek V4 Flash Free はEnterひとつ。カード登録も不要。4:30 を見る - 7
新しいセッションで現実のタスクを依頼する
右下のメーターは現在のセッションのコンテキスト消費量。/new で新セッション開始。そして具体的に指示する——例:"hello world と出力するNestJSサーバーアプリをスキャフォールドして"。OpenCodeはファイル一覧を起草し、コードを書き、TODOを消化していく。Esc2回で中断、continue で再開。
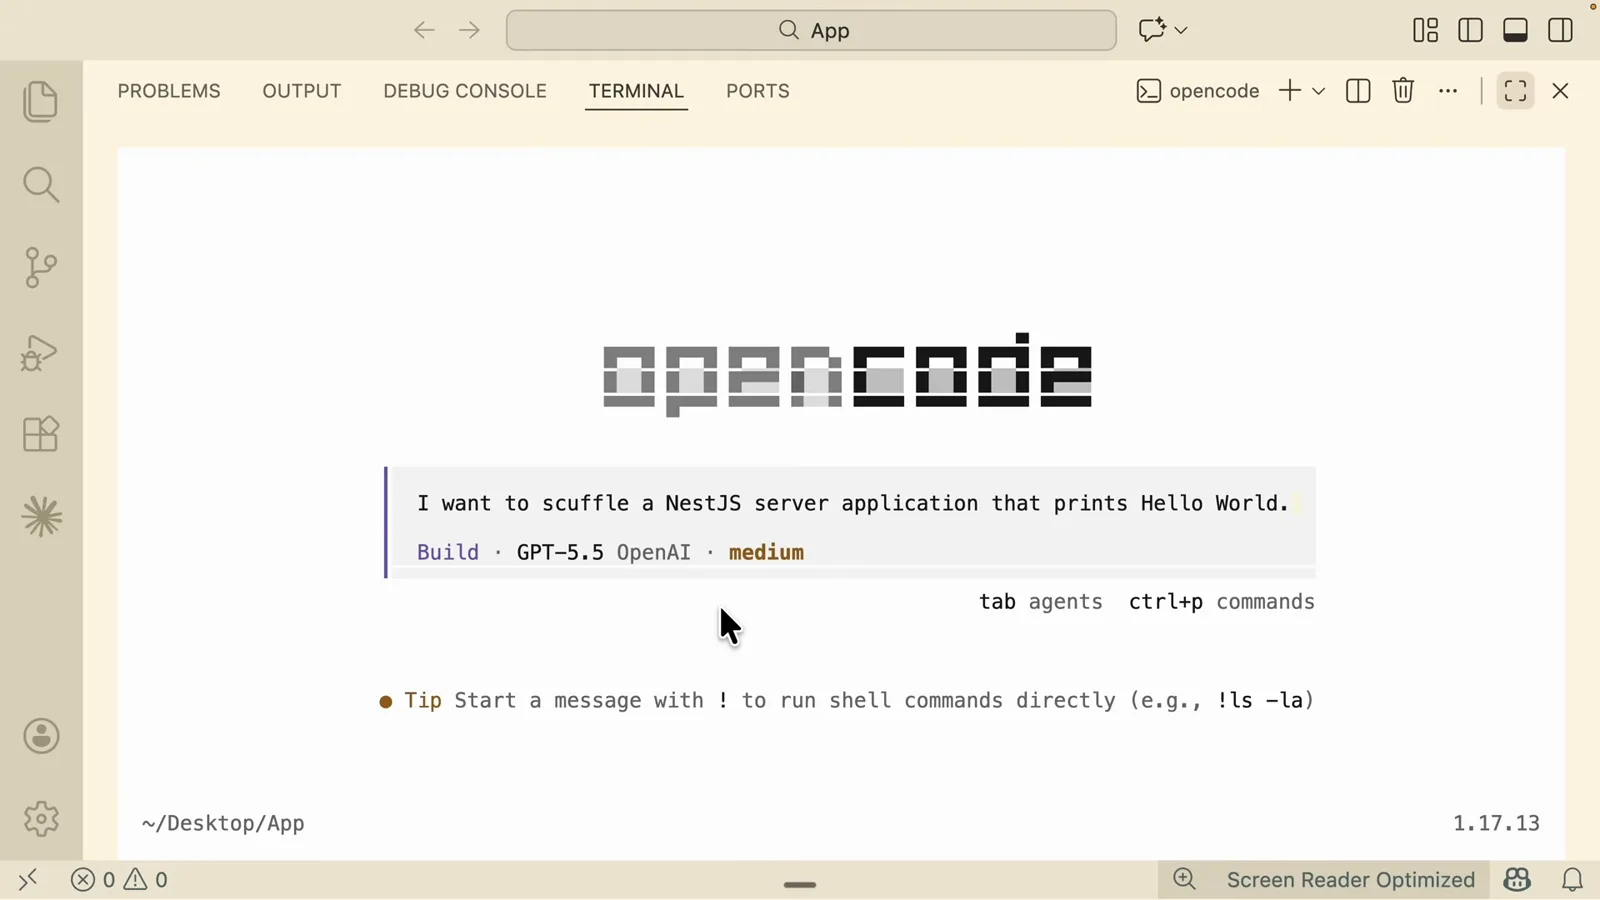
一文あればOpenCodeはアプリ全体をスキャフォールドできる。7:20 を見る - 8
結果が実際に動くか検証する
OpenCodeは最後にサマリーを出す:作成ファイル、インストール、ビルド、そしてサーバーへcurlして応答を確認するランタイムチェック。自分でも別ターミナルで開発サーバーを起動し、http://localhost:3000 で Hello World を目視確認しよう。ページを自分の目で見るまで、エージェントの報告は主張にすぎない。
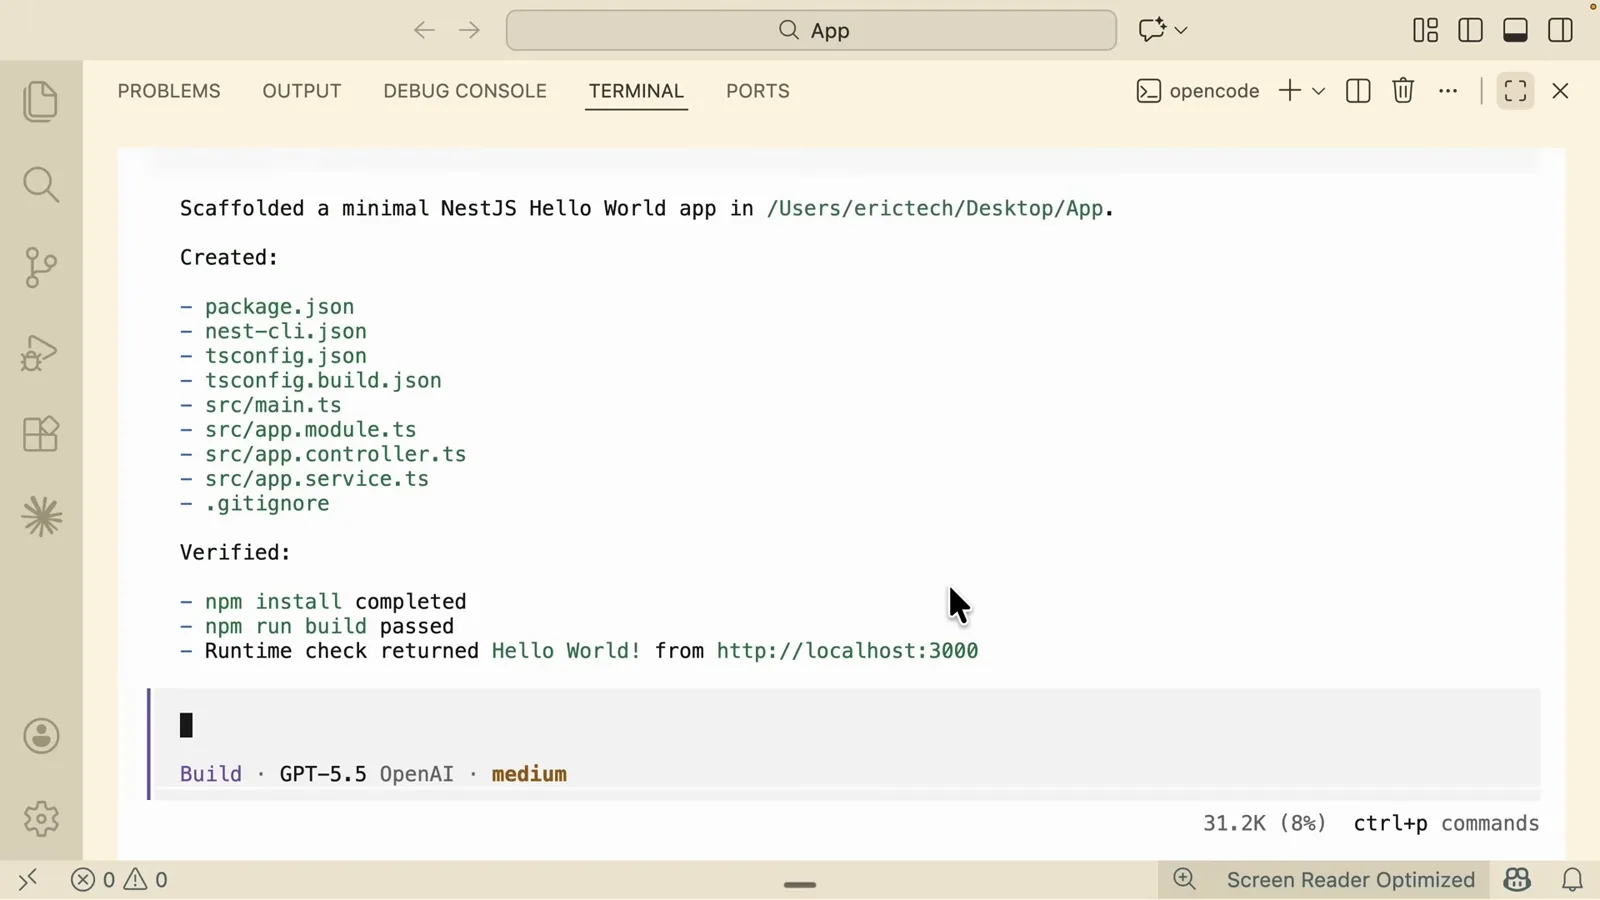
スキャフォールドのサマリーは Hello World を返すランタイムチェックで締めくくられる。7:40 を見る - 9
/variants で推論の強さを調整する
/variants で Select variant ダイアログが開く:default・none・low・medium・high。強さが上がるほど思考が長く費用も増える。機械的な編集なら low で十分。現在のレベルはステータスバーのモデル名の横に表示される。
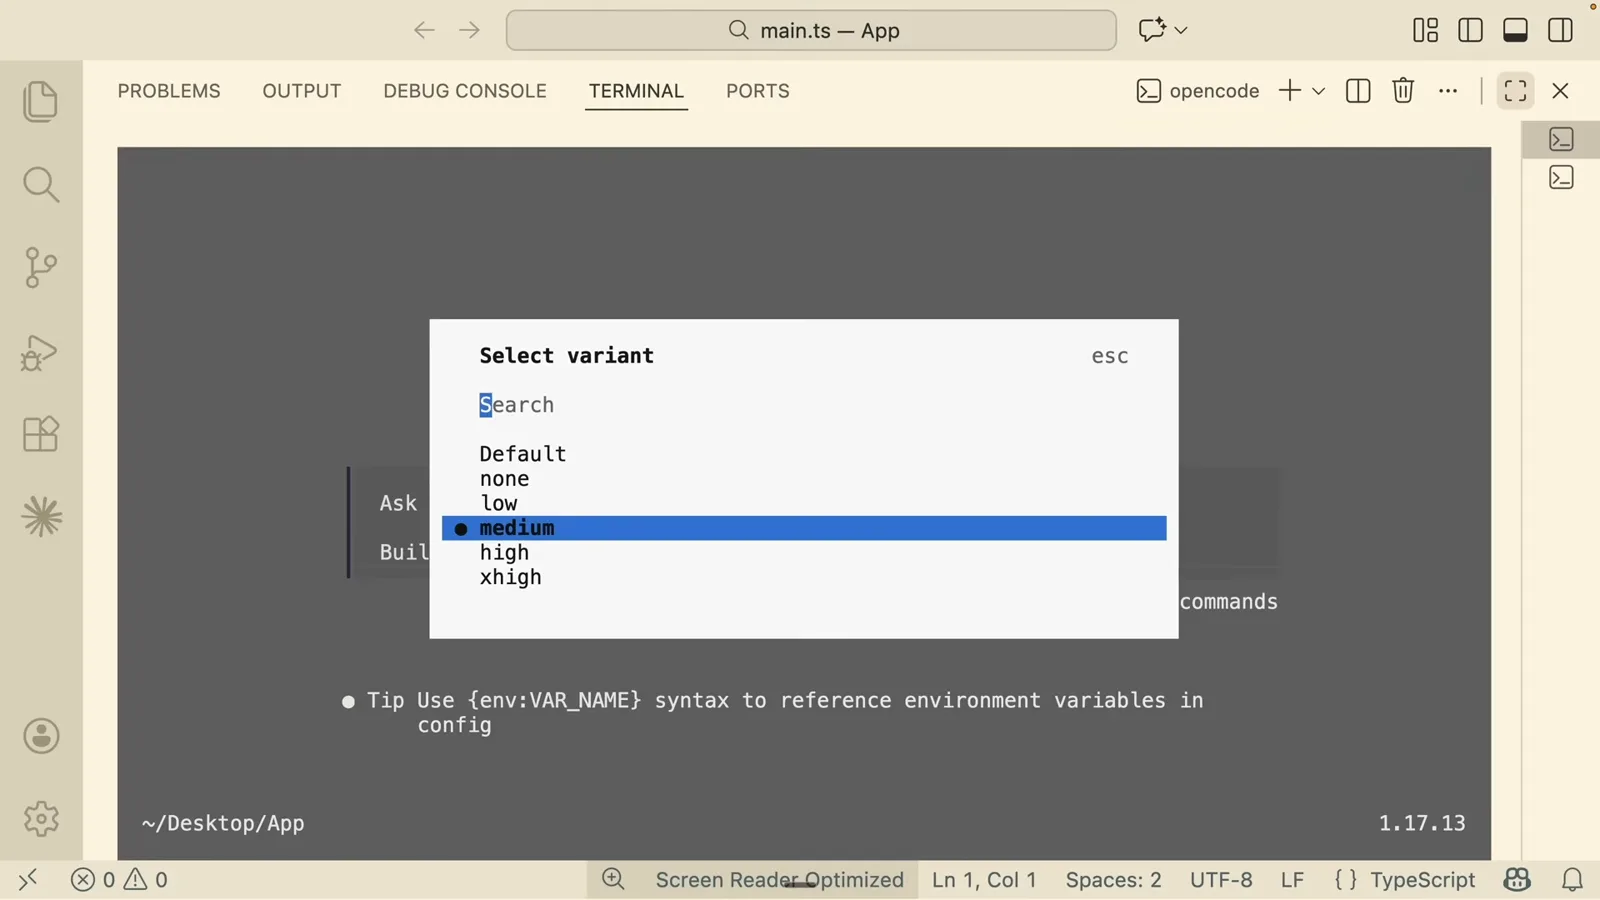
/variants ならセッションを出ずに推論レベルを切り替えられる。8:34 を見る - 10
並行タスクはセッションで分ける
/sessions でプロジェクト内の会話一覧を表示——Enterで切替、表示されたショートカットでリネーム・削除。長時間の作業は分離できる:片方でリファクタリング、もう片方でドキュメント作成。/share で会話を公開URL化、/export でMarkdown書き出し、/timeline で過去のメッセージへ巻き戻し。
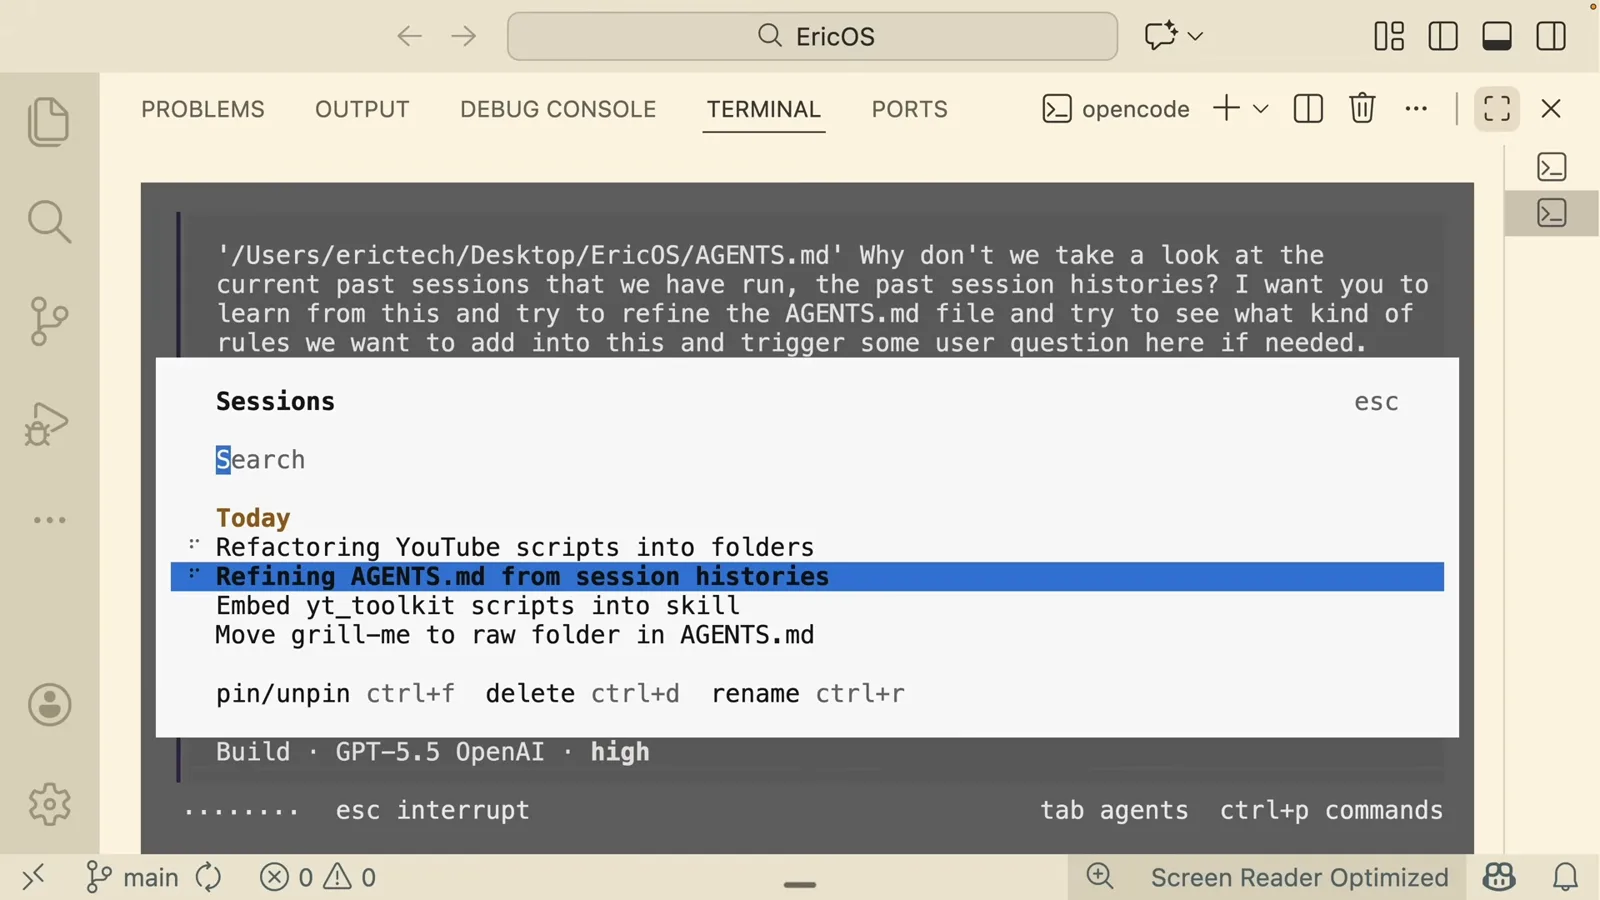
セッションダイアログでタスクごとの履歴とコンテキストを分離。10:30 を見る - 11
Buildの前にPlanで確認する
Shift+Tab でPlanモードに切替(バッジがBuildからPlanへ)——エージェントは読み取り専用になり、番号付きの計画を提案し、最後に確認質問をしてくる。(最新ドキュメントでは同じトグルが Tab に割り当てられている。右下のインジケーターを確認。)回答して承認し、Buildモードへ戻れば合意した内容どおりに実行される。
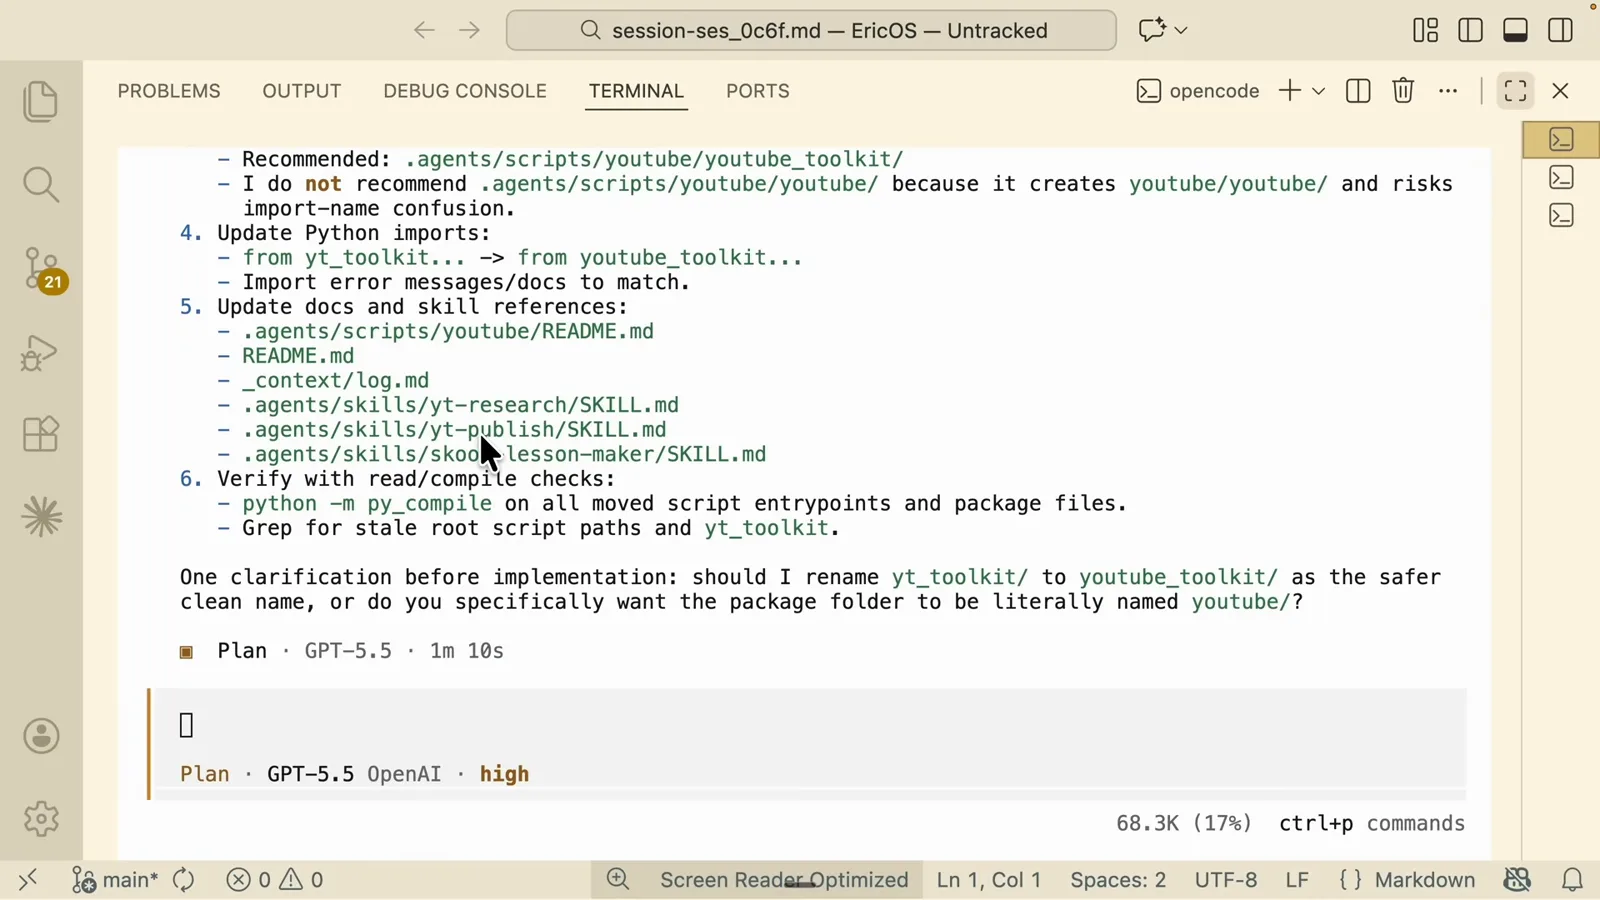
Planモードは編集ではなく質問で終わる——承認してから構築。13:29 を見る - 12
スキルで拡張する
スキルとは、どんなコーディングエージェントでも再利用できる手順書。skills.sh のリーダーボードで選び(定番は Superpowers)、権限プロンプトを承認すると OpenCode がプロジェクトの agents/skills フォルダへインストールする。再起動後、/skills で一覧を確認。
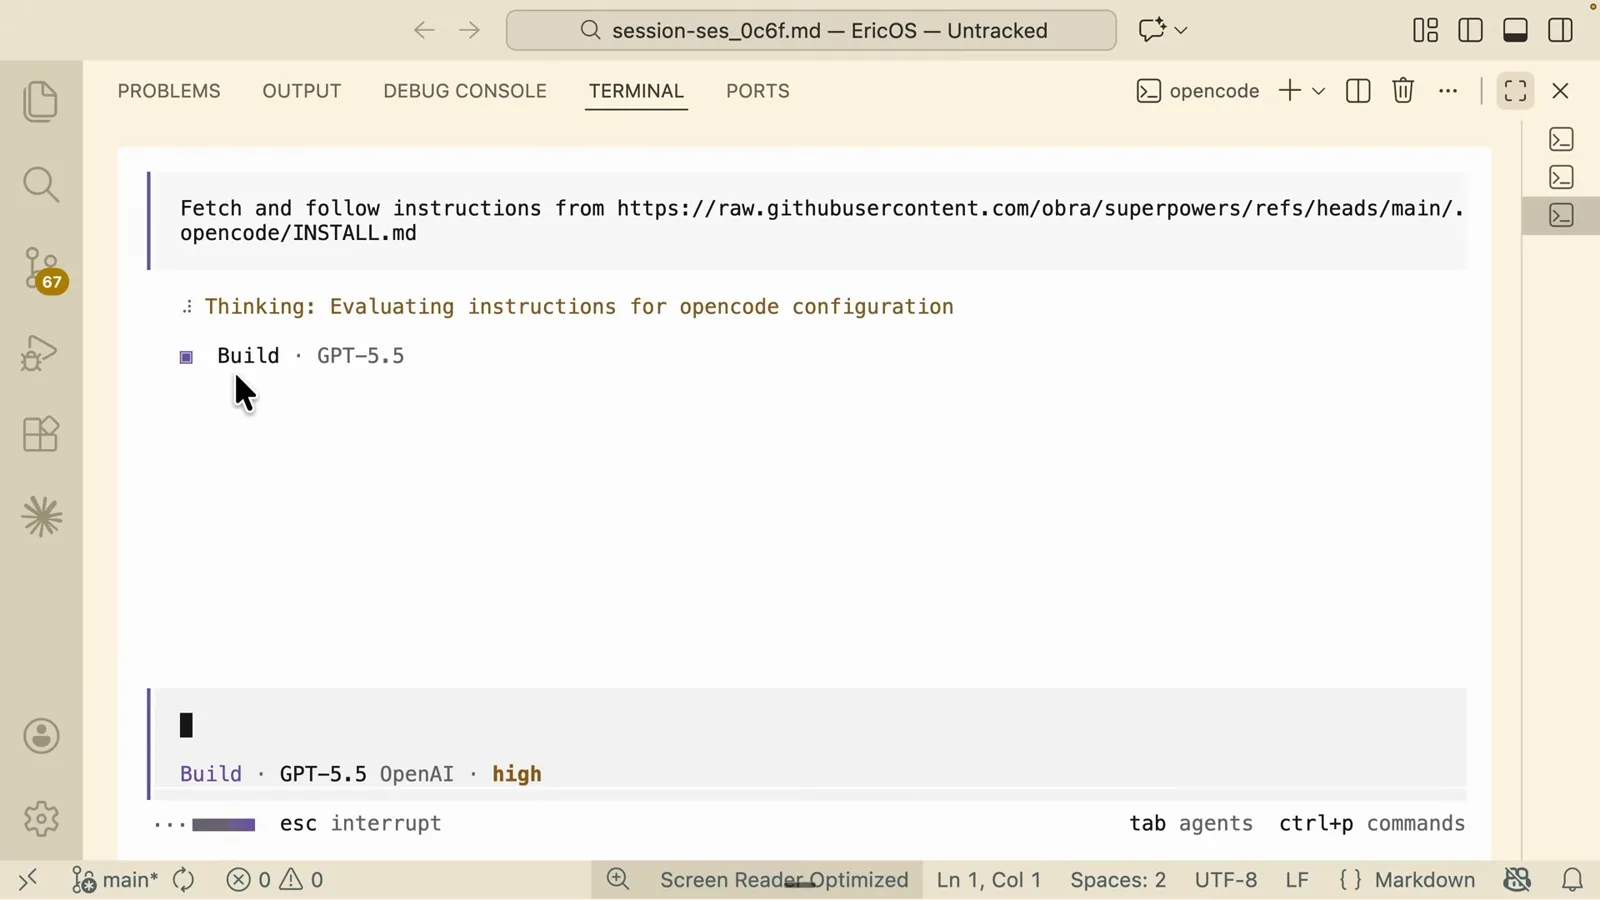
skills.sh から Superpowers スキルをプロジェクトへ直接取り込む。15:55 を見る - 13
/init でプロジェクトを覚えさせる
/init はリポジトリを分析してルートに AGENTS.md を書き出す:プロジェクトルール、フォルダマップ、規約。以降のセッションはすべてこれを読むため、命名規則・触ってはいけないパス・応答スタイルなどのルールが自動適用される。公式ドキュメントは AGENTS.md をgitにコミットしてチーム共有することを推奨。
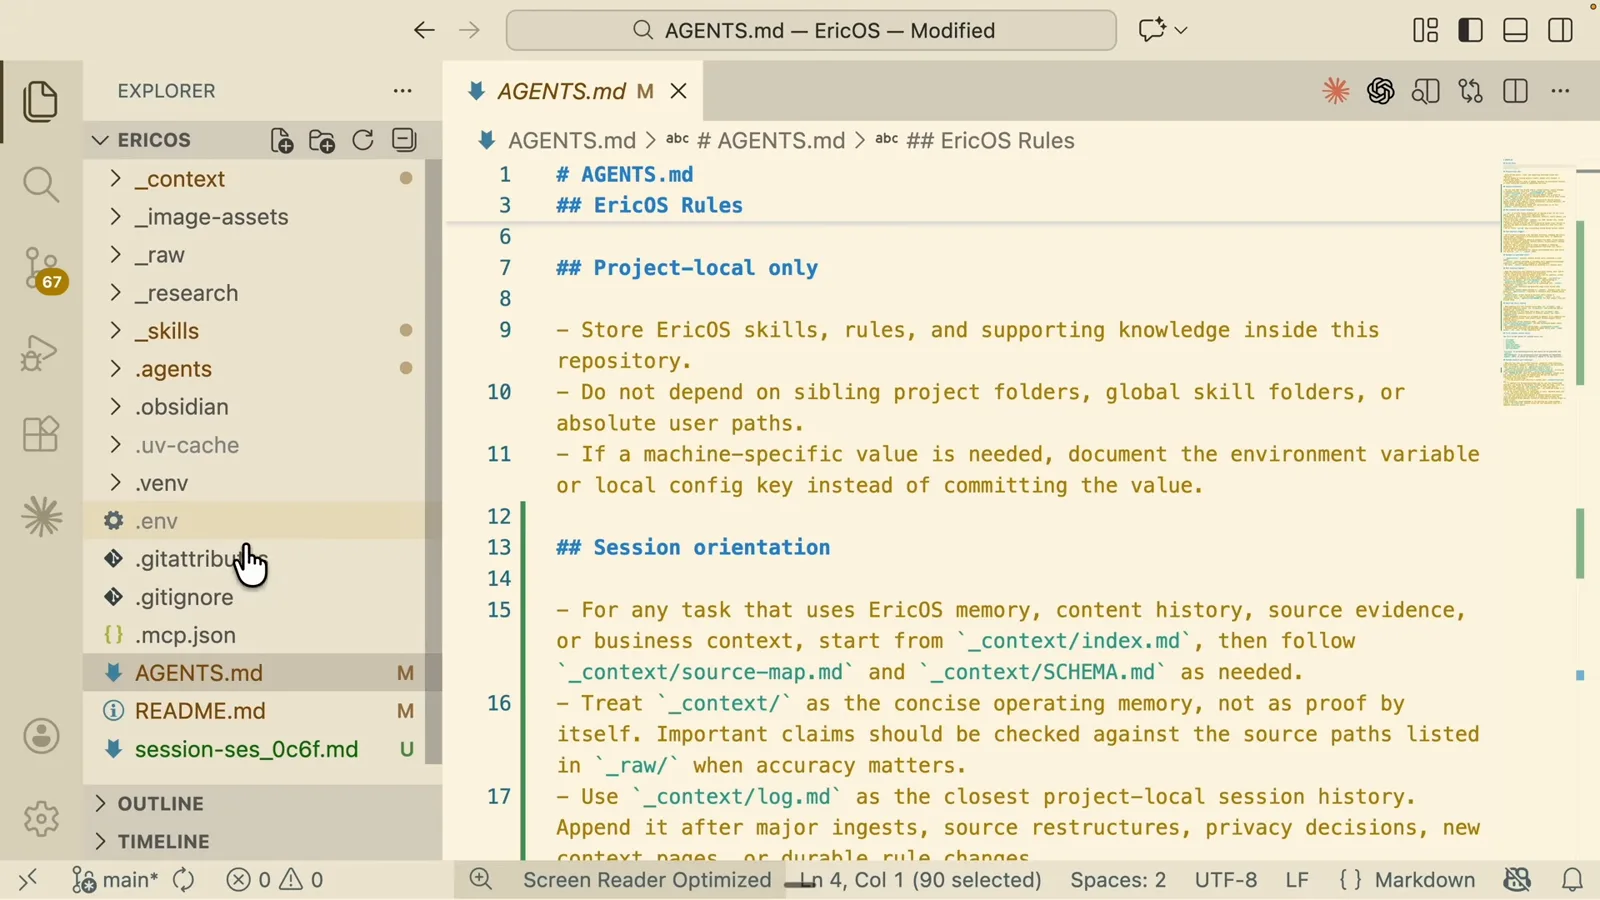
/init が生成した AGENTS.md に全セッションが引き継ぐルールを保存。17:30 を見る