
How to Use Google Opal: Build Your First AI Mini-App Step by Step
A complete Google Opal walkthrough rebuilt from a real beginner session — run a gallery template, remix its workflow, add steps with a prompt, debug a failed run, and build your own mini-app from scratch. Every step has a screenshot.
Google Opal in short
- Google Opal is Google Labs' no-code builder: you describe mini-AI apps in plain language and it wires the steps together for you.
- Start from the Gallery — open any template, press Start in the preview, and you have a working app in minutes.
- Remix to customize: add steps by asking the AI in the prompt bar, swap the model per step, and debug failures via the red error banners and Console view.
- Build from scratch with User Input, Generate, and Output steps; results can be a web page or a Google Doc, Sheet, or Slides file.
Opal Google Explained: How to Use Google Opal AI
Source video by:proflead9:16
Screenshots come from the source video and are credited with timestamp deep links. The walkthrough text is our own, based on the full transcript — facts match the recording.
This illustrated guide summarizes the proflead video for readers who prefer text. The official Google for Developers tour "How to get started on Opal" was used to verify product facts, but its presenter camera keeps it out of the screenshots.
Build an app in Google Opal, step by step
- 1
Open Opal and sign in
Go to opal.google in your browser. The landing page invites you to start from scratch or explore the gallery — Try now takes you straight to the editor. You only need a Google account: sign in from the top-right corner, and Opal is free while it's in public beta.
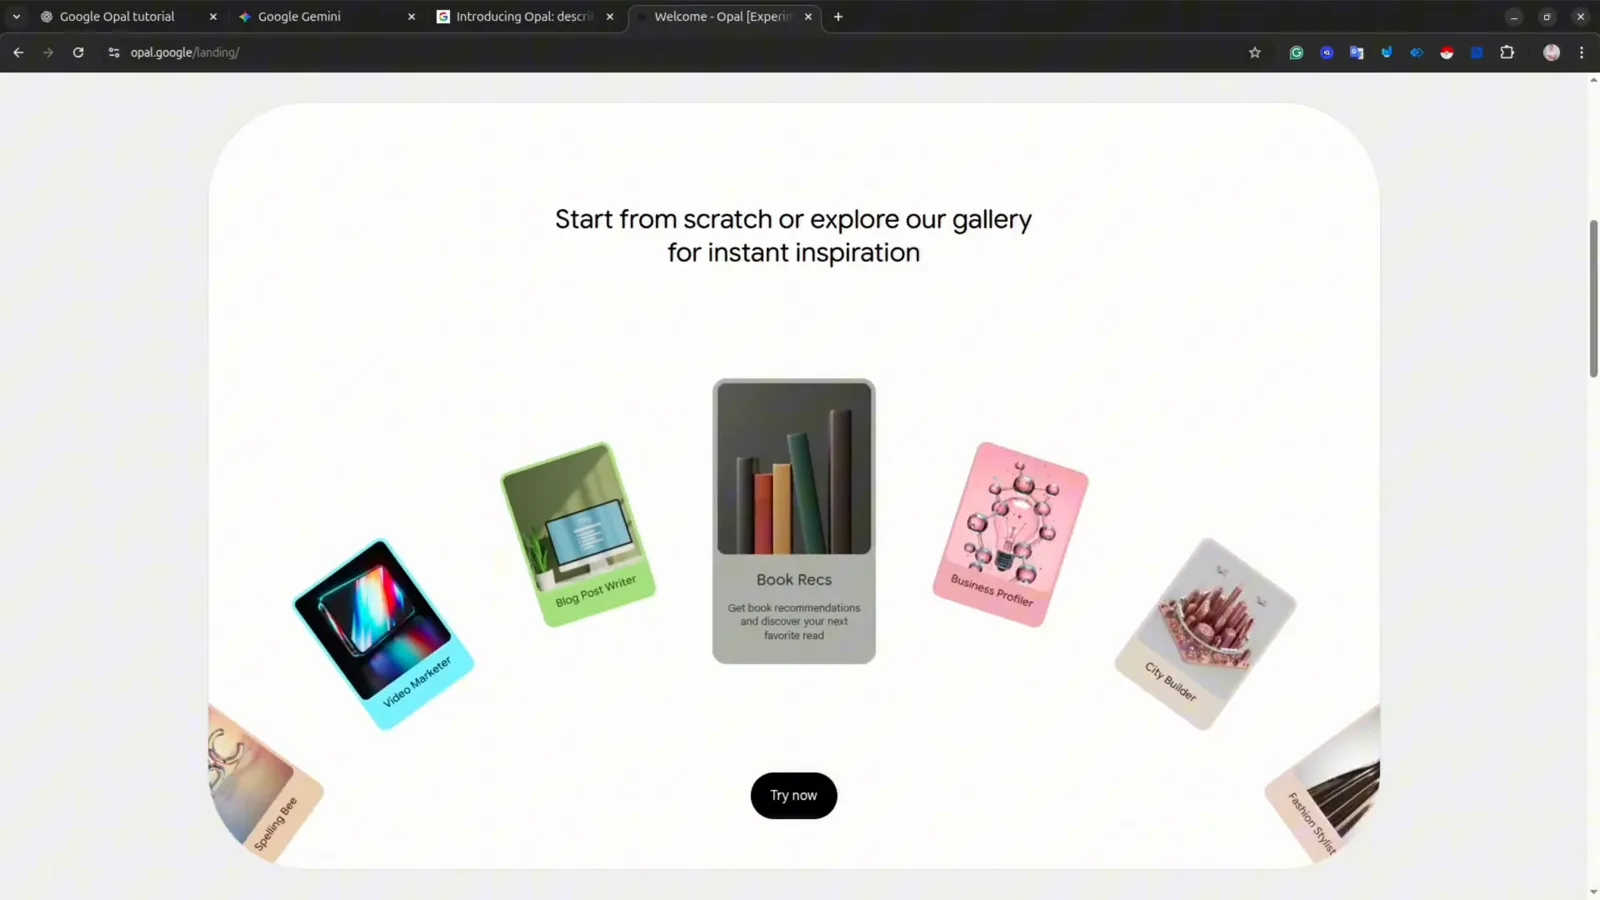
The opal.google landing page: start from scratch or pick a gallery template.Watch at 1:02 - 2
Tour the dashboard and Gallery
After signing in you land on the dashboard. Your Opal apps lives under Create New, and the Gallery below holds ready-made mini-apps: Blog Post Writer, Book Recs, Business Profiler, City Builder, Learning with YouTube, Spelling Bee, and more. Think of Opal as an agent builder that chains Google's AI models into small apps.
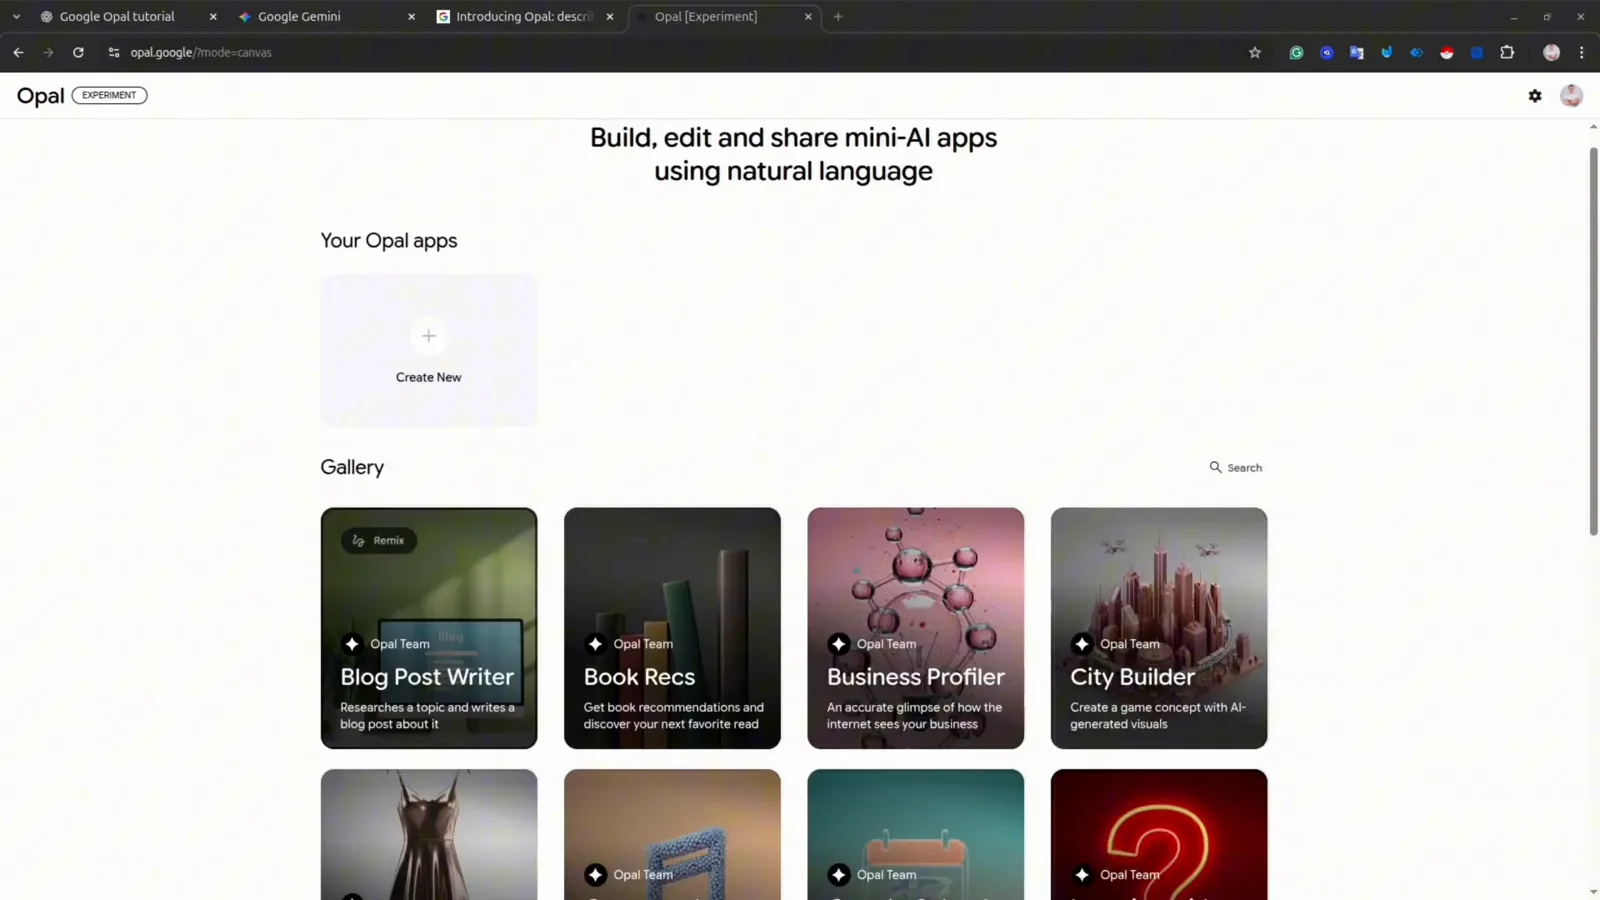
The Google Opal dashboard with the Gallery of remixable mini-app templates.Watch at 2:08 - 3
Open a template to see how an app works
Click any Gallery card to open it — this walkthrough uses Learning with YouTube, which turns a video into a quiz. The left side shows the app's structure: each card is one step, the same idea as nodes in make.com or n8n. The right side shows a live preview of the app.
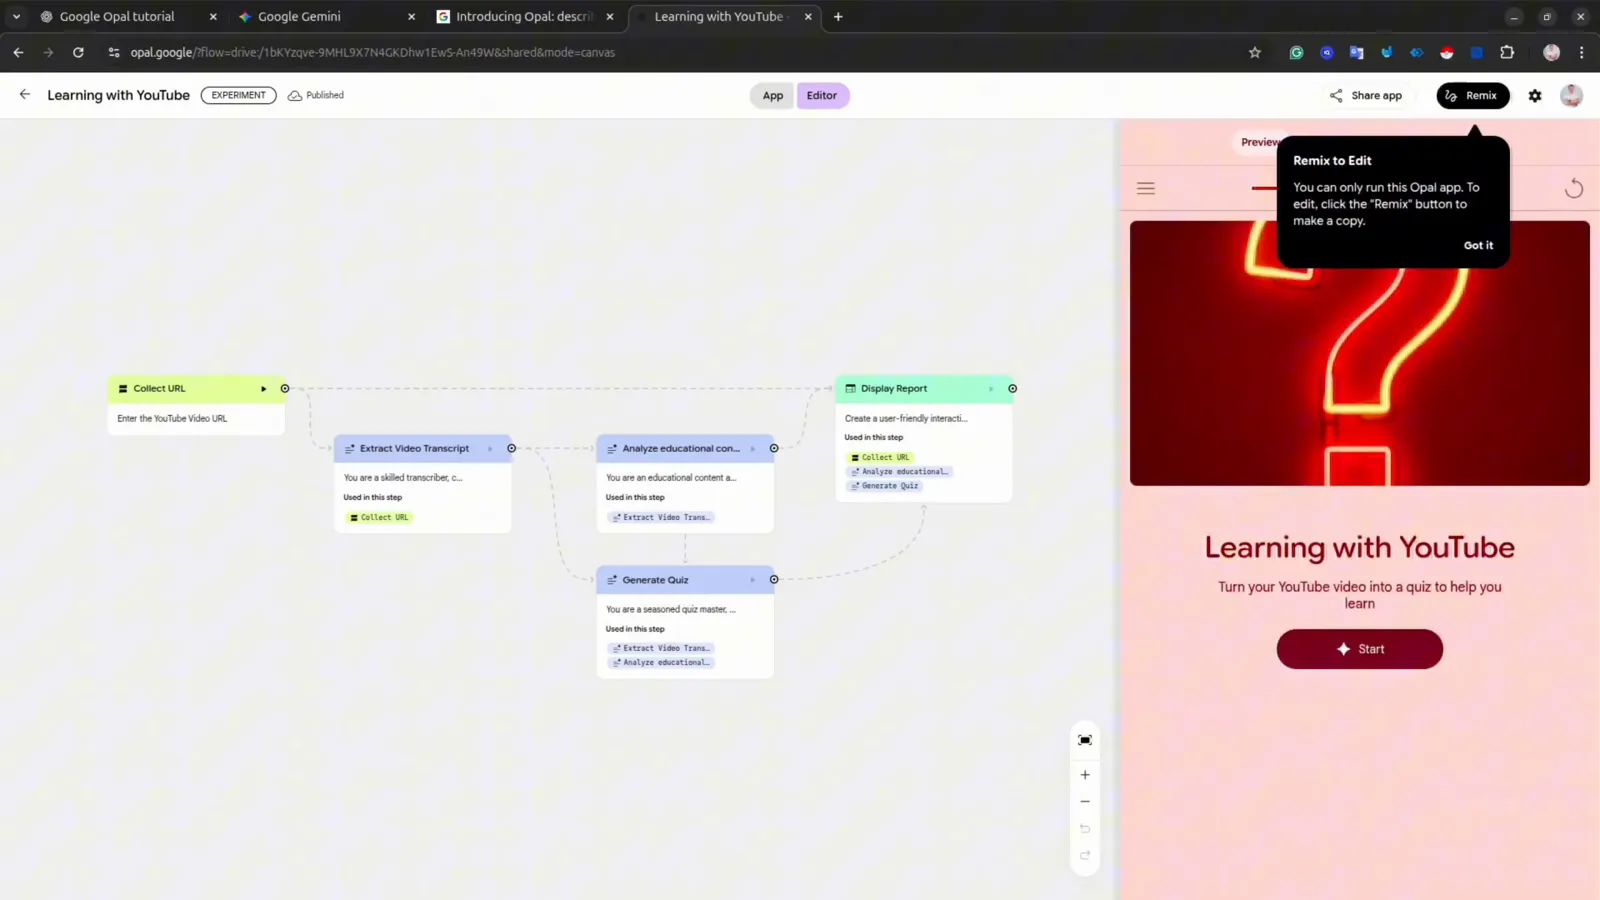
Learning with YouTube open in the editor: step cards on the left, preview on the right.Watch at 2:14 - 4
Run the template from the preview
Press Start in the preview panel — or open it full screen. This app asks for a YouTube URL: paste one and hit enter. Depending on complexity, a run can take five to ten minutes while each step completes in order.
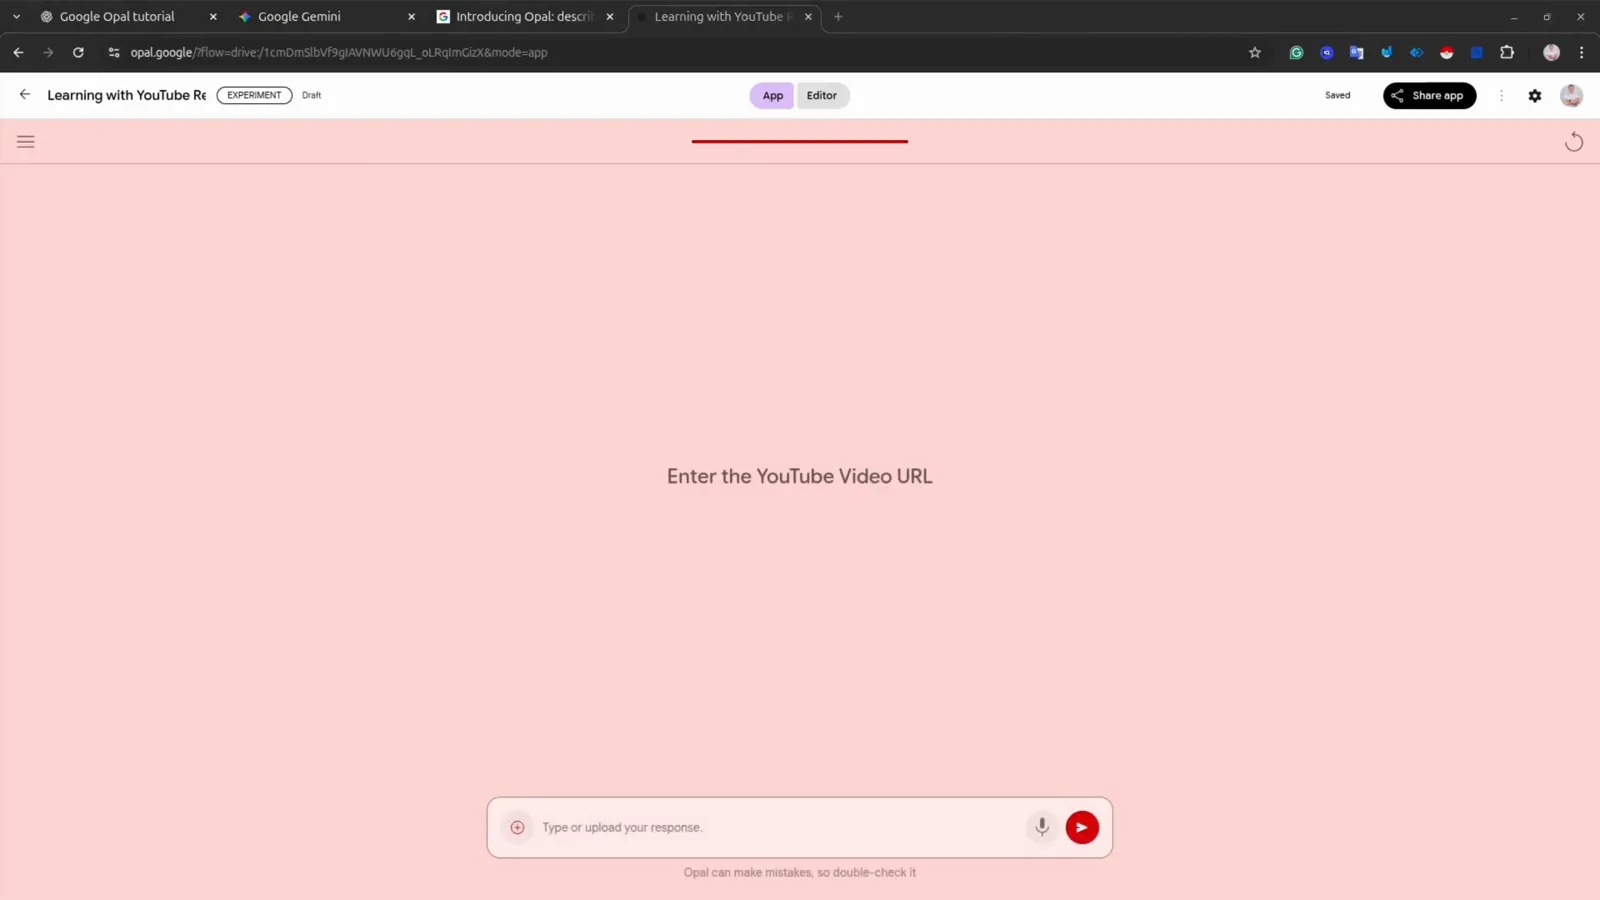
The app preview prompting for a YouTube URL once the run starts.Watch at 3:18 - 5
Read the generated report
The output arrives as a web page. For this run, Opal produced an Educational Report on an Agent Development Kit tutorial — a summary with key concepts, installation commands, and code snippets pulled from the video transcript.
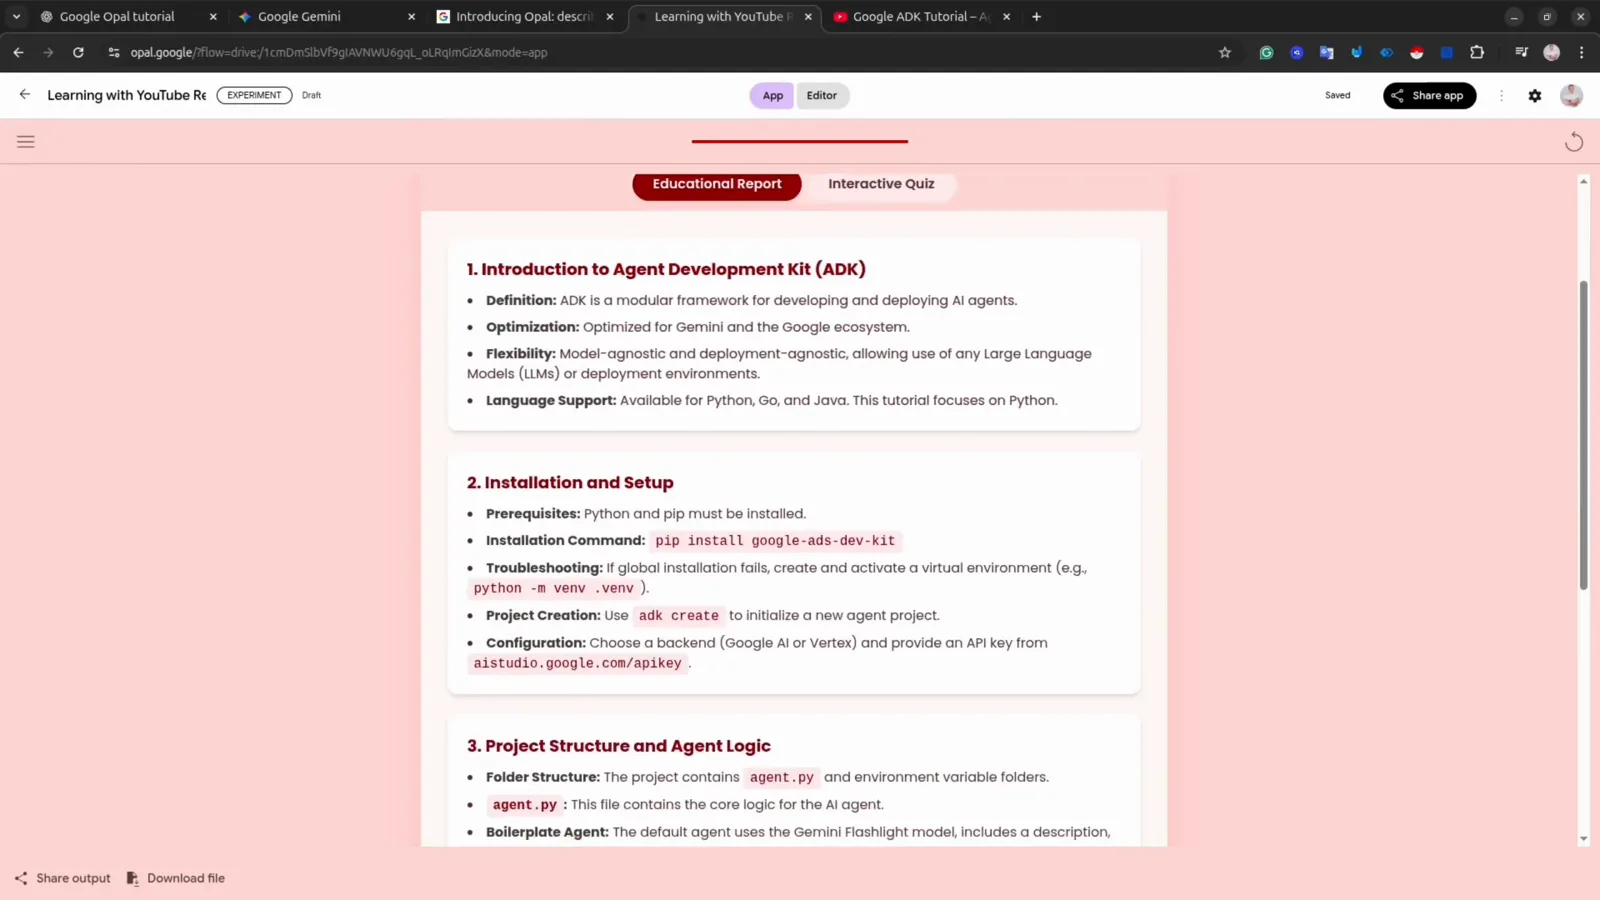
The Educational Report tab generated from the video transcript.Watch at 3:28 - 6
Take the generated quiz
Switch to the Interactive Quiz tab and the same video becomes answerable questions — pick an option, get instant feedback, and move through the deck with Previous and Next. One pasted URL produced both the report and the quiz.
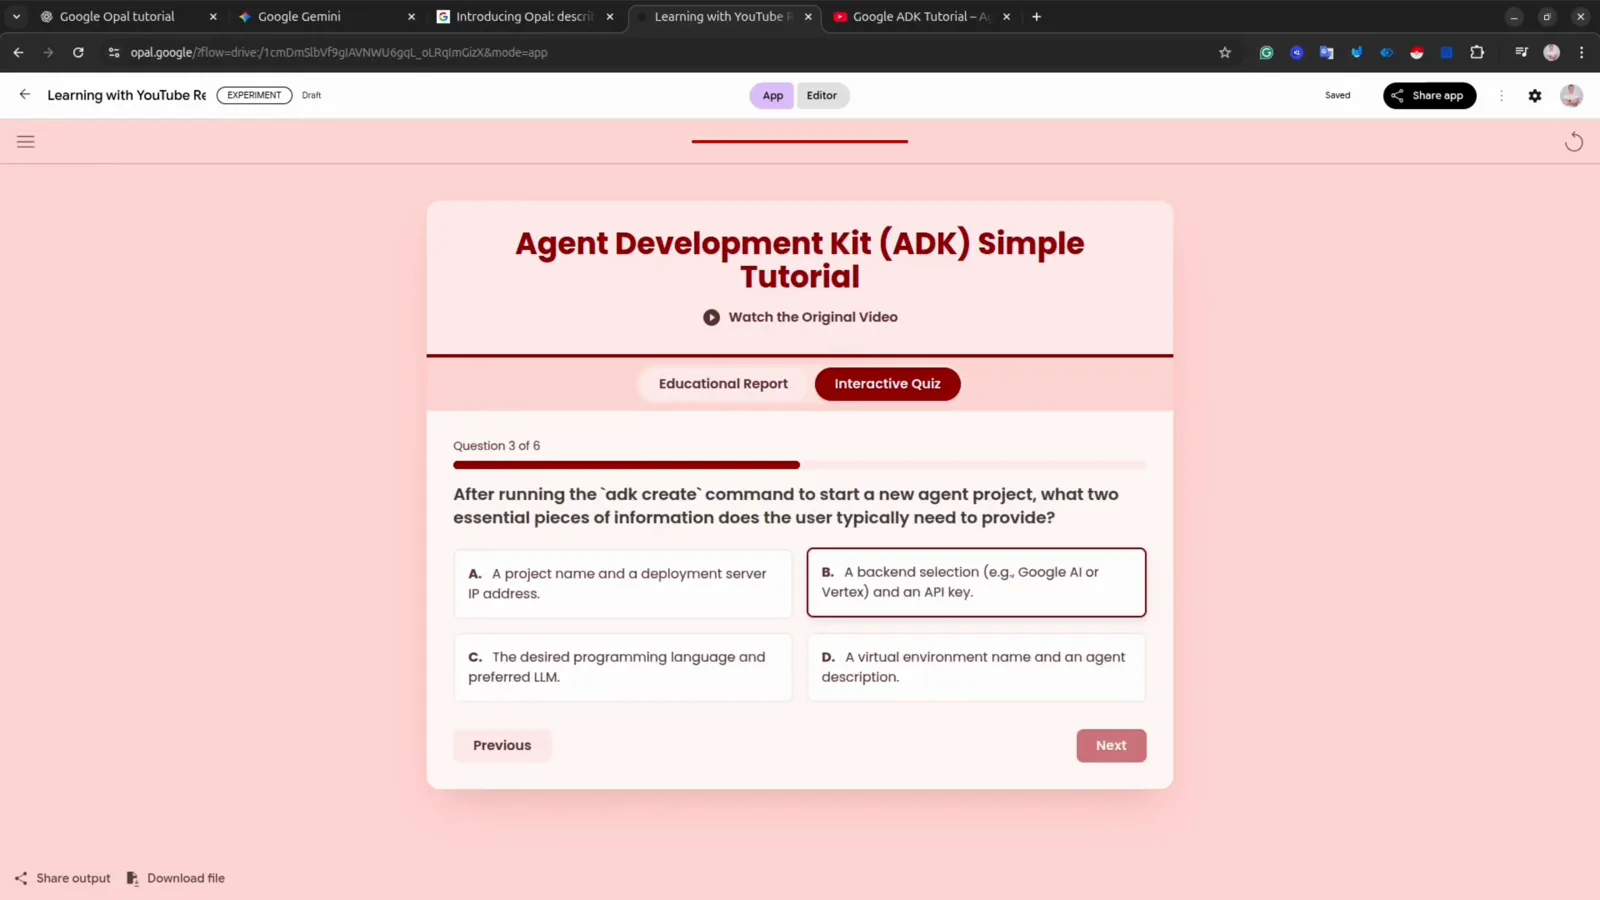
Question 3 of 8 in the quiz generated from the video.Watch at 3:44 - 7
Remix a template to make it yours
Open another template — Blog Post Writer has six steps from Get Topic to Display Blog Post — and click the Remix button at the top right. Remixing creates a copy you can edit: adjust steps, change models, rewrite instructions.
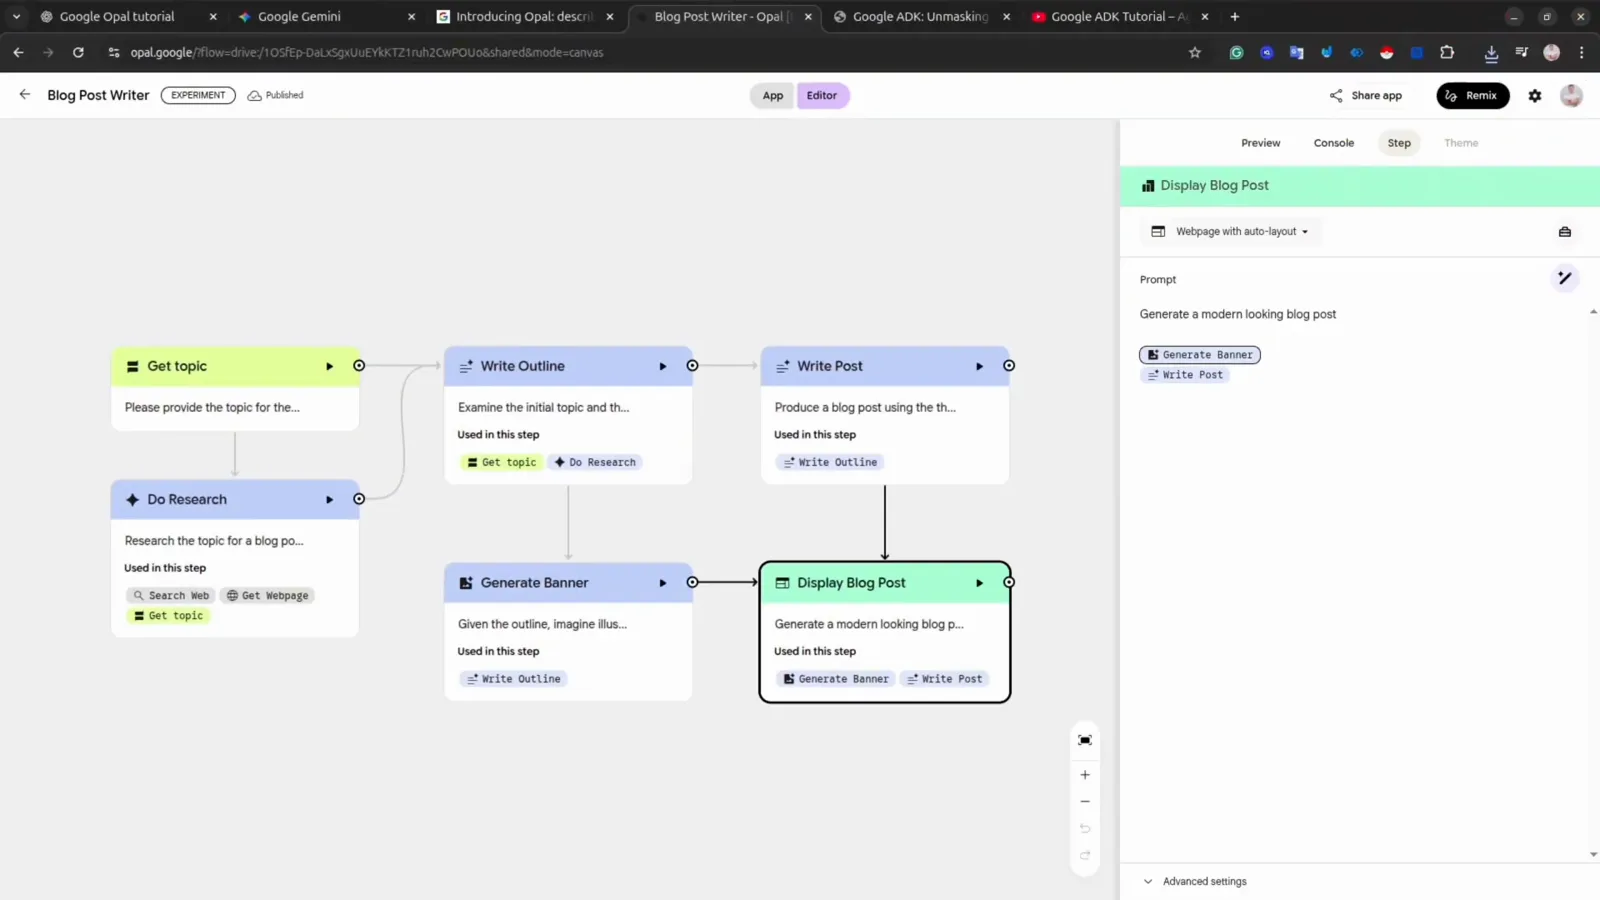
Blog Post Writer's six step cards, ready to be remixed.Watch at 4:10 - 8
Add steps by asking the AI
The fastest way to extend a workflow is the prompt bar under the canvas. Typing "add a video generation" made Opal append Generate Video Instruction and Generate Video Clip steps in about twenty seconds — no manual wiring needed.
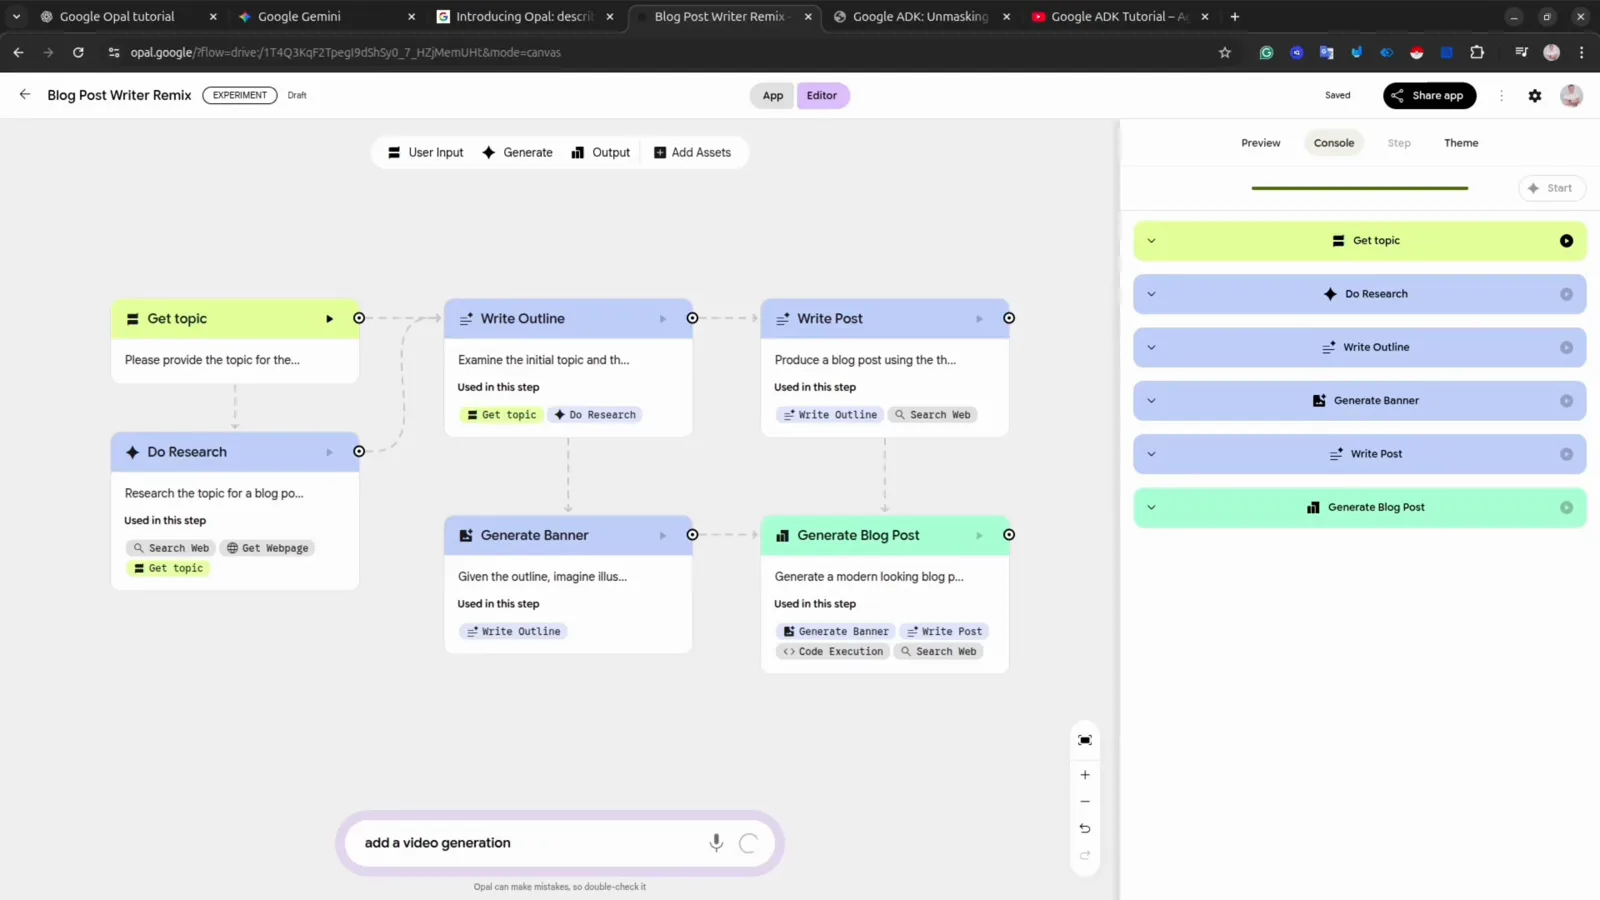
The prompt bar asking Opal to add a video generation step.Watch at 4:58 - 9
Pick the model for each step
Select any card and the right panel opens its settings. The model dropdown lists Gemini 2.5 Flash and Pro, Deep Research, image models like Nano Banana, Veo for video, and Lyria 2 for audio — test which one behaves best for that step.
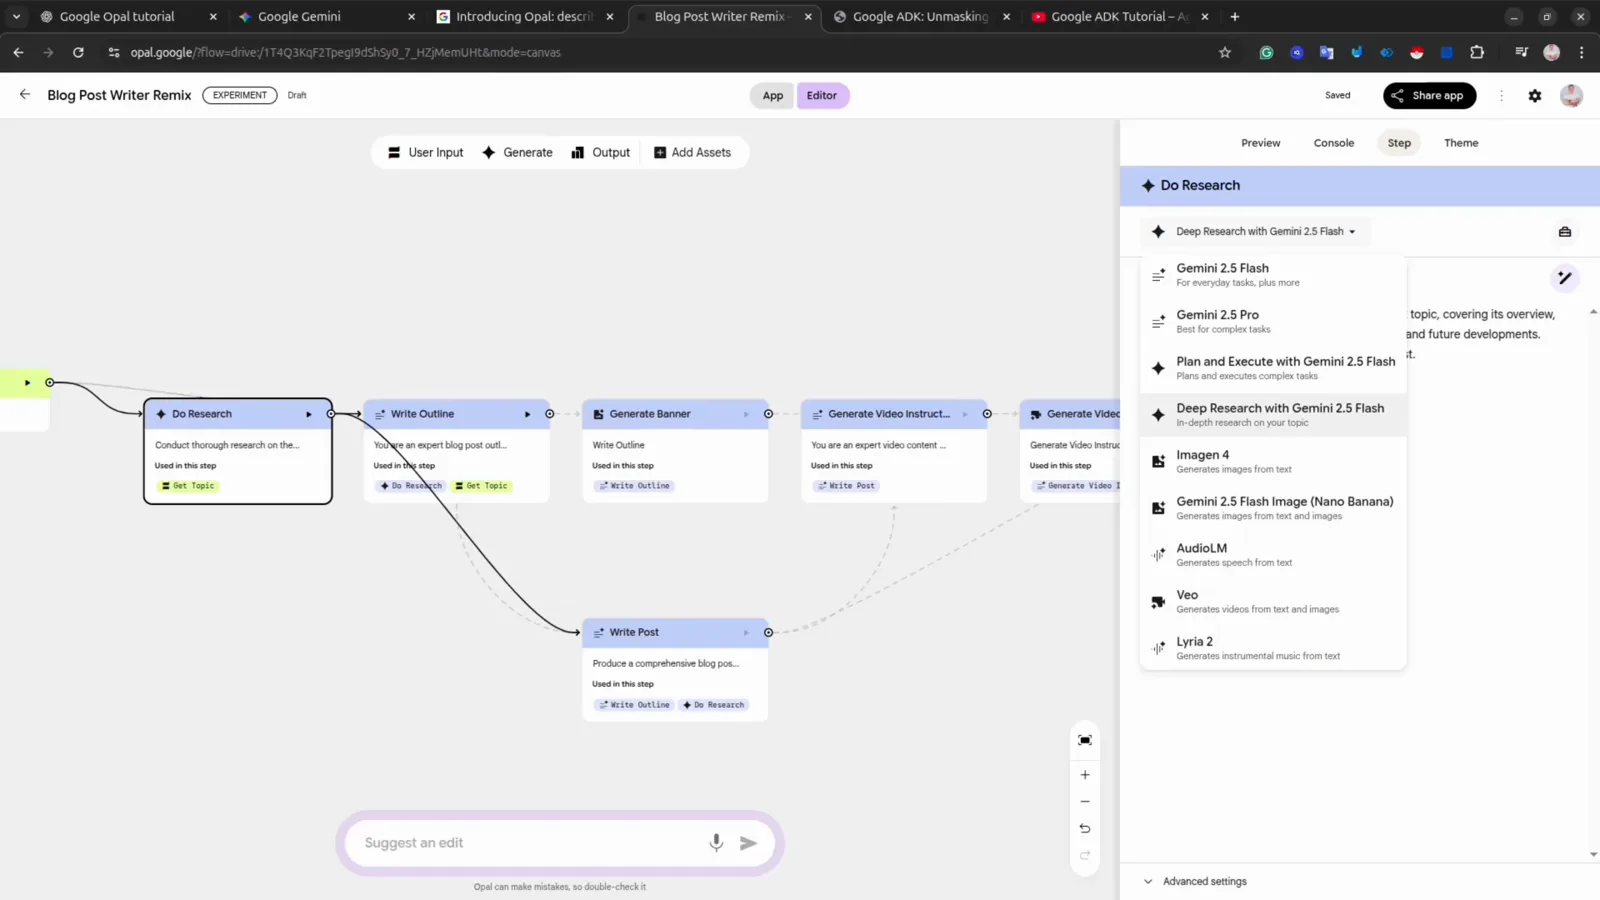
The model dropdown on the Do Research step, from Gemini to Veo and Lyria.Watch at 6:02 - 10
Rewrite the instruction when output goes wrong
When a step produces something unusable, edit its Prompt field. In the video, a video-generation step kept failing until the instruction gained explicit IMPORTANT rules keeping people out of generated clips — the same fix works everywhere: steer the model with plainer, stricter wording.
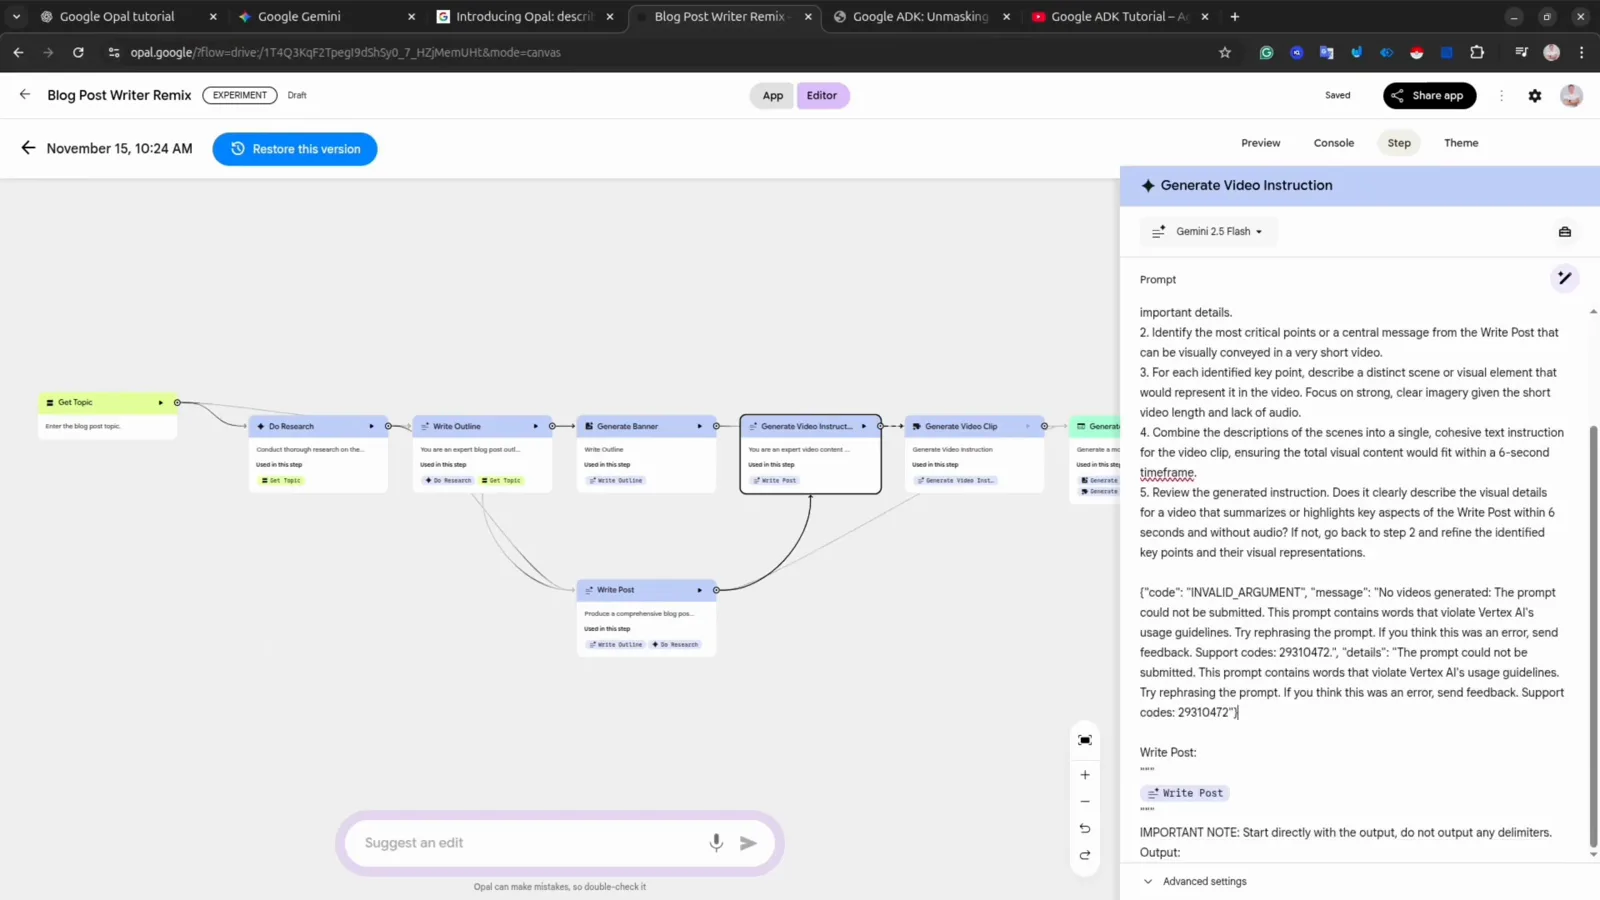
The edited Generate Video Instruction prompt with its IMPORTANT rules.Watch at 7:10 - 11
Debug failures with the error banner
Failures are visible, not silent. A failing step shows a red banner in its panel — here image generation hit its limited free quota. The Console view runs steps one by one so you can see exactly where the app breaks before you fix anything.
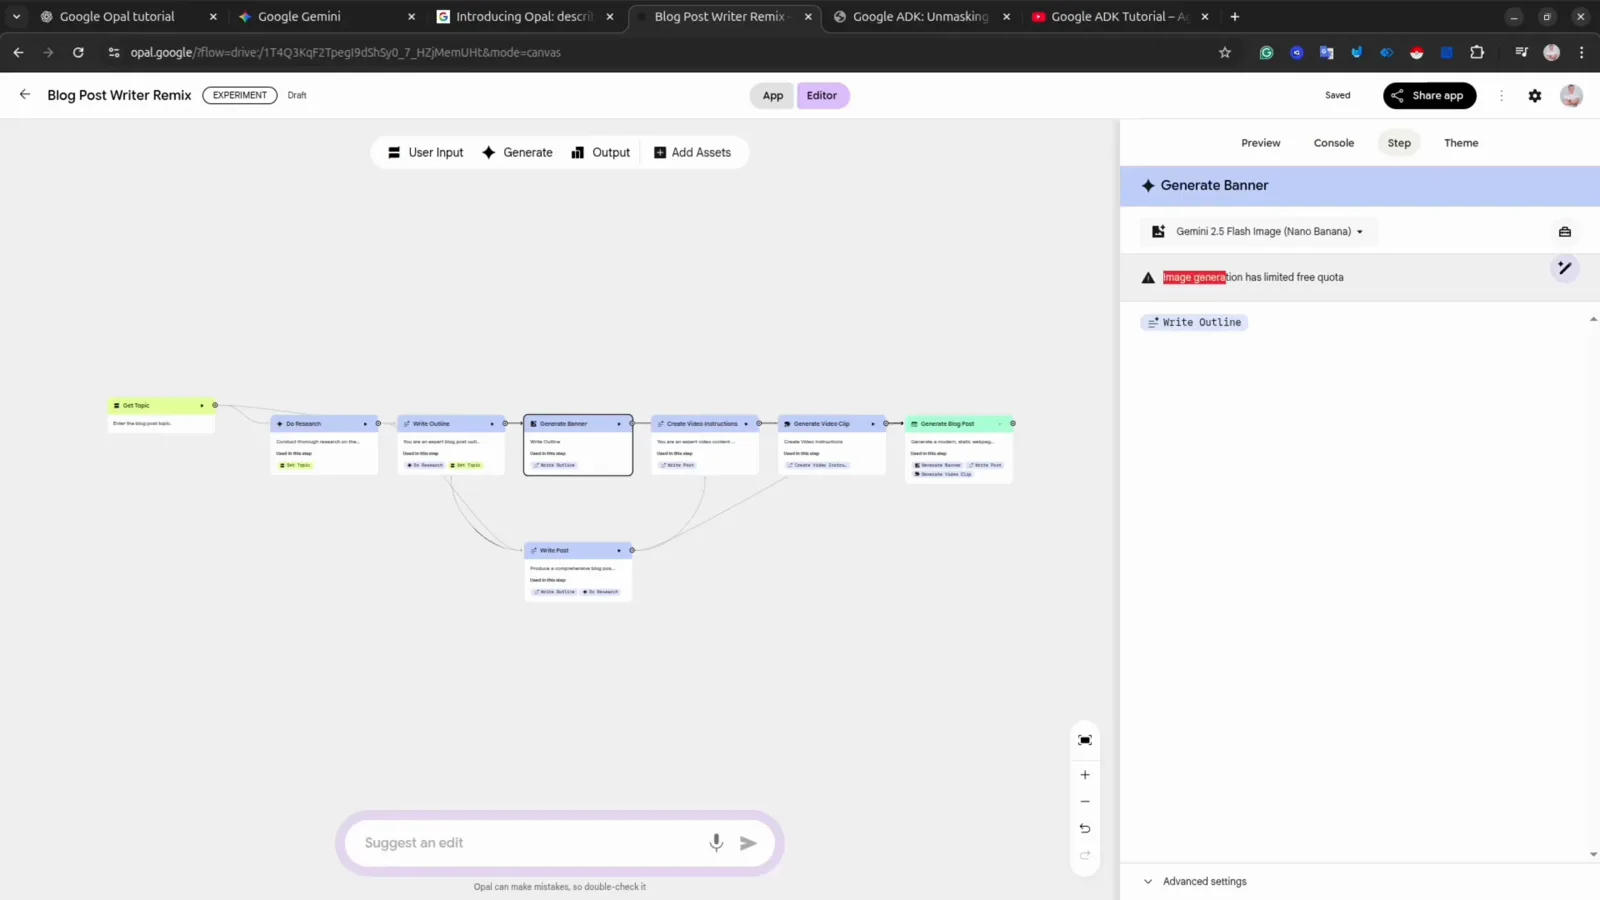
The quota banner on Generate Banner explaining why the step failed.Watch at 7:32 - 12
Find your copies on the dashboard
Every remixed app is saved to Your Opal apps — Blog Post Writer Remix now sits next to Learning with YouTube Remix. Nothing you edit overwrites Google's original template.
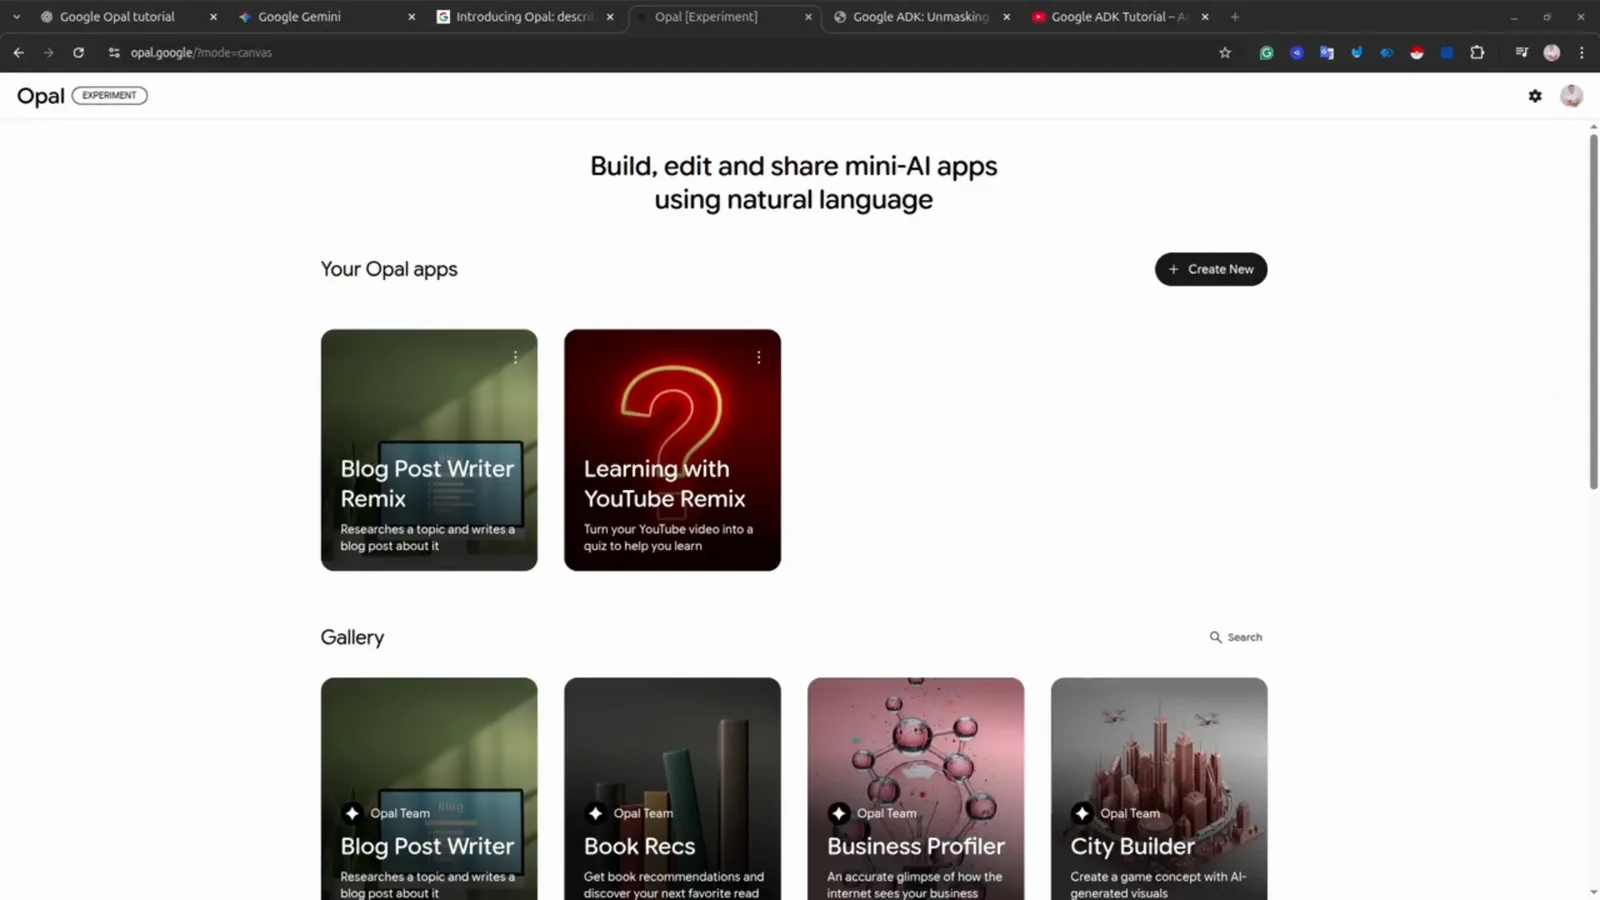
The dashboard now listing both remixed apps under Your Opal apps.Watch at 7:36 - 13
Start your own app from scratch
Click Create New and you get a blank canvas. Add your first step from the top menu — User Input is the usual opener, collecting whatever the app should work from: a topic, a URL, a question.
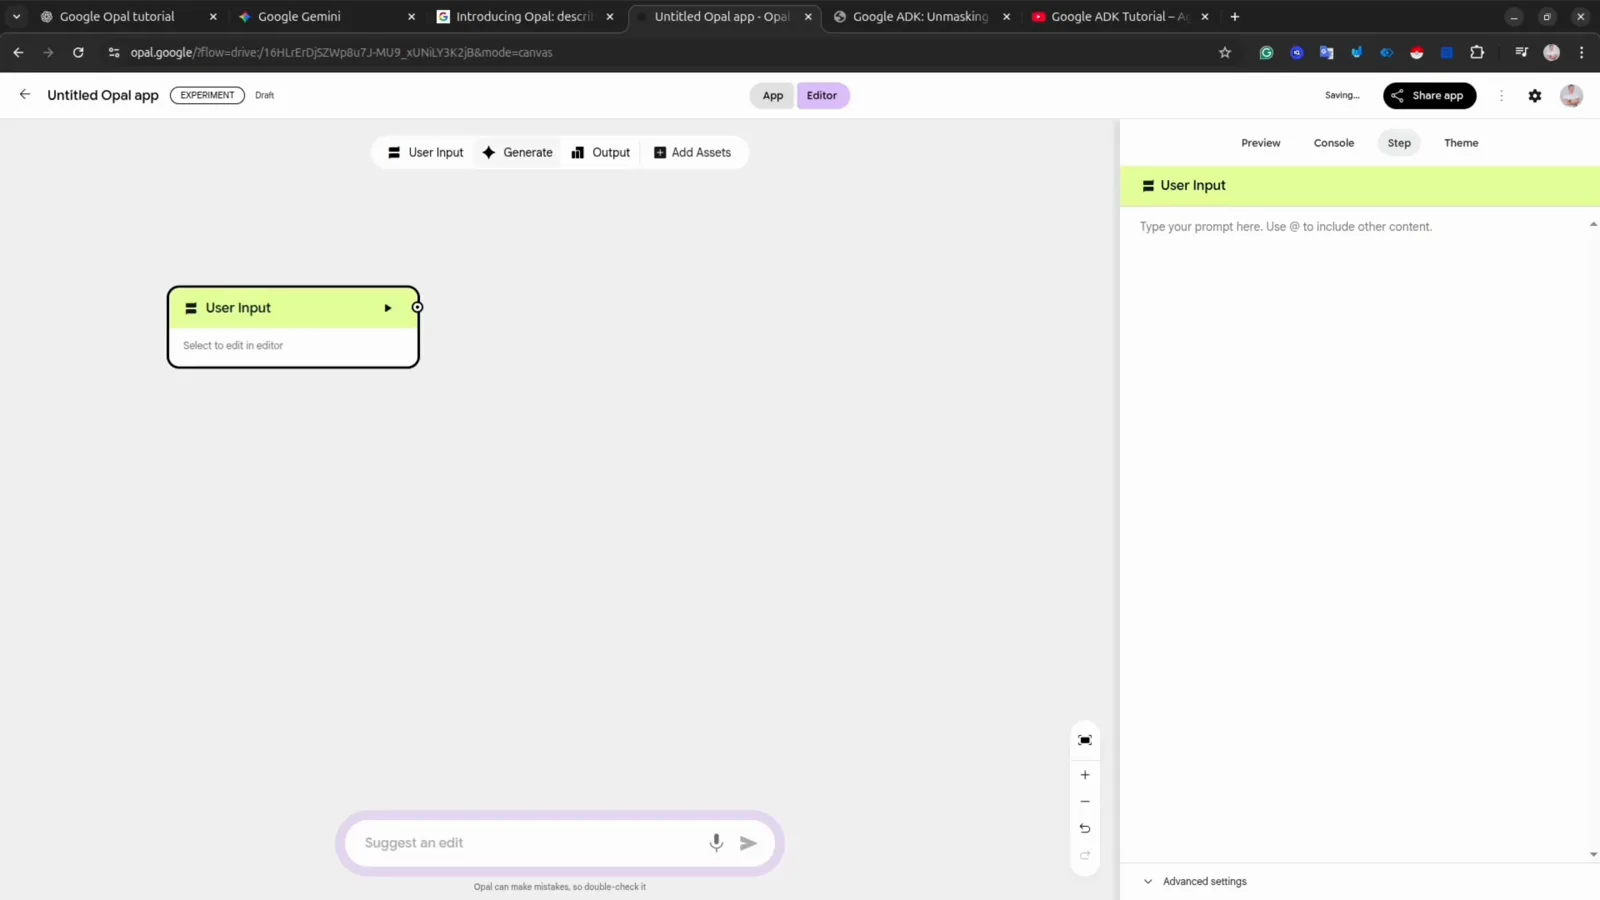
A new Untitled app with its first User Input node on the canvas.Watch at 7:56 - 14
Chain steps and add an output
Add Generate steps for text, images, or video, with tools like web search or code execution on any step. Drag from one card to the next so each output feeds the next input, then finish with an Output step — a web page here, or a Google Doc, Sheet, or Slides file.
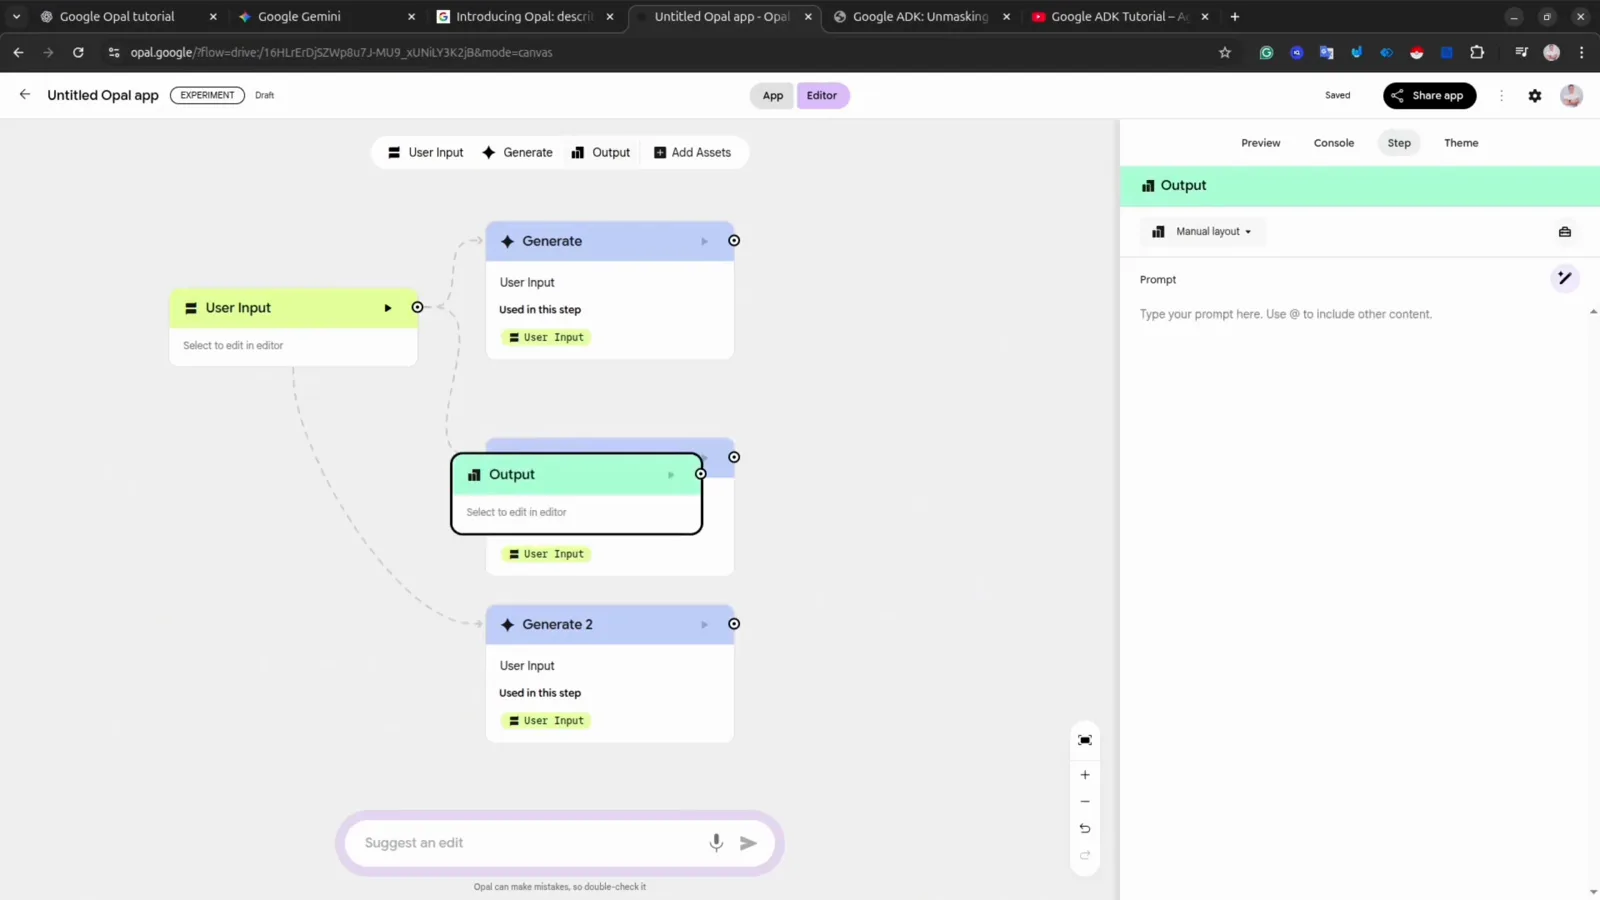
User Input chained into two Generate steps and an Output node.Watch at 8:40 - 15
Run it and collect the page
Give the app a topic through its User Input step and let it run. The finished workflow rendered a written piece as a styled web page — the same way every Opal app turns one input into a finished artifact you can share.
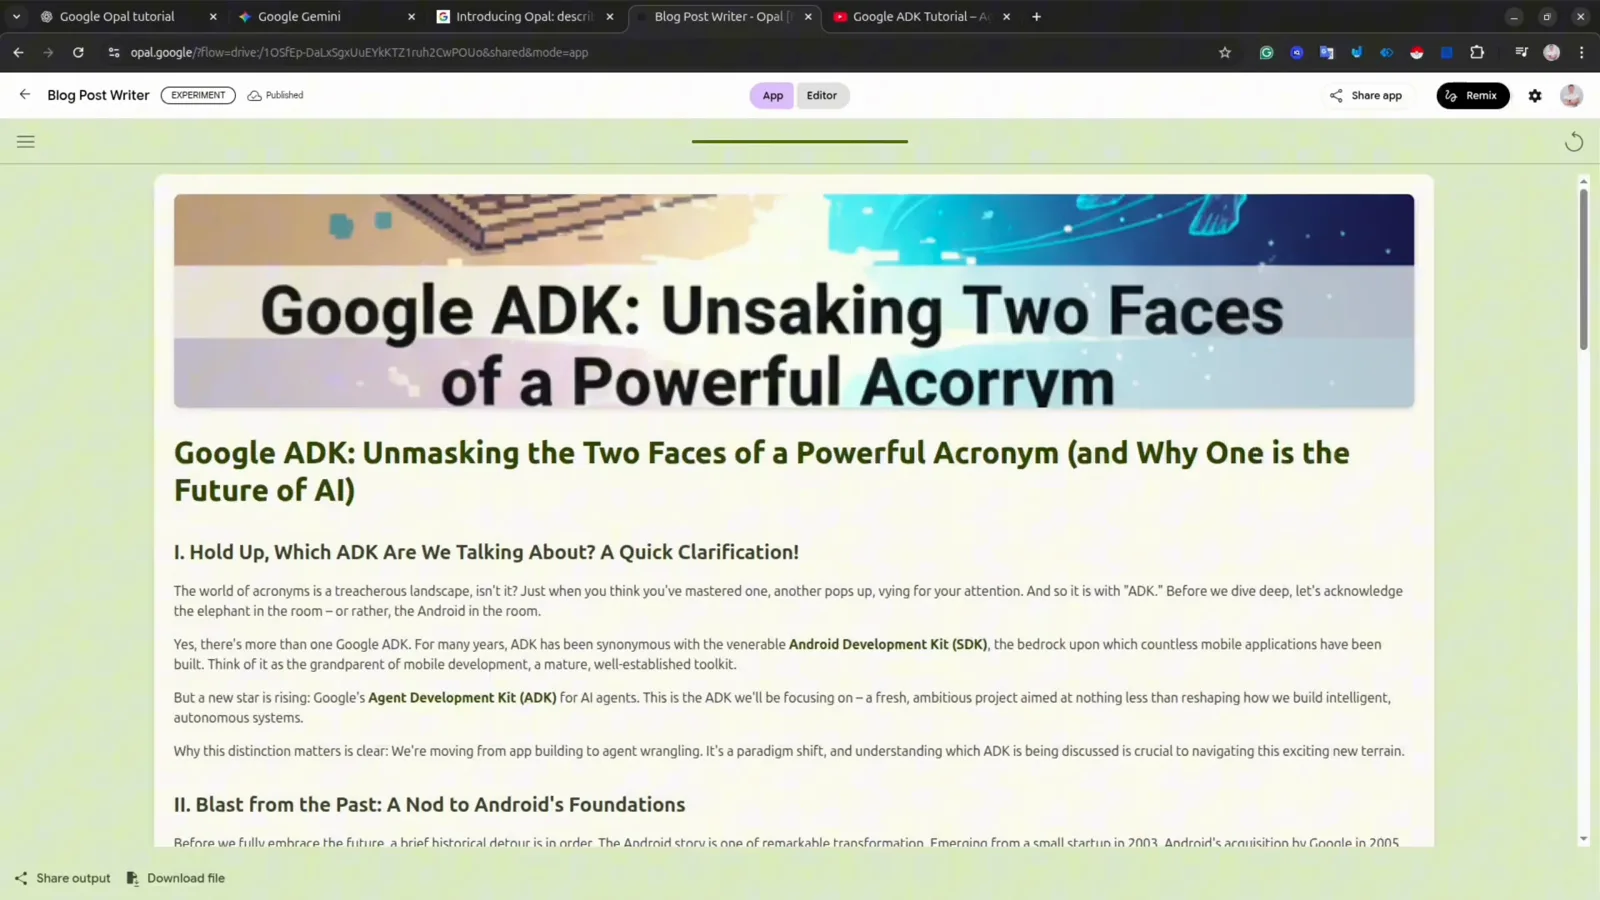
The web page the from-scratch workflow generated about Google's ADK.Watch at 9:06